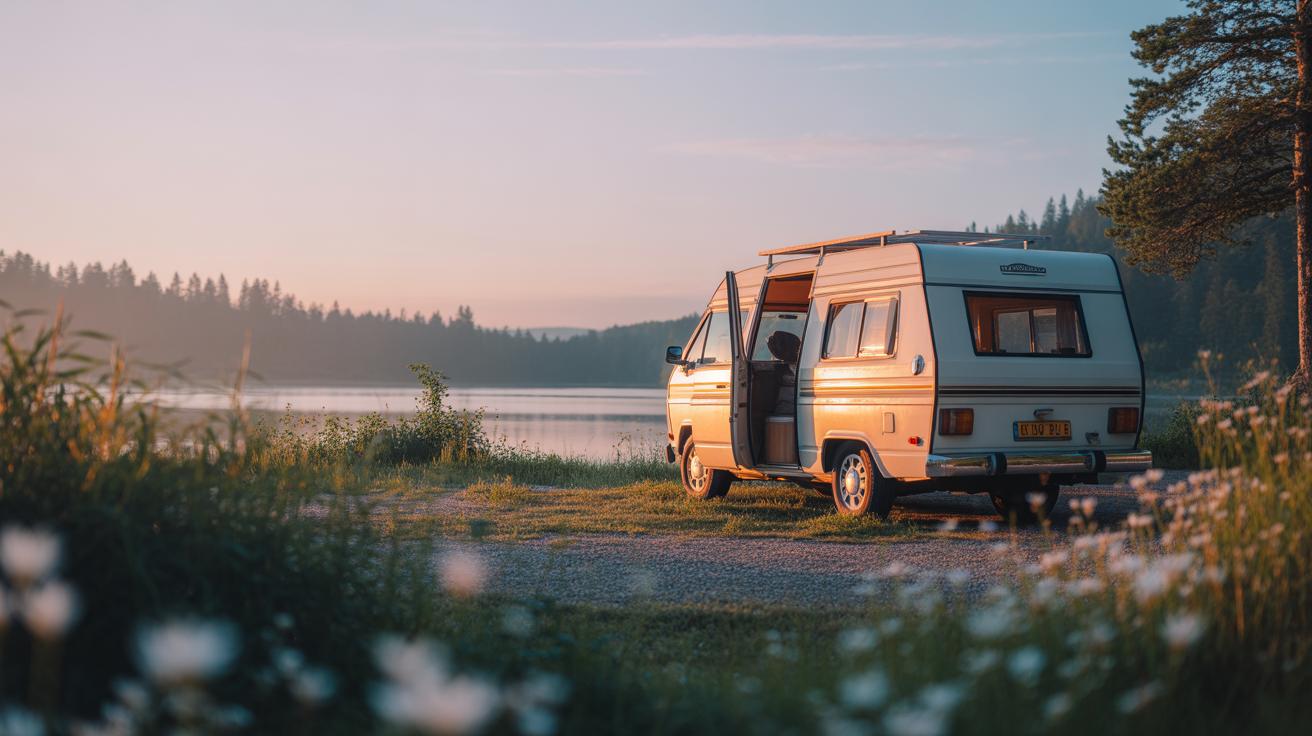
Introduction
If you want to give your camper a fresh new look without spending a lot, a camper makeover is the perfect way to do it. This guide explores a step-by-step camper makeover on a shoestring budget. You will learn how to make smart changes that improve your camper’s comfort and style using cost-effective methods.
Whether your camper is a vintage van or a modern small RV, this article will help you plan and carry out a makeover with simple DIY projects. You will find practical tips on materials, design choices, and organization ideas to transform your space affordably and efficiently.
Planning Your Camper Makeover
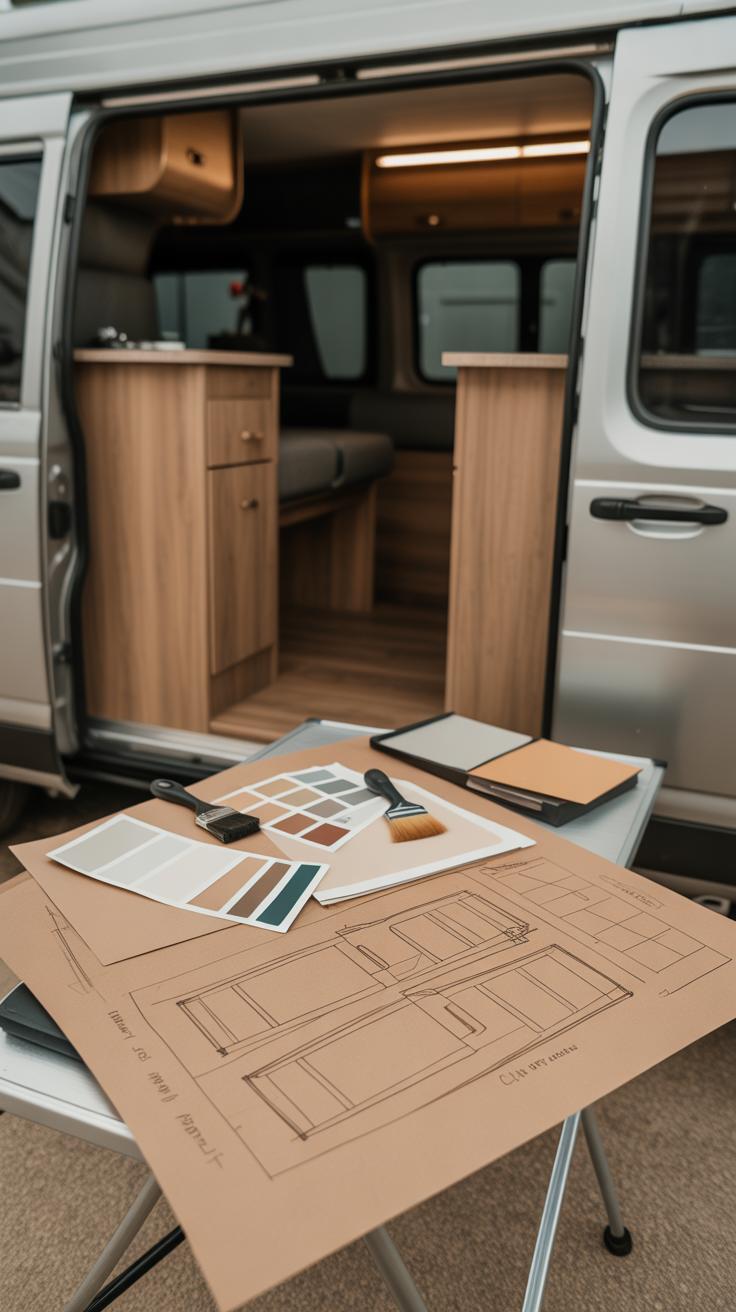
Before you pick up a brush or buy supplies, it helps to get a clear sense of where your camper stands. Start by walking through the entire space slowly. Look for things that are broken, worn, or just plain outdated. Check floors, walls, plumbing, and electrical spots—maybe even peek under cushions or inside cabinets where damage tends to hide. Taking photos can really help. Sometimes it’s hard to remember every little thing, and pictures give you a chance to come back and rethink without losing track.
Don’t rush this step. Jot down what needs fixing and what would just be nice to have. Is that cracked countertop a real problem, or just an eyesore? Does the old carpet smell bad or just look outdated? Those questions matter because your budget should focus first on what actually affects your camper’s livability or safety.
About the budget—this is where things get a bit tricky. You have to be honest about what you can spend. It’s easy to get carried away imagining all the upgrades, but reality bites in when the bills come. Try to break your budget into categories: repairs, functional upgrades, and decorative touches. Prioritize the essentials. For example, fix any leaks or electrical issues before thinking about new wall coverings.
Making a list of priorities can help keep you from spending on things that don’t really add value or might need to be redone later. You might start with essentials like sealing leaks or fixing a busted door latch. After that, consider how you want the space to feel—maybe fresh paint or better lighting. The final touches can wait until those basics are solid.
Planning well means you know what can wait, what must happen now, and how much you’re willing to spend. It’s a balancing act, for sure, but it sets the stage for a makeover that won’t leave you stressed or broke.
Cleaning and Decluttering Your Camper
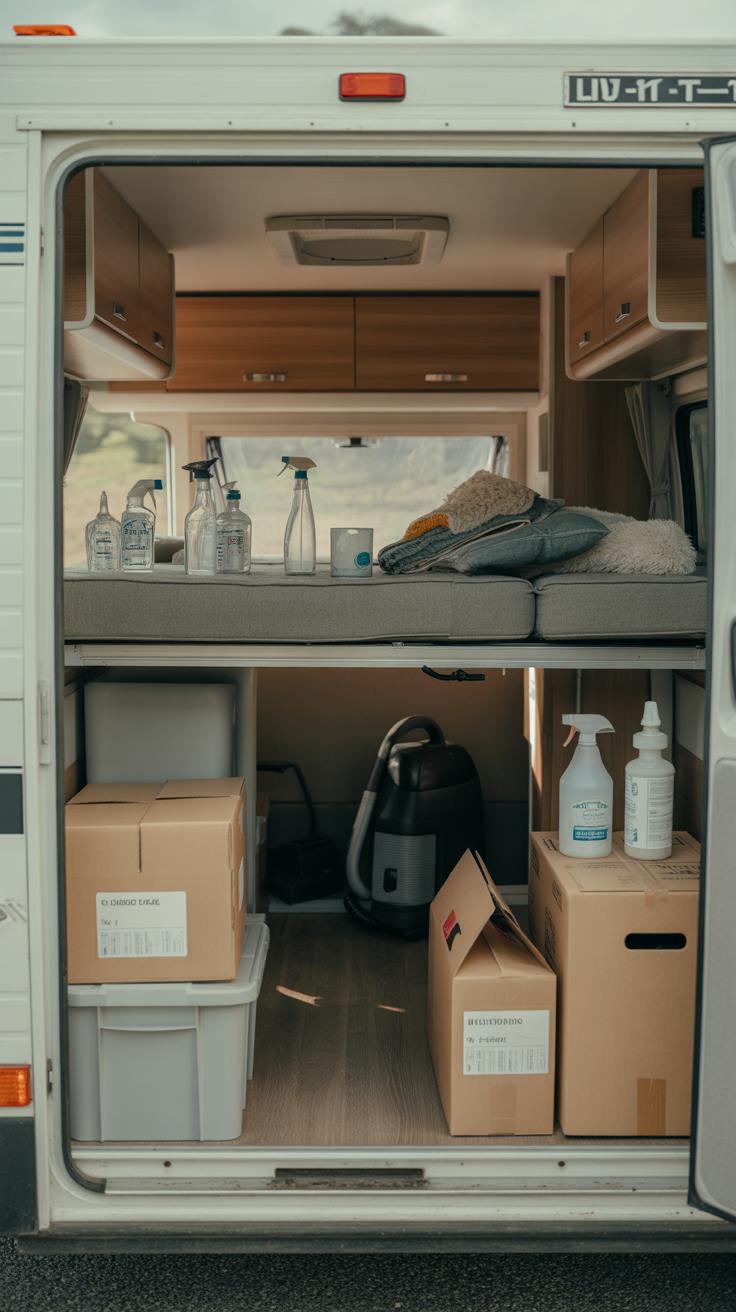
Starting your camper makeover with a thorough clean and declutter sets the stage for everything that follows. You can’t really see what needs fixing or updating until all the grime and clutter are out of the way. I know it can feel like a chore—a big one—but trust me, it makes the whole process smoother.
Begin by emptying out every drawer, cabinet, and nook. Sort your items into three piles: keep, donate, or toss. Be honest here. If you haven’t used something in months or it’s broken beyond repair, maybe it’s time to say goodbye.
For cleaning, grab simple household items like baking soda, white vinegar, and dish soap—these do wonders without costing much. To freshen fabrics, sprinkle baking soda, let it sit, then vacuum it off. Floors clean up nicely with a warm water and vinegar mix; it cuts grease and grime without harsh chemicals.
Don’t forget windows—diluted vinegar gives a streak-free shine and lets in more light. I find that cleaning little areas at a time, maybe focusing on one section daily, is less overwhelming and keeps motivation up.
There’s something satisfying about watching your space clear out and brighten. It’s more than just tidying—it prepares you mentally and physically for the next steps. And if you think about it, isn’t a fresh start what every good makeover needs?
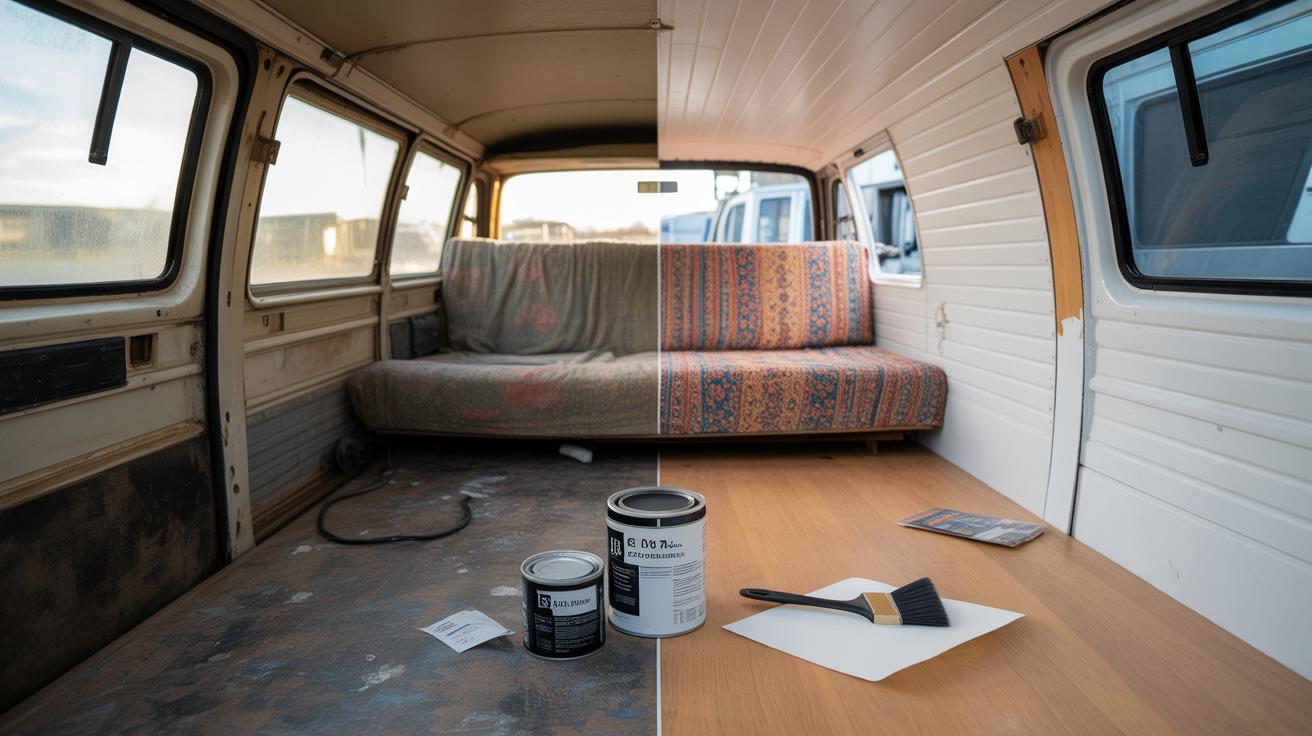
BudgetFriendly Painting and Decorating
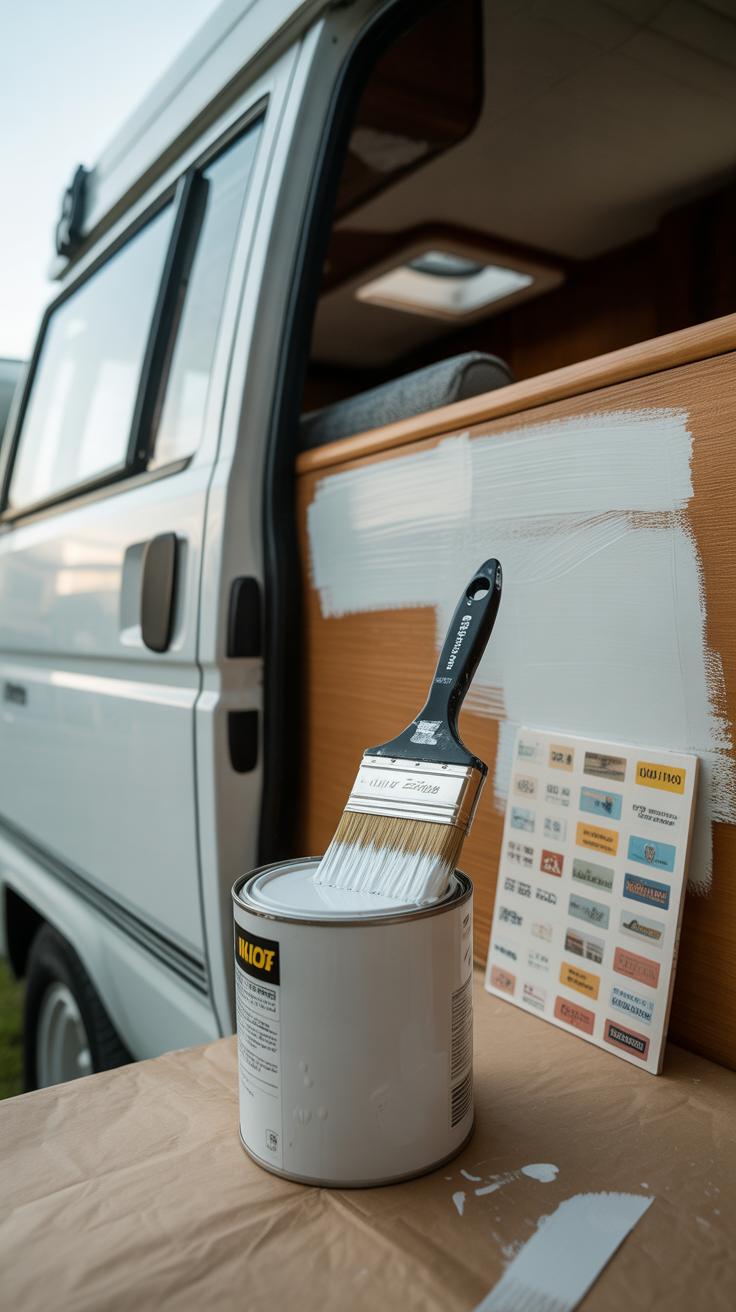
Choosing Paint and Colors
Picking the right paint can really change how your camper feels, without costing much. For interiors, water-based latex paints tend to work best. They dry fast, won’t smell too strong, and clean up easily. You want something that handles moisture too, since campers can get humid.
Light colors—off-whites, pale grays, soft blues—can make the space feel bigger and brighter. I once went with a light cream in my camper, and it surprisingly opened up the room more than I expected. Dark colors? They can look stylish but might make the space feel cramped, especially if your camper is small. So ask yourself: do you want cozy or spacious? Or maybe a mix?
Simple Decoration Hacks
Adding personality doesn’t require a big budget. Small touches, like removable decals, can switch up the vibe instantly, without damage or hassle. They come in plenty of styles, and you can peel them off when you want a change.
Curtains are another easy fix. Pick light fabrics to keep things airy, or bold prints if you want some punch. Using tension rods avoids holes in walls—a plus when you want to keep things simple.
Then there’s fabric covers for cushions or seats. They’re cheaper than reupholstering and let you experiment with patterns or colors. I found that swapping out covers gave my seats a whole new life.
Sometimes you just need to add something small to make the space feel like yours. Why not try layering textures or playing with colors before settling on anything permanent?
Upgrading the Camper Flooring
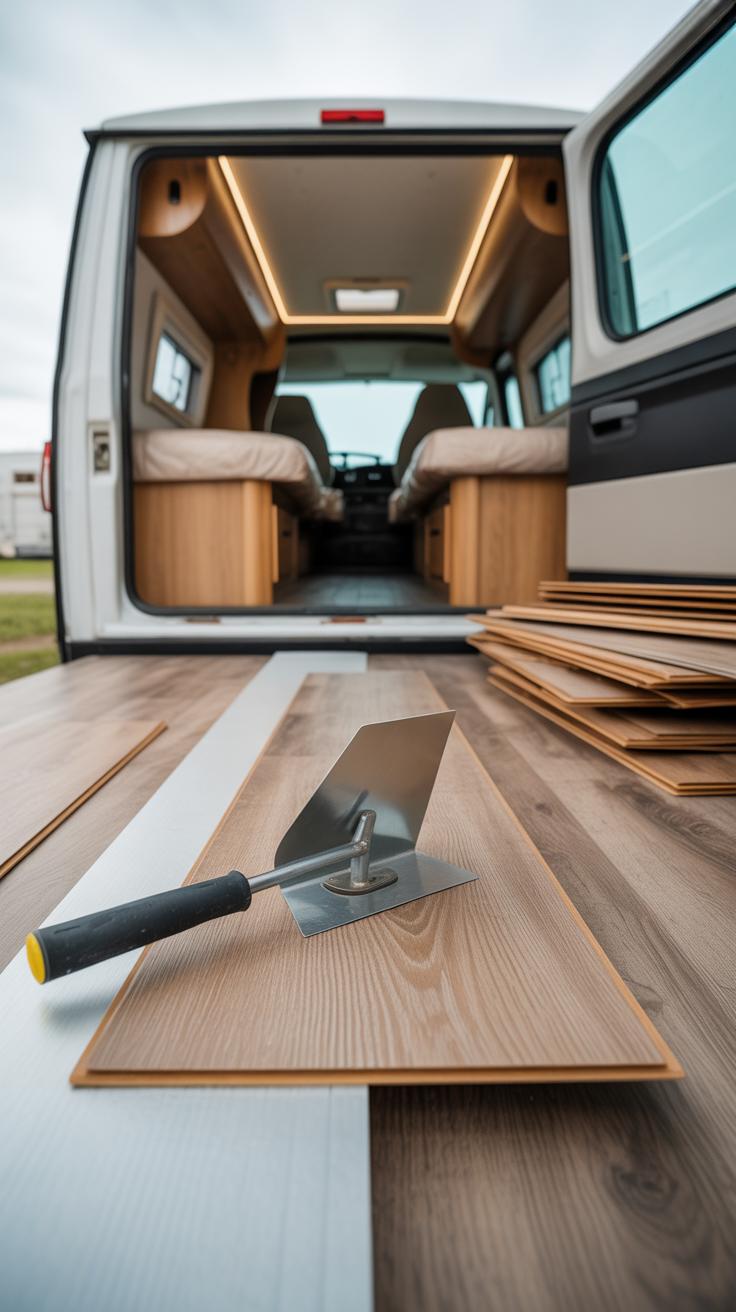
Changing out the flooring in your camper doesn’t have to be a daunting or expensive task. In fact, with the right materials, you can get a fresh, durable surface that really lifts the whole space—without spending much. When looking at options, think easy installation first. Some flooring types just click or stick right down, cutting out the need for special tools or skills.
Popular Flooring Choices
Vinyl flooring is a solid pick. It’s affordable and stands up well to moisture—something campers face all the time. Plus, you get a range of patterns and colors, from wood looks to stone-like textures. Laminate works too, although you want to be sure the camper floor underneath is dry and smooth; it clicks together nicely and feels sturdy.
Then, there’s peel-and-stick tiles. These are probably the simplest option. No glue mess or nails, just peel the backing and press down. They don’t always last as long as vinyl or laminate, but for a budget quick-fix? They do the trick. I’ve found that mixing a couple of tile designs can actually add some charm rather than looking too plain.
Installation Tips
First, clear out and clean the floor thoroughly. Any dirt or bumps will show through your new surface. When you’re ready, follow these easy steps:
- Measure your floor carefully, then cut the material a bit larger than needed for trimming later.
- Start laying the flooring from one corner, working your way across. For vinyl or laminate, lock pieces snugly together as you go.
- If using peel-and-stick tiles, press firmly and smooth out bubbles with a flat tool or even your hand.
- Trim excess edges with a utility knife for a clean finish, especially near walls or corners.
- Let the new floor settle a day or two before heavy use—it helps everything stick and fit properly.
It might feel fiddly at first, but each step gets easier. By doing it yourself, you’re not just saving money but also adding a personal touch that makes the whole camper feel more like your own space.
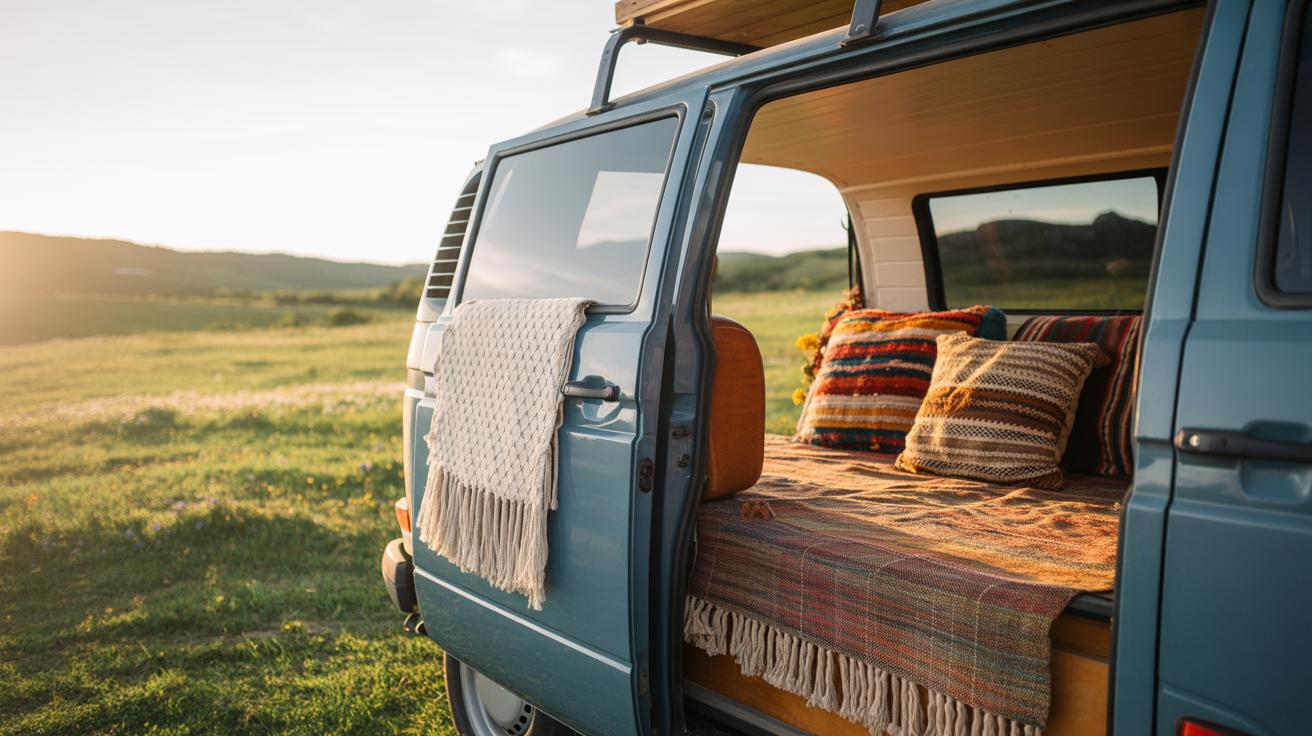
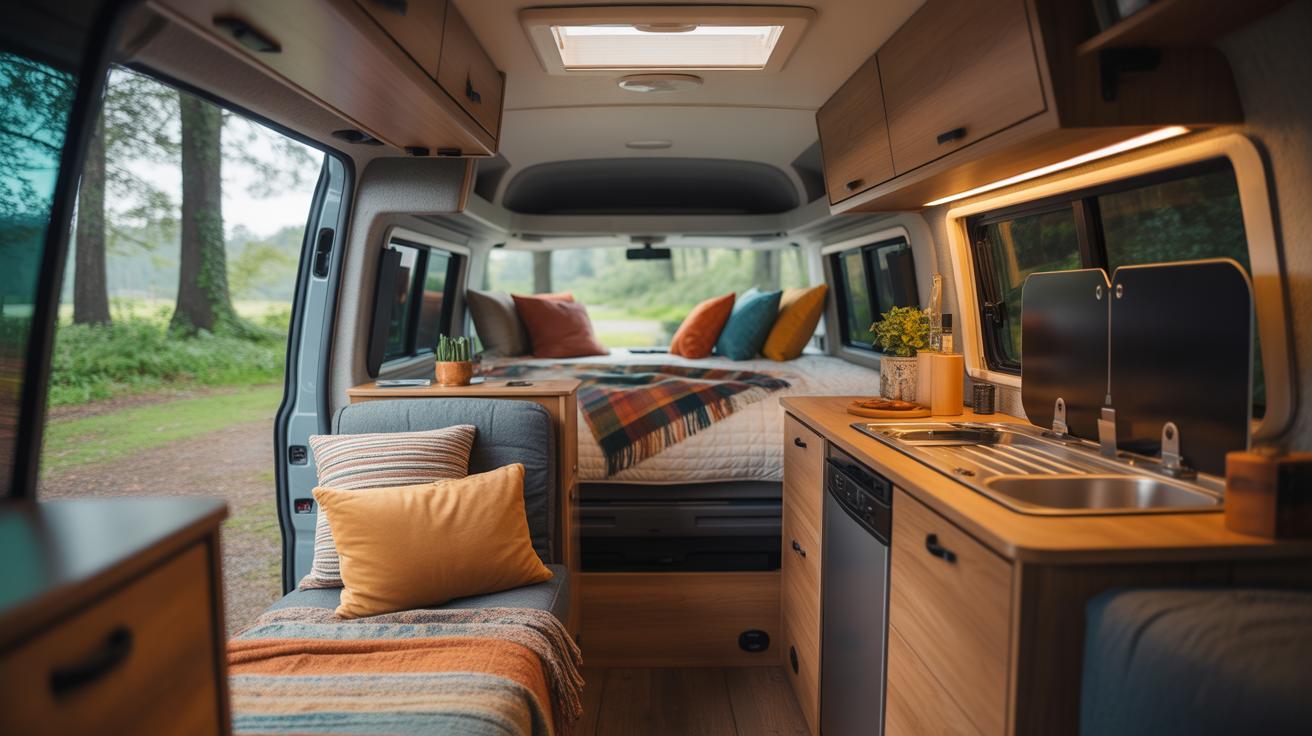
Creating Comfortable Sleeping Areas

Updating your camper’s sleeping area doesn’t have to drain your budget. One of the easiest ways to improve comfort is by swapping out old, worn mattresses for inexpensive mattress toppers. Memory foam toppers, for example, can add softness and support without costing a fortune. I tried a 3-inch topper on our bench bed, and it made a surprising difference—better sleep, less tossing around.
Cushions are another simple fix. Instead of buying fancy cushions, consider repurposing outdoor seat pads or using foam cut to size and covered with affordable fabric. Layering cushions creates softness and shape, making the space inviting and snug without spending much.
When arranging your sleeping layout, think beyond the usual. Can you rearrange seats to allow a longer, flatter surface? Or maybe use fold-out options that let you customize the space day and night. It’s about comfort, but also usability—keep pathways clear and storage accessible while making the bed as roomy as possible.
Cheap soft blankets and pillows bought from discount stores or secondhand markets can improve warmth and coziness. They don’t need to be new or perfect—sometimes a quilt with a few quirks feels perfectly homey. You don’t want to spend much here, but still want a good night’s rest.
Have you considered sleeping diagonally? It sounds odd but makes better use of limited width in some campers. Or maybe adding a removable headboard cushion to lean on while reading in bed? Small changes like these help make your camper feel less like a tent and more like a real sleeping spot.
Installing Functional Lighting
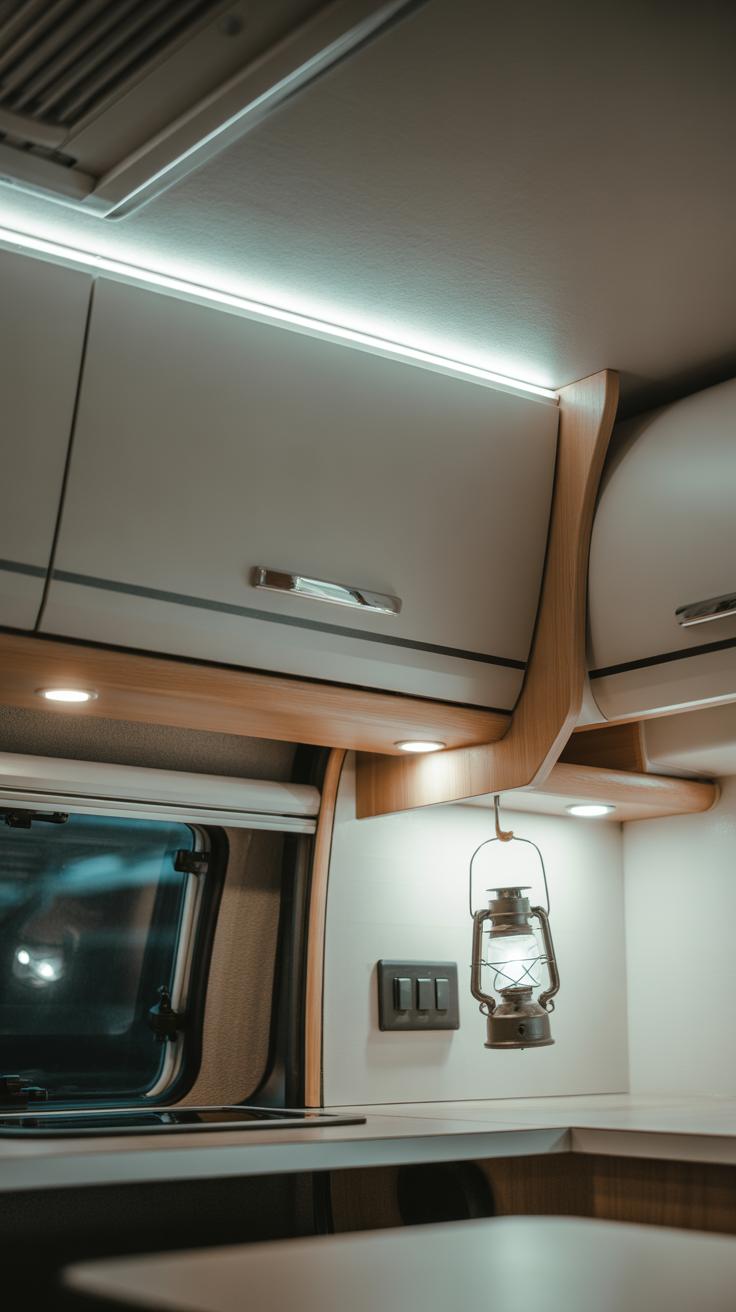
Lighting can make or break the feel of your camper’s interior. You want lights that are bright enough to see clearly but don’t drain your battery — and LED lights fit the bill almost perfectly. They use very little power, so you won’t have to worry as much about running out of juice when you’re off-grid. Plus, they last ages, meaning fewer replacements and less hassle.
When choosing LED options, look for those with a warm or neutral tone to avoid that harsh, clinical feel. Strip lights are great for under cabinets or along shelves, while puck lights work well for concentrated spots like above the kitchen counter.
The way you position your lights can really impact daily life. For example, a small, focused light near your bed makes late-night reading easier, while brighter overhead lights work better for cooking or tidying up. Soft, dimmable lights near seating areas help you unwind without feeling like you’re stuck under a spotlight.
Think about where you spend most of your time, and plan your lighting around that. I added a light strip right over the kitchen sink, and it made washing dishes feel less like a chore. Maybe try that? What about a small lamp or light near the door so you’re not fumbling in the dark?
At the end of the day, it doesn’t need to be perfect—just functional and easy on your energy supply. A few well-placed LED lights can go a long way.
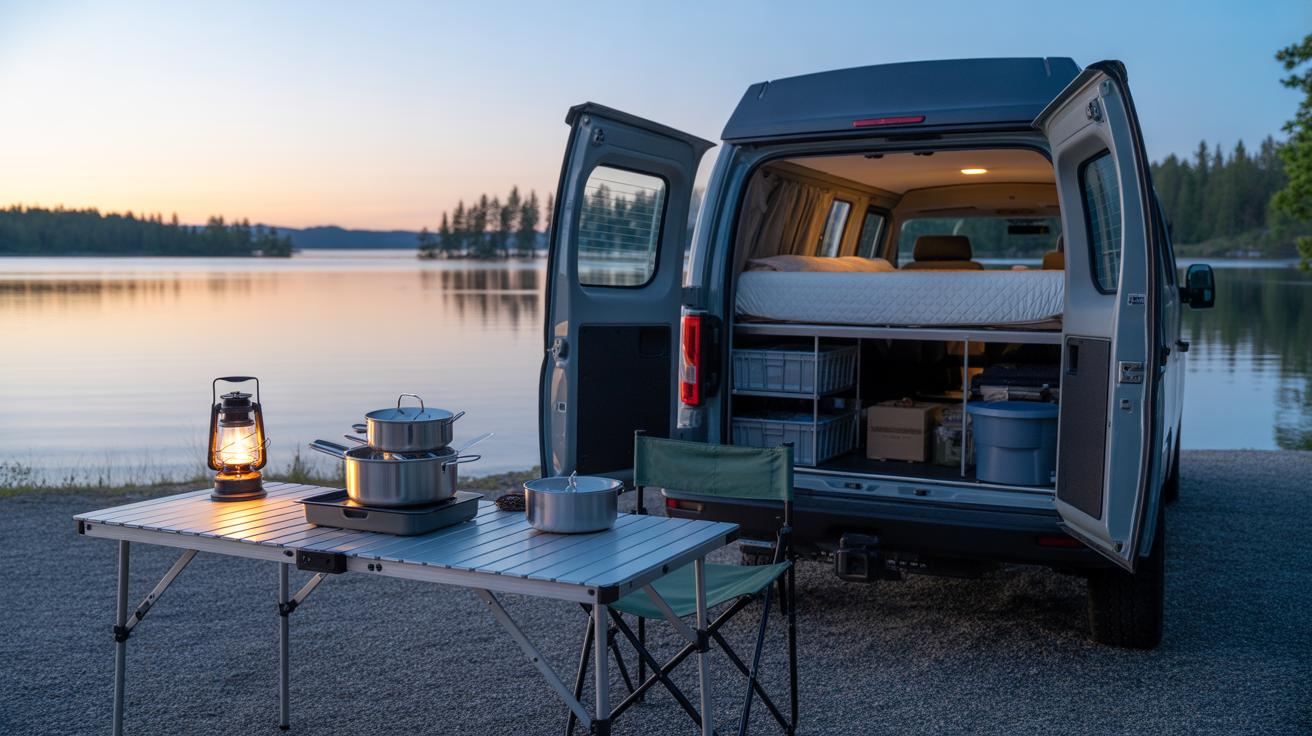
Adding Practical Storage Solutions
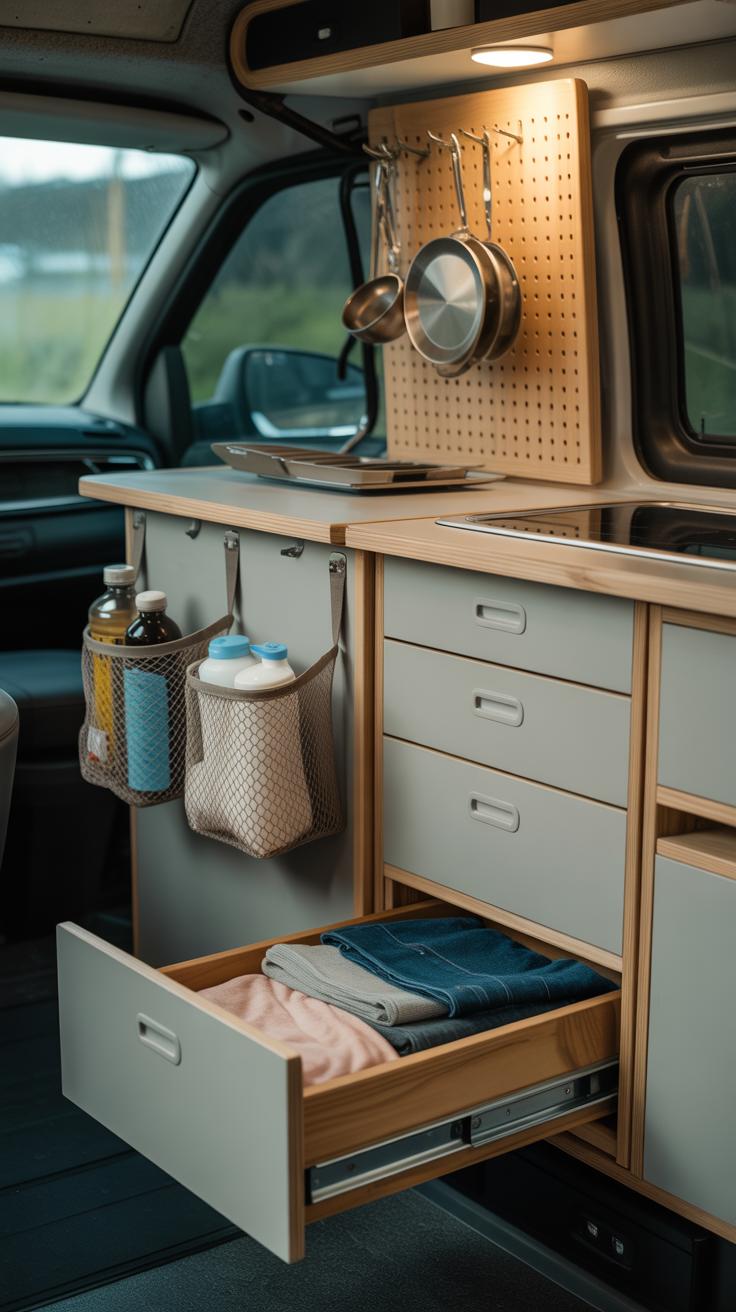
Small camper spaces challenge you to think creatively about storage. Building simple shelves can help, but the key is tailoring them to your lifestyle and camper layout. For example, cutting plywood to fit snugly above your dinette or beside the bed creates extra spots without overwhelming the space.
Repurposing old crates or shallow wooden boxes as wall-mounted cubbies works well, too. You can paint or stain them to match your camper’s colors, making storage feel less like clutter and more like design. Hooks are another easy fix—install them near the door or under cabinets to hang keys, hats, or utensils. It’s quick and doesn’t require much effort or money.
Vertical space is often overlooked but holds potential. Walls can hold organizers with pockets for small items. Ceilings, oddly enough, can serve as places to hang lightweight baskets or nets, perfect for holding fruits or snacks. You might hesitate at first, worried about things falling when you drive, but securing with zip ties or bungee cords usually prevents that.
Think about what you use most and where you’d want things within reach. Would a hanging rack for mugs above the kitchen counter make mornings easier? Would a slim shelf near the entrance hold your shoes or bags? These small adjustments help keep your camper tidy without making it feel cramped.
Upgrading Camper Kitchen on a Budget
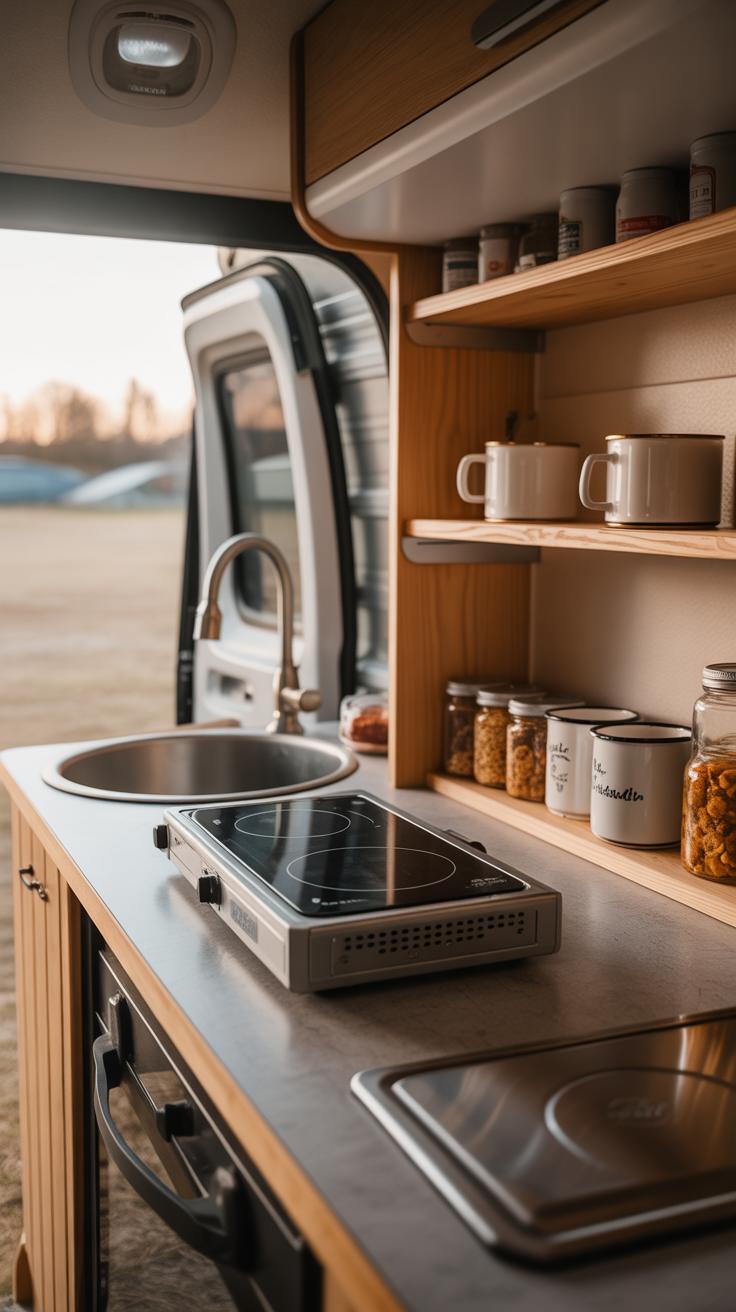
When it comes to improving your camper kitchen without spending a fortune, focus on tools that do more than one thing and save space. Think about getting nesting bowls and measuring cups that fit inside each other neatly. A small cutting board that doubles as a serving tray can come in handy. Look for pots and pans that stack or collapse, like silicone strainers and foldable kettles. These simple swaps free up counter space, which you really need in a tiny kitchen.
Utensils with multiple uses, like a spatula with a built-in scraper or a spoon that measures, make meal prep simpler and avoid clutter. Don’t overlook affordable magnetic strips or hooks to hang these tools where you can grab them fast.
Maintaining cleanliness doesn’t have to be complicated. Building a habit of wiping down surfaces immediately after cooking saves a lot of trouble later. Using a small vinegar-water spray can keep smells down without harsh chemicals, and a simple baking soda box hidden away helps absorb odors. Taking out trash regularly and washing dishes right after use stops everything from piling up. It might feel tedious at times, but your kitchen will thank you, and so will your mood when the space feels fresh.
Improving Ventilation and Air Quality
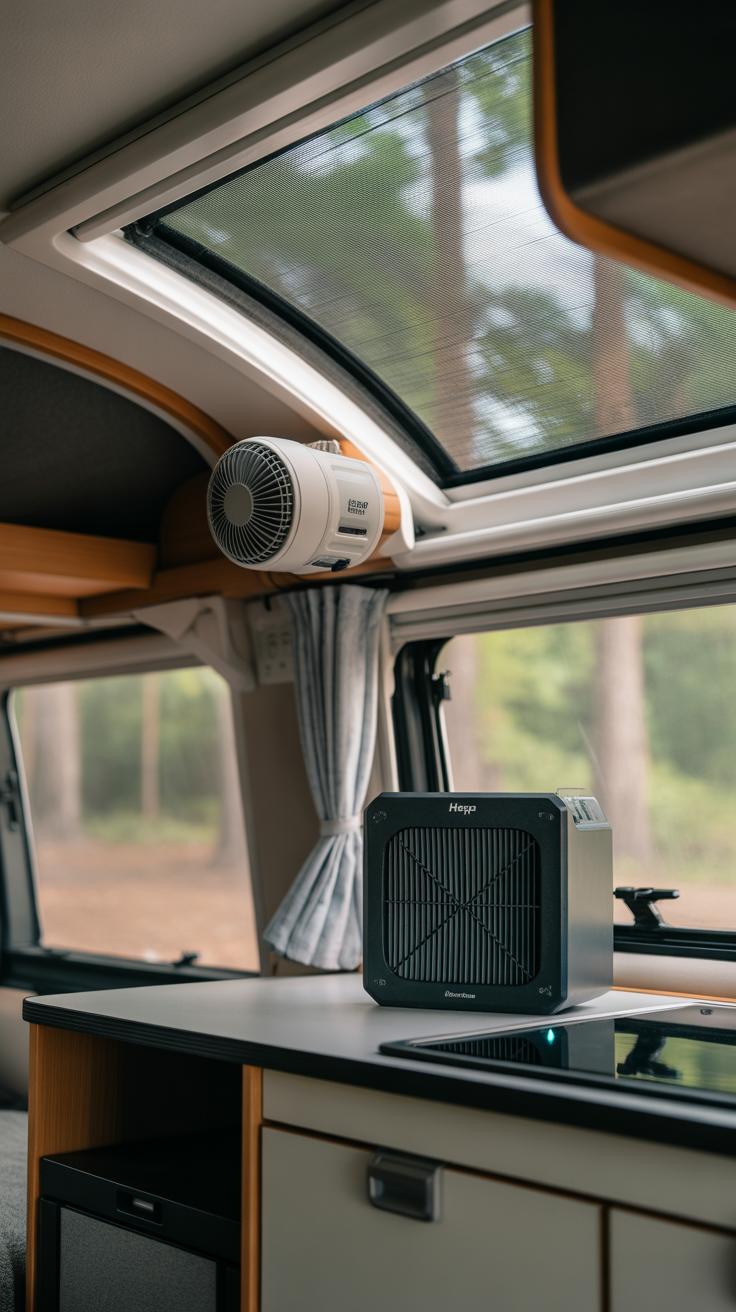
When you’re inside a camper, fresh air can feel like a luxury. A stuffy atmosphere quickly drags down the mood, and let’s be honest, nobody wants to be stuck breathing in recycled air for hours. You don’t need to invest in pricey air systems to make a difference, though—simple, budget-friendly options can drastically improve airflow.
Ventilation Tips
Start with the basics: open as many windows and vents as you can. It might seem obvious, but cross-ventilation really does work wonders. If your camper has roof vents, keeping them open on warm days allows hot air to escape naturally. And on cooler evenings, just cracking a window can keep fresh air moving without letting bugs in—screen inserts can help with that.
Fans are also a cheap and effective way to move air around. Small clip-on fans work well in tight spaces, and portable rechargeable fans let you position airflow exactly where you want it. Even a simple box fan by a window can create a noticeable breeze. You might notice that sometimes you want to move air faster or slower—there’s no one-size-fits-all setting, so experiment a little.
Air Freshening Ideas
Keeping your camper smelling fresh doesn’t mean you have to buy expensive sprays or plug-ins. Natural options can be just as effective—and healthier, too.
- Place small bowls of baking soda around the camper to absorb odors silently. They’re cheap, low-maintenance, and you can refresh them often.
- Herbs like lavender, rosemary, or even fresh citrus peels on a windowsill can subtly brighten the air.
- Activated charcoal bags are another way to tackle moisture and smells; they’re reusable if you give them a monthly sun bath.
Sometimes, airing out the camper right after cooking or sleeping makes a big difference. Opening windows for a short burst can clear stale air before it settles in. You might find you prefer certain scents or a completely neutral atmosphere—both are fine. It’s all about what helps *you* feel comfortable on the road.
Personalizing Your Camper Space
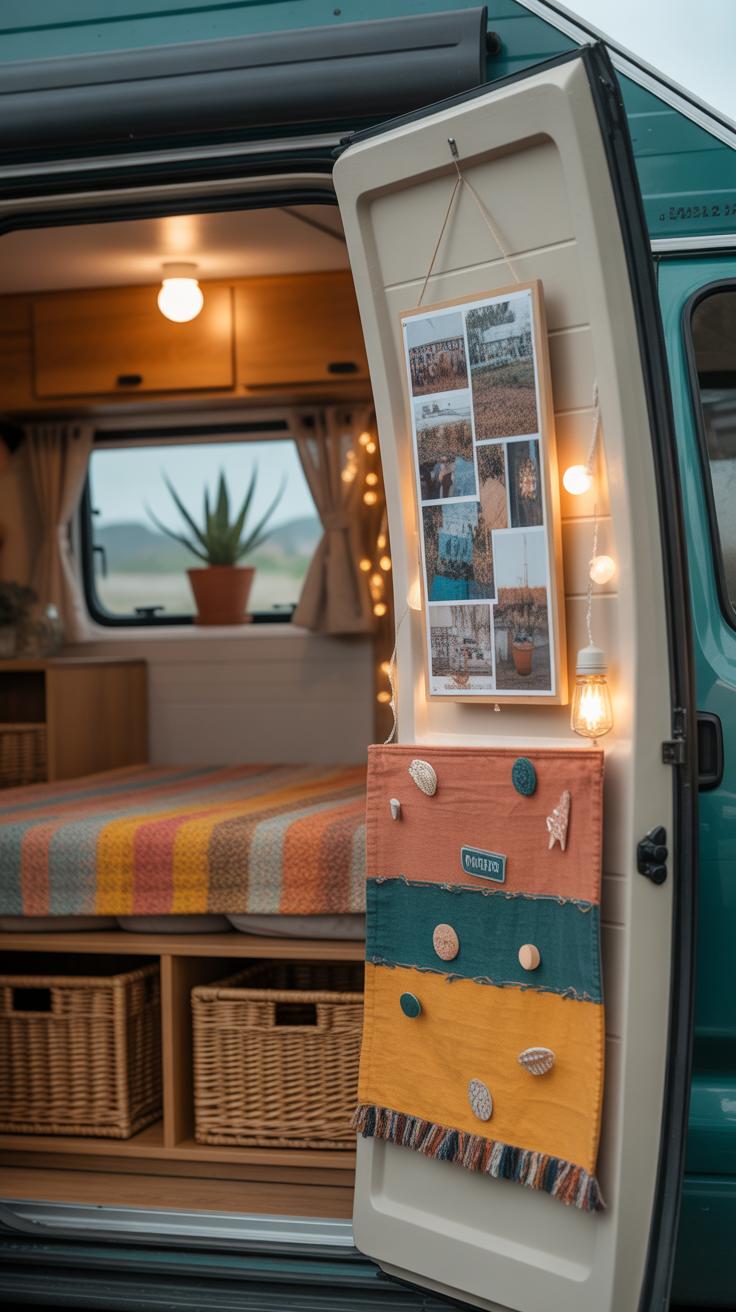
It’s easy to overlook how much small personal touches can change a camper’s vibe. Adding photos and travel memorabilia does more than decorate—it makes the space feel lived-in. When you see a snapshot from a favorite trip or a souvenir collected along the way, it brings back stories and a sense of comfort you might not anticipate. I found that even a simple corkboard or string with clipped pictures creates a cozy corner almost instantly.
Think about what matters most to you. Maybe postcards pinned up or a small shelf for quirky mementos—these don’t take much space but add personality. It might seem unnecessary to pack these items, but they really ground your camper. And when friends visit, those displays can spark conversations you hadn’t expected.
Using Photos and Memorabilia
Photos aren’t just decoration. They add warmth and show the camper is your home, not just a box on wheels. You might try:
- Framing a few favorite shots or using washi tape for a casual look.
- Placing souvenirs on ledges or hanging small collections on the wall.
- Creating a “memory wall” that you update as you travel.
These touches remind you why you’re out there and offer a cozy refuge after a long day outdoors. It’s odd how much a few images can shift the feeling of a space.
DIY Custom Decorations
If you enjoy projects, customizing your camper’s textiles or surfaces can be fun and affordable. Simple ideas include:
- Painting wooden frames or old jars to hold utensils and plants.
- Sewing cushion covers with fabric scraps or printed maps of favorite locations.
- Using removable wallpaper or decals to add patterns without commitment.
These crafts don’t require a lot of skill or money. In fact, sometimes the imperfect, handmade look adds charm and character. Feel free to experiment—you’ll get a sense for what suits your style. Have you ever tried painting a plain cushion or sewing simple curtains? It’s less complicated than it seems and gives the camper a unique personality that no store-bought item can match.
Conclusions
A camper makeover on a shoestring budget is achievable with careful planning and creativity. By focusing on key areas like interior design, functionality, and budget-friendly materials, you can improve your camper’s look and usefulness. Remember to take small steps and enjoy the process of customizing your camper to fit your lifestyle.
With the ideas shared here, you can turn your camper into a cozy, inviting space without overspending. Use these tips to inspire your project and make the most of your camper adventures with a place that feels truly yours.


