Introduction
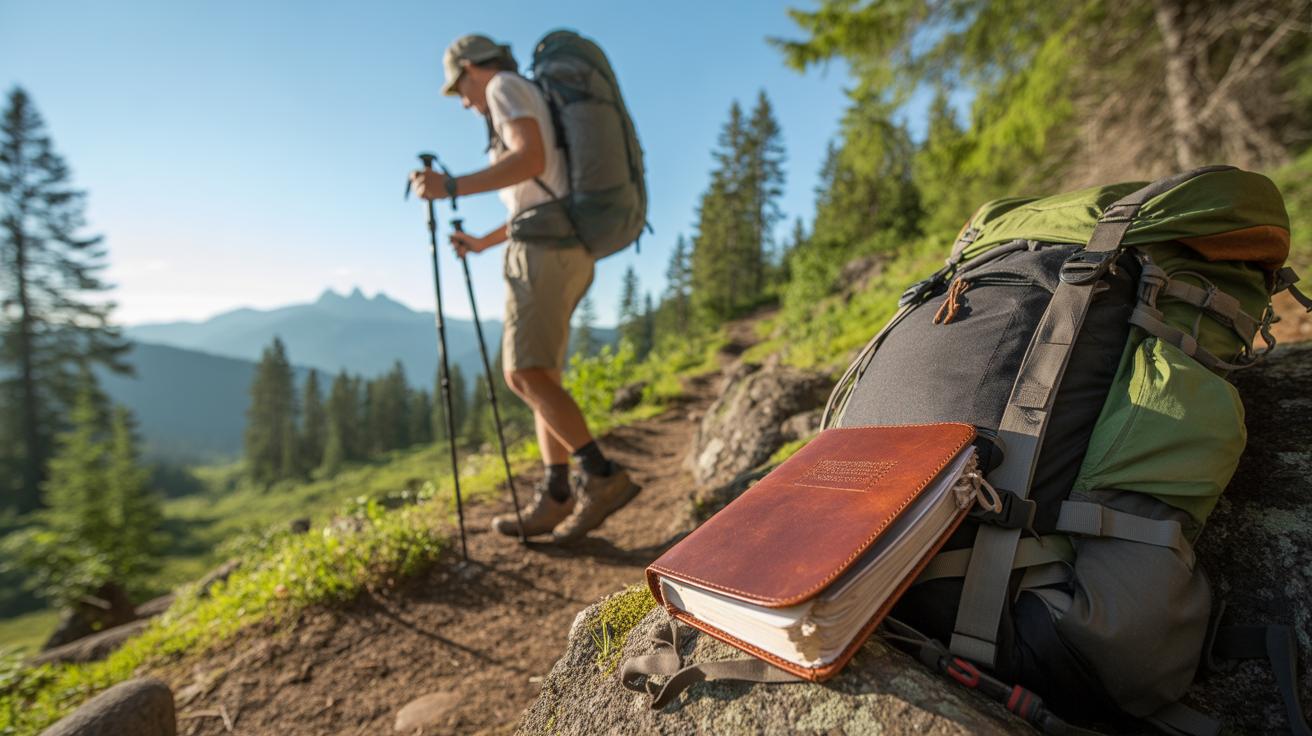
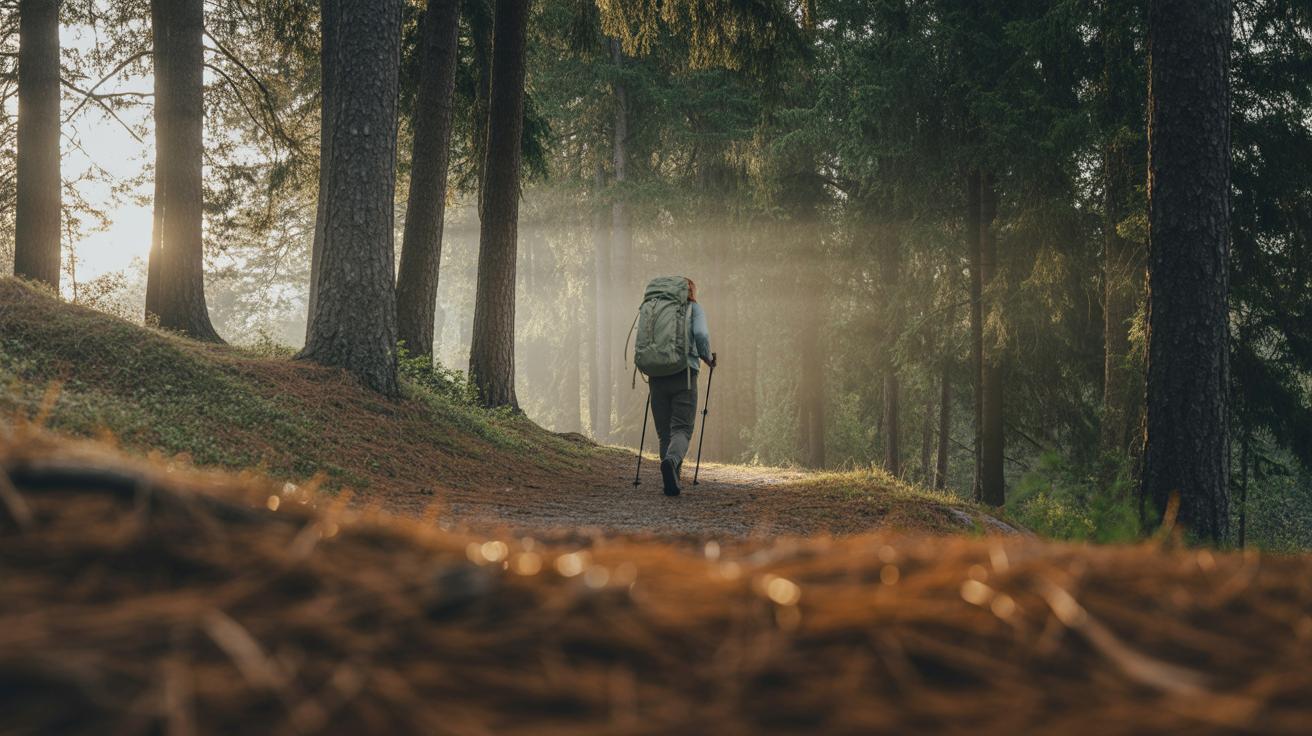
Backpacking is an adventure that involves carrying your gear and supplies on your back while you explore nature on foot. To make your journey enjoyable and effortless, having the right gear and knowing how to pack it smartly is very important. This article explores essential backpacking gear hacks that help you carry what you need without unnecessary weight.
You will learn practical tips and ideas about how to organize your backpack, pick the best equipment, and keep your load light but sufficient for your travels. These backpacking gear hacks are easy to follow and designed to make your trail journey smooth and fun.
Understand Your Backpacking Needs
Choosing the right gear starts with knowing yourself and your trail intentions, not just what looks popular or light enough on a checklist. Your backpacking style—whether you prefer fast and light day hikes or multi-day, slower-paced treks—shapes everything you bring. For example, a weekend camper’s needs differ greatly from those on a week-long alpine adventure.
Think about trip length carefully. A two-day trip demands less food and fewer layers than a week in uncertain weather. Speaking of weather, the environment dictates what gear you’ll carry. Packing lightweight rain gear might seem smart for a summer trip, but if you suddenly hit unexpected storms, that choice feels more like a gamble.
Your own comfort and fitness affect gear too. Someone who handles long miles well might opt for a smaller, snugger pack, while a beginner might want more support and padding, even if it means extra weight. Sometimes I’ve found that prioritizing comfort over cutting grams makes the whole trip feel easier. It’s a balancing act — you might want to travel fast but also stay comfortable, and both influence gear decisions in subtle ways.
Selecting The Right Backpack
Fit And Size Matter
Choosing a backpack that actually fits your body can make or break your trail experience. You might overlook this and just grab something that looks big enough, but packing into an ill-fitting pack will quickly wear you down. The key is matching the pack’s torso length to yours. You can measure your torso from the base of your neck to the top of your hip bones—sounds simple, yet many forget. If the backpack’s frame doesn’t line up with your spine, expect discomfort to build fast.
Padding and support aren’t just padding and support. Thick shoulder straps feel soft at first, but if they don’t distribute weight well or lack good load lifters, your shoulders will feel the entire burden. Hip belts really carry most of the load, so they must be adjustable and well-padded. I once underestimated this and regretted every mile. Don’t. It’s worth trying on a variety—even walking around the store with weight inside—to find what suits your shape best.
Features To Look For
After size and fit, the backpack’s design features get interesting. Think about compartments: multiple sections help you organize gear so you don’t have to unpack everything just to find your rain jacket. External pockets for water bottles or quick-access items? They save time. Sometimes you want top-loading style; other times, panel access seems easier, especially when your pack is bursting.
Frames make a difference, too. Internal frames offer structure and tend to hug your back, which helps with balance. Some prefer external frames because they ventilate better, though they might be bulkier. Then there’s suspension systems—some have mesh backs that keep sweat from sticking you to the pack, which feels nicer on longer days.
Hip belts often have pockets, small but convenient for snacks or maps. Look for adjustable sternum straps; they stabilize the load and stop straps from slipping. I’ve found that what seems like a small feature often shapes the overall comfort. The trick? Think about how you move, what your trips usually feel like, and pick features that genuinely fit your style. It may not be obvious at first, but a well-chosen backpack you almost forget you’re wearing is a game changer.
Smart Packing Techniques
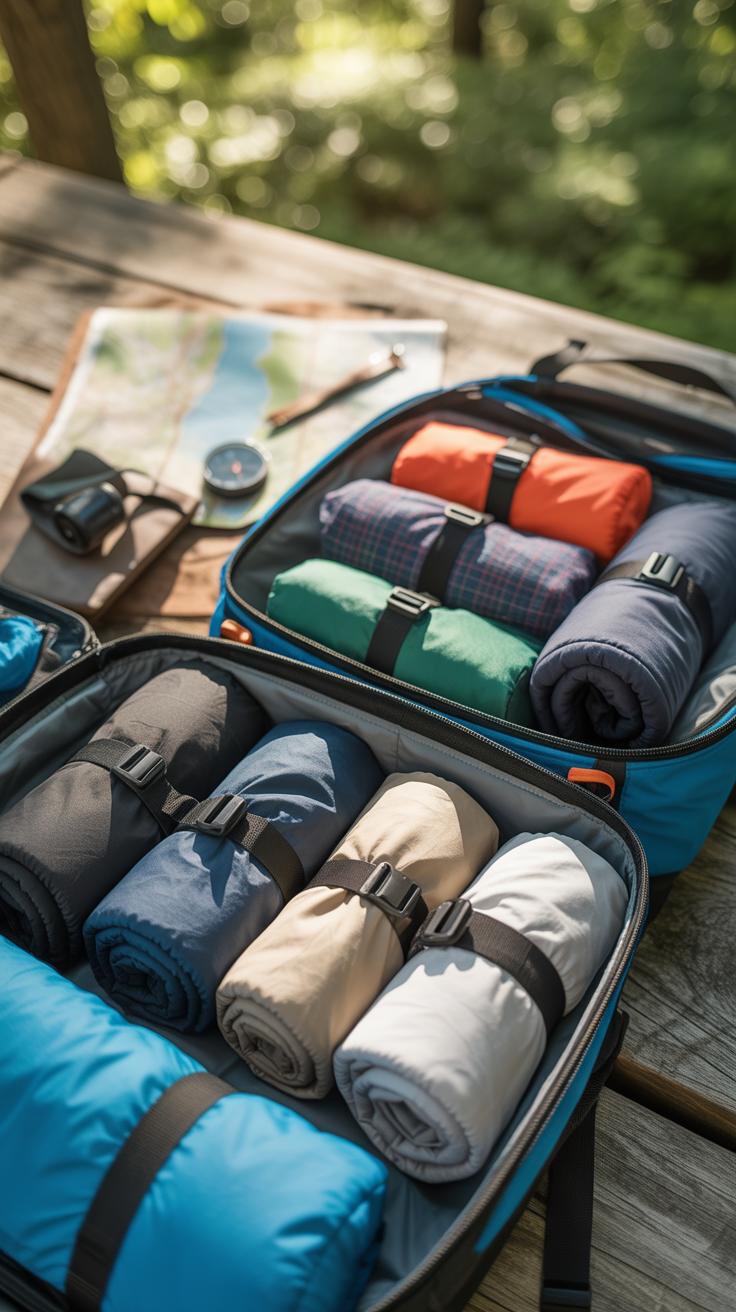
Packing a backpack isn’t just about stuffing everything inside. How you arrange your gear affects your comfort and how far you can trek without feeling drained. One trick I learned over time is to keep heavy items close to your back. It’s not just a guess—it helps with balance. When the weight sits near your spine, you avoid leaning forward awkwardly and reduce strain on your shoulders. Oddly enough, placing heavy things further out can make you feel off-kilter faster, even if the total weight is the same.
Try this approach:
- Put your tent, stove, or food supply near the back panel, around the middle of your pack.
- Lighter items like clothes or sleeping bag can go lower or farther out.
- Keep frequently used gear in outside pockets for easy access.
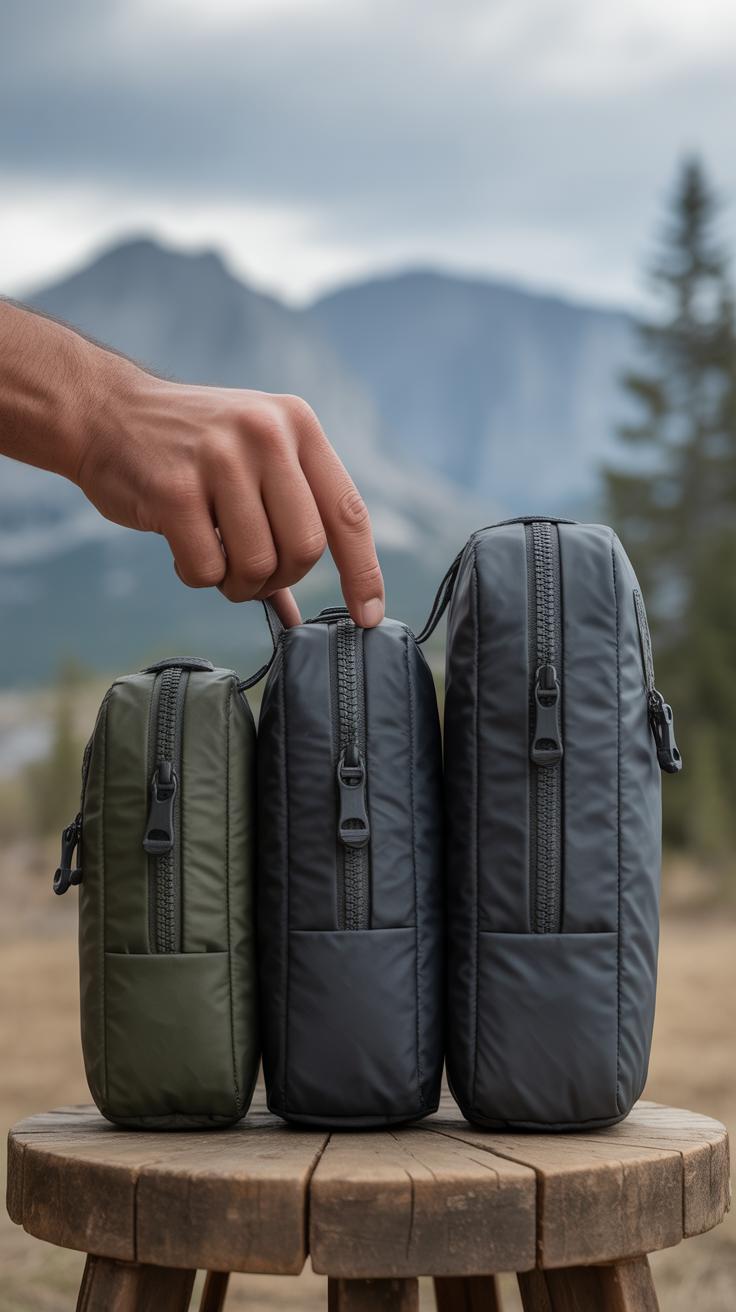
Compression bags and packing cubes? They’re lifesavers. Using compression sacks can shrink bulky items like your sleeping bag, freeing up room for other essentials. Packing cubes help sort your gear into neat categories so you don’t end up digging through a tangled mess. I usually separate clothes from electronics or cooking gear this way—it saves time and frustration.
What’s tricky is balancing between tight packing and accessibility. You want your pack compact but not a solid block that forces you to unpack everything just to reach a water bottle. Compression and organizers make that manageable. In the end, smart packing is partly trial and error, but focusing on weight distribution and organization pays off—seriously.
Essential Gear To Bring
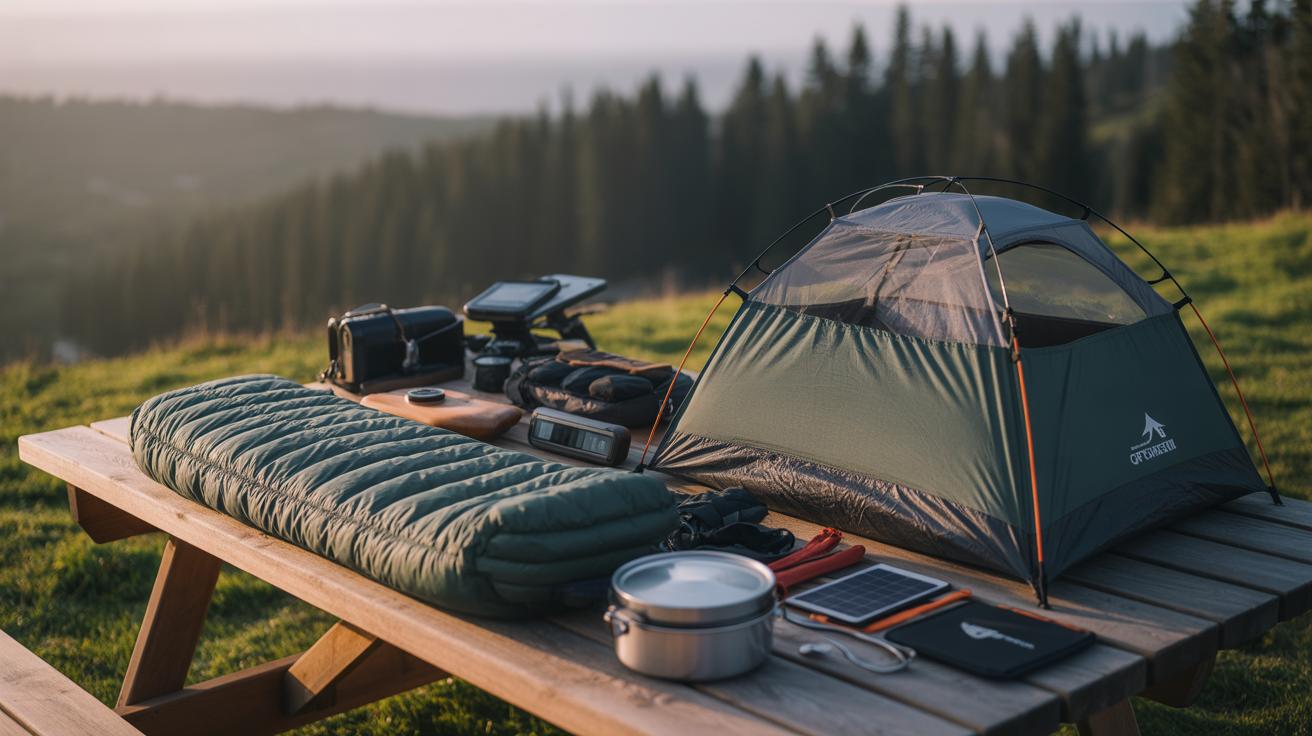
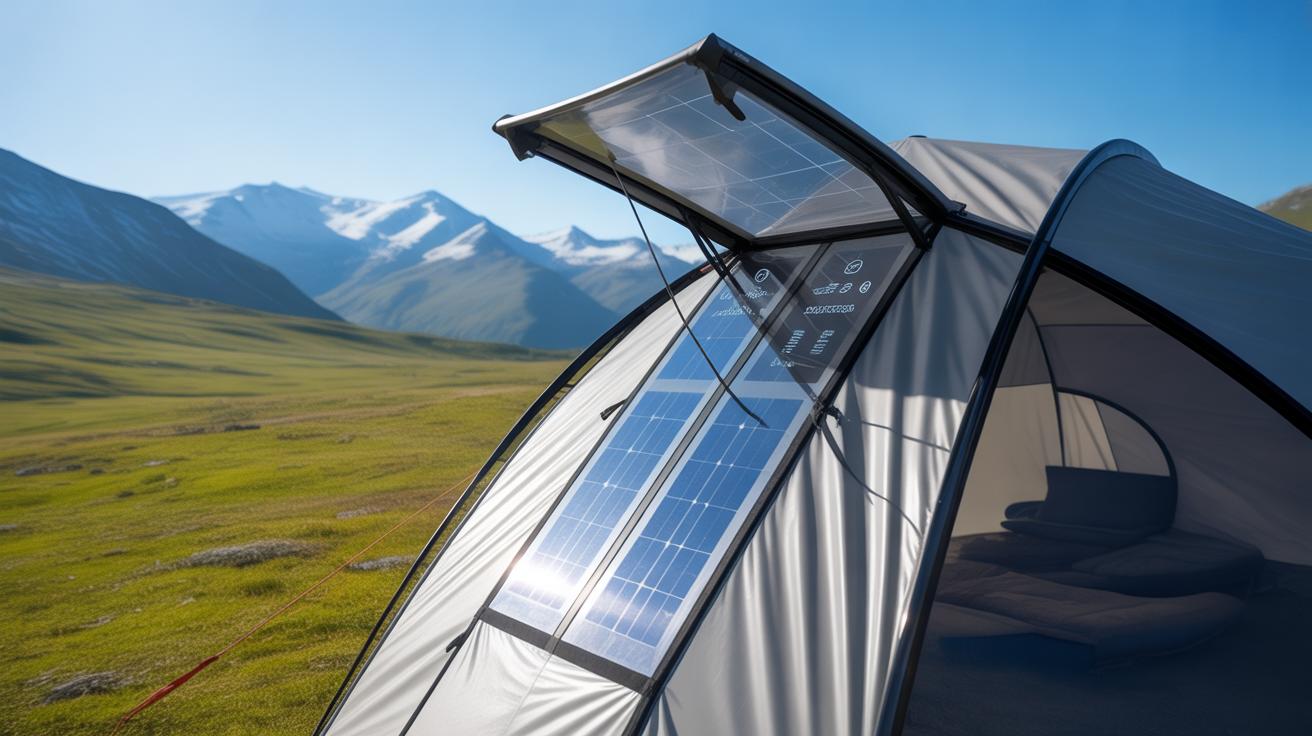
Shelter And Sleeping Gear
Your shelter is more than just a place to rest—it’s your refuge from the elements. When choosing a tent, consider the conditions you’ll face. For summer trips, a lightweight, well-ventilated tent can keep things comfortable without adding bulk. If you expect rain or cold, look for a model with a sturdy rain fly and good wind resistance. Personally, I once underestimated wind strength on a spring hike and ended up feeling every gust through a flimsy tent wall—surely not fun.
Sleeping bags vary by temperature rating and insulation type. Synthetic fills handle damp conditions better but might weigh a bit more. Down is lighter and compresses smaller, but it loses warmth when wet. I tend to carry a down bag and a compact waterproof shell, just in case—I know, maybe a bit extra, but peace of mind is priceless.
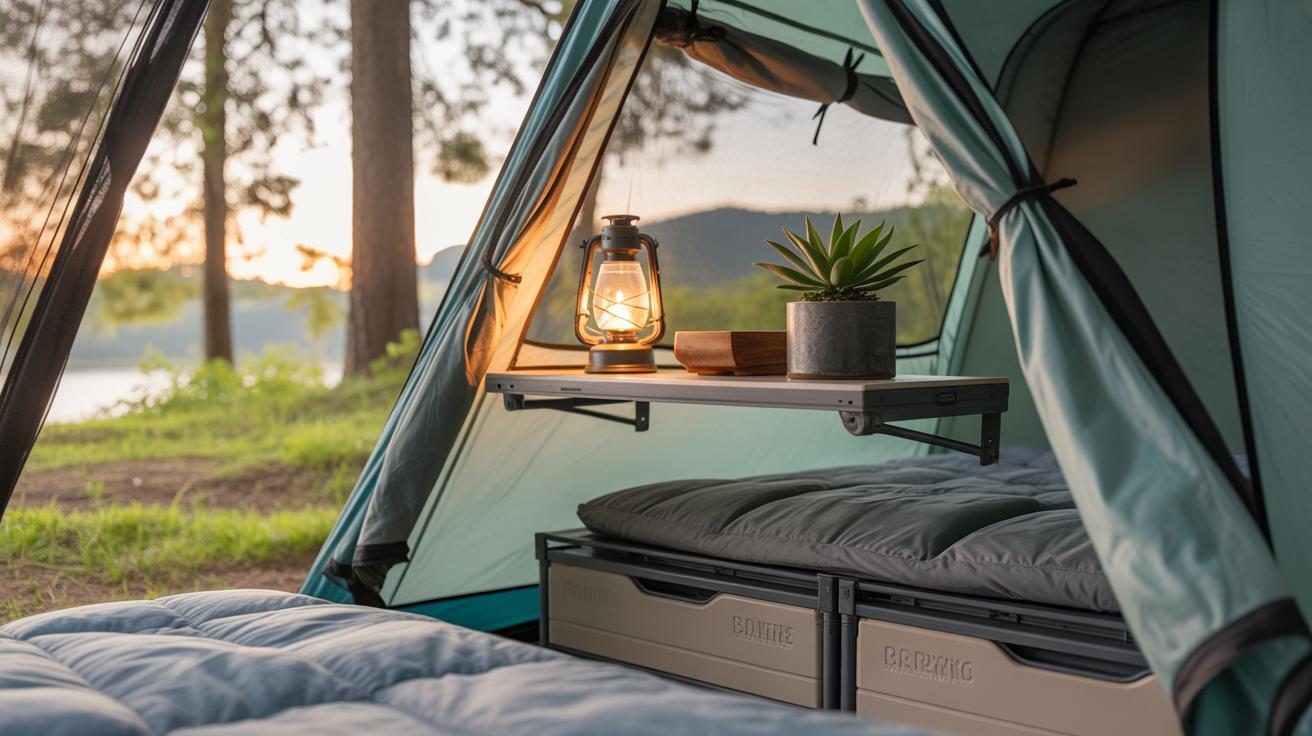
Mats come in foam, inflatable, or hybrid styles. Foam is durable and cheap but bulkier. Inflatable mats offer more comfort and pack smaller but need care to avoid punctures. On longer trips, a thicker mat can make a difference—you might think you don’t need more padding, but after five nights on rough ground, I changed my mind.
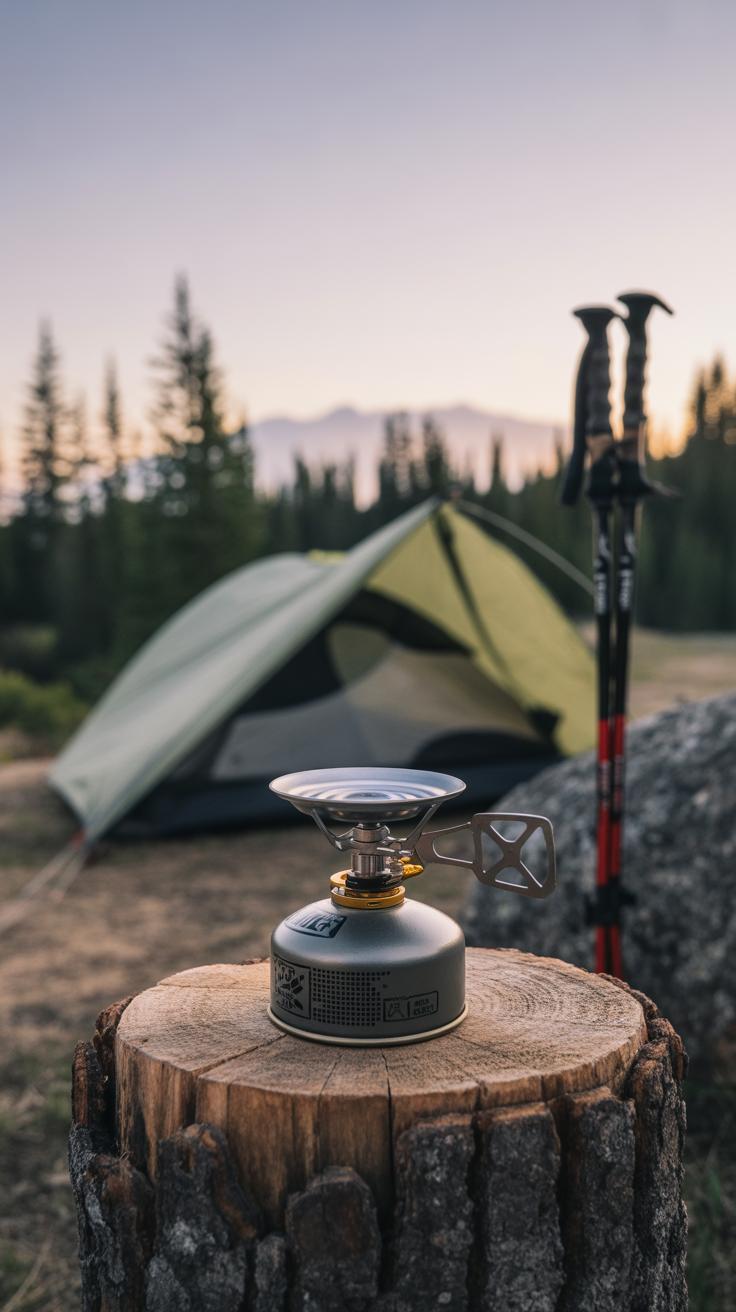
Food, Water And Cooking Tools
Choosing cooking gear often means balancing convenience with weight. A small, single-burner stove paired with a lightweight pot usually does the trick. Some hikers swear by alcohol stoves or ultralight gas canisters. I’ve tried both; gas lasts longer and lights quickly, but alcohol stoves are simpler and less prone to failure. Pick what feels right for your trail—and then practice using it beforehand.
Food needs planning. Pack calorie-dense options that don’t spoil easily—think dehydrated meals, nuts, energy bars, and dried fruit. Bulkier items are out unless you’re resupplying often. When it comes to water, a reliable filtration or purification method is essential. Carry spare bottles or collapsible reservoirs to stay flexible. I once ran low on filtered water and had to ration—hard lesson learned.
Managing supplies means knowing your route’s water points and estimating your consumption carefully. Sudden thirst isn’t just annoying; it can be dangerous. So, always carry more water than you expect to need. And remember, your cooking setup should complement the food you bring—no need to carry a big pot if you’re just boiling water for freeze-dried meals.
Clothing Choices For All Weather
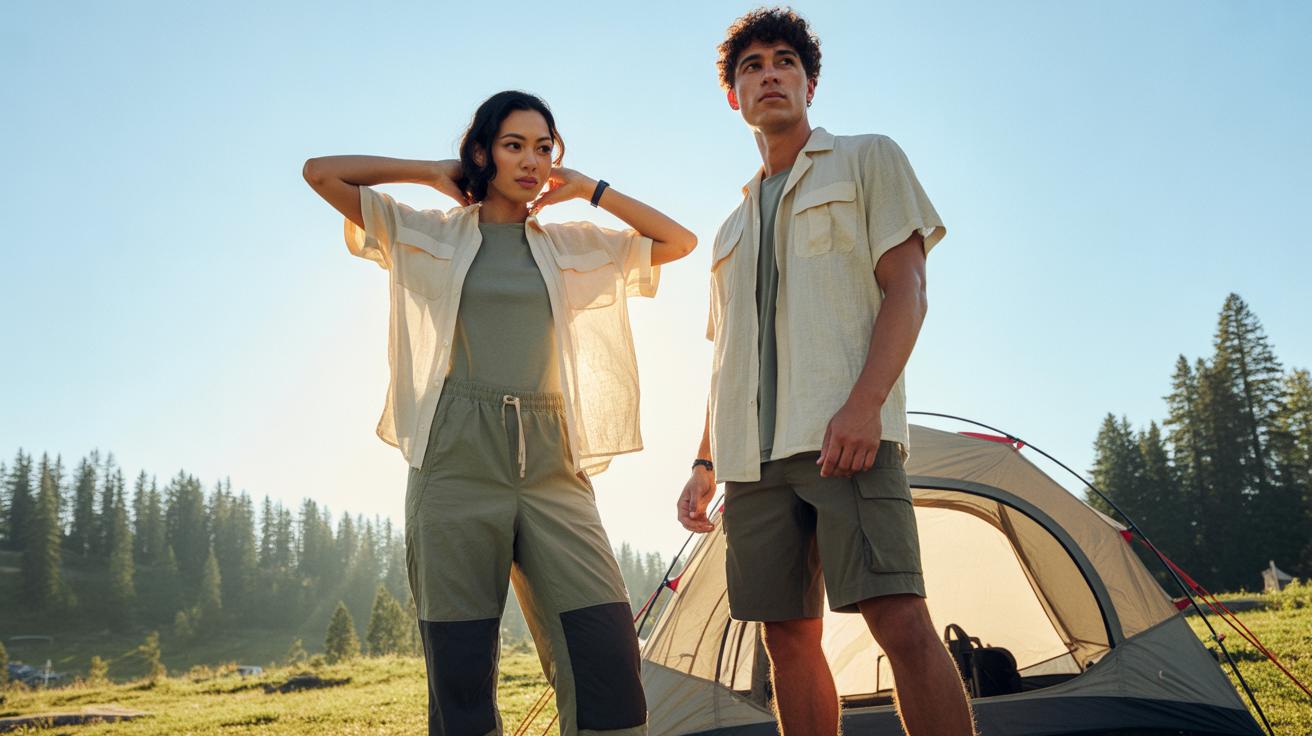
Picking the right clothing for backpacking isn’t just about grabbing what looks good or is light; it’s about staying comfortable when the humidity spikes or when the wind sneaks up unexpectedly. Weather on the trail can flip fast, and your clothing needs to adjust just as quickly. Think about layers that you can shed when you’re warming up or add when temperatures drop. It’s not so much about having many pieces but the right pieces that work together.
Layering System Basics
The layering system has three main parts, each with a clear role:
- Base layer: This is the one touching your skin. It manages moisture and keeps you dry by wicking sweat away. Cotton? Not ideal. You want something that dries fast.
- Insulation layer: This traps heat and keeps you warm. Think fleece or down. It’s easy to take off when hiking or put back on at camp.
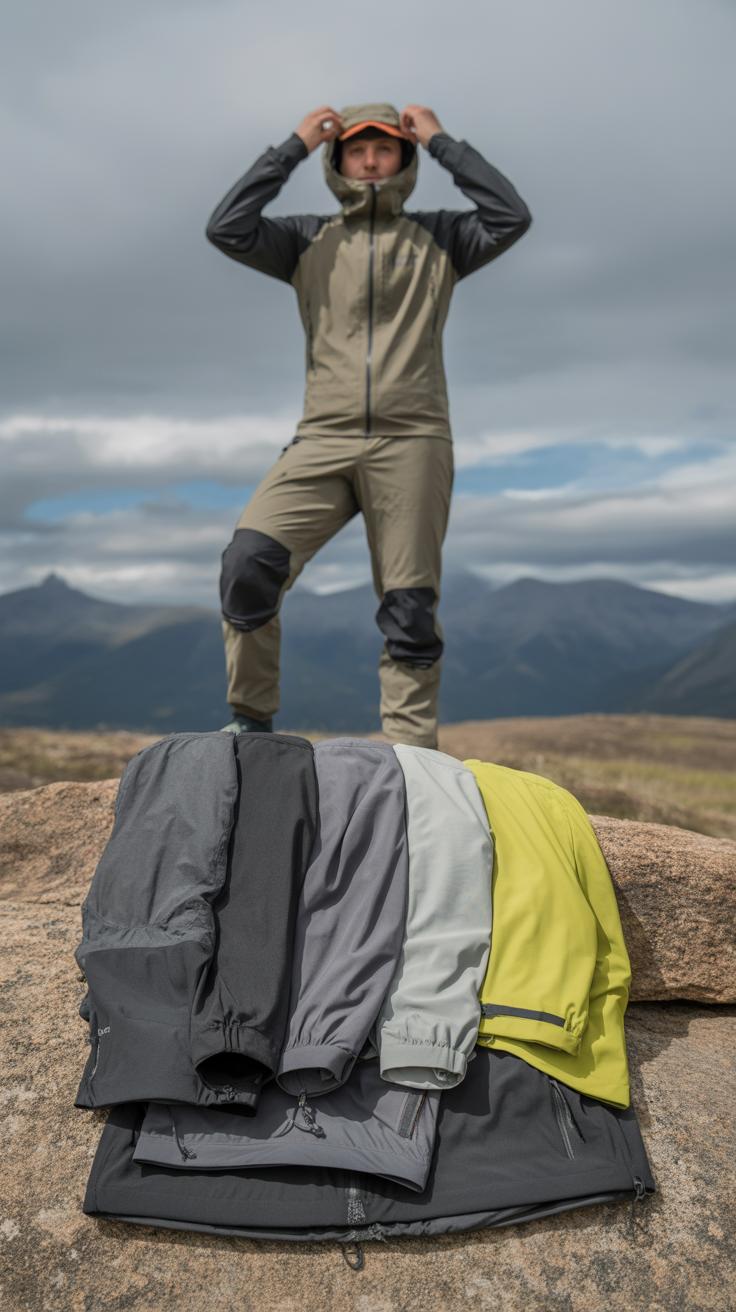
- Shell layer: This protects against wind, rain, and snow. It’s the barrier between you and the elements, often waterproof or at least water-resistant.
Mixing and matching these layers allows you to react to weather shifts without carrying extra bulk. Sometimes, switching layers is less about warmth and more about comfort. Ever felt clammy but cold? That’s the layering system needing a tweak.
Materials And Fabrics
The fabric makes all the difference. Wool, for instance, is surprising—it stays warm even when wet and doesn’t smell as fast as synthetic stuff. On the downside, it can feel heavy or scratchy for some. Synthetics dry quickly and dry out your sweat, but they might trap odors, forcing more frequent washing, which isn’t always easy on the trail.
Rain gear, often made from membranes like Gore-Tex or newer breathable fabrics, is essential but can be cumbersome. Good rain jackets also vent well; otherwise, you’re combatting sweat inside the jacket just as much as rain outside. Sometimes, a lightweight poncho can work better than a heavy shell. It really depends on your pace and the likely conditions.
Maintaining Your Equipment On The Trail

Taking care of your gear while you’re out there can make all the difference between a smooth adventure and a frustrating one. It might sound a bit tedious, but quick daily checks can really save you trouble later. Before you pack up camp each morning, scan your backpack, tent, and sleeping bag for dirt, tears, or stuck zippers. A bit of dust or mud wiped off quickly can stop problems from getting worse.
Cleaning doesn’t have to be complicated. A damp cloth for your stove or a brush for boots usually does the trick. I remember once, after a muddy stretch, cleaning my tent floor saved me from a nasty mildew smell later on. It’s just about catching these little issues early, really.
Regular Checks And Cleaning
Try to make it part of your routine to check these items daily:
- Zippers: Are they zipping smoothly or catching fabric?
- Straps and buckles: Notice any fraying or loose stitches?
- Waterproof coatings: Feel or looks like they’re wearing off?
- Dirt build-up: Especially on equipment like stoves and boots.
Taking a moment to clean stuck debris or tighten a strap can prevent breakdowns. It’s surprising how much a quick wipe-down and glance over can keep gear lasting longer on the trail.
Simple Repairs To Know
Knowing a few basic fixes will put you ahead. Here are some simple repairs worth mastering:
- Patching small tent holes: Carry a patch kit — those sticky fabric patches really stick and hold up well.
- Fixing zippers: Tooth alignments can be nudged with pliers, or try a bit of soap to ease the slider’s pull.
- Reinforcing straps: Sewing up loose ends or wrapping frays with strong tape can hold things together.
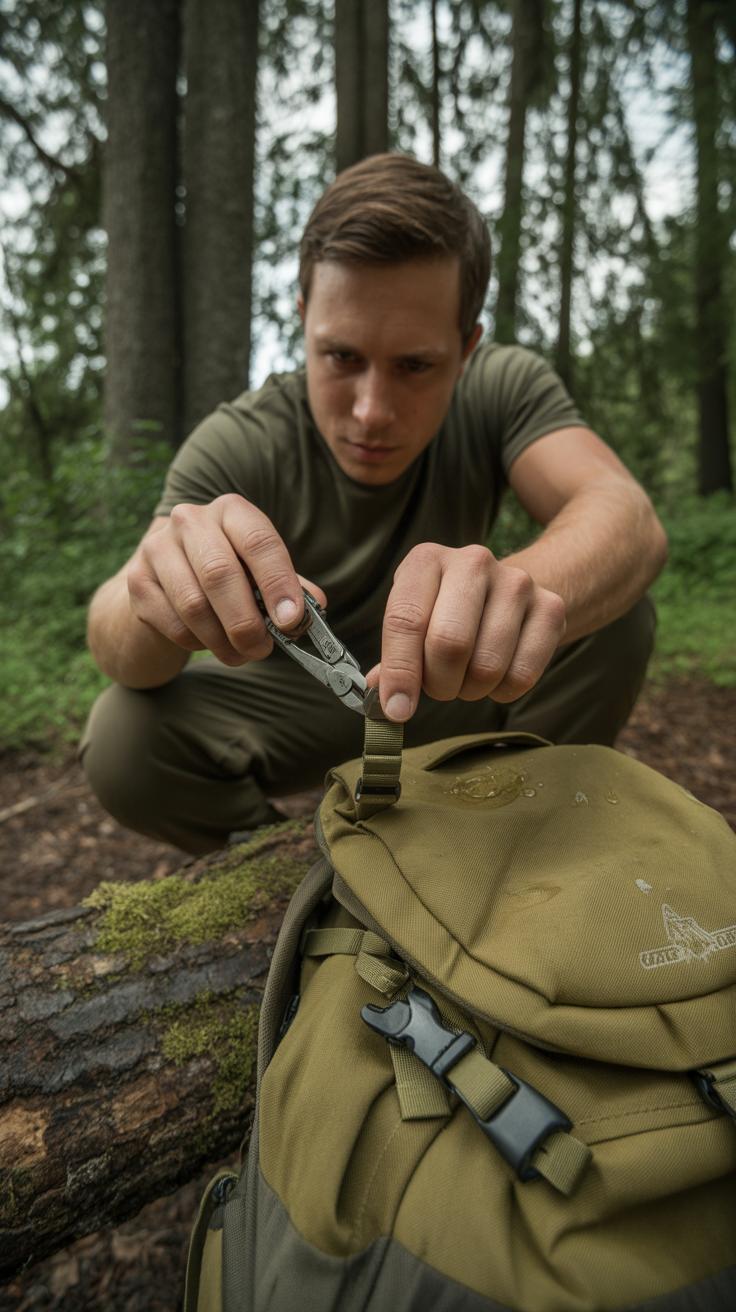
- Replacing broken buckles: Some gear comes with spare clips; those can be swapped out quickly with a lighter or multitool.
These fixes aren’t perfect repairs, but they’ll buy you time until you get home. Sometimes I wonder if I should carry extra fabric or needle, but that feels like overkill. Still, having a few basics ready means you don’t have to panic when something starts to unravel.
Safety And Emergency Gear
Navigation Tools
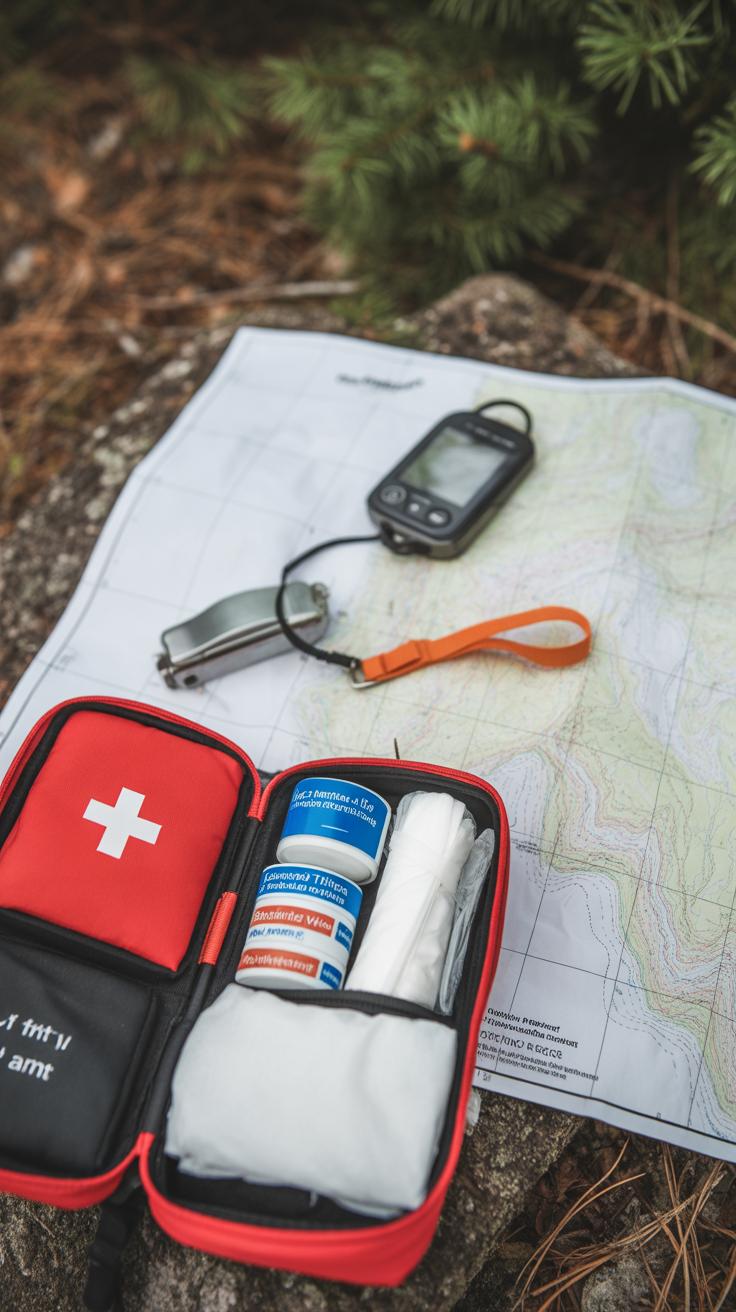
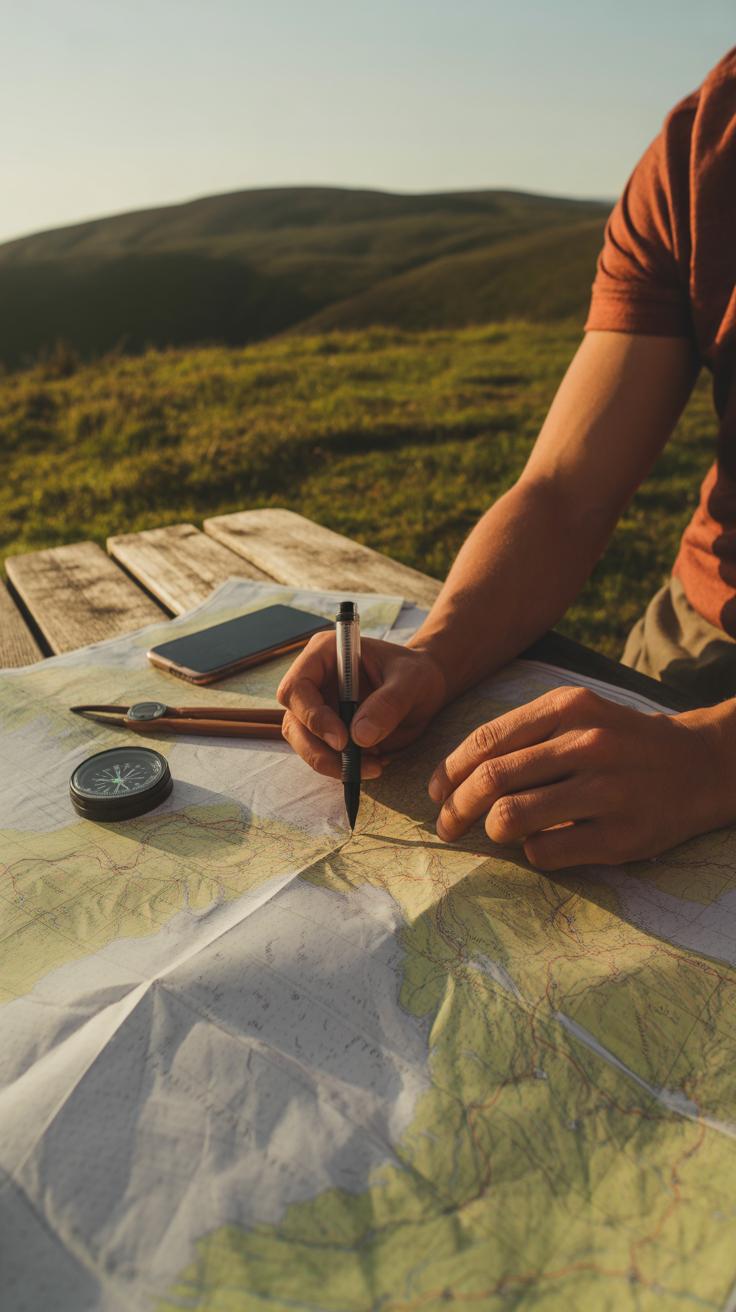
Finding your way on the trail can be trickier than expected, especially when the path fades or the weather turns. Carrying a reliable map and compass is non-negotiable. You might think your phone’s GPS is enough, but batteries die and signals disappear in dense forests or deep valleys.
Learning to read a topographic map isn’t as hard as it seems. Try practicing at home first — it’ll save you stress later. A compass paired with your map helps you orient yourself even when things get confusing. Some hikers shy away from it, but honestly, that skill might be the difference between a calm detour and a panicked scramble.
GPS devices offer convenience but don’t rely on them blindly. They’re excellent for tracking your route or marking waypoints. Just remember to bring spare batteries or a portable charger. That’s one piece of gear where redundancy really matters.
First Aid And Signaling
Carrying a first aid kit tailored to your trip can’t be overstated. Include basics like adhesive bandages, antiseptic wipes, and tweezers. But I’d suggest adding blister treatment items — you *will* thank yourself when the inevitable hotspot develops.
Pay attention to the kit’s expiration dates, too. Old medications or dried-up ointments aren’t just useless; they might cause problems. Practice using your kit when you’re not injured. Trust me, fumbling with gauze in a hurry is frustrating.
For signaling, a whistle is a simple, lightweight tool that carries far on the trail. Three blasts is the universal distress signal — something to memorize. A compact mirror or a bright-colored cloth can attract attention visually. Some carry personal locator beacons or satellite messengers, especially on remote routes. Keep in mind these devices work best when you understand their limitations and maintenance needs.
In emergencies, staying calm and knowing how to use this gear often matters more than the gear itself. Think through scenarios before you hit the trail — then pack accordingly.
Lightweight Hacks To Reduce Load
Multipurpose Gear
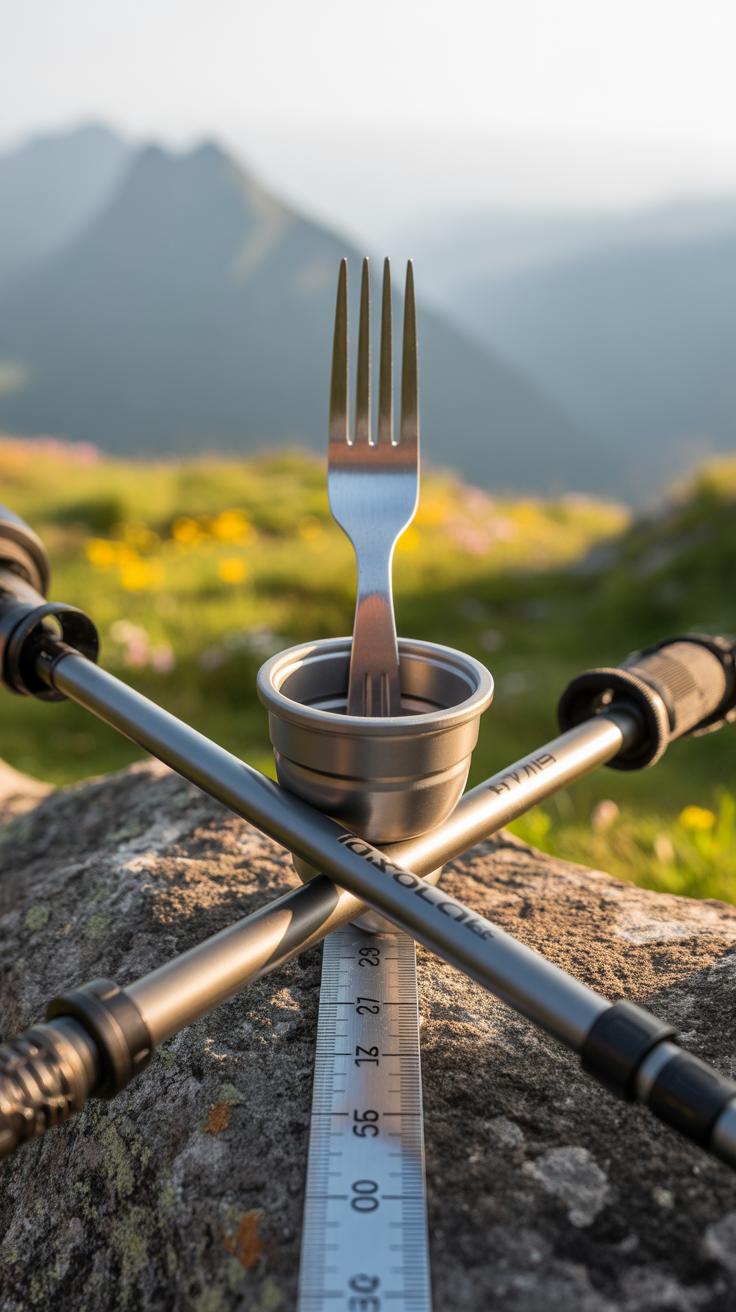
Choosing gear that does double duty can really trim your pack without trimming your options. Take a simple bandana—it works as a towel, a sun shield, or even a pot holder. That’s one item replacing three. I’ve found items like a pot that doubles as a bowl and a lid that acts as a plate make a surprising difference. It’s not always obvious which gear pulls this off best until you try it on the trail.
Think about your needs carefully. A knife with a built-in fire starter or trekking poles you can also use for shelter support cut down extra items. But beware—when an item tries to do everything, sometimes it doesn’t do any one thing perfectly. Still, most times, the trade-off is worth it for saving weight and space.
DIY Solutions And Minimalism
Sometimes you don’t have to buy fancy lightweight gear. I’ve made a lot of things myself—like stuffing a trash compactor bag with clothes and using it as an ultralight rain cover or stitching scraps of old gear into patches or extra straps. These small hacks can shave off a few ounces or even dollars.
Minimalism isn’t just about gear, either. It’s about questioning each item’s purpose. Do you really need three pairs of socks on a short hike? Could your phone’s flashlight work as your camp light? Overpacking can sneak up on you if you’re not paying attention to what you actually use. If you’re unsure about something, maybe try leaving it behind and see how it feels. It’s a bit unsettling at first, but you might find you don’t miss much.
Planning And Preparing For Your Trip
Route And Weather Research
Before you hit the trail, digging into the details of your route can really change how the day goes. Trail guides, forums, and official park websites often hold nuggets of helpful info—like difficult sections, water sources, or alternative paths. Sometimes, you’ll find trip reports from other hikers that mention conditions not listed anywhere else. It’s a good idea to combine those with maps and GPS tracks if you use tech on the trail.
Weather can twist plans more than anything else. Checking the forecast a few days out and right before you depart helps you avoid surprises—say, an unexpected storm or heat spike. While weather apps aren’t perfect, they’re better than guessing. And if the forecast looks iffy, packing with some extra layers or rain protection can save your trip from turning unpleasant. Of course, the choice of gear depends heavily on what the weather demands, so knowing that in advance lets you pack smarter, not heavier.
Packing Checklist And Trial Runs
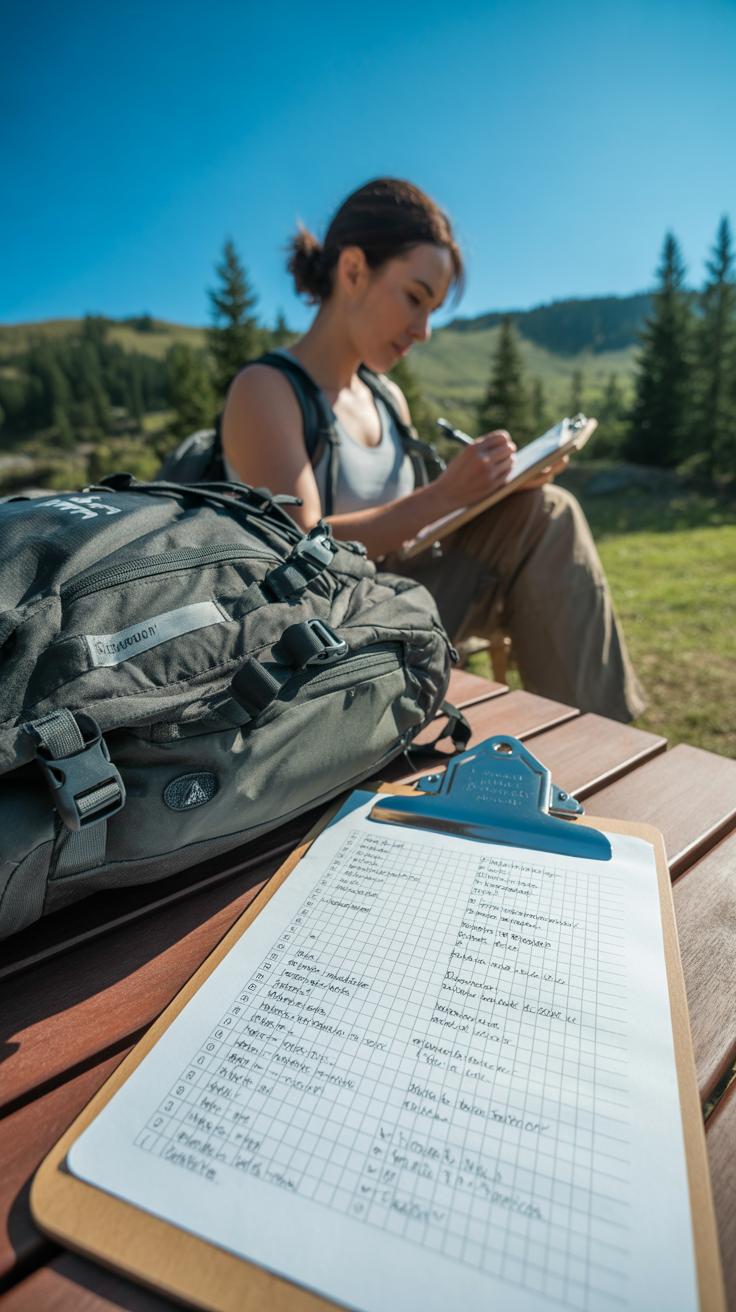
Lists might sound a bit basic, but they’re lifesavers—even for seasoned backpackers. Write down gear you want to bring, then cross off what you don’t really need. Soon you’ll realize you packed duplicates or things you never actually use on the trail. Doing this early gives you time to fix omissions or add forgotten essentials.
One trick I swear by is packing your backpack well before you leave and taking it on practice hikes. This kind of test run shows you what feels awkward or heavy. Maybe your water bottle is hard to reach, or your sleeping bag compression sack is bulky. These “dress rehearsals” highlight little annoyances that might otherwise go unnoticed until you’re out there, tired and halfway through the trip. Trying out the gear in real conditions helps you tweak your load and packing technique so the actual trail feels less like a chore.
Conclusions
Carrying the right gear in the right way can turn your backpacking experience into an easy and enjoyable journey. Using smart packing strategies and choosing the proper equipment allows you to move freely on the trail while staying comfortable and safe. Every item you bring should have a purpose to avoid extra weight.
Remember to plan your gear carefully, think about the duration and environment of your trip, and pack light but smart. By applying these essential backpacking gear hacks, you can focus on discovering new places and enjoying the great outdoors, making every step memorable.