Embracing The Journey Of An Accidental Jewelry Maker
The Natural Transition
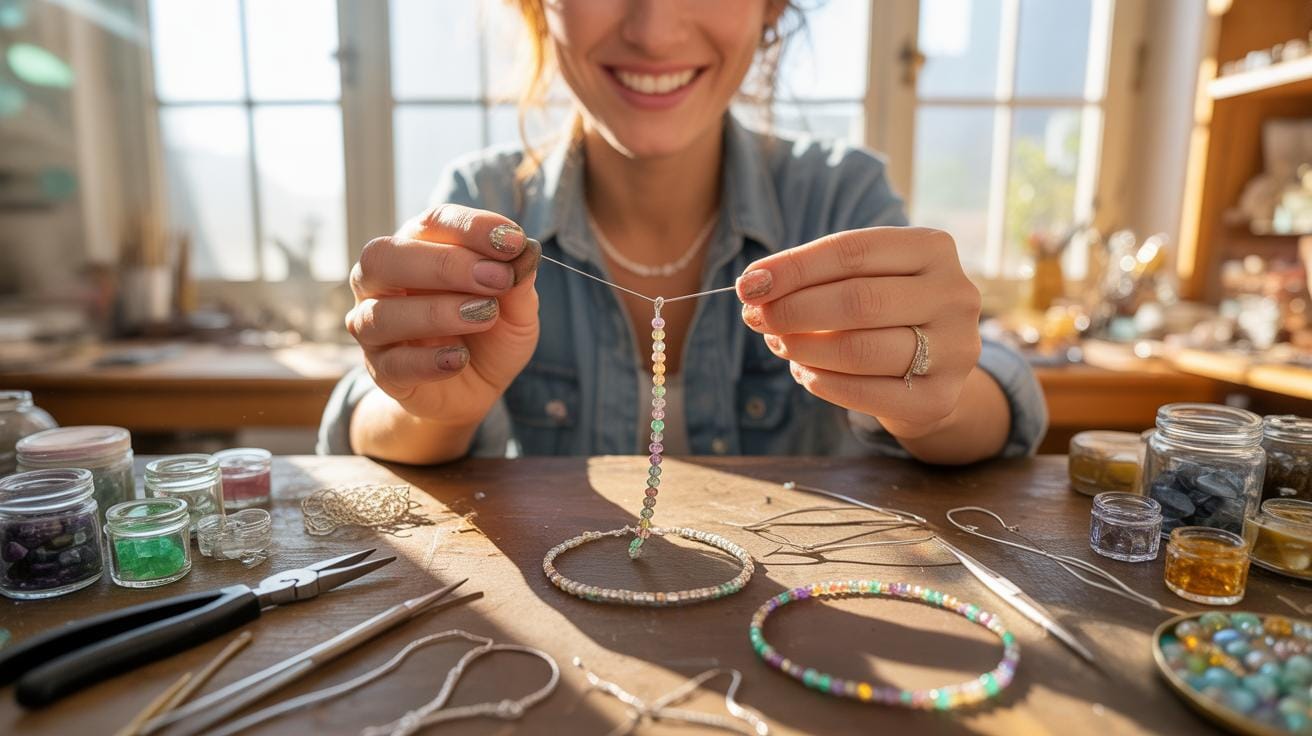
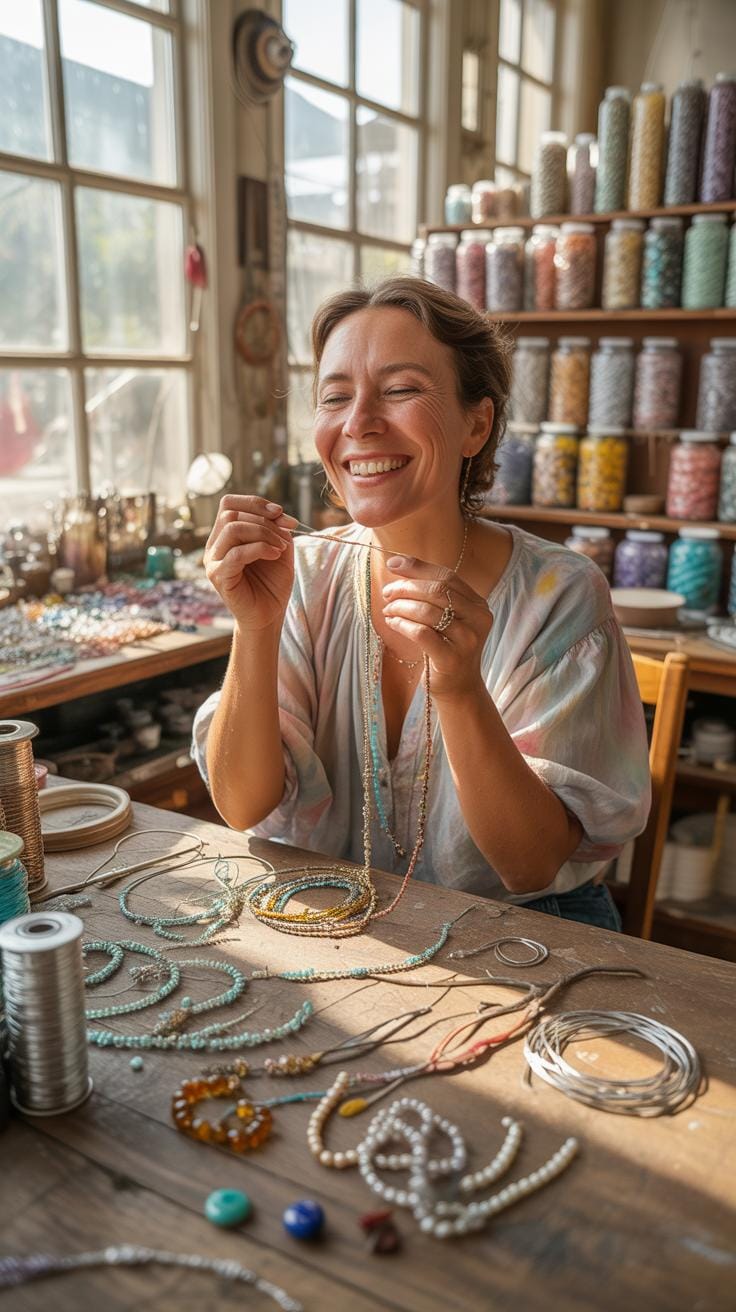
Many people start with simple crafts and hobbies. A painting class leads to wire wrapping. A beading kit becomes a serious passion. These small steps often spark something bigger inside. An accidental jewelry maker typically begins without grand plans. They tinker with materials during quiet evenings. They follow online tutorials out of curiosity. Before long, they’ve created their first wearable piece.
Hobbies transform naturally when curiosity drives them forward. You might gather leftover beads from a craft project. You could inherit old jewelry and wonder how it works. Perhaps you watch a friend make something beautiful. These moments plant seeds. The accidental jewelry maker learns by doing rather than planning. Each small project builds confidence. Skills develop gradually through repetition and experimentation.
Letting Go Of Perfection
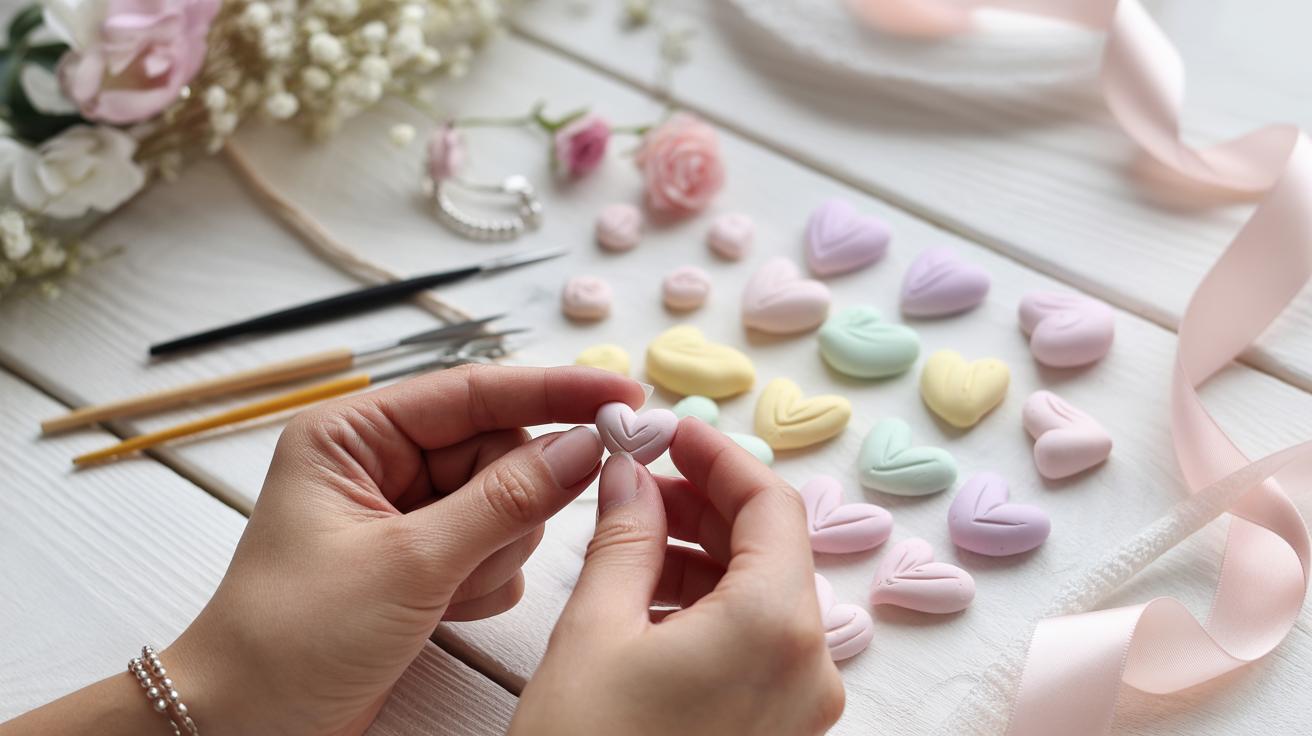
Early jewelry creations rarely look polished. Your first bracelet might have uneven knots. Your initial necklace could have wobbly links. This matters far less than you think. Imperfect pieces hold real beauty and honest effort. An accidental jewelry maker learns to see charm in rough edges. These flaws tell a story. They show growth and determination.
Releasing the need for perfection opens creative doors. Mistakes teach faster than success ever could. A crooked bead placement teaches spacing awareness. A tangled wire teaches patience and technique. The accidental jewelry maker who accepts imperfection creates freely. No pressure means no fear of trying new ideas. Your early attempts become stepping stones, not failures. Each piece, however rough, proves you made something real.
Essential Tools For Your Jewelry Experimentation
Hand Tool Basics
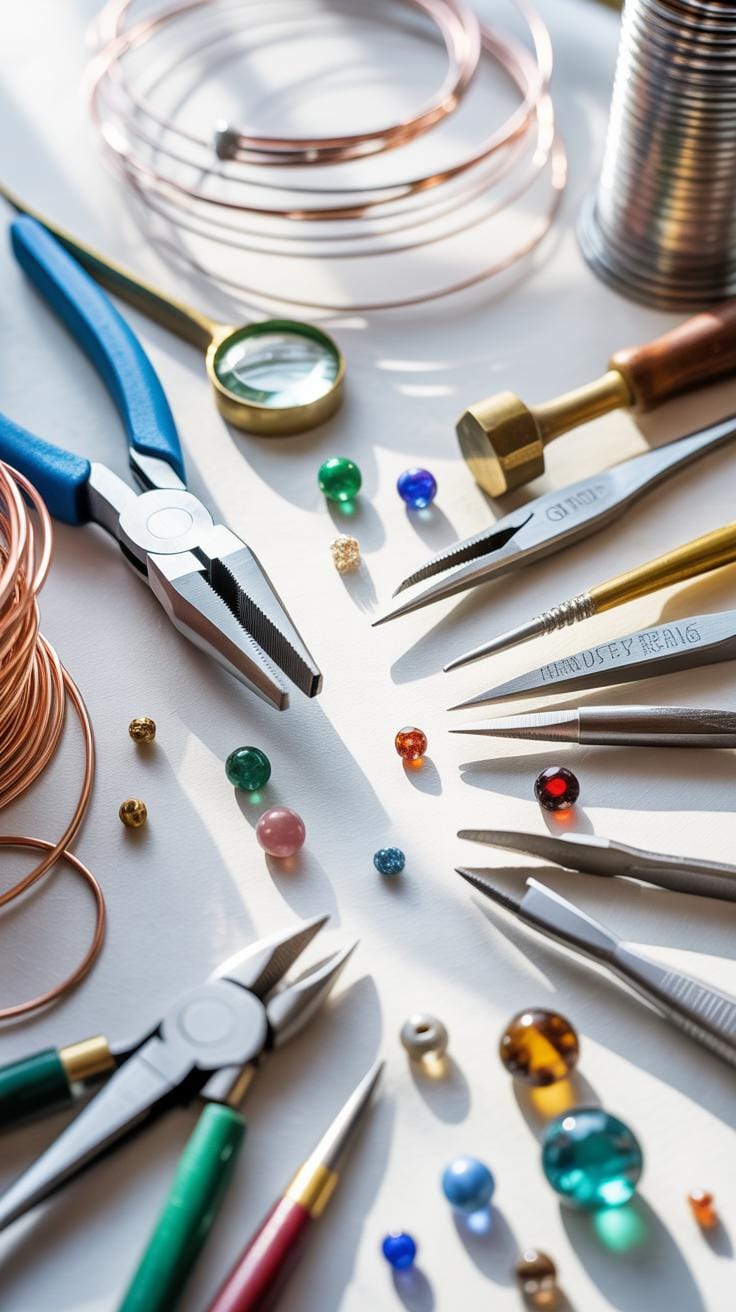
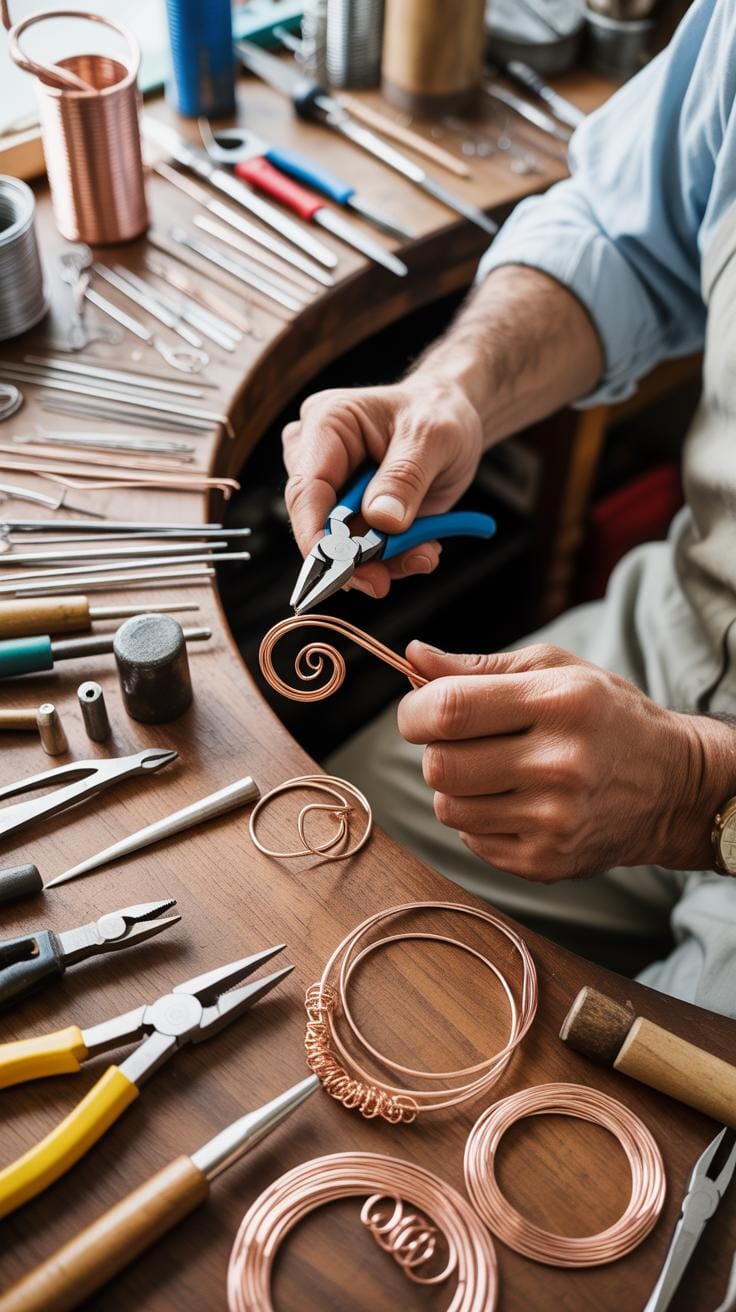
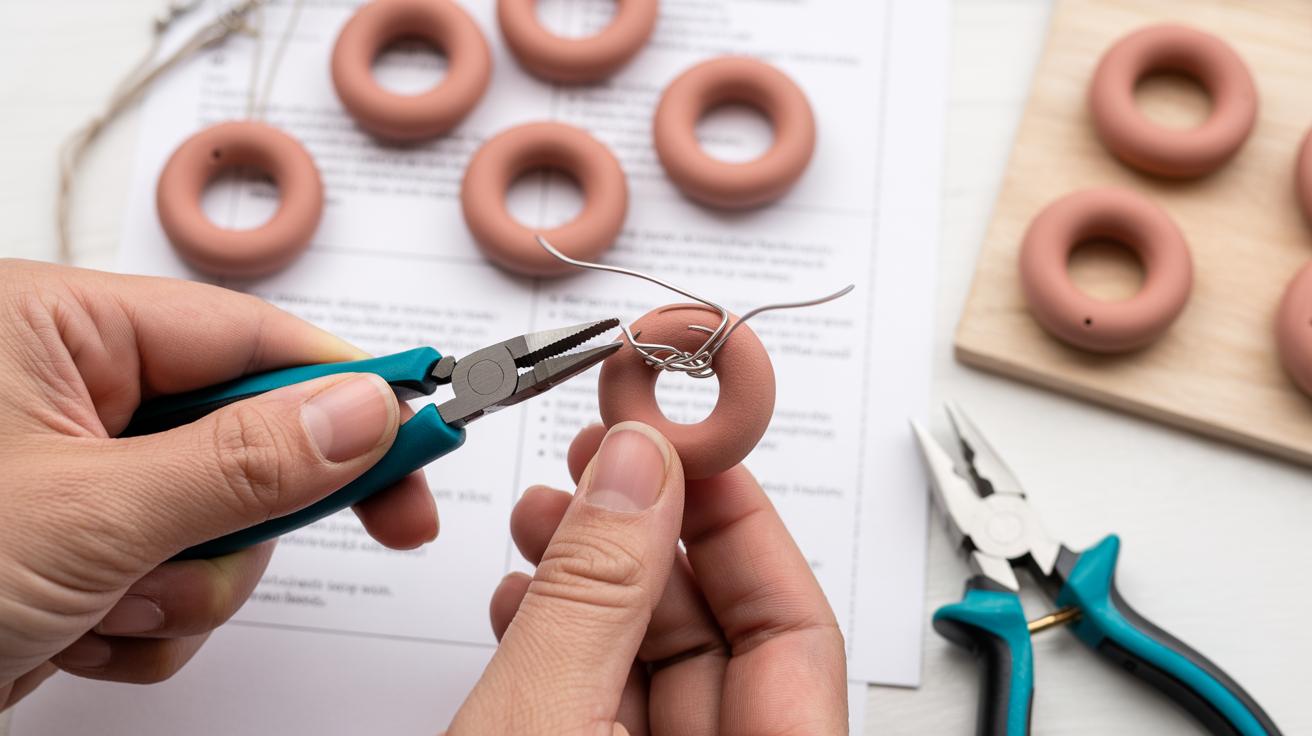
Starting your journey as an accidental jewelry maker begins with understanding the right pliers. Chain nose pliers grip and bend wire with flat inner surfaces. Round nose pliers create loops and curves in wire work. Flat nose pliers hold components steady while you work. Cutters trim wire and beading materials cleanly. These four tools form the foundation of any beginner’s collection.
- Chain Nose Pliers: Feature flat jaws for gripping, bending, and straightening wire during basic jewelry construction and design work.
- Round Nose Pliers: Have cone shaped jaws that help you create consistent loops, spirals, and curved wire elements.
- Flat Nose Pliers: Provide a stable grip for holding small pieces while you manipulate other components with your other hand.
- Wire Cutters: Cut through various wire gauges cleanly without crushing or deforming the metal material.
- Crimping Tools: Secure beads and wire together by flattening small metal tubes called crimps onto your stringing materials.
Quality matters when selecting tools for your workspace. Invest in pliers with comfortable handles that fit your hand size. Budget friendly options work well for beginners learning techniques. As you progress, upgrading to professional grade tools becomes worthwhile for serious accidental jewelry makers.
Organizing Your Workspace
Your creative zone should reflect your personal style and work habits. A clean, well organized space helps ideas flow naturally. Start with a sturdy work table that gives you enough room to spread out materials. Good lighting prevents eye strain during detailed work. Keep frequently used tools within arm’s reach for efficiency.
Storage solutions matter just as much as the table itself. Small compartments hold beads, findings, and wire organized by color and size. Drawer organizers prevent tangled materials and lost components. Label everything clearly so you remember what you have. When your workspace feels calm and ordered, your creativity thrives as an accidental jewelry maker.
Mastering The Basics Of Metal And Wirework
Wire Gauge Guide
Wire gauge measures how thick or thin your wire is. Thicker wires have lower numbers. Thinner wires have higher numbers. A 20-gauge wire works well for most beginner projects. The accidental jewelry maker often starts with this size because it is easy to bend and shape. You can find wire at craft stores in many different gauges.
Different gauges serve different purposes in jewelry making. Thicker wire holds its shape better and supports heavier stones. Thinner wire bends easily but breaks faster. Copper, silver, and aluminum are popular wire materials. Each material has its own strength and feel. As you practice, you will learn which gauge works best for your designs.
Jewelry is something that has to do with emotion. That aspect of jewelry really interests me.
— Ann Demeulemeester
Simple Loop Techniques
Wire wrapping creates strong connections that hold your jewelry together. Start by making a simple loop at the end of your wire. Hold the wire with pliers and bend it into a circle. The loop should be tight and secure. An accidental jewelry maker learns this technique first because loops appear in almost every design. Practice makes your loops more even and beautiful over time.
Creating loops requires only two tools: round nose pliers and wire cutters. Round nose pliers help you form the circular shape. Wire cutters trim excess wire cleanly. Start with short practice sessions to build your skill. Once you master simple loops, you can connect beads, stones, and other materials. Your hands will remember the motion, and soon you will work without thinking about each step.
The Art Of Sourcing Unique And Recycled Materials

Found Object Jewelry
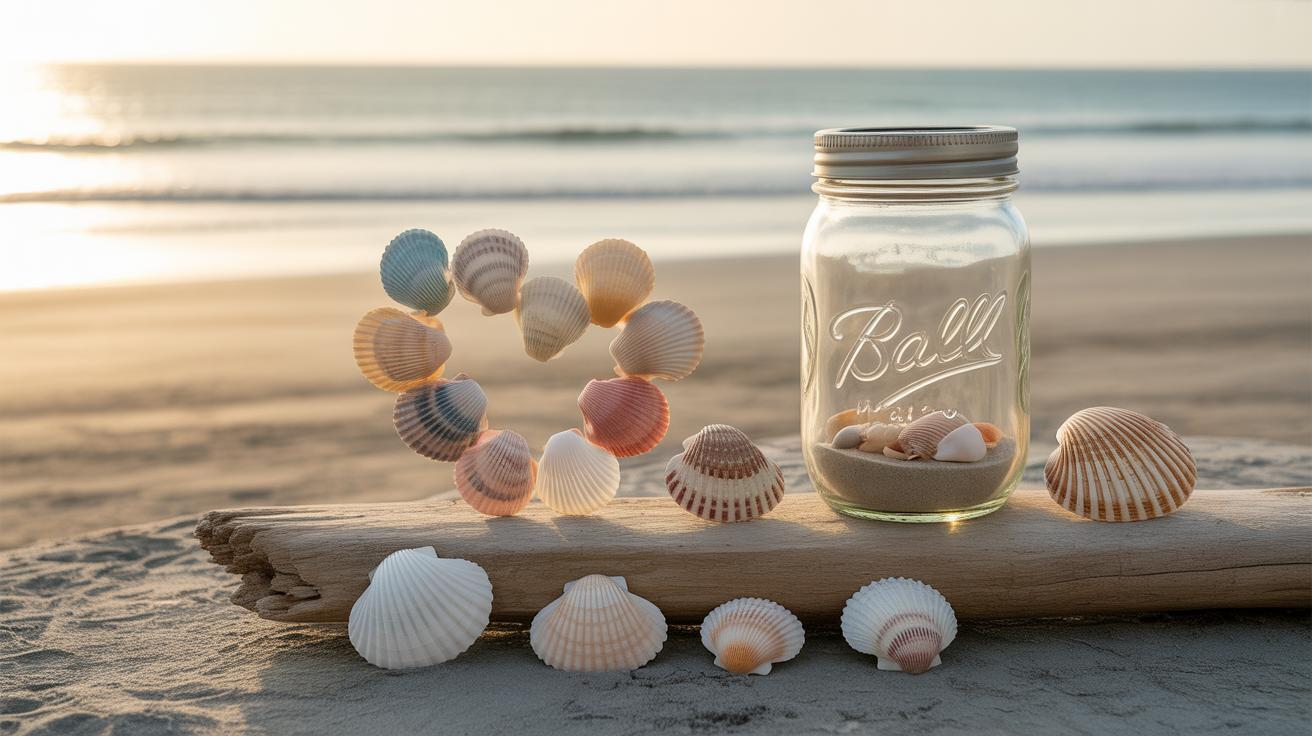
Every accidental jewelry maker starts by looking around. Buttons from old coats. Keys from forgotten locks. Vintage watch parts. Broken chains. These everyday objects hold beauty waiting to be seen. What others throw away becomes your raw material. The practice of using found objects in art has roots in the early twentieth century when artists began valuing discarded items. You simply need curiosity and an open eye.
Walking through thrift stores, markets, and nature gives you endless options. Shells from beaches. Wood pieces. Beads from broken necklaces. The accidental jewelry maker learns to see potential in anything. Start collecting items that catch your eye. Keep them in a box. Soon you will have materials for countless pieces. This approach costs little money while giving your work genuine character and story.
Sustainable Sourcing
Making jewelry from recycled materials helps the planet. Vintage pieces that no longer fit or appeal get new life in your designs. Old earrings become pendants. Broken brooches become bracelet charms. This method reduces waste and creates unique work. Sustainable jewelry making reflects growing awareness about how our choices impact the environment. Many people now prefer handmade pieces made from recycled materials over brand new factory items.
The accidental jewelry maker often discovers that sourcing sustainably teaches valuable lessons. You learn patience. You understand craftsmanship. You respect materials. Visit estate sales, vintage shops, and online marketplaces for older jewelry pieces. Ask friends and family for broken or unwanted items. Build relationships with local jewelers who may give you scrap materials. Each piece you repurpose carries history and meaning that new materials cannot match.
Exploring Textile Techniques Macram And Beyond
Knotting Fundamentals
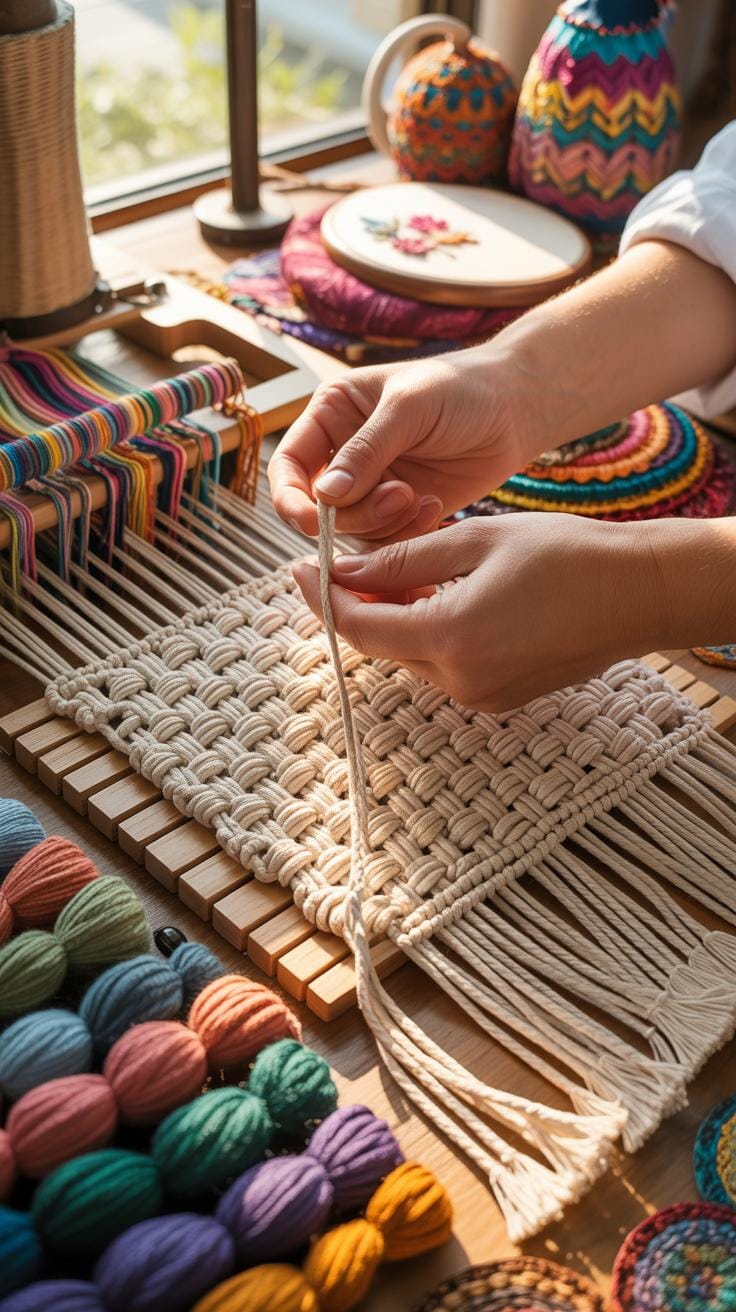
The square knot and half hitch are the backbone of macramé jewelry making. These knots have been used for centuries in rope work and textiles. An accidental jewelry maker often starts by learning these two basic knots. They create the structure for bracelets, anklets, and necklaces. Once you master these knots, you can build countless designs. Practice these knots slowly until your hands remember the movements naturally.
The square knot uses four cords working together. You cross the outer cords over the middle cords in a specific pattern. This creates a tight, secure knot that holds its shape well. The half hitch works differently. It wraps one cord around another in a looping motion. Bracelets made with these knots stay strong and last for years. Both knots work best when you maintain consistent tension as you tie.
Fiber Selection
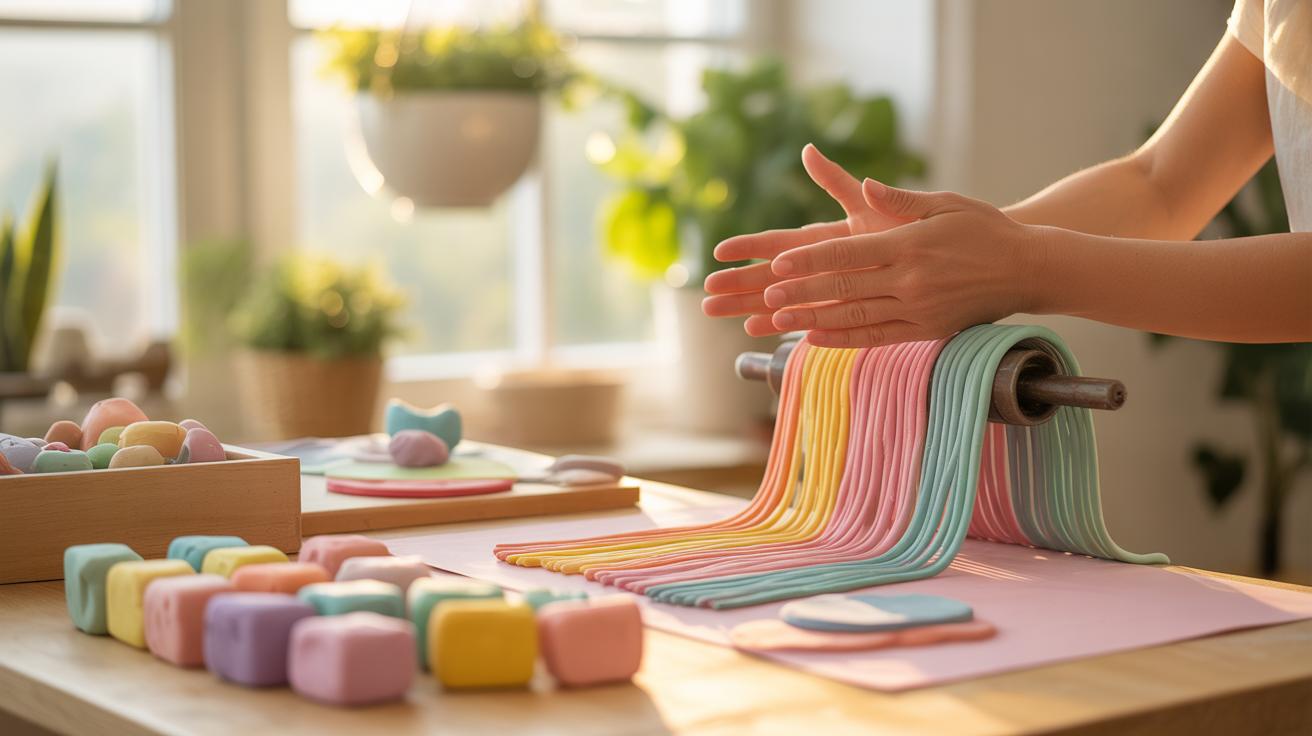
Cotton and silk cords offer different qualities for jewelry projects. Cotton is affordable, durable, and easy to find at craft stores. It comes in many colors and holds knots firmly without slipping. Silk cords feel luxurious and smooth against the skin. They create elegant, delicate-looking pieces. An accidental jewelry maker should start with cotton to build skills and confidence.
When selecting cords, consider the thickness and weight for your project. Thinner cords work for delicate bracelets and anklets. Thicker cords create bold statement pieces. Cotton shrinks slightly when washed, so account for this in your measurements. Silk requires gentle care but produces stunning results. Test both materials to see which feels right for your creative style and intended designs.
Color Theory And Bead Composition In Design
Visual Balance
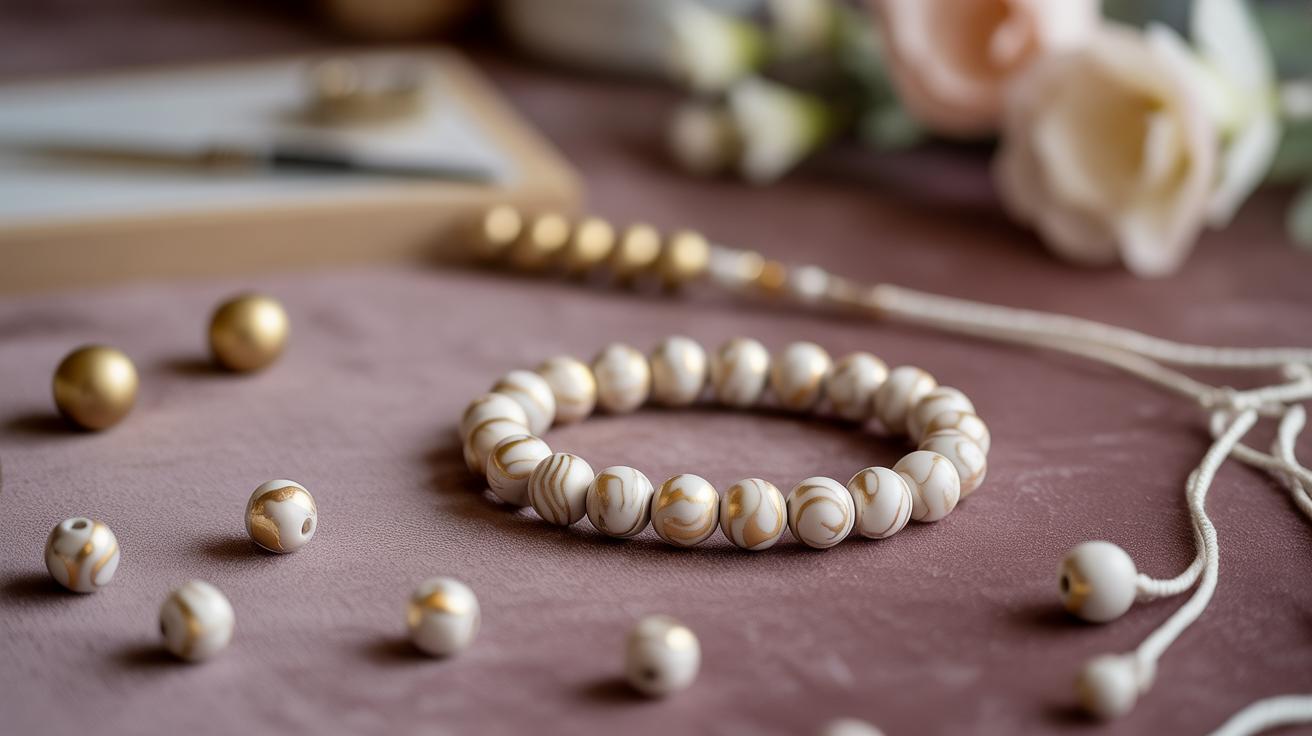
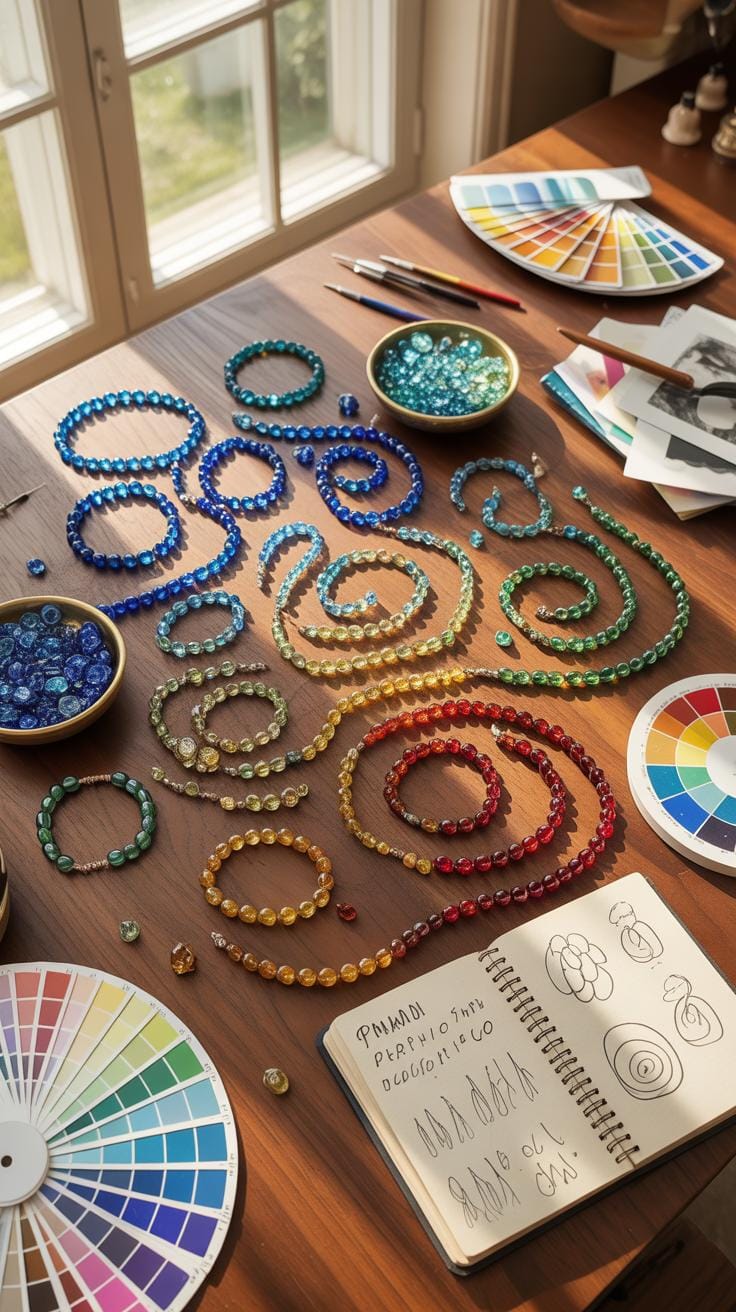
Arranging beads requires thought about symmetry and rhythm. An accidental jewelry maker often learns that balanced designs feel more complete and pleasing to the eye. You can create symmetry by placing matching beads on both sides of your centerpiece. Rhythm comes from repeating colors or shapes at regular intervals. This repetition guides the viewer’s eye across your piece naturally.
When you start experimenting with bead placement, you discover how spacing matters. Too many beads clustered together feel chaotic. Spreading them out creates breathing room. An accidental jewelry maker quickly realizes that less can be more. The gaps between beads matter just as much as the beads themselves. Try alternating between solid beads and empty space to build visual rhythm.
Complementary Schemes
Mixing vibrant hues creates statement pieces that catch attention immediately. Complementary colors sit opposite each other on the color wheel. Red pairs with green. Blue pairs with orange. Yellow pairs with purple. These combinations create strong contrast and energy. An accidental jewelry maker can use this knowledge to design bold, memorable jewelry.
Start by choosing one bright bead color as your main focus. Then add its complementary color in smaller amounts around it. This balance keeps your piece interesting without overwhelming the viewer. You might use large red beads with small green accents. Or bright blue stones with warm orange highlights. The contrast makes both colors look more vibrant and alive in your design.
Experimental Finishes And Surface Textures
Patina Applications
Creating aged looks with metal surfaces opens doors to artistic expression. An accidental jewelry maker often discovers that oxidation and heat create beautiful dark finishes. Copper turns deep brown. Silver develops rich gray tones. These natural chemical reactions happen when metal meets air and time. The process feels like watching history unfold on your own creations.
- Liver of sulfur: A chemical solution that darkens copper and silver quickly, creating vintage patina effects in minutes rather than months.
- Torch heating: Direct flame application oxidizes metal surfaces, producing varied color layers from gold to deep black tones.
- Vinegar and salt: A simple household method that encourages oxidation on copper pieces over several days or weeks.
- Ammonia exposure: Placing pieces in enclosed spaces with ammonia fumes creates blue and green patinas on copper metals.
- Natural weathering: Leaving jewelry outdoors in humid conditions allows slow patina development through seasonal changes.
Controlling these finishes takes practice and patience. You can stop the process at any stage. Sealing your patina with clear coatings protects the finish. Many accidental jewelry makers love this unpredictability. Each piece becomes truly one of a kind.
Hammering Metals
Hammering transforms flat metal into textured art. Each strike creates permanent impressions that catch light differently. The accidental jewelry maker learns that controlled strikes produce varied surface patterns. Gentle taps create subtle ripples. Harder hits make deeper marks. This hands-on technique connects you directly to your materials.
Planishing smooths and hardens metal surfaces while creating intentional shine. This ancient technique strengthens your pieces. Different hammer heads produce different textures. Ball peen hammers make round dimples. Flat heads create linear marks. Texture hammers produce intricate patterns instantly. Your creativity determines the final look completely.
Understanding Fastenings And Functional Hardware
Clasp Variations Guidance When To Use Lobster Claws Vs Toggle Clasps
Clasps are the unsung heroes of jewelry making. They hold your pieces together and keep them secure on wrists and necks. As an accidental jewelry maker, understanding clasp options helps you finish pieces that actually work. Lobster claws are curved metal hooks that catch onto jump rings or loops. Toggle clasps have two parts: a ring and a bar that slides through it.
- Lobster Claws: Best for bracelets and necklaces. They open and close smoothly. They work well with delicate chains and beaded strands.
- Toggle Clasps: Great for heavier pieces. The bar design adds style and visual interest to your finished jewelry.
- Hook and Eye Clasps: Simple and vintage-looking. Perfect for lightweight necklaces and delicate bracelets.
- Magnetic Clasps: Easy to use for people with weak grip strength. They add convenience to everyday pieces.
- Box Clasps: Sturdy and reliable. Ideal for multi-strand bracelets and substantial designs.
Lobster claws work best for everyday pieces that need frequent opening and closing. Toggle clasps shine on statement bracelets where you want visual design. Your choice affects how comfortable and functional your jewelry becomes. Test different clasps with your materials before committing to a final design.
Earring Mechanics Guidance Creating Dangles And Studs With Proper Findings
Earring findings are the posts and wires that attach to your ears. They come in many styles and materials. An accidental jewelry maker learns that the right finding makes all the difference in comfort and durability. Posts and backs hold studs in place. Hooks and wires let dangles swing and move freely.
Stud earrings need secure backs that won’t slip off. Surgical steel and hypoallergenic materials work best for sensitive skin. Most studs use a post that goes through the ear with a backing that tightens from behind. Measure your post length carefully to ensure the front piece sits flush against the earlobe. Test the backing strength before wearing.
Dangle earrings need hooks that hang smoothly. French wires and fish hooks are popular choices. Kidney wires curve and hold stones perfectly. Chandelier findings let you attach multiple elements for dramatic pieces. The hook size must match your design weight. Heavier dangles need stronger, thicker wires to stay balanced and hang straight.
Documenting Your Progress And Building A Portfolio

Jewelry Photography
Capturing your creations matters more than you might think. As an accidental jewelry maker, your pieces deserve photos that show their true beauty. Good lighting makes all the difference. Natural sunlight works best for showing colors and sparkle. A white backdrop keeps attention on your work. Take photos from different angles to show details. Close-up shots reveal the craftsmanship you put into each piece.
Your camera doesn’t need to be fancy. A smartphone camera works well for starting out. Focus on one piece at a time. Make sure the background is clean and simple. Shadows should be soft, not harsh and dark. Take many shots from various positions and heights. Pick the best photos for your collection.
Sharing Narratives
Every piece you make has a story waiting to be told. Your journey as an accidental jewelry maker is unique and meaningful. People want to know what inspired your designs. Share how you discovered your passion for making jewelry. Talk about the materials you chose and why they matter. These stories help others connect with your work on a deeper level.
Write captions that bring your pieces to life. Explain the techniques you used to create each design. Mention any challenges you overcame during the process. Share what you learned from making that particular piece. Your personal voice makes your work stand out from others. Honest stories build trust with people who admire your creations.
Overcoming Creative Blocks Through Play

Intuitive Design
When you become an accidental jewelry maker, you often skip the rulebook entirely. Your hands know what feels right before your mind catches up. Trust that inner voice when choosing materials and shapes. Let your fingers guide the wire. Follow what excites you, not what you think should work. Your instincts matter more than perfect technique.
The best pieces come from letting go of control. Stop worrying about making mistakes. An accidental jewelry maker learns that happy accidents create beauty. Your unique style emerges when you stop copying others. Take risks with color combinations and unusual materials. Your authentic voice is worth more than flawless execution.
Collaborative Ideas
Learning from other artisans opens new creative doors. Visit craft fairs and jewelry studios. Watch experienced makers work. Ask questions about their methods and materials. Different eras brought different jewelry styles and techniques. The Art Deco period valued geometry and bold designs. The Victorian era embraced ornate, detailed work. Each movement teaches you something valuable.
Sharing ideas with fellow creators sparks inspiration. Join local jewelry circles or online communities. Discuss what draws you to certain pieces. Learn how other makers solve design problems. An accidental jewelry maker grows stronger through connection with others. Your experiments matter more when shared. Building these relationships transforms your creative journey forever.
Frequently Asked Questions

What is an accidental jewelry maker?
An accidental jewelry maker is someone who stumbles into the delightful world of jewelry creation through playful experimentation, often without formal training. It starts with simple curiosity—stringing beads or twisting wire—and evolves into a passion for crafting unique pieces. This approach makes jewelry making accessible and fun, turning everyday hobbyists into confident creators who express their personal style effortlessly.
How can I start as an accidental jewelry maker with basic tools?
Begin your journey as an accidental jewelry maker by gathering essentials like pliers, wire cutters, beads, and jump rings from a local craft store. Experiment with simple designs, such as beaded bracelets or pendants, following free online tutorials. Practice crimping and looping techniques to secure your pieces securely. Soon, you’ll develop intuition for combining colors and shapes, creating wearables that reflect your unique taste.
What are affordable ways to experiment with jewelry making?
Dive into being an accidental jewelry maker on a budget by shopping thrift stores, dollar shops, or online marketplaces for beads, charms, and findings under $20. Repurpose old buttons, shells, or broken jewelry for unique, zero-cost materials. Start small with kits from discount retailers to minimize investment. This low-barrier entry lets you test creativity without financial stress, building skills as you go.