Introduction
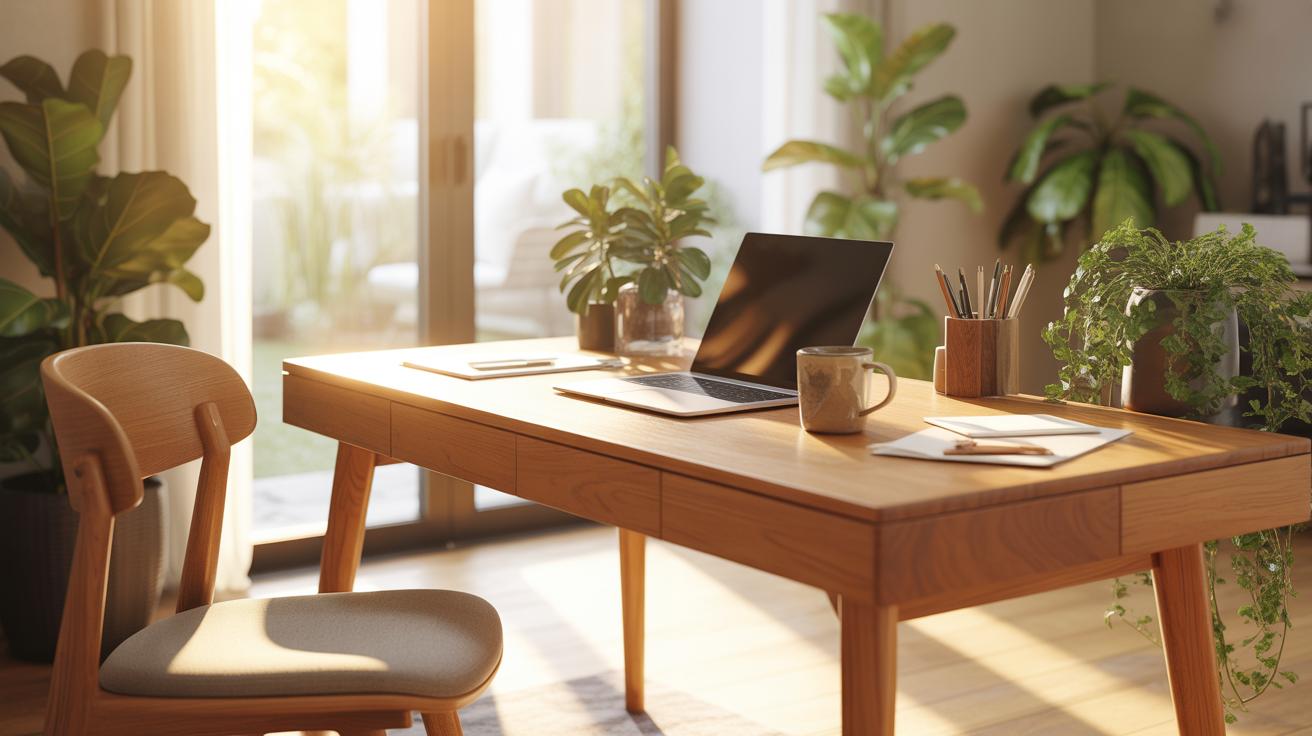
Big desk setups play a key role in organizing your workspace for tasks like event planning and home gardening. Having a well-arranged desk can help you manage multiple activities efficiently, providing enough room for tools, documents, and equipment.
This article reviews important metrics for setting up a big desk. We will look at practical steps for planning your desk layout, essential tools to include, and clear examples tailored to event planning and home garden tasks.
Measuring Desk Space Needs
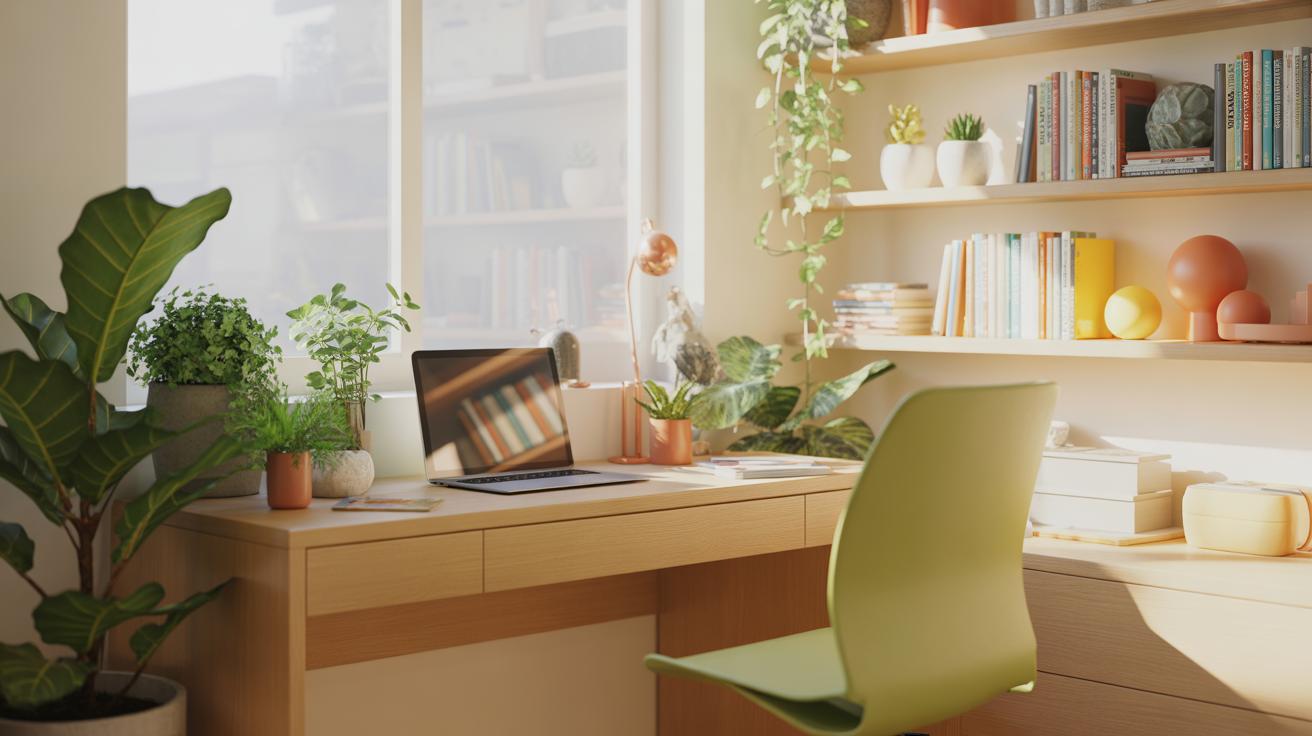
When figuring out how much desk space you really need, start by looking closely at the tasks you’ll do most. For event planning, you’ll likely handle several documents, a laptop, maybe a tablet, and plenty of notes—so your desk must hold all that without feeling cramped. A good rule: measure the largest item first, often the laptop or calendar, then allocate extra room for papers and writing space. You might find that 48 to 60 inches wide works well, but this depends on your workflow.
With home gardening, the workspace looks different. You’ll be juggling seed packets, small pots, plant tags, and some hand tools. These items are usually smaller but still pile up fast if you don’t keep track. A compact area, around 36 to 48 inches wide, might suffice if you organize carefully, but don’t underestimate the need for some clear surface to pot plants or check guides.
Try to measure your typical working hours. Do you spread out documents or stack them? Are most of your tools tech-based or physical? Getting these answers makes it easier to determine your ideal desk size in real terms – beyond just guessing.
Identify Key Desk Items For Event Planning
Event planning tends to generate a lot of physical clutter, but some things stay absolute essentials:
- Calendars and Planners: Paper or digital, these keep dates and deadlines front and center.
- Laptop or Tablet: Central for communication, scheduling software, and research.
- Notes and To-Do Lists: Loose papers, sticky notes, or notebooks for quick thoughts and reminders.
- Reference Materials: Vendor contacts, venue brochures, or inspiration boards, which you’ll want close but off to the side.
- Writing Tools: Pens, highlighters, and markers are easier found if kept in a small holder.
Having these laid out with clear zones—like tech in one area, paper in another—helps reduce overwhelm. Maybe you’ve noticed how shuffling between piles slows your planning; that’s exactly why clear organization is valuable.
Select Gardening Tools For Desk Placement
Not every gardening tool fits neatly on a desk, but some smaller ones do—and keeping them accessible speeds up your work:
- Pruning Shears: Compact, sharp, and handy for trimming indoor plants or small branches.
- Seed Packets: Organized in a small container or folder to prevent clutter.
- Plant Tags and Markers: Essential for labeling, keep these in a pen cup or tray.
- Small Spray Bottle: Takes up little space and helps with misting delicate plants.
- Notebook or Garden Journal: For tracking growth, watering, or planting schedules.
You might want to group tools by task or frequency of use. For example, keep pruning shears and spray bottles closest to your main work area, while seed packets and notes can sit slightly further away. This way, the setup stays practical but not crowded.
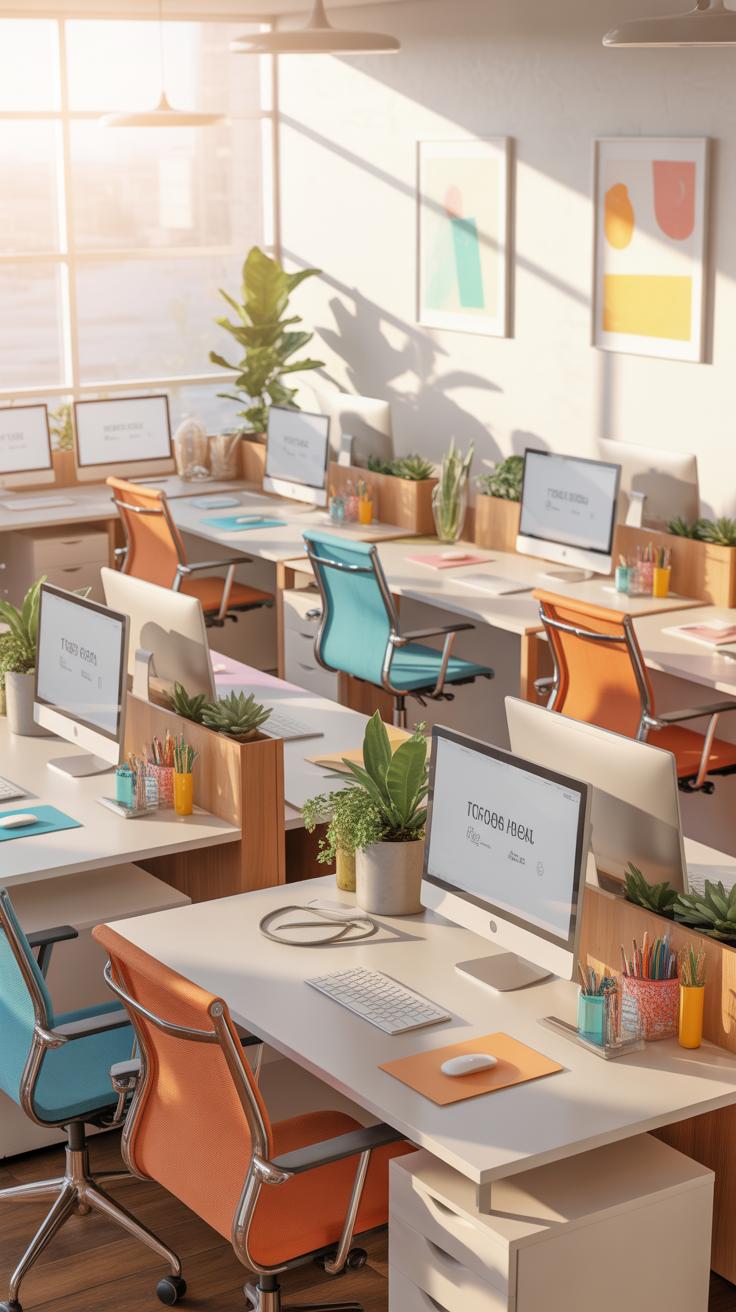
Organizing Desk Layout For Efficiency

You can’t just toss everything on your desk and expect it to help you work better. The way you arrange items really makes a difference during work sessions. One helpful way is to create distinct zones—grouping related things together so you don’t have to scramble around searching for what you need.
Think about setting up sections for different tasks. For example, keep your writing tools like pens, notebooks, and planners in one spot. Then, have a separate area for tech devices—a charger, mouse, and maybe headphones. This keeps distractions lower because your focus can shift smoothly between zones without clutter or delay.
It’s odd how often we overlook the benefit of placing things we frequently use right in front of us. The simplest way is to imagine your workspace in layers: immediate reach for daily items, a bit farther for occasional use, and out of the way for stuff you rarely touch. Grouping related items side by side reduces wasted seconds and mental friction.
Have you noticed how sometimes you start piling things haphazardly because you don’t want to spend time organizing? It feels like it’s quicker but then you lose time hunting. Zone setting nudges you to think ahead—like setting a mini command center where everything has a spot that suits its role. It might take a few tries, but it’s worth experimenting until it feels natural.
Set Up Event Planning Zones
When your desk is used for event planning, the chaos can be real if you don’t break it down. Imagine carving out separate zones for scheduling, communication, and design. The calendar, timelines, or to-do lists stay together in one area, easy to glance at. Close by, place your phone, emails, and notes related to messaging or contacts—things you check or respond to frequently.
Then have a more creative section, maybe with sketchpads, materials, or design mockups. Keeping these pieces apart stops them from getting tangled and helps switch your mindset quickly—from checking dates to brainstorming ideas. You find it easier to roller-coaster between tasks without tripping over your own mess.
Sometimes, I’ve found myself moving a pile from one zone to another mid-session because I underestimated how much space or access I’d need. So be flexible. Your zones might morph as your projects change, which is perfectly okay. The key is to keep related items close, but not crammed together.
Arrange Garden Items By Frequency Use
Gardening gear on a desk? Sure, if you plan or track your home garden projects there. The trick is to prioritize placement by how often you reach for an item. Pruners, gloves, seed packets—put those where your hands naturally rest during work. Keep things like fertilizer bags or tools you use once a season tucked away somewhere else.
Containers or small bins can help separate smaller supplies. Your workspace will feel less cluttered, and you won’t have to dig through piles mid-task. It also prevents frustration when you’re in a groove and suddenly remember you need that elusive twist-tie or marker. Having things logically grouped means less interruption, more flow.
It’s tempting to squeeze everything onto the desk, but that often means the most-used items end up buried. So, test different positions. Maybe place the gear in a slim drawer under the desk or a nearby shelf, leaving only the essentials at arm’s length. The less you reach beyond your natural range, the better your session will go.
Choosing Desk Tools And Accessories
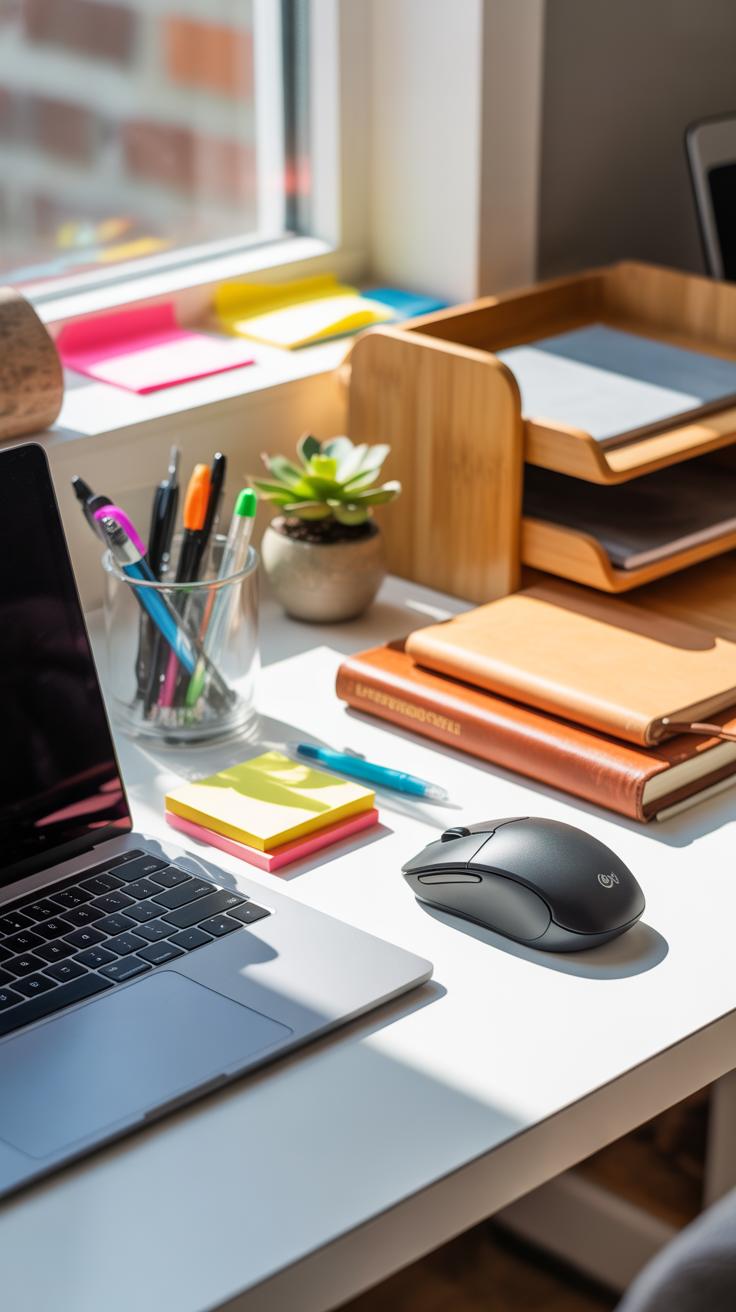
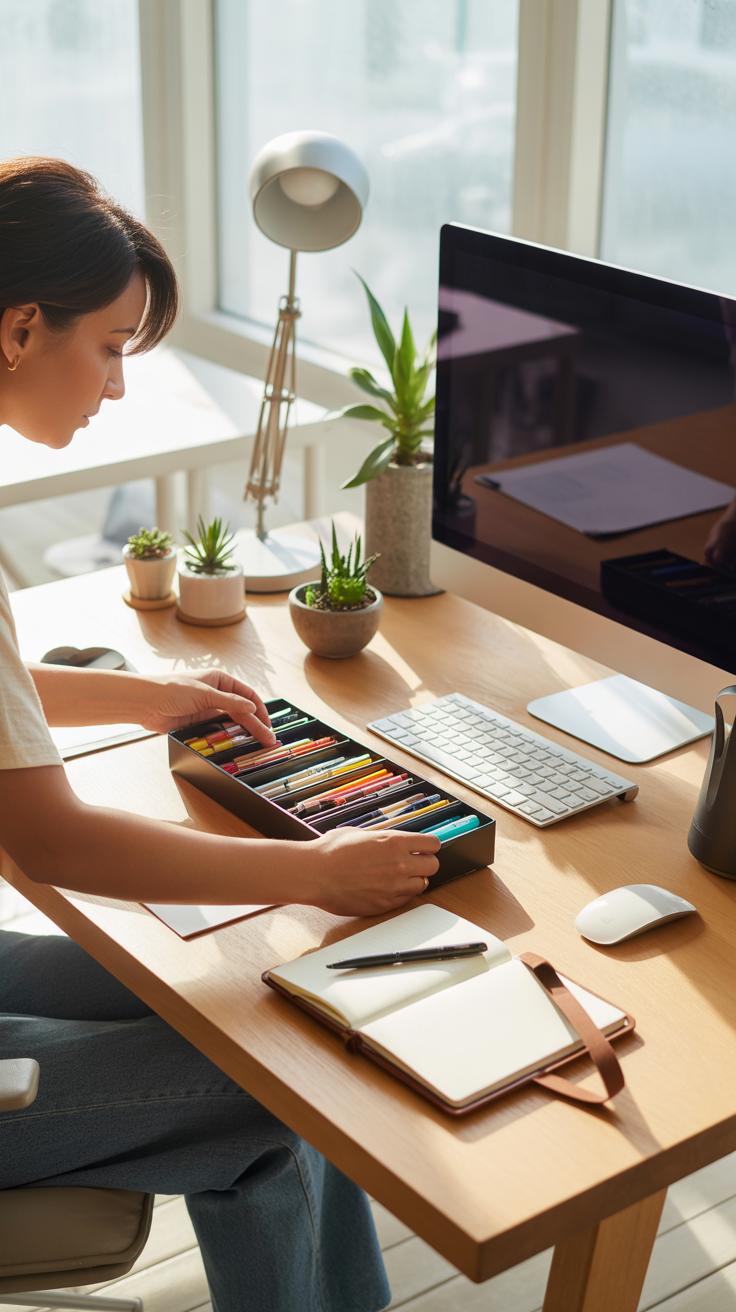
When setting up your desk for event planning or home gardening, the choice of tools and accessories can make a noticeable difference. It’s not just about filling every inch with gadgets but finding what truly supports your workflow and keeps distractions low. For event planners, practical tech like tablets and compact printers often become lifelines. Tablets offer quick access to schedules, notes, and attendee lists without crowding your space. A small, wireless printer nearby can save precious time when you need last-minute handouts or contracts.
Organization gadgets are also worth thinking over. While file trays and drawer organizers are classic go-tos, stacking boxes with clear labels might help you keep invitations, contracts, or vendor contacts better sorted. You might not realize until later how much smoother your day runs when essential papers aren’t lost under clutter.
On the gardening side, a few simple accessories can keep your desk both functional and inspiring. A good plant care book, open or bookmarked, offers handy tips right when you need them. Small containers for seed packets or labeling tools also keep things tidy. It’s easy to underestimate how a dedicated spot for each tool or label can prevent wasted time hunting for those tiny parts during watering or repotting tasks. Storage jars, rather than just a drawer pile, make all the difference when you multitask between planning events and nurturing plants. Sometimes these small conveniences become crucial.

Imagine your ideal desk setup. What would you choose to keep within reach? Asking that can guide you more than any checklist. Each person’s needs will differ, and sometimes what feels like extras now might soon become essentials.
Common Desk Layout Mistakes To Avoid
Overcrowding Event Planning Desk
Too many things on an event planner’s desk can quickly become a real problem. You might think having all your supplies, papers, and gadgets within arm’s reach saves time, but often it just makes it harder to focus. When you’re staring at piles of notepads, sticky notes, color swatches, or half-used markers, it’s easy to lose track of important details or feel overwhelmed.
Try setting strict limits on what stays on your desk. Keep only the essentials visible—your calendar, a couple of pens, and maybe your laptop. Everything else should have a home nearby, but off the desktop, so you can grab it when needed without clutter weighing you down all day. It’s not about removing tools but about controlling the mess that slows you down.
Ask yourself which items you actually pick up multiple times a day. If something rarely gets touched, maybe it doesn’t belong front and center. This small adjustment could clear mental space, making planning less chaotic and more purposeful.
Ignoring Ergonomic Principles In Garden Desk
Gardeners setting up a desk often forget that comfort and posture really matter. I’ve seen setups where the chair is too low or the desk is just a flat surface, forcing awkward bending or twisting when handling seed packets or plant catalogs. It seems minor but these small aches can build up, distracting you from the task at hand.
Think about chair height and support. Your feet should rest flat on the floor and your back shouldn’t be hunched over. The desk should be at a height that lets you work without raising your shoulders or bending wrists excessively. Even something as simple as a small adjustable stand for your laptop or a slanted board for writing notes can make a difference.
Gardening involves patience and detail, so your workspace should help you stay steady and comfortable—otherwise, you might find yourself avoiding your desk altogether or rushing through tasks to escape discomfort.
Comparing Desks For Event Vs Garden Use
Space And Storage Needs Comparison
When you look at desks for event planning versus home gardening, the difference in space needs is pretty clear. Event planners often require a larger, flatter surface to spread out papers, laptops, and other tech—sometimes even multiple screens. There’s also a need for drawers or side compartments to stash calendars, contracts, and stationery. You’d want everything organized but within easy reach. The space tends to be a bit more structured and tech-heavy.
On the other hand, gardening desks are usually more compact but need robust storage for tools like pruning shears, gloves, seed packets, and maybe small pots. The surfaces could be a bit messier—with soil, water, or plant clippings making frequent appearances. Unlike the clean lines event planners prefer, gardeners might sacrifice neatness for sturdiness and easy cleanup.
Tool Accessibility Differences
Tool arrangement changes quite a bit from event planning to gardening. Event planners tend to keep their tools—pens, tablets, phones—grouped by function, often in dedicated holders or trays to avoid clutter. Quick access is key, but clutter can quickly bog productivity down, so a consistent layout is essential.
Gardening desks, meanwhile, favor open accessibility. Tools are often hung within arm’s reach or kept in open containers because gardeners need to switch between them quickly and sometimes even with dirty hands. You might find a pegboard or hooks nearby rather than drawers. Would you want to fumble for a pair of shears when your hands are wet or dirty? Probably not.
These differences highlight how desk setups reflect the unique demands of each activity—and how your workspace should ideally adapt to your tasks, not the other way around.
Step By Step Desk Setup Process
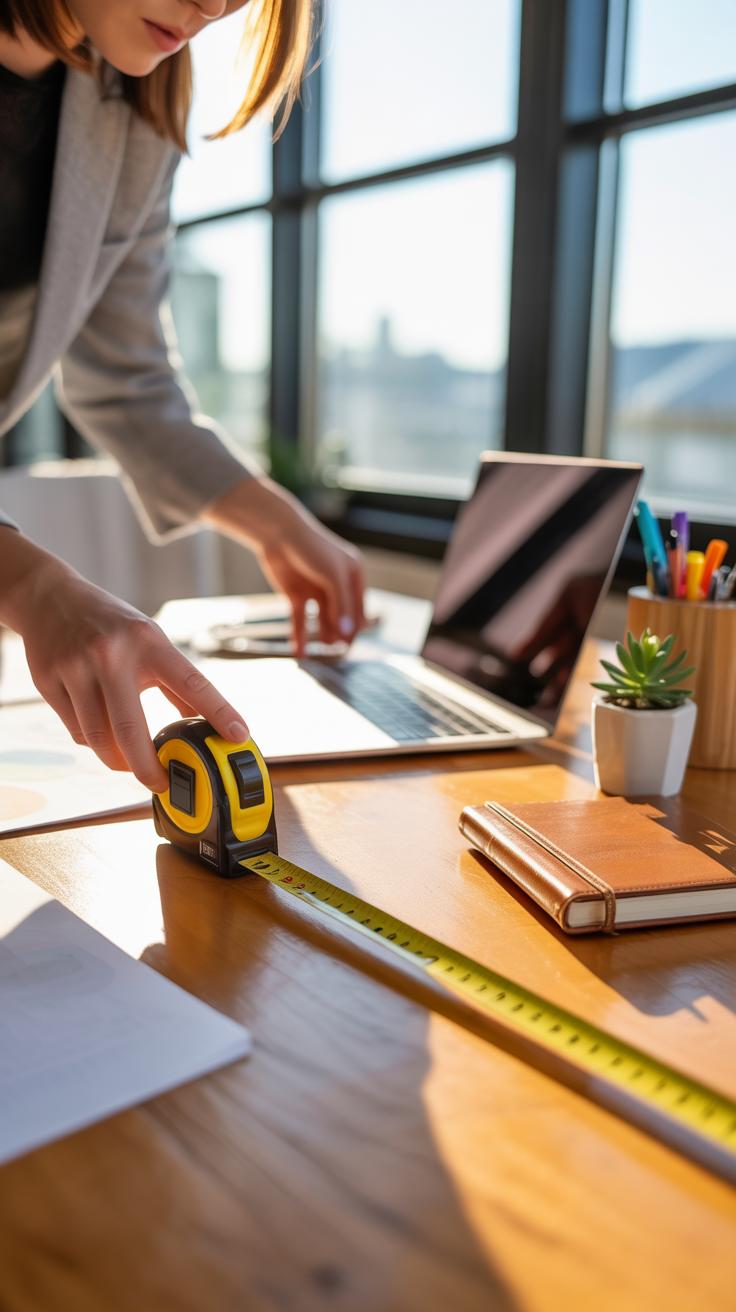
Initial Space Clearing And Measurement
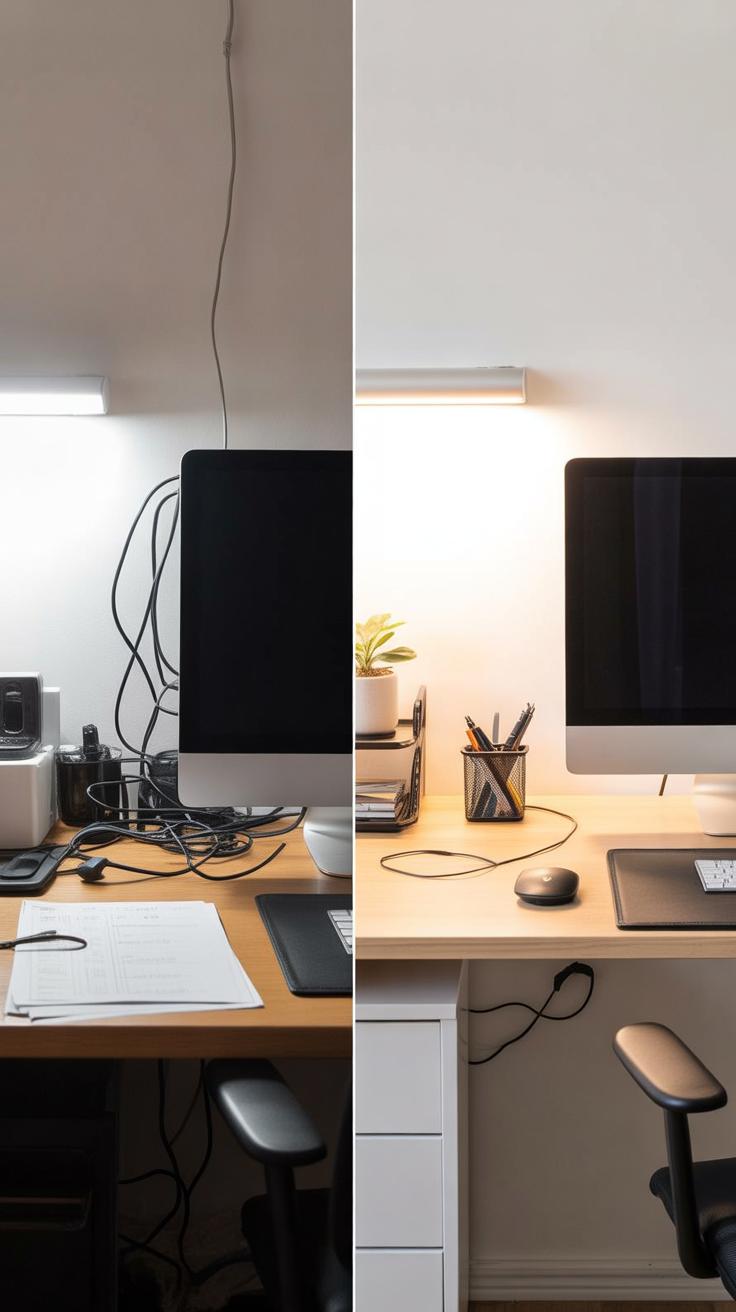
Start by completely clearing your desk—take everything off. It might seem obvious, but I’ve often skipped this step and ended up shifting things around endlessly. Give yourself a clean slate. Once the surface is empty, take some measurements—width, depth, and any nearby wall space or shelves that could affect placement.
Measure not just the desk itself but think about the height you’ll be working at, too. Especially for event planning or gardening tasks, you want enough room to spread out maps, seed packets, plant tags, or client notes without feeling cramped. If you underestimate space, you’ll struggle later on.
Don’t stress about perfection yet. Just get a general sense of where things might fit. This initial step tends to save a lot of time because it helps avoid awkward setups that you’ll want to redo.
Arranging And Testing Layout
Once you have your measurements and a clean desk, start placing key items where you think they’ll work best. Place tools, notebooks, or tech gear where they feel accessible without cluttering the main work area.
Try to arrange your space by how you naturally work. For example, if you’re right-handed and often jot down notes while referencing a calendar or client list, keep those items on your right side. If you switch between planning events and gardening notes, you might want to separate those zones. I discovered keeping gardening references to one side helped keep the mental clutter down.
Test your setup by actually working for a while. Move a few things, even after you think the layout is set. Maybe your watering can gets in the way or you need the laptop closer when browsing online catalogs. The point is to find what feels comfortable and allows your tasks to flow smoothly. It rarely clicks perfectly the first time.
Practical Examples Of Desk Layouts
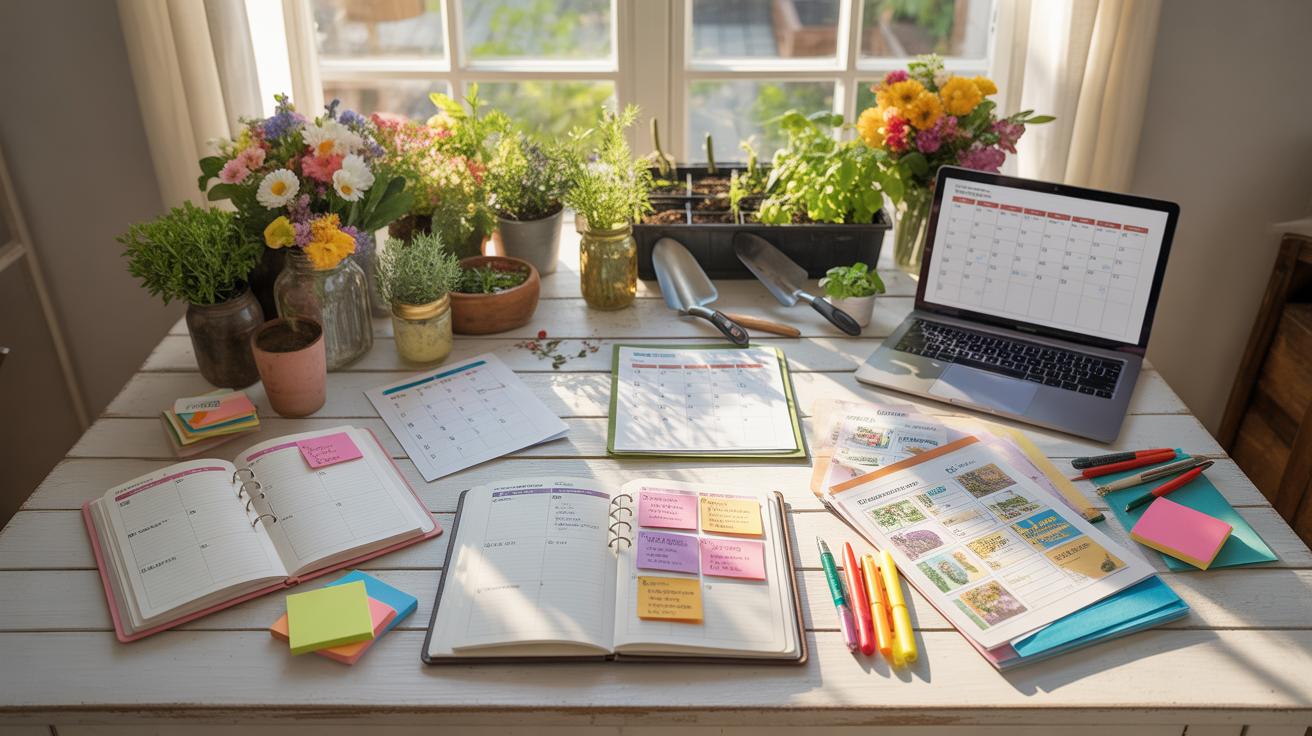
Event Planning Desk Layout Example
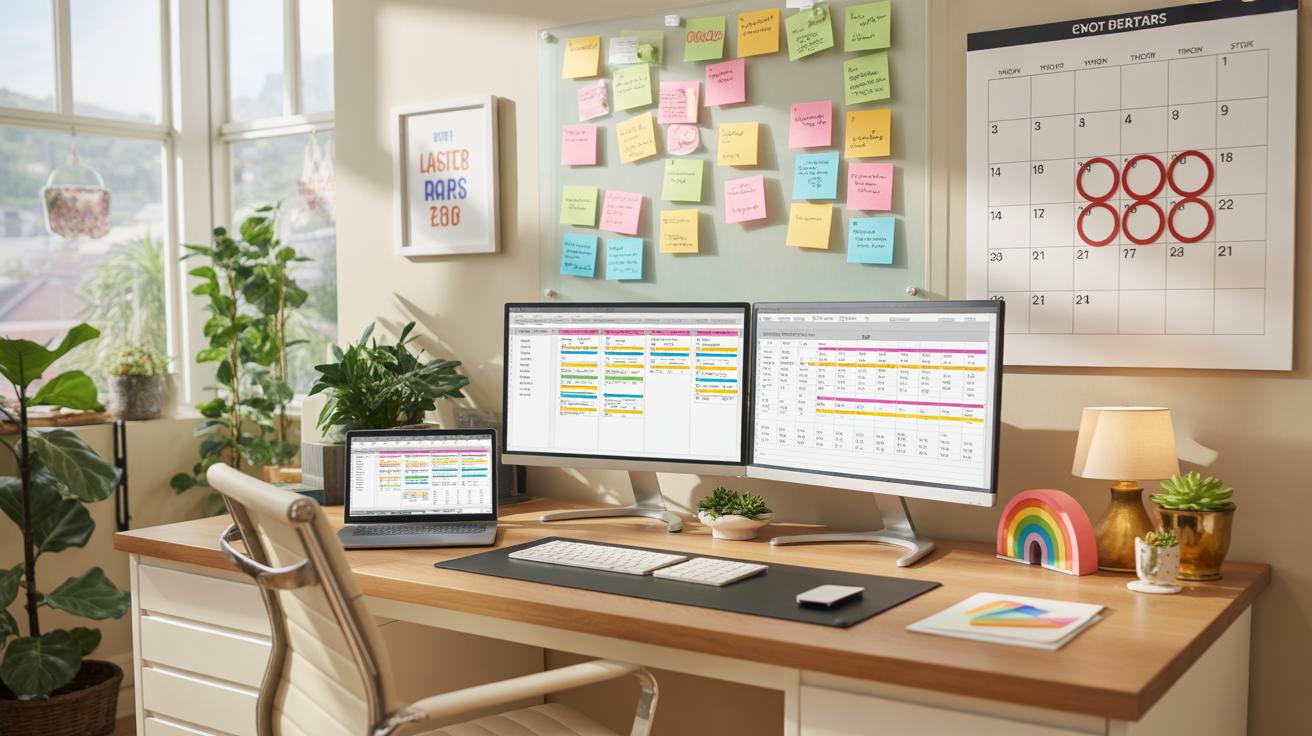
Picture an event planner’s desk—there’s a lot going on, and space matters. On the left, a stack of client folders and contracts sits within arm’s reach, so you can quickly pull up details without hunting around. Right front and center is the calendar—paper or digital screen—that dominates the workspace, because dates drive everything. Pens, highlighters, and sticky notes cluster to the right, easy to grab when last-minute annotations are needed.
A laptop or desktop anchors the center, but usually tilted a bit to leave room for a notepad right beside it. Some planners prefer building a small pinboard above the desk for visual cues—venue ideas, color swatches, or timelines. Oddly enough, having a clear zone in front where you jot quick thoughts or sketches can make a big difference, even if it feels like wasted space at first.
Maybe the desk isn’t perfect for everyone, but the blend of right-hand accessibility with organized chaos at the edges seems to work. Does your setup feel cluttered, or is it just enough stimuli to keep you sharp?
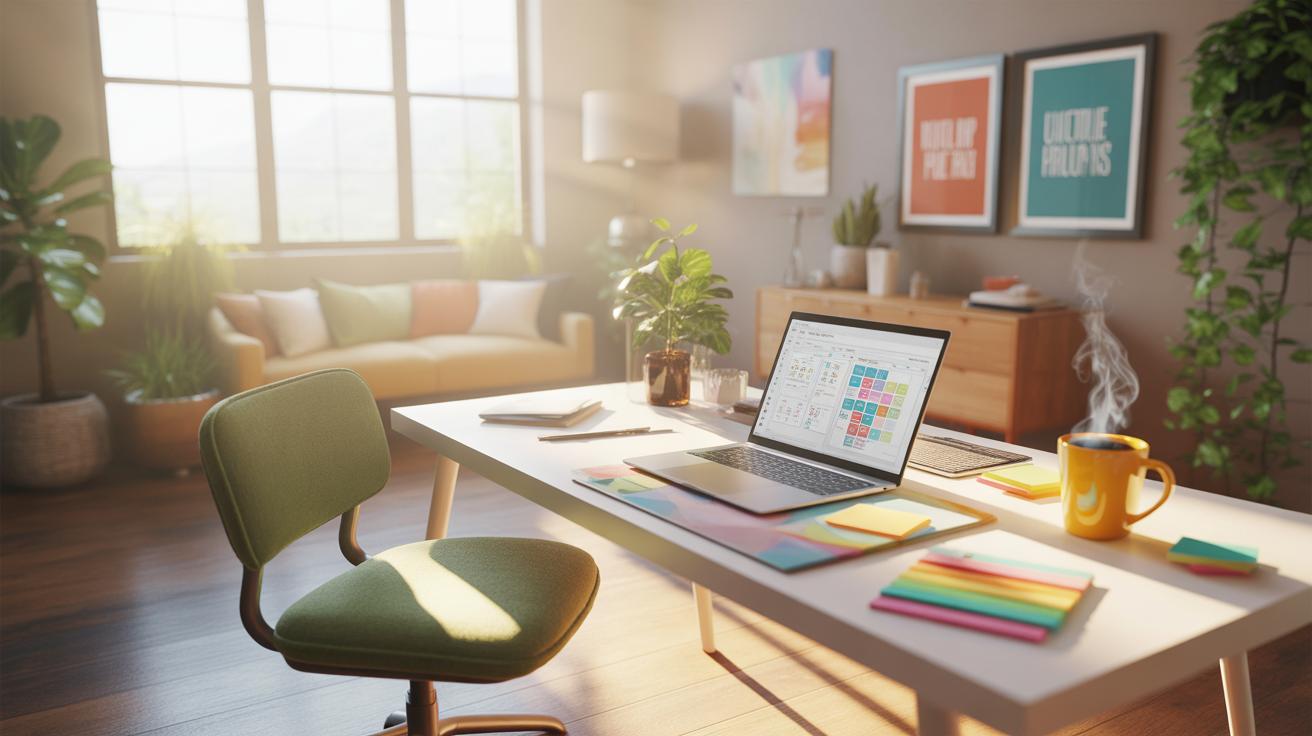
Home Garden Desk Layout Example
For garden lovers, the desk morphs into a hybrid station between workspace and potting table. Seed packets spread out near a shallow tray on one side, while small tools—pruners, labels, twine—rest in a divided caddy close by. A well-used gardening journal or plant care book often lies open, sometimes with a faded bookmark holding a place.
Light plays a big role here. Positioning the desk near a window helps, but on the desk itself, you might find a small magnifying glass or a soil test kit nearby. Plants or small pots sneak onto the corners, though that’s not always tidy. Reference cards, a calendar tracking bloom times or watering schedules, and digital devices for quick research complete the picture.
There’s usually a tactile, hands-on feel to this setup, different from the sleekness of an office desk. It’s about balance—keeping nature close but the tools accessible. Maybe you’ve tried arranging things differently and found some elements just don’t fit well. What’s missing from your gardening station that could make it better?
Tracking Workspace Metrics For Adjustment

Measuring how your desk layout performs over time isn’t just about setting it once and forgetting it. You need an ongoing approach to see what parts of your workspace truly get used, and which ones collect dust. One way is to track the duration and frequency of use for different zones on your desk. This might sound tedious, but simple logs can reveal surprising patterns—like how often you reach for planners versus your laptop, or if that corner dedicated to gardening notes actually gets consulted.
Recording usage can be done with a quick tally system or even an app if you’re that organized. Timing how long you spend on particular tasks or using certain tools gives concrete clues. For example, if you notice a drawer seldom opens, maybe its contents could be relocated closer, or removed entirely.
Feedback from the person using the desk (that could be you) is key. Ask yourself or coworkers what feels cramped or awkward. Maybe a keyboard spot is too far, or the phone base blocks your notes. Making changes based on this input, even small tweaks, often improves workflow—not immediately obvious but definitely felt after a few days.
So, keep a rough diary, stay curious about your habits, and don’t hesitate to move things around a bit. Sometimes, a subtle shift redefines how your desk supports your day.
Conclusions
A well-planned desk layout supports your daily tasks in event planning and home gardening. By focusing on desk size, item placement, and proper tools, you create a smooth workflow that reduces clutter and frustration.
Use the checklist and examples in this article to design your desk setup. Adjust according to your specific needs and watch your productivity improve as your workspace becomes more organized and functional.