Introduction
Spooky Chic Polymer Clay Halloween Accessories To Make is a creative way to enjoy the Halloween season. Polymer clay is a soft, pliable material that hardens when baked, making it perfect for crafting. With Halloween’s rich tradition of spooky and fun motifs, you can use polymer clay to create unique and personal accessories that stand out.
This article will guide you through the basics of polymer clay, the most popular Halloween designs, and simple crafting techniques. You’ll find practical tips to make your own spooky necklaces, earrings, charms, and decorations. Get ready to bring your Halloween spirit to life with polymer clay creations!
Introduction to Polymer Clay for Halloween
If you haven’t worked with polymer clay before, it might seem a bit mysterious. In simple terms, polymer clay is a soft, moldable material made from a type of plastic called PVC that you can shape however you like. Once you’ve finished creating your design, you bake it in a regular oven, and it hardens into a durable, solid form. It’s like clay that becomes permanent after a quick trip to your oven. I always find this quite handy—not needing special equipment at all feels pretty convenient.
What makes it great for Halloween accessories? First, it’s really easy to shape even if you don’t have much experience. You can roll it, pinch it, sculpt tiny details—whatever suits your mood. It also comes in tons of colors, so you can mix them together or paint over the baked piece if you want. And after baking, it becomes solid enough to hold up as jewelry, charms, or even decorations without falling apart. The fact that you bake it at home, right in your kitchen oven, means you don’t need a kiln or anything complicated.
Polymer clay is surprisingly versatile. You might be tempted to stick with the basic black and orange for Halloween, but you could also create translucent ghosts or glowing green witches. The possibilities extend way beyond simple shapes. A bit like a blank canvas that won’t dry out while you work, it allows for last-minute changes or experimentation—which, depending on your creative energy, can be a bit of a double-edged sword. So, if you’re wondering whether polymer clay is the right material for your Halloween crafting, it really depends on how much you want to play with shape, color, and texture.
Selecting Halloween Themes and Designs
Choosing the right Halloween motif for your polymer clay project can feel overwhelming at first. There are so many icons to pick from, and each one sets a different tone. Maybe you want to embrace the classic spooky vibe? Or, perhaps your style leans more toward something playful or even a little cute. The choice is yours—and it often depends on how you plan to wear or gift your creations.
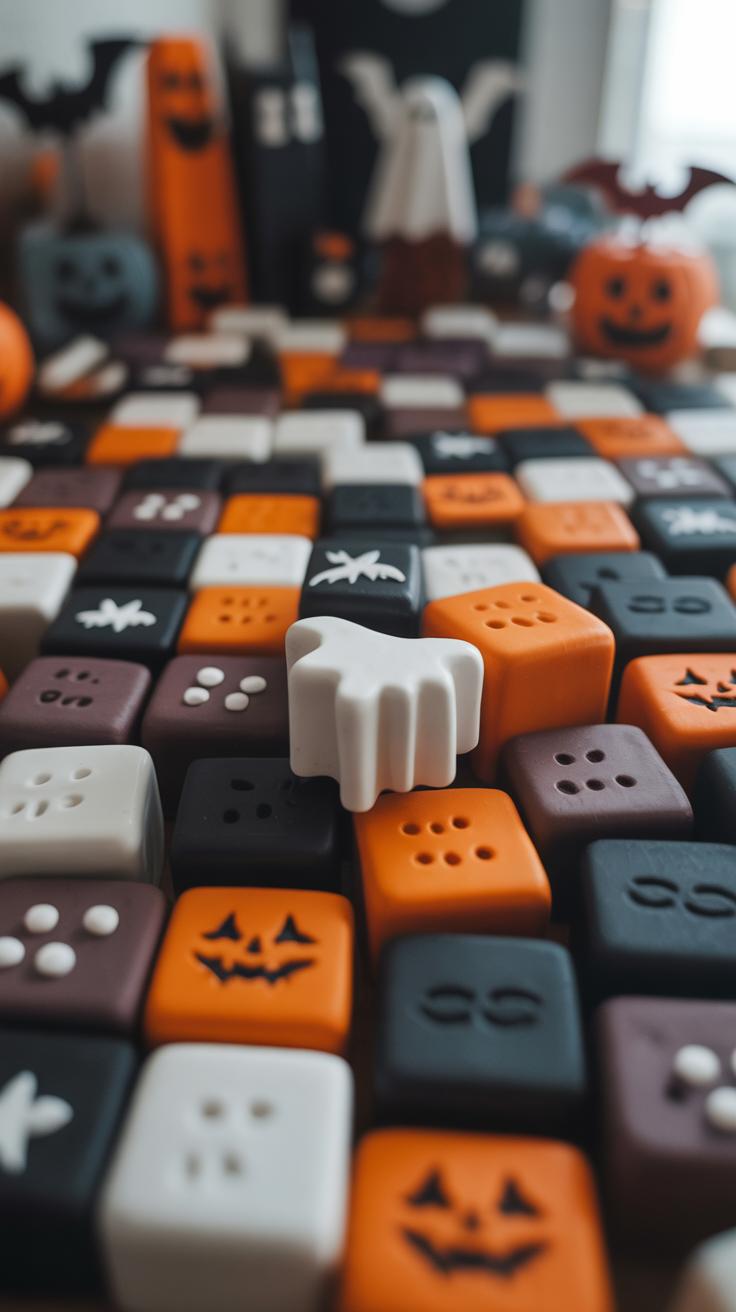
Some popular Halloween images are pretty easy to shape in clay and instantly recognizable: pumpkins, ghosts, bats, and witches top the list. Think about jack-o-lanterns with their uneven toothy grins or simple ghost shapes with flowing, sheet-like bodies. Black cats with curved backs, skulls, and spiders can add a bit of edge or eeriness without too much fuss. These figures tend to be forgiving for beginners but can also be dressed up with details if you like.
When deciding your style, ask yourself: do you want your accessories to feel creepy and eerie, or light-hearted and fun? Maybe even a mix—something that’s spooky but also invites smiles? For example, a tiny witch hat with a quirky bend in the tip might look cute rather than menacing. On the other hand, a skull with cracks and hollow eyes could lean toward the scary side. Your personal taste will guide how simple or elaborate your designs become.
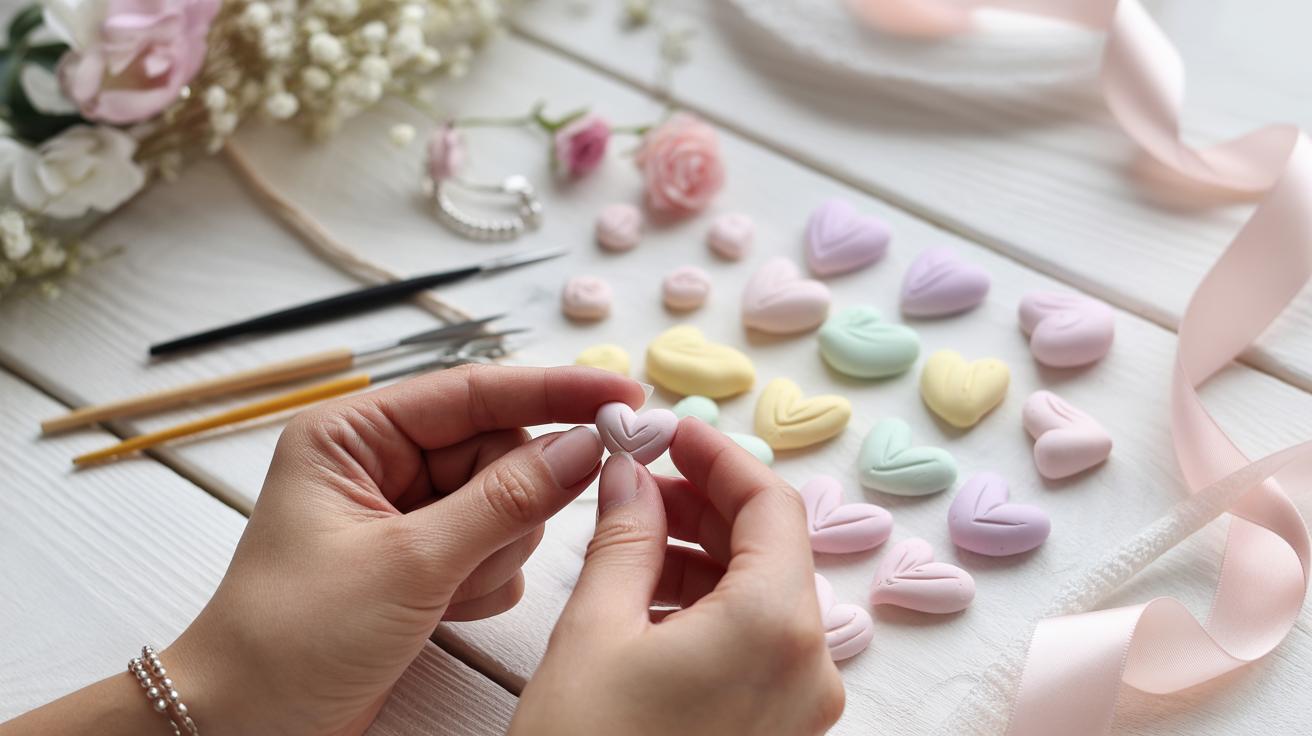
Try sketching out a few ideas or browsing images to see what appeals. Remember, even the same icon can feel very different depending on colors and shapes. Are you going for bold orange pumpkins or pastel-toned ones that soften the Halloween theme? These small choices shape your overall vibe more than you might expect.
Tools and Materials You Need
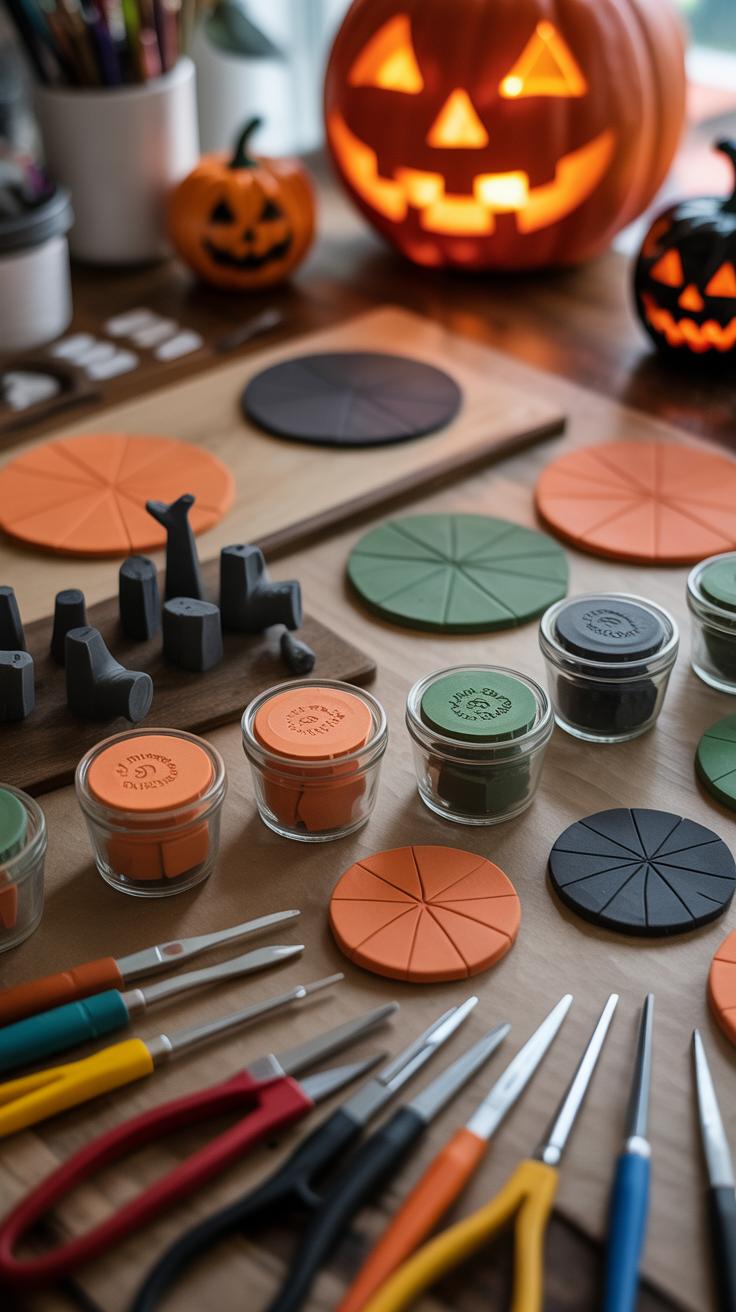
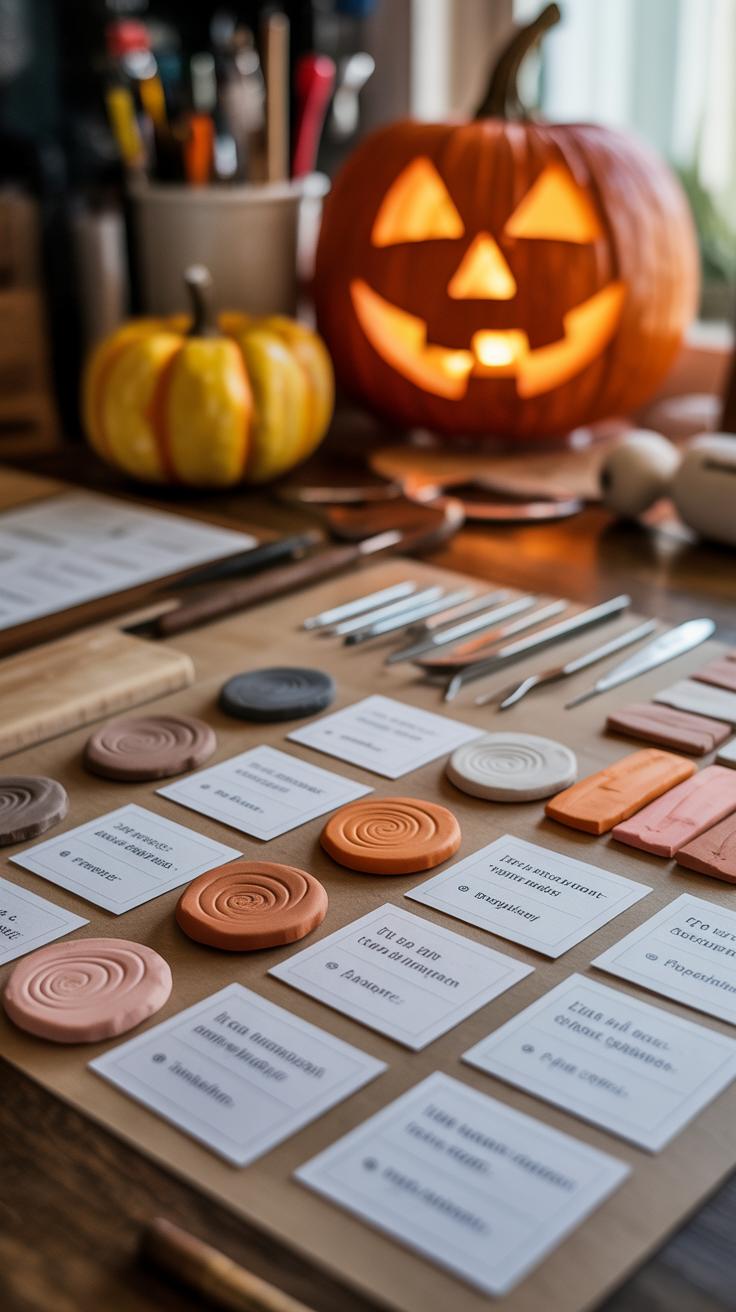
Starting your polymer clay Halloween project means gathering a few essentials—without them, you might find yourself stuck or frustrated. Let’s begin with the clay itself. Brands like Sculpey, Fimo, and Premo are popular choices, each with their own feel and firmness. I tend to favor Premo for its smooth texture and vibrant colors, but honestly, it depends on your preference. You might want to try a small pack of each before committing.
Color matters, especially for Halloween themes. Look for classic shades like deep blacks, bright oranges, and ghostly whites. Some brands offer translucent or glow-in-the-dark options, which could add an eerie twist. Don’t forget you can mix colors to get unique shades—sometimes that little imperfection in mixing creates unexpectedly cool results.
For tools, getting a handful of small sculpting tools will make details easier—think tiny blades, fine-tipped needles, and ball tools. Even simple household items like toothpicks can work in a pinch. Embellishments like miniature beads, tiny googly eyes, or glitter can turn a simple shape into something memorable—and maybe a bit creepy.
Baking your creations is where things can go wrong if not careful. A home oven works fine, but consistency in temperature matters a lot. Most clays bake at about 265°F to 275°F for 15-30 minutes per quarter inch thickness. Use an oven thermometer if you can, since many ovens aren’t totally accurate. Place your pieces on ceramic tiles or baking sheets lined with parchment paper to avoid sticking. If you see smoke or smell burnt plastic, pull them out immediately. Sometimes ovens run hotter in spots, so rotating trays halfway through can help avoid uneven baking. It’s a bit trial and error at first, but you’ll figure out what your oven does.
Do you already have some tools lying around? You might find you don’t need everything new upfront. I once got by just with a small knife, toothpicks, and a needle. Slowly, you’ll learn what feels right for your process, and that’s perfectly okay.
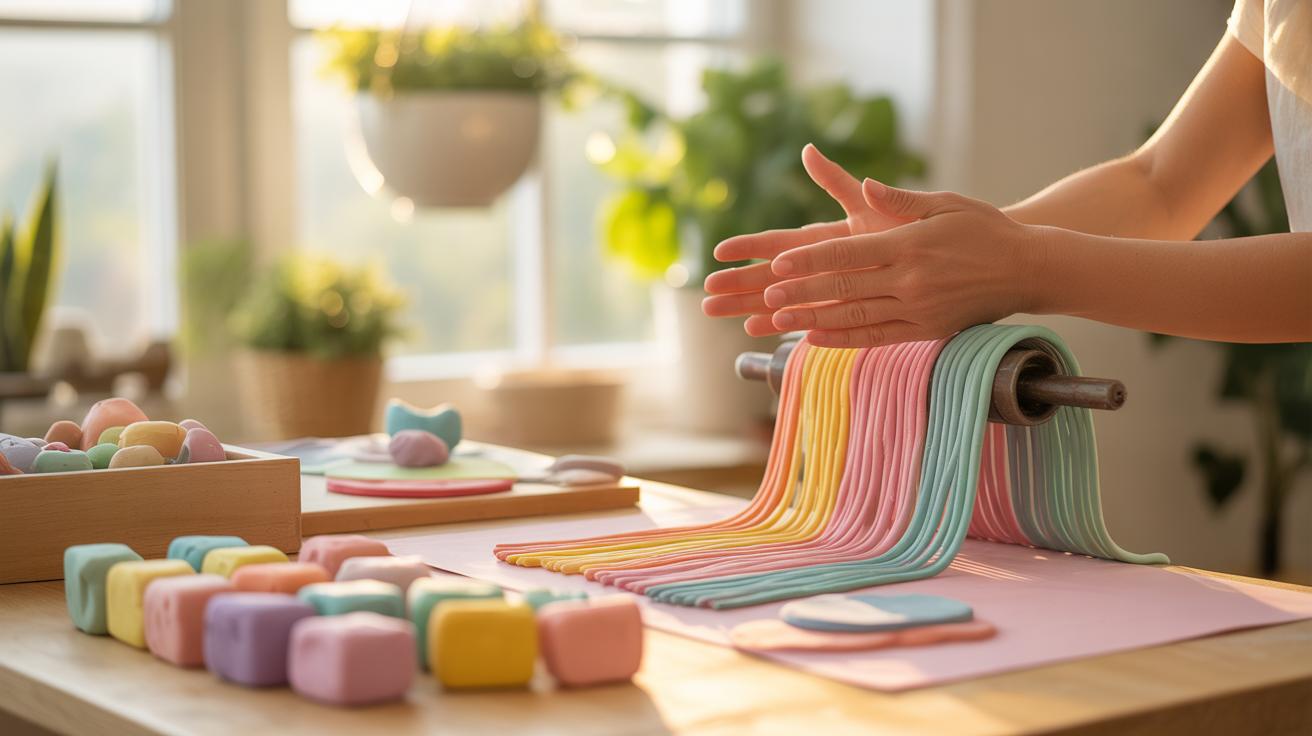
Basic Polymer Clay Techniques for Halloween
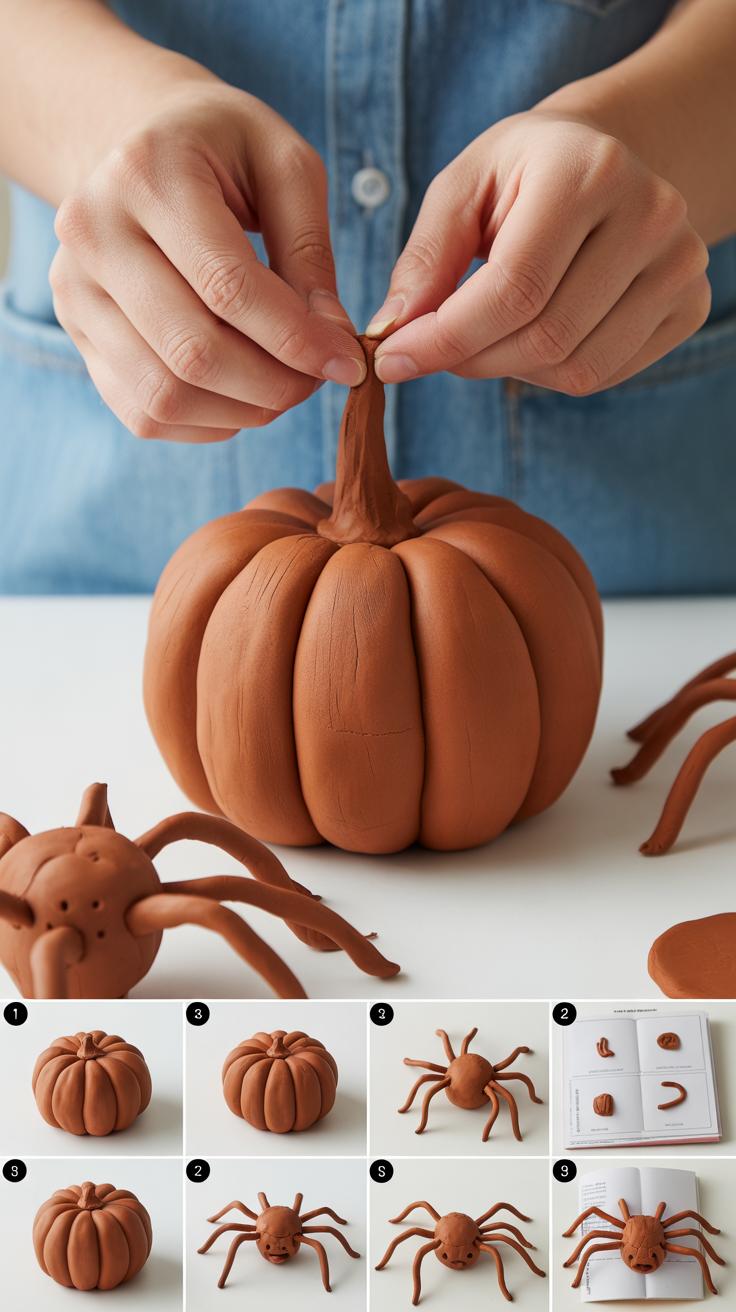
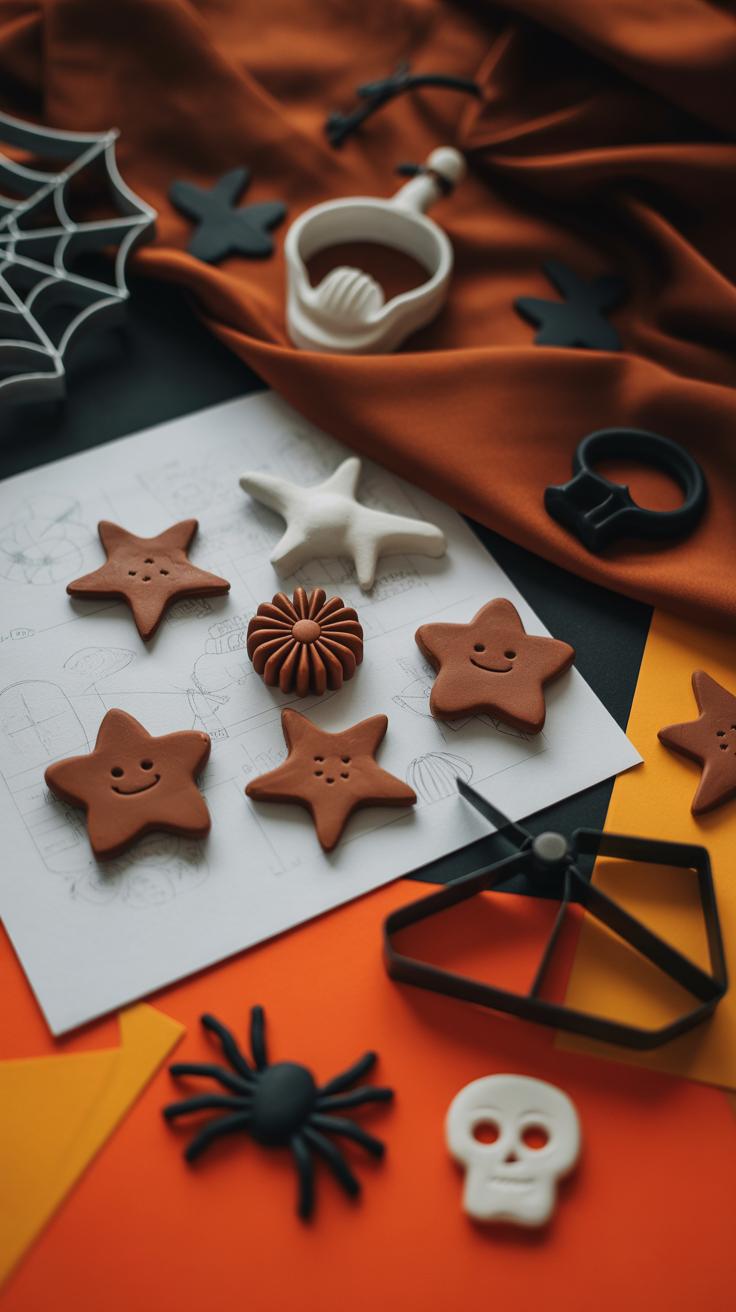
Working with polymer clay for Halloween shapes like pumpkins and bats starts with good clay prep. Conditioning the clay by kneading it in your hands softens it, making it easier to shape. You’ll want to roll it evenly on a smooth surface—something like a ceramic tile works well—to get a nice flat sheet. Don’t rush this step; uneven thickness can make your pieces look odd or bake unevenly.
For cutting shapes, simple tools like cookie cutters or craft knives do the trick. But don’t forget small details—those eyes, bat wings, or pumpkin ridges add personality and make the accessories more fun. For these, hand-sculpting with fine tools or even toothpicks lets you refine the look. Sometimes it’s those little quirks that make a piece memorable.
Color mixing is surprisingly simple but can totally change your design. Mixing orange with just a touch of yellow or brown creates pumpkin hues that feel more natural—and less “plastic.” Think about how shadows and highlights work in real life, then try adding slight color variations in your clay. Textures can bring another level of interest, too. Pressing a toothbrush or a textured fabric onto the clay surface before baking gives your pumpkins a bit of roughness or lets bats look furry, for example.
It may feel a bit fiddly at first, but experimenting with shapes, colors, and textures helps you find your style. What small details do you notice in Halloween decorations around you? Try to mimic those—they make your creations more vivid, even if you’re a beginner.
Creating Halloween Jewelry with Polymer Clay
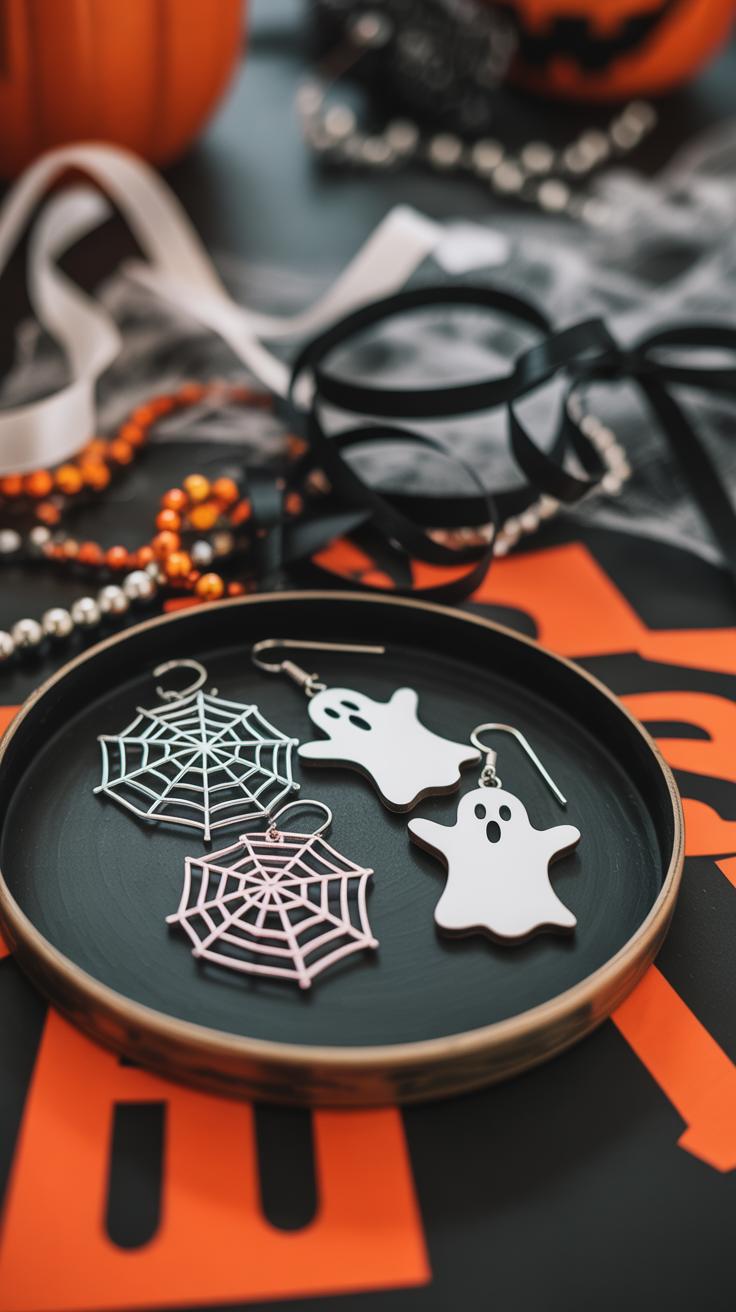
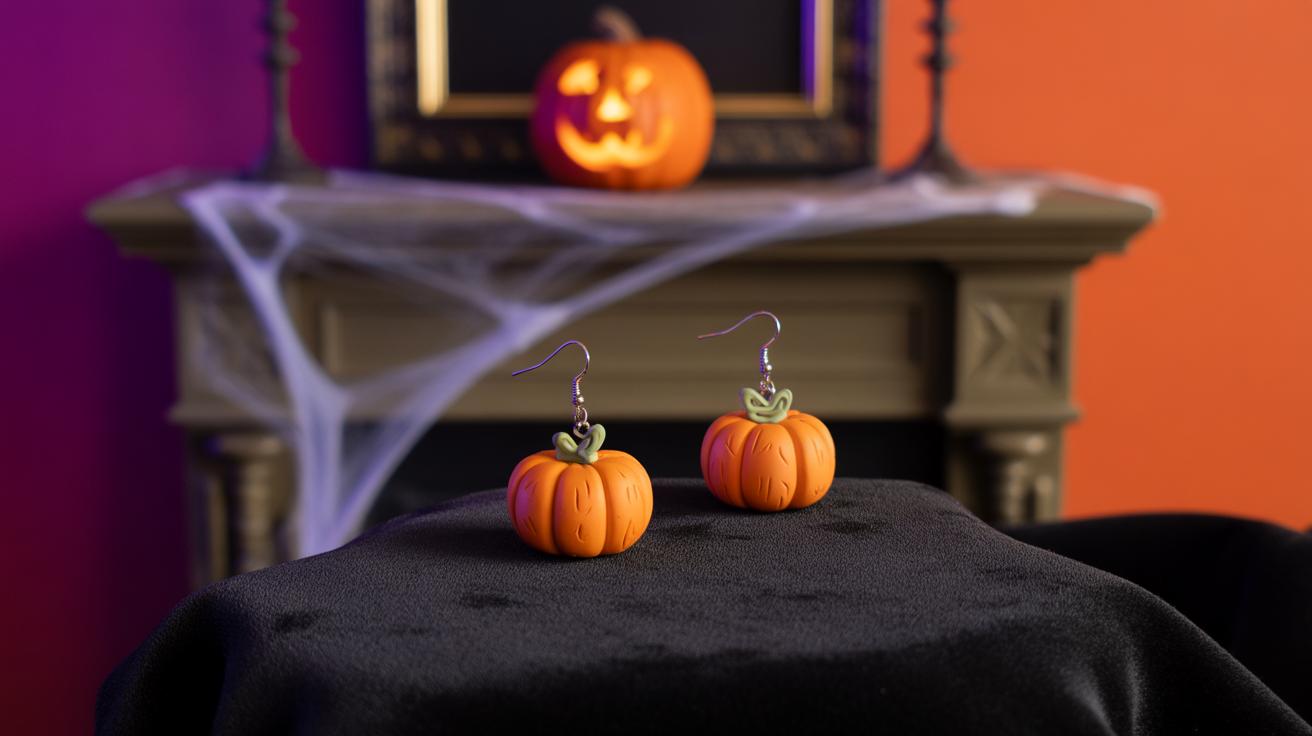
Making your own Halloween jewelry from polymer clay opens up a world of fun, and maybe a little eerie, creativity. You can turn simple clay shapes into wearable art, like spooky earrings or quirky charms. Start by crafting classic Halloween icons—think tiny pumpkins, ghosts, or skulls. Use basic shapes like circles, ovals, and triangles, then add details with fine tools or even a toothpick. Once baked, these pieces can easily become earrings or pendants by attaching small metal findings.
Making Earrings and Charms
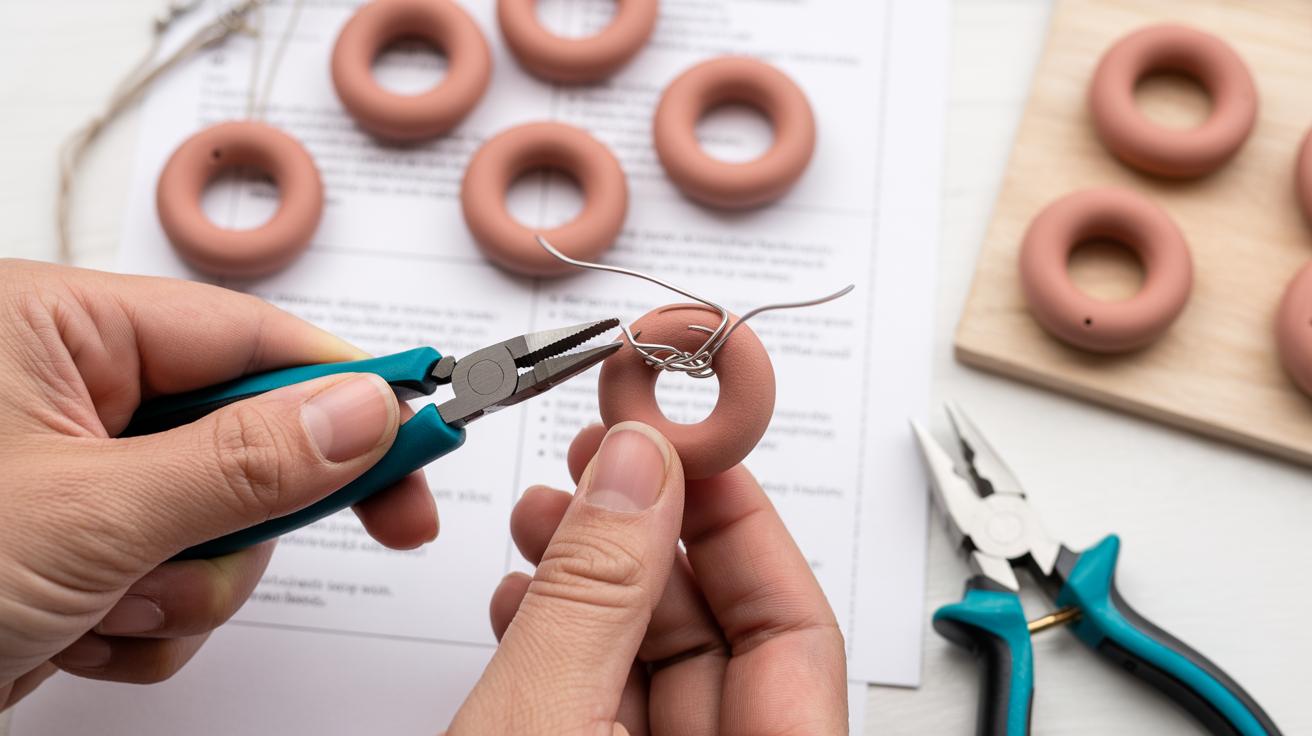
Begin by shaping small, lightweight clay pieces, since earrings shouldn’t be too heavy. You might make a pair of mini bats or black cats. After baking, poke holes close to the top for jump rings or eye pins. Attach earring hooks or chains with pliers—simple but effective. Don’t forget to sand rough edges lightly for comfort.
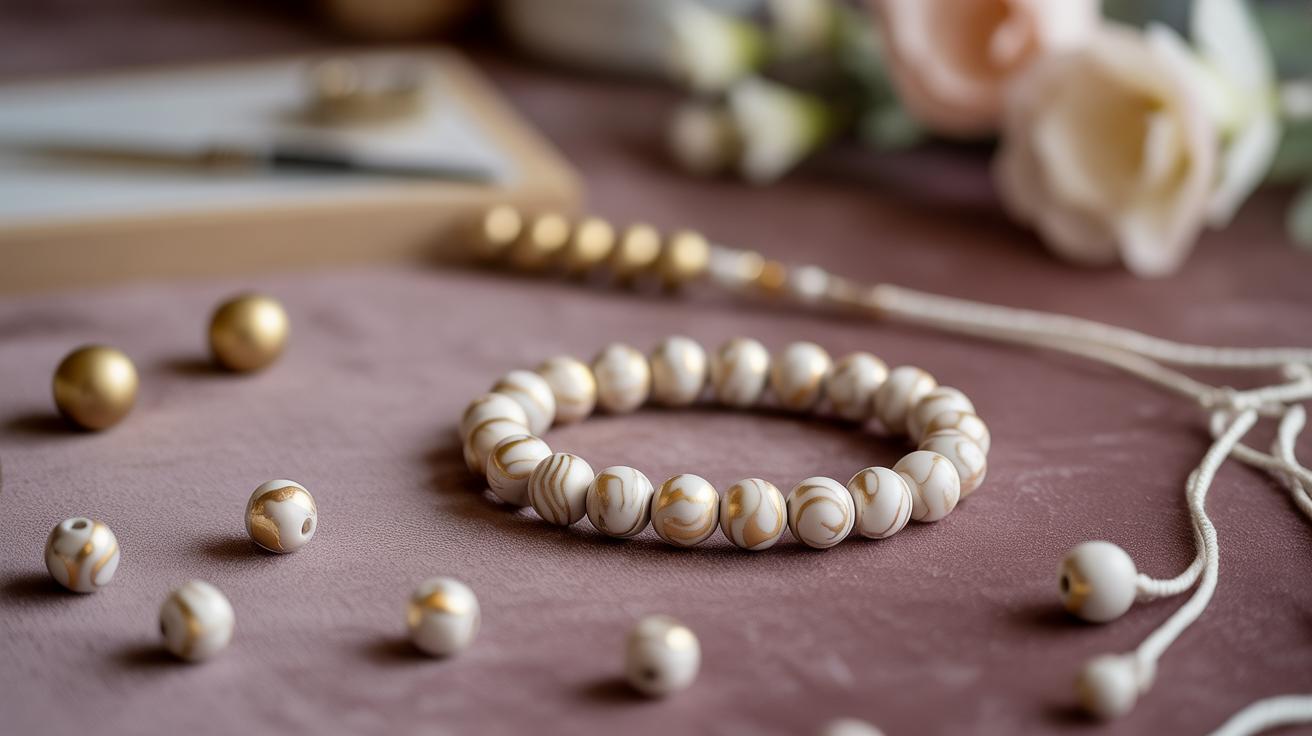
Assembling Necklaces and Bracelets
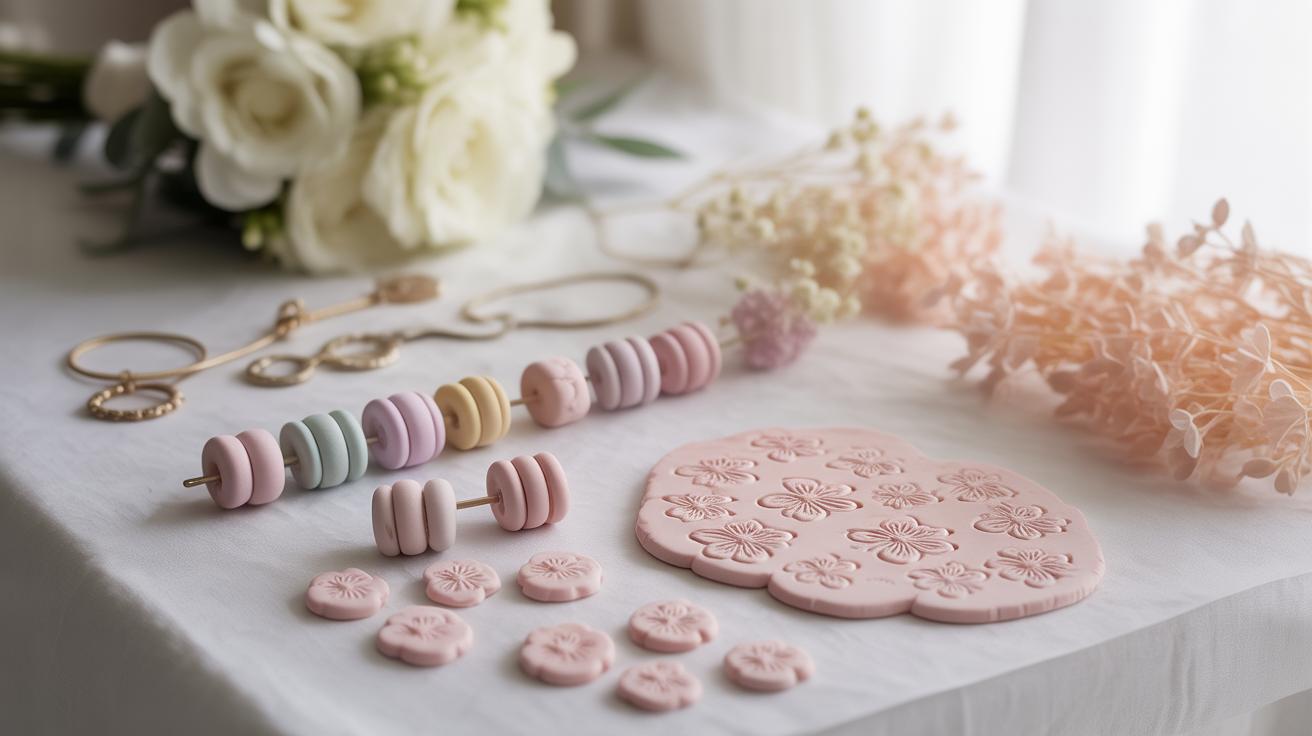
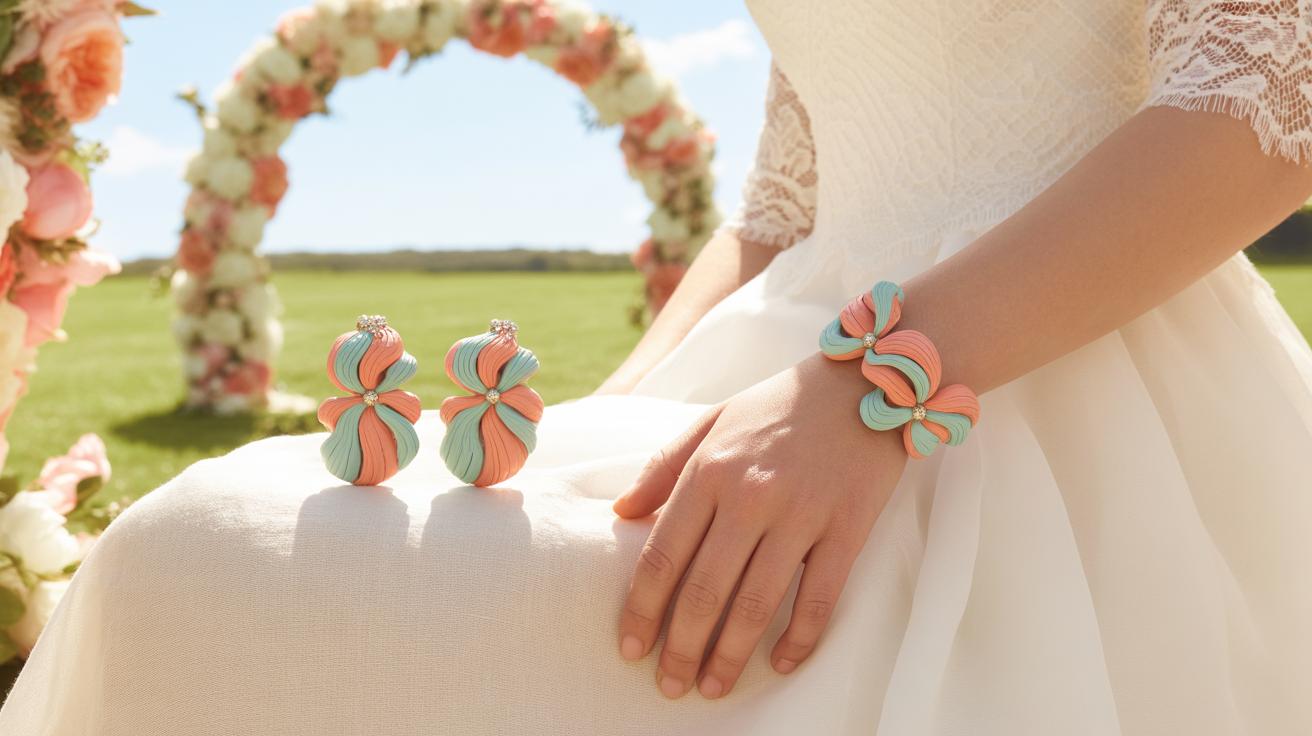
For necklaces or bracelets, string polymer clay beads or pendants on leather cords, nylon thread, or even stretchy wire. Consider mixing shaped beads with plain ones for balance. Try grouping a cluster of charms on a single chain or place single focal pendants centered on a necklace. Assembling these pieces involves little more than threading and knotting, but the results can be surprisingly striking. The way you combine colors or textures can add as much personality as the clay shapes themselves.
Decorating Your Home with Polymer Clay
You might find polymer clay surprisingly suited for Halloween home decor—small, lightweight, and easy to shape into anything spooky. Whether you want cute little pumpkins or eerie bats, these pieces add character without overwhelming your space.
Start with magnets for your fridge or any metal surface. Flat, painted shapes like witches’ hats or candy corns work well here. Or try making tiny 3D skulls or spiders. You can embed a small magnet on the back before baking—the process is pretty straightforward but flexible enough to let you experiment.
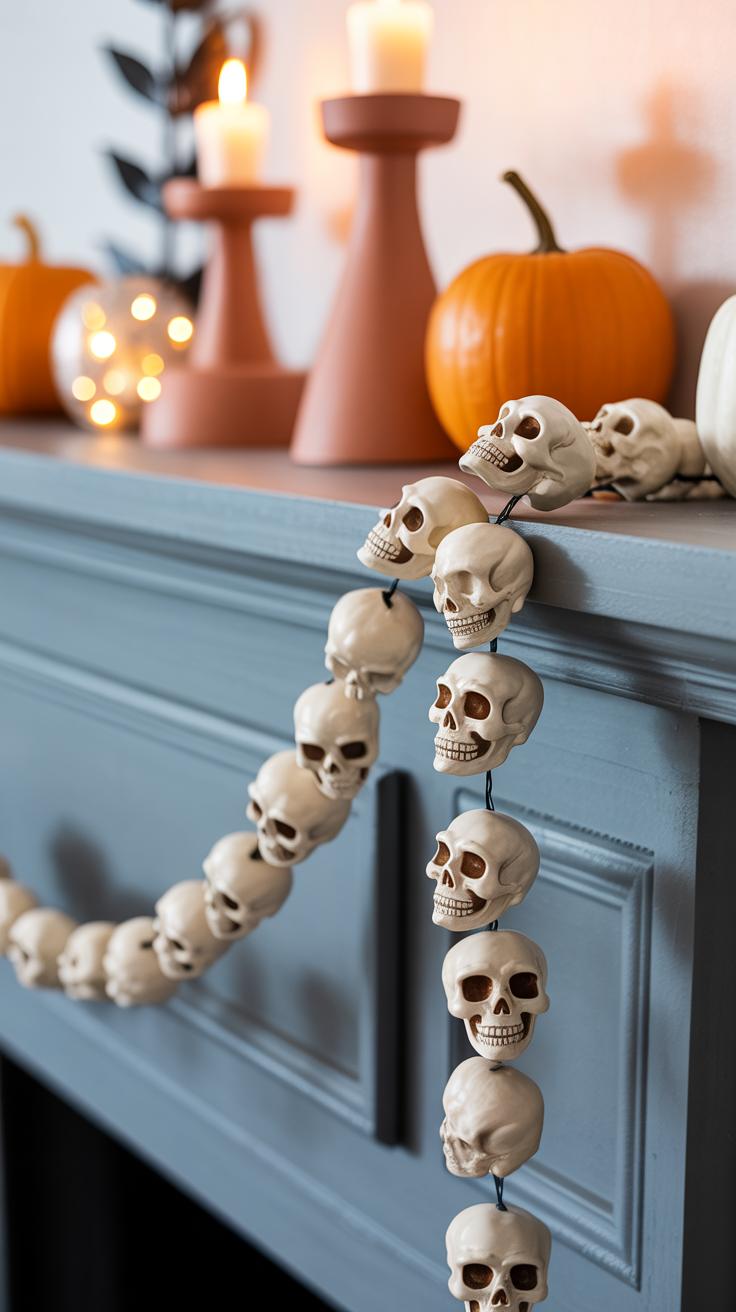
Mini decorations are great too. Think about crafting tiny pumpkins to scatter on shelves or little ghosts to perch on mantels. I once made a dozen tiny candy buckets and lined them up on a window sill—it made the whole room feel subtly festive, without trying too hard.
To display your creations, consider:
- Attaching polymer clay accents to a wreath, mixing them with natural elements like twigs or pinecones—gives it a textured, homemade feel.
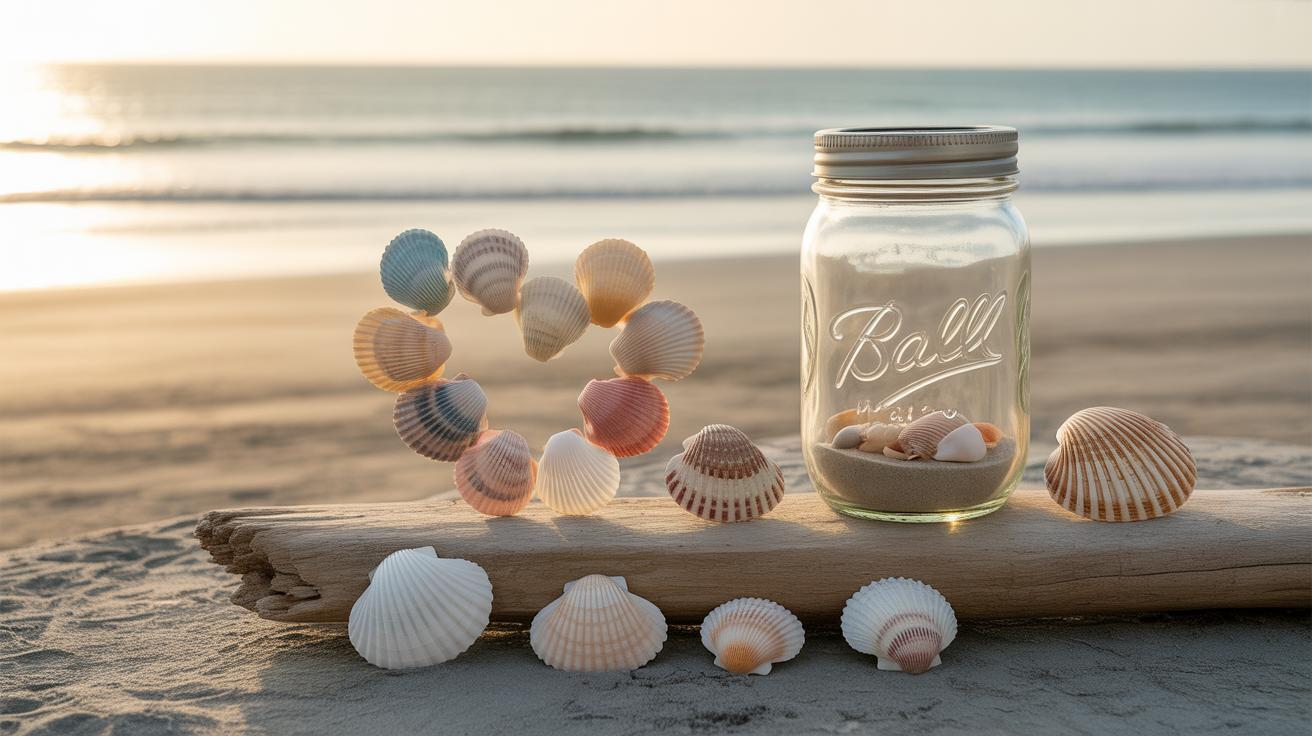
- Holding clusters of mini decorations inside clear jars or glass bowls; adding fake spider webs can boost the mood quickly.
- Incorporating your pieces into a spooky centerpiece with candles and dry leaves—placement on felt or dark fabric helps them pop visually.
Do you want your Halloween decor to feel polished or more casual? Sometimes I lean towards loosely arranged settings that invite discovery, rather than perfectly symmetrical displays. This unpredictability might make your polymer clay pieces feel more personal—and frankly, it’s more fun to mix things up a bit.
Customizing and Finishing Your Projects
Once your polymer clay Halloween pieces are baked and cooled, there’s still room to enhance their appearance and strength. Painting can bring out details that clay alone might miss. Acrylic paints work well here—they stick nicely and dry fairly quickly. You might want to experiment with washes or layering colors for depth, especially on spooky motifs like pumpkins or skulls. I’ve found that even a light dab of white paint highlights textures surprisingly well.
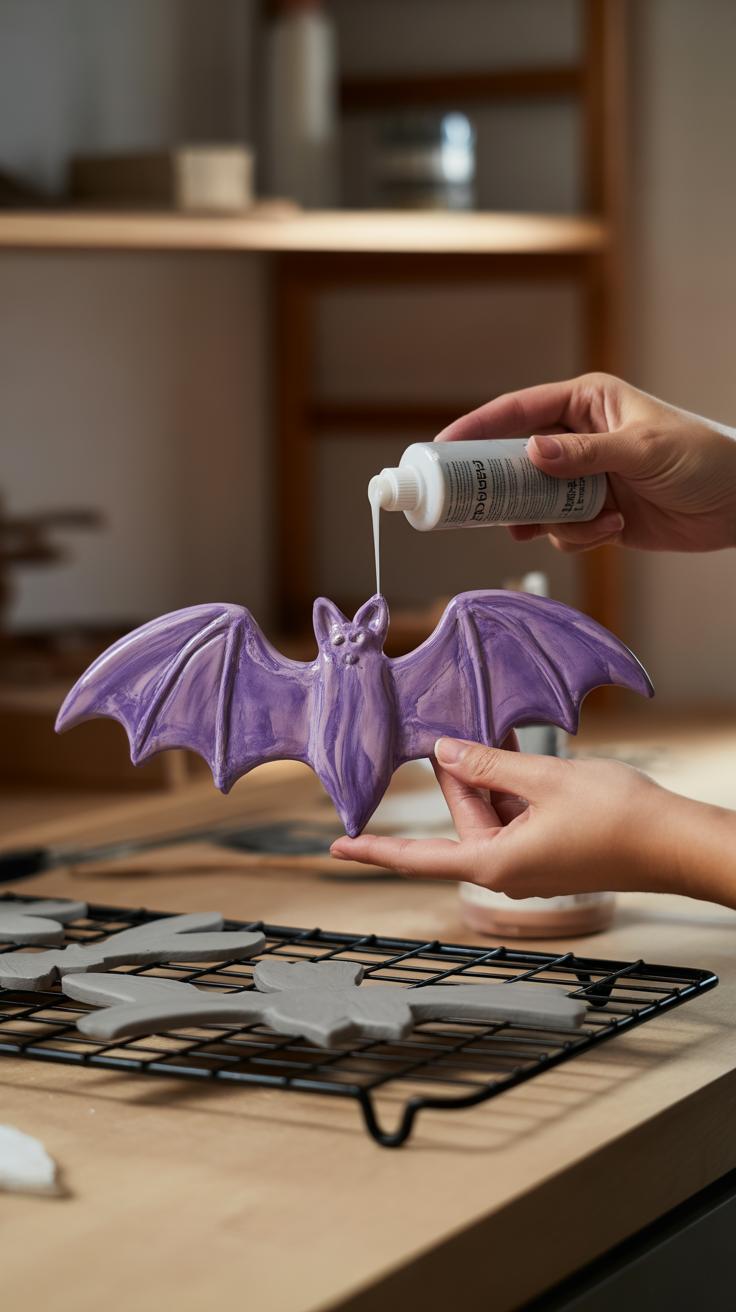
After painting, sealing is key to protect your work. Clear sealants add a subtle shine and help shield paint from scratches. You can pick matte, gloss, or satin finishes depending on your vibe. Sometimes, I go for a glossy look on glossy pumpkin faces but keep a matte finish on ghost charms to maintain their eerie dullness. It’s a bit of personal choice and the mood you want to create.
Next, think about how you’ll wear or display your creations. Adding hooks, chains, or magnets turns plain clay shapes into functional accessories. Earring hooks can be attached with a bit of strong glue or by embedding eye pins before baking. Necklace chains can thread through loops or holes made in the clay ahead of time. Magnets work well on fridge decorations and are easy to glue on after finishing. Sometimes, attaching these finds takes patience—getting the angle right or waiting for glue to set without smudging the finish. But it’s satisfying once all comes together.
The final touches can really elevate simple pieces into something special. Maybe a tiny bead on a spider or a bit of glitter on a witch’s hat. Don’t be afraid to experiment; sometimes the most subtle tweaks make the biggest difference. Have you tried layering paints or mixing finishes yourself? It can be oddly addictive.
Tips for Successful Polymer Clay Halloween Crafts
Troubleshooting Common Issues
Bending, cracking, or unexpected color changes—these are some of the quirks you might face while making polymer clay Halloween accessories. For instance, if your pieces bend after baking, it often means the clay was too thin or uneven. Try making your designs a bit thicker or adding a wire armature inside for support. Cracks usually show up when the clay cures too fast or isn’t well-conditioned. Kneading the clay thoroughly before shaping can help—sometimes I skip this step and regret it later.
Color changes are tricky. Some clays darken or yellow if baked too long or at too high a temperature. Using an oven thermometer could save you from that surprise, even if you feel confident about your oven’s accuracy. Also, mixing clays from different brands or batches can give inconsistent results, so test small samples first.
Keeping Your Projects Safe and Long-lasting
Storing polymer clay accessories demands care, especially around Halloween when decorations are everywhere. Keep your finished pieces away from direct sunlight to avoid fading or warping. I usually wrap mine in soft cloth or place them in small airtight containers. Dust can settle in tiny crevices and dull the finish, so a gentle wipe with a dry brush or cloth helps.
Handling your accessories carefully goes a long way. Avoid dropping or bending them, particularly if you’ve added fine details. If a part breaks, simple super glue usually fixes it well, but repairing can alter the look a bit. In my experience, making extras or practice pieces isn’t a waste—it prepares you for mishaps and saves time later. Do you sometimes keep your attempts? They might surprise you as accidental designs.
Conclusions
Making Halloween accessories from polymer clay is an easy and rewarding hobby. You can express your creativity with a wide range of designs, from cute pumpkins to creepy ghosts. As you practice, your skills will improve and open more crafting possibilities.
Whether you want to make gifts, decorate your home, or create wearable art, polymer clay offers a fun way to celebrate Halloween. By following the steps and tips in this article, you can start crafting your own spooky chic accessories today. Enjoy the process and let your imagination guide you.