Introduction
Fimo is a versatile polymer clay that opens a world of possibilities for creating beautiful jewelry. This material is used worldwide due to its vibrant colors and ease of use. Whether you are a beginner or have experience, creating jewelry with Fimo for special events can be a fun and rewarding activity. This article will guide you through the essential steps and techniques to make your own stunning Fimo jewelry pieces.
From preparing the clay to advanced techniques like caning and marbling, this guide will cover everything you need. You will learn how to shape, bake, and finish your jewelry to impress at any special event. With clear instructions and helpful tips, you will have the confidence to craft your unique accessory collection.
What is Fimo Clay and Why Use It for Jewelry
Fimo clay is a type of polymer clay widely used for crafting jewelry. It’s made from soft plastic that remains pliable until heated in a home oven, where it hardens into a durable, solid form. This transformation allows you to shape delicate designs by hand or with tools, then bake them so your creations last.
Its popularity comes from several features that suit jewelry making especially well. For one, Fimo offers a smooth, almost dough-like texture that is easy to manipulate. You can create fine details or smooth surfaces without much effort. Plus, the clay comes in many colors and blends easily, letting you customize every piece.
The fact that Fimo bakes quickly at moderate oven temperatures makes it accessible and convenient to use for artists and hobbyists alike. It also keeps its color very well, so your jewelry won’t fade or dull after baking. You get a balance of flexibility before baking and toughness after, which is pretty crucial for wearable items.
History and Composition of Fimo Clay
Fimo clay was developed in the early 1930s in Germany, originally intended as a modeling material and for household use. Over time, crafters realized its potential for art and jewelry, leading to its rise in popularity in crafting communities worldwide.
The basic composition of Fimo consists of polyvinyl chloride (PVC), plasticizers, and pigments. These ingredients blend to create a malleable substance that hardens under heat. Many brands have refined the formula for better consistency and colorfastness, making it safer and more versatile to work with.
From a safety perspective, Fimo is considered non-toxic once baked, which is why people feel comfortable wearing Fimo pieces close to their skin. Of course, raw clay should not be ingested or exposed to high flames. The baking step activates its hardening and ensures its safety for jewelry.
Advantages of Fimo for Jewelry Making
Several factors make Fimo a go-to for jewelry artists. First, the wide color palette lets you experiment freely or match existing event themes. Whether you want pastel tones or vibrant hues, Fimo usually has you covered.
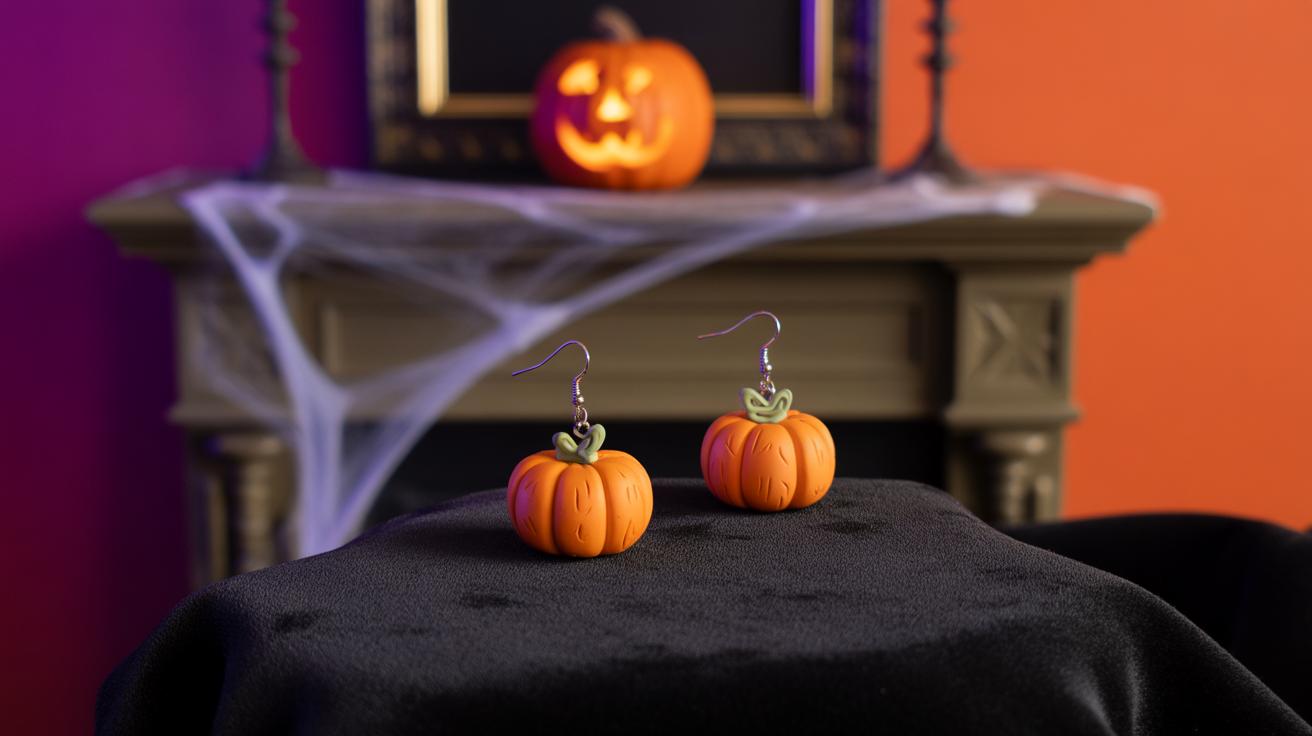
Second, you can shape it into almost any form, from beads and pendants to intricate floral or geometric motifs. This flexibility allows for both simplicity and complexity in designs.
Once baked, Fimo becomes reasonably tough and resistant, so your handmade jewelry won’t break easily during regular wear. Plus, you can sand, drill, or paint baked pieces to add layers of detail or polish—giving you room to personalize beyond just shape and color.
But it’s the ability to bring your ideas to physical form quickly and with precision that often speaks loudest. Your jewelry can be truly one-of-a-kind without needing extensive equipment or space, which I find is quite appealing.
Essential Tools and Materials for Fimo Jewelry
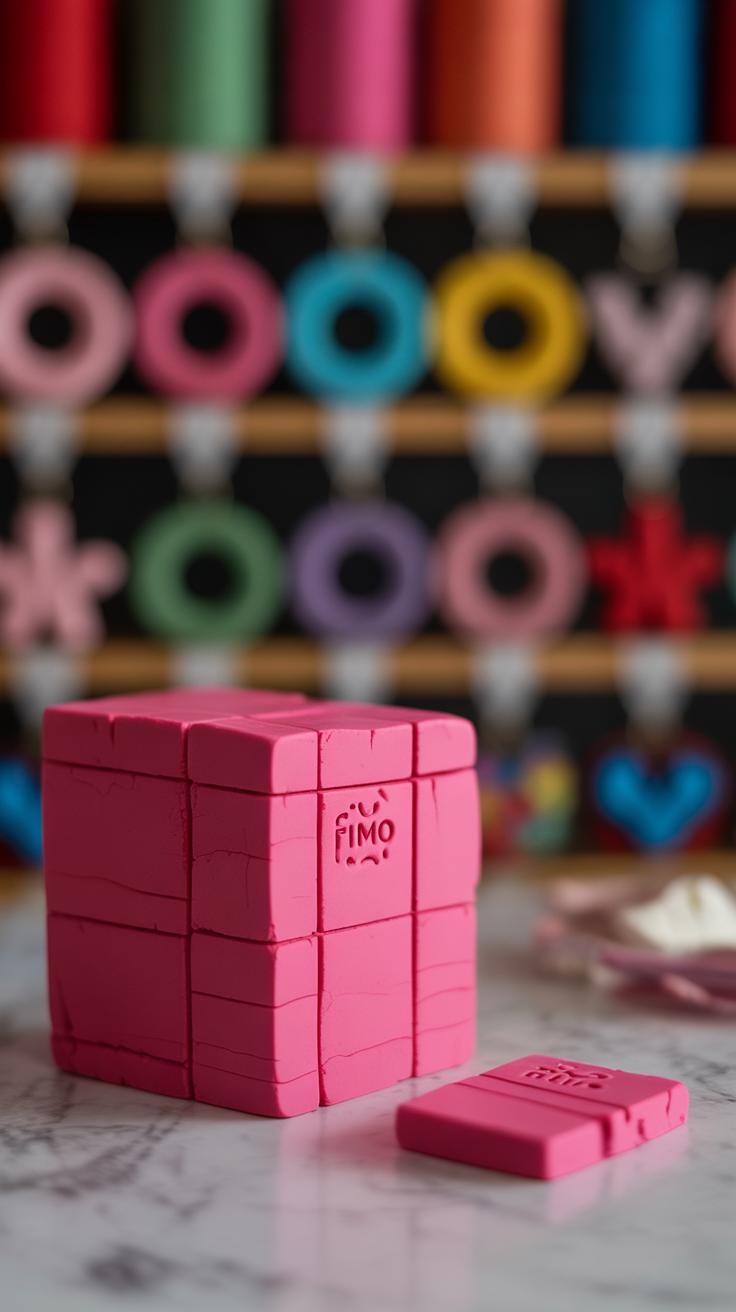
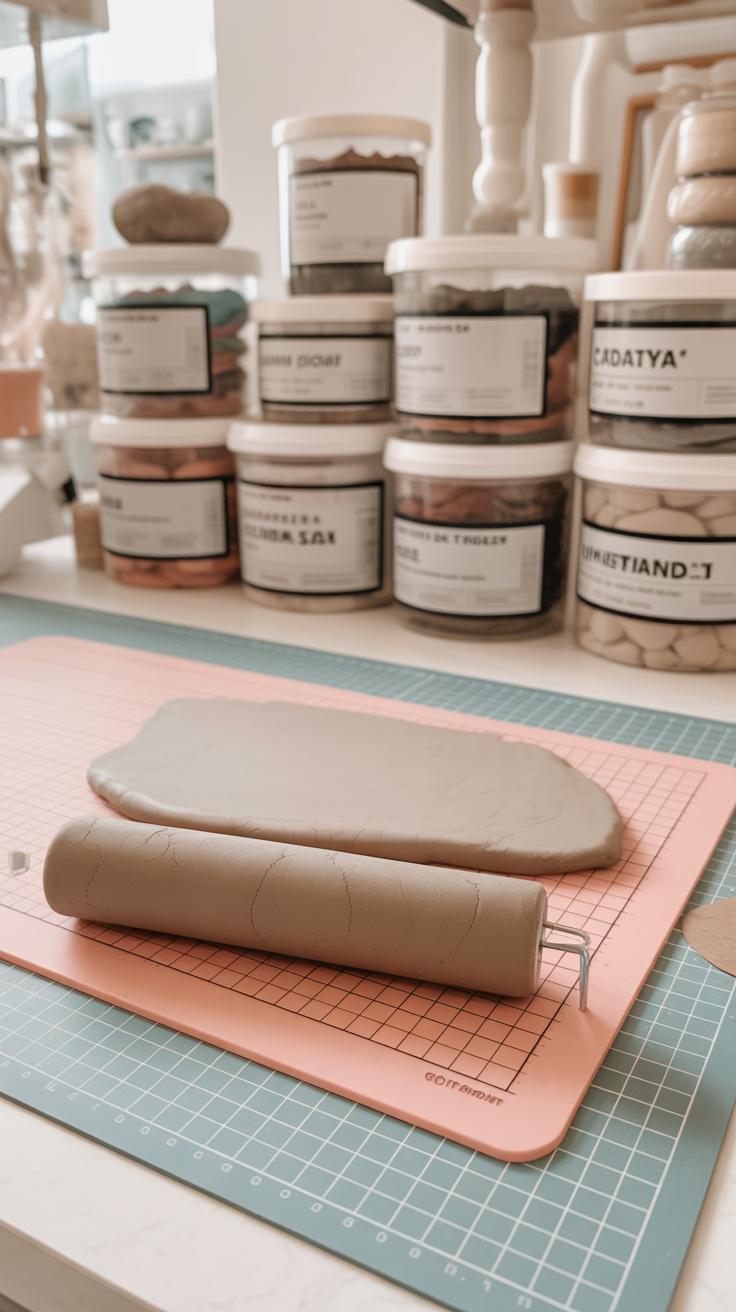
Choosing the Right Fimo Clay Colors and Types
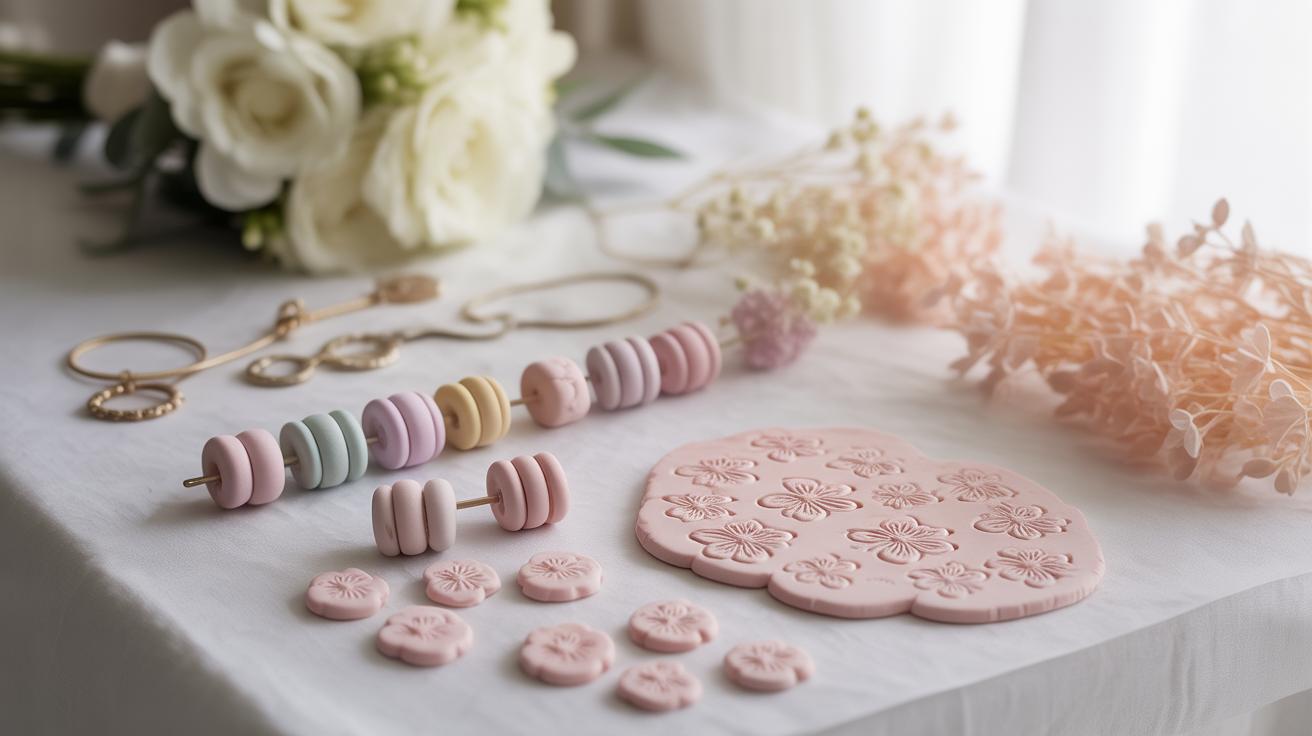
Picking the right color can feel a bit overwhelming at first, especially since Fimo offers so many options. You might want bright, bold colors for making statement pieces or softer pastels for subtle elegance—think carefully about the mood you want your jewelry to convey. In some cases, blending multiple colors can create marbled or gradient effects, which adds character and depth to your work.
Also, Fimo clay comes in several types: classic, soft, and effect varieties like translucent or metallic. The classic is firmer and great for detailed work, while soft clay is easier to shape but might not hold fine details as well. If you want your pieces to catch light or sparkle, trying one of the special-effect clays makes sense. Think about your design’s purpose; often combining types leads to more interesting textures and finishes.
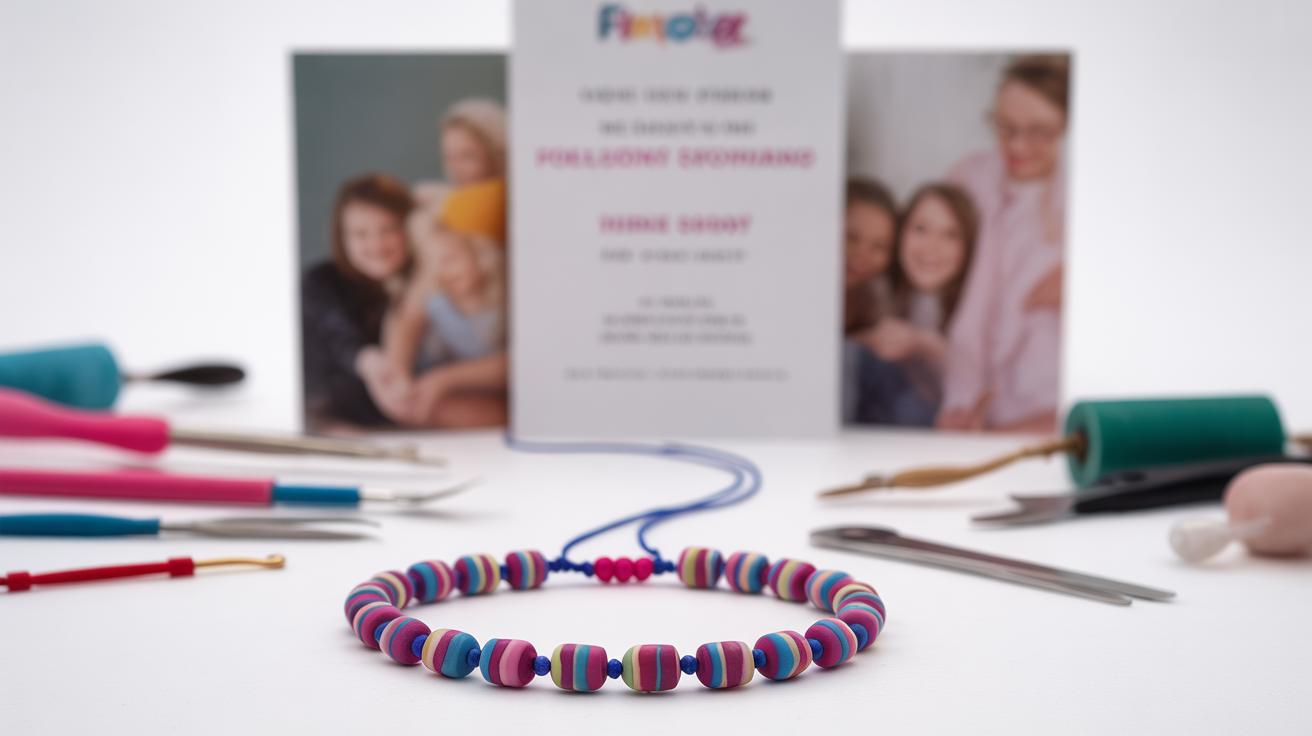
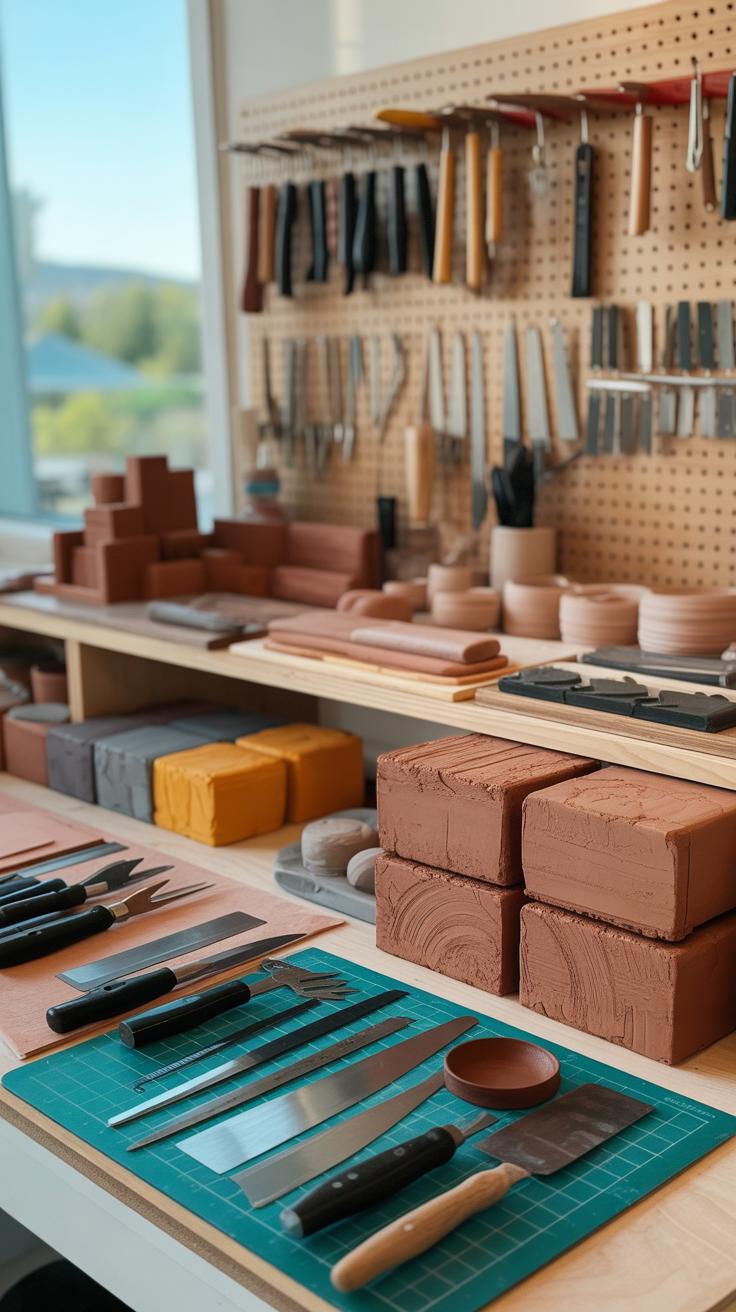
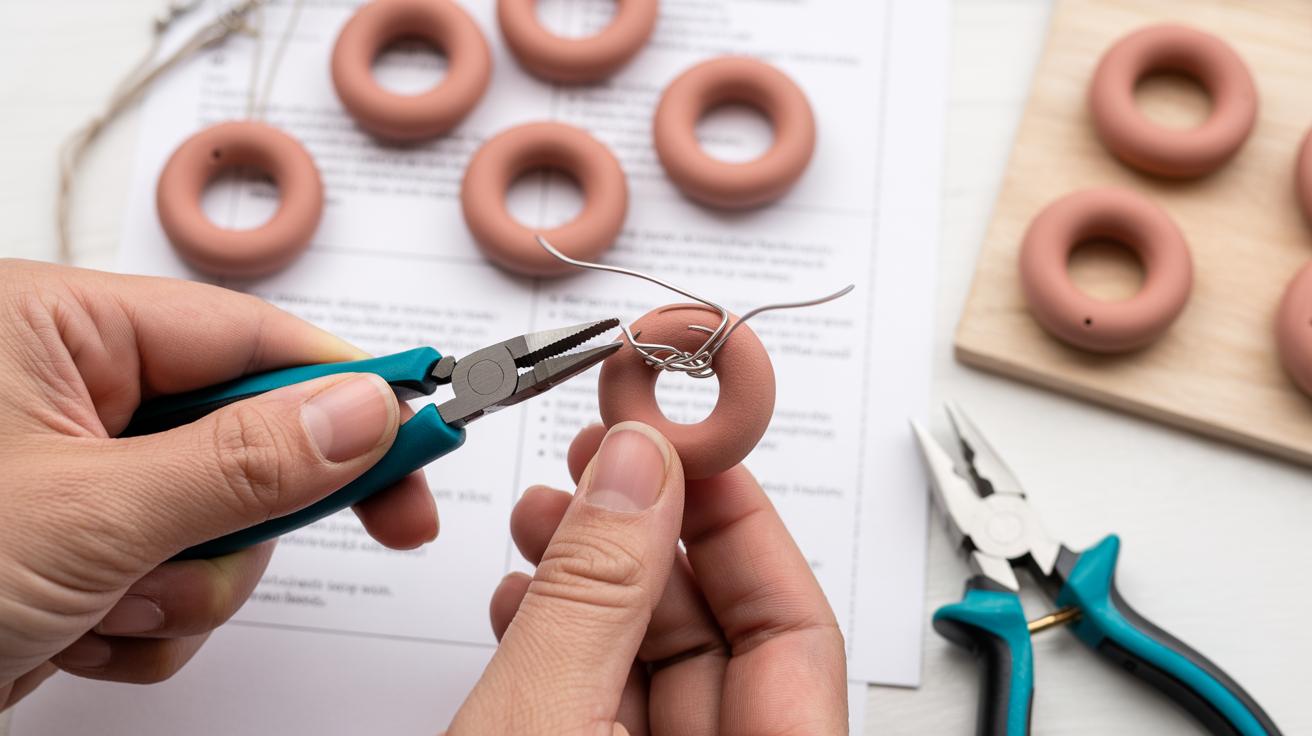
Tools You Need to Craft and Bake
Starting with basics can save you headaches later. You’ll need a good-quality roller or pasta machine to flatten clay evenly—uneven thickness can cause baking problems. Cutters come in various shapes and sizes; cookie cutters work fine, but craft-specific ones give cleaner edges. Knives or blades help refine shapes or carve details; keep them sharp, although sometimes a duller blade works better to avoid unwanted cuts.
Baking is crucial—Fimo needs a dedicated toaster or small oven that can keep a precise temperature, usually around 110-130°C (230-265°F). Household ovens can be tricky because their temperatures fluctuate a bit. After baking, finishing tools like fine sandpaper, needle files, or gloss varnishes polish your creations—giving that professional touch.
Gathering your materials could feel like a lot, but having the right tools means less frustration later on. Experiment slowly; invest in more specialized tools as you grow more confident with your style. What tools feel essential to you might differ, so don’t be afraid to try different things before settling in.
Preparing Your Workspace and Clay
How to Prepare Your Workspace
Working with Fimo clay demands a clean and organized space. Dust or stray crumbs might not ruin your project, but they can stick to your clay in the worst spots. So, make sure your surface is wiped down thoroughly before you start. You don’t need a fancy studio; just a flat table with enough room to move around comfortably can work.
Lighting plays a role too. Natural light is best if you can get it, but a decent desk lamp with a bright, white bulb will help you see details clearly, especially if you’re working with subtle colors or intricate shapes. Poor lighting will make you squint and, honestly, it might cause you to miss tiny flaws or lumps in the clay.
Protect your surfaces—Fimo can leave stains or scratches. A cutting mat, a sheet of parchment paper, or even a smooth plastic placemat can stop any unwanted marks. You don’t want to fuss with cleaning baked-on clay or worry about your tools damaging your favorite table. It’s easier to take a moment to set up well than to clean up a mess later.
Conditioning and Softening the Clay
Before shaping, Fimo clay needs proper conditioning. You can’t just start sculpting right off the block. The clay arrives firm and slightly stiff, which isn’t ideal for detailed work. Kneading makes it softer and more flexible, cutting down the chances of cracking during baking.
Try breaking off a chunk and rolling it between your palms. Press, fold, and squash it repeatedly. It might take a few minutes, depending on the amount and the ambient temperature. If it’s cold, the clay feels extra resistant. Sometimes I warm it briefly with my breath or fingers—this helps loosen it up. But don’t overdo it; too soft, and it gets sticky.
You’ll notice the clay turn shinier and smoother as it becomes pliable. That’s your signal—it’s ready for shaping. If you rush or skip conditioning, your pieces might snap or show fingerprints more clearly. So take the time here; it’s worth the effort and makes the next steps much more enjoyable.
Basic Techniques to Shape Your Fimo Jewelry
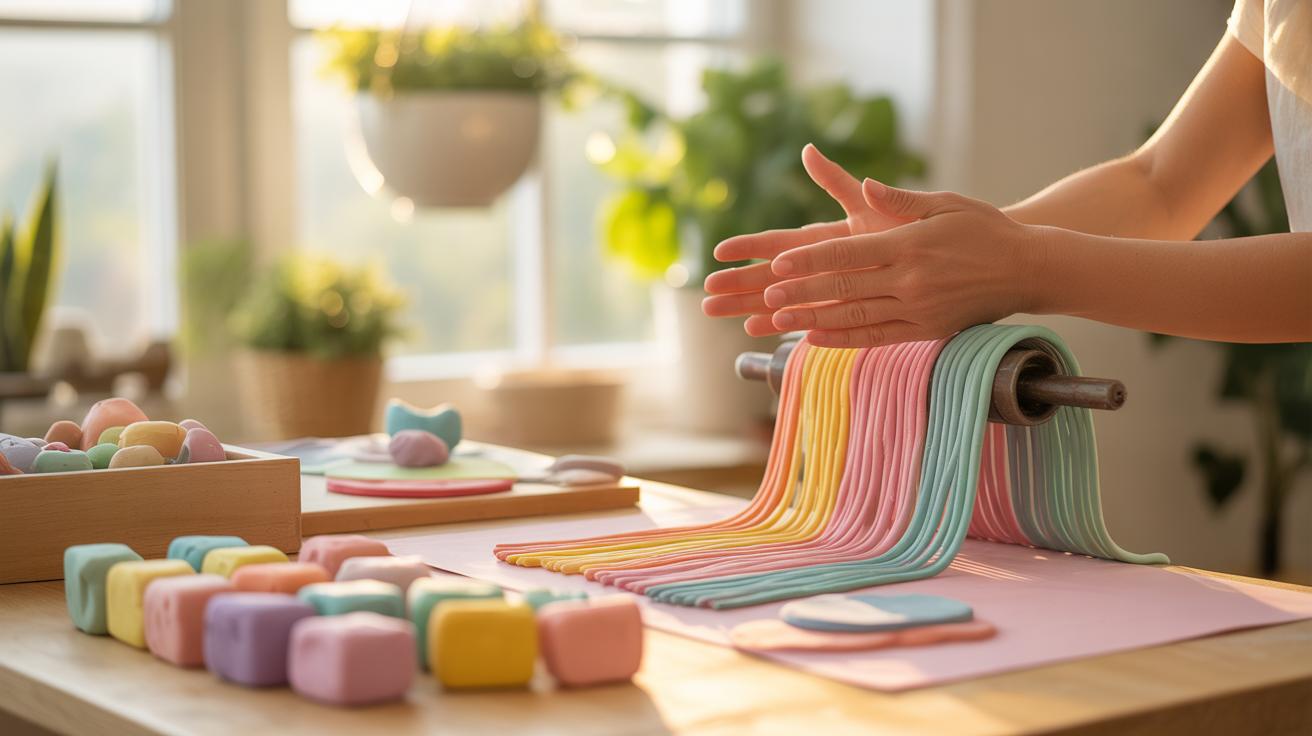
Once your clay feels soft and pliable, you can start shaping it into jewelry pieces. Rolling out the clay evenly is usually the first move—try to get a smooth, flat surface by pressing lightly and rolling back and forth. Sometimes a little unevenness sneaks in, but that’s okay. You can always fix it later with gentle smoothing or trimming.
Cutting shapes comes next. You don’t need fancy tools here. Household items like cookie cutters, bottle caps, or even a knife work well for creating circles, squares, or abstract shapes. Just press firmly but not too hard, so the clay stays the right thickness. Thinner pieces bake faster but may be fragile, so it’s a bit of a balancing act.
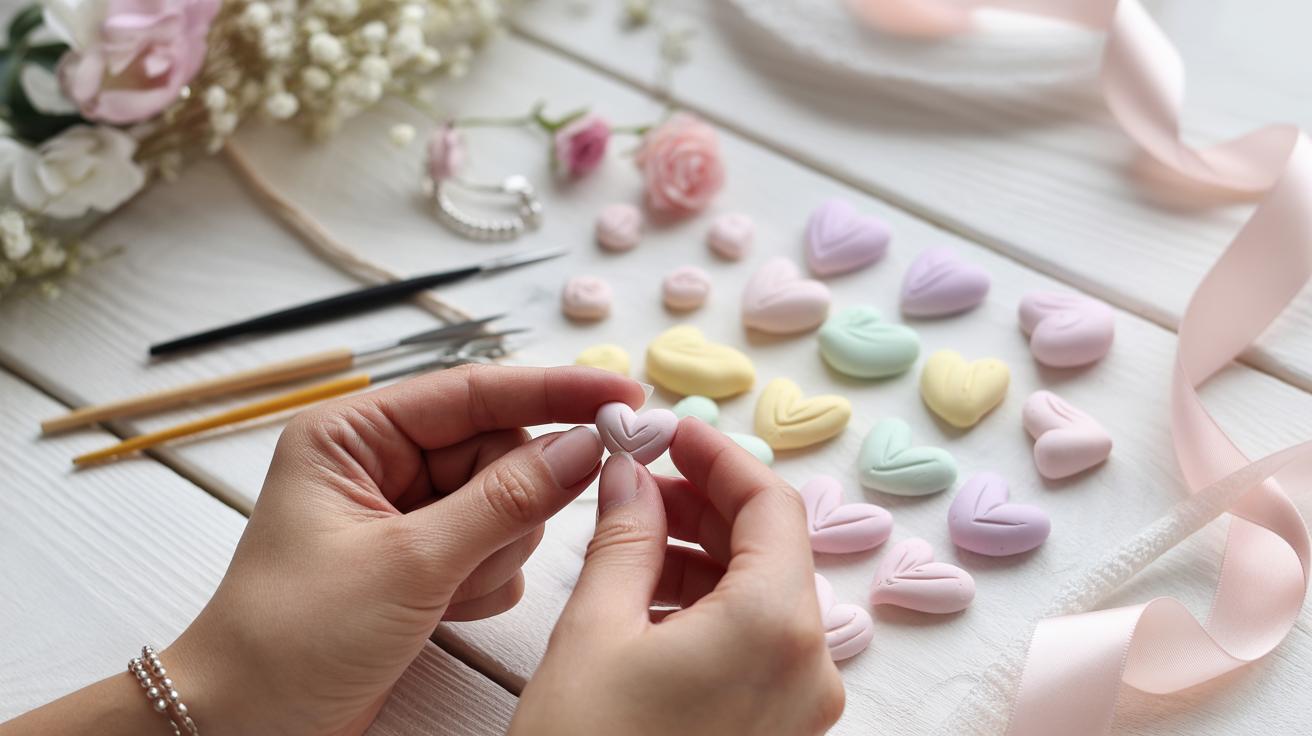
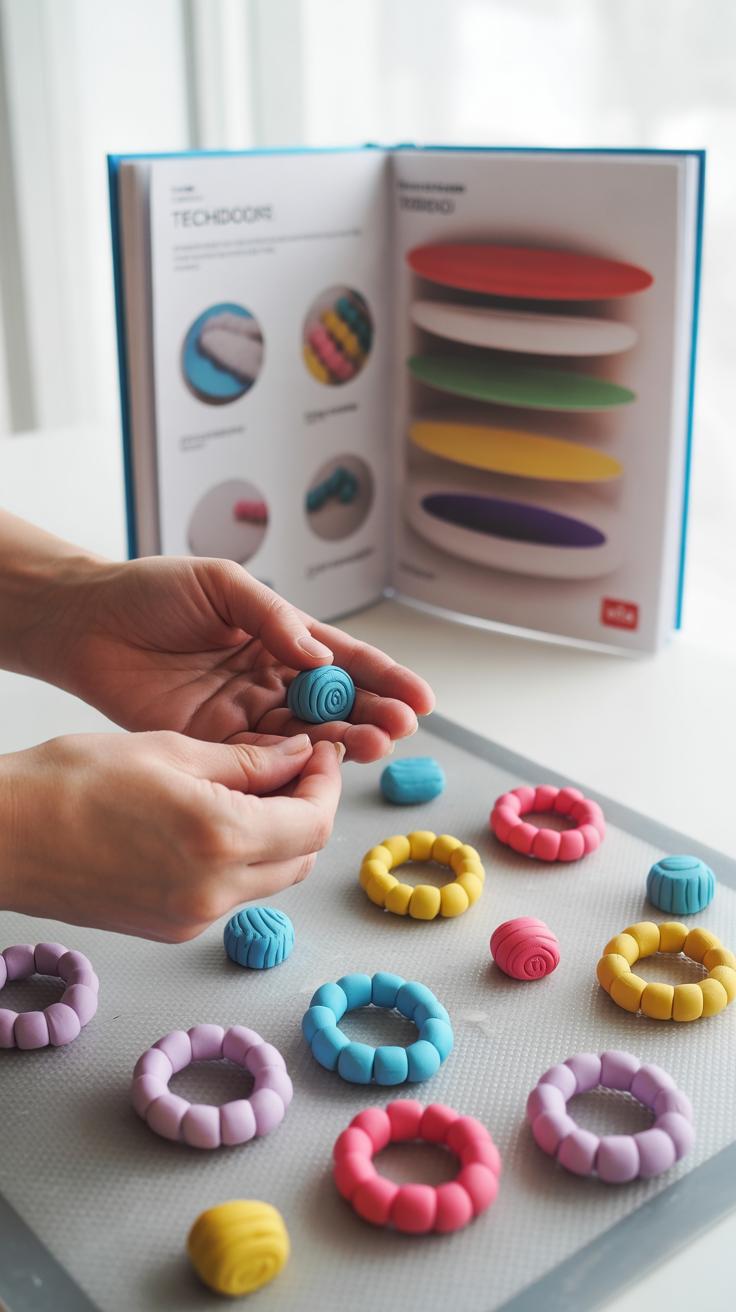
Making beads is surprisingly simple. Roll small balls between your palms, then poke holes carefully with a needle or toothpick for threading. For pendants, flatten a chunk a bit, then shape it into smooth discs, rectangles, or shapes inspired by nature—like leaves or hearts. You don’t have to aim for perfection; sometimes tiny imperfections add character.
If you want earrings or charms, remember their size—too large and they get heavy; too small and details vanish. I usually start with something like a round bead and a flat pendant, experimenting a bit. Soon, you’ll find a rhythm with rolling, cutting, and molding that feels natural. It’s oddly satisfying, I think.
Advanced Techniques for Unique Designs
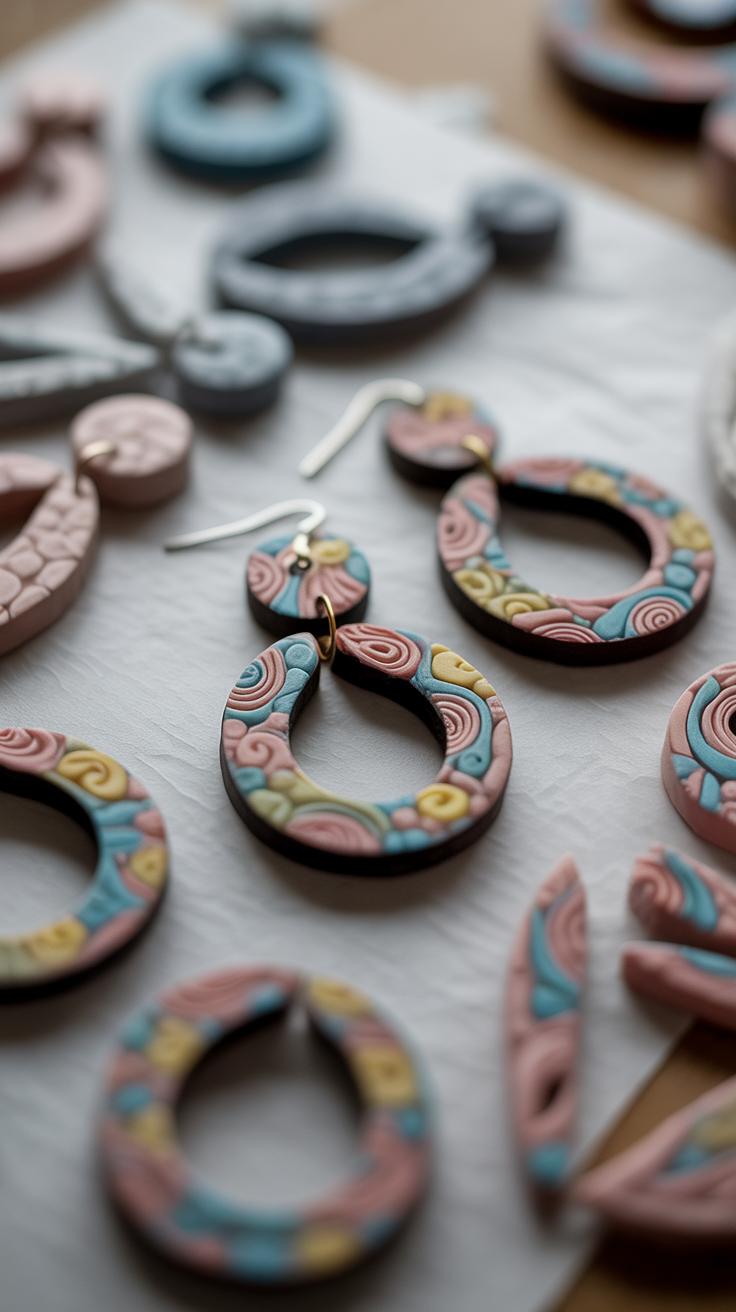
When you’re ready to take your Fimo jewelry beyond simple shapes, caning is a fascinating technique to try. It involves creating long, patterned “logs” of clay that you slice into thin pieces with repeating designs. Imagine rolling out a tiny rose or geometric pattern that stays consistent across dozens of slices—perfect for beads or pendants. You build these canes by carefully layering and rolling different colors of clay. It’s a bit like assembling a puzzle, one piece at a time. Slicing takes some patience, but the uniform motifs you get make your pieces look much more professional.
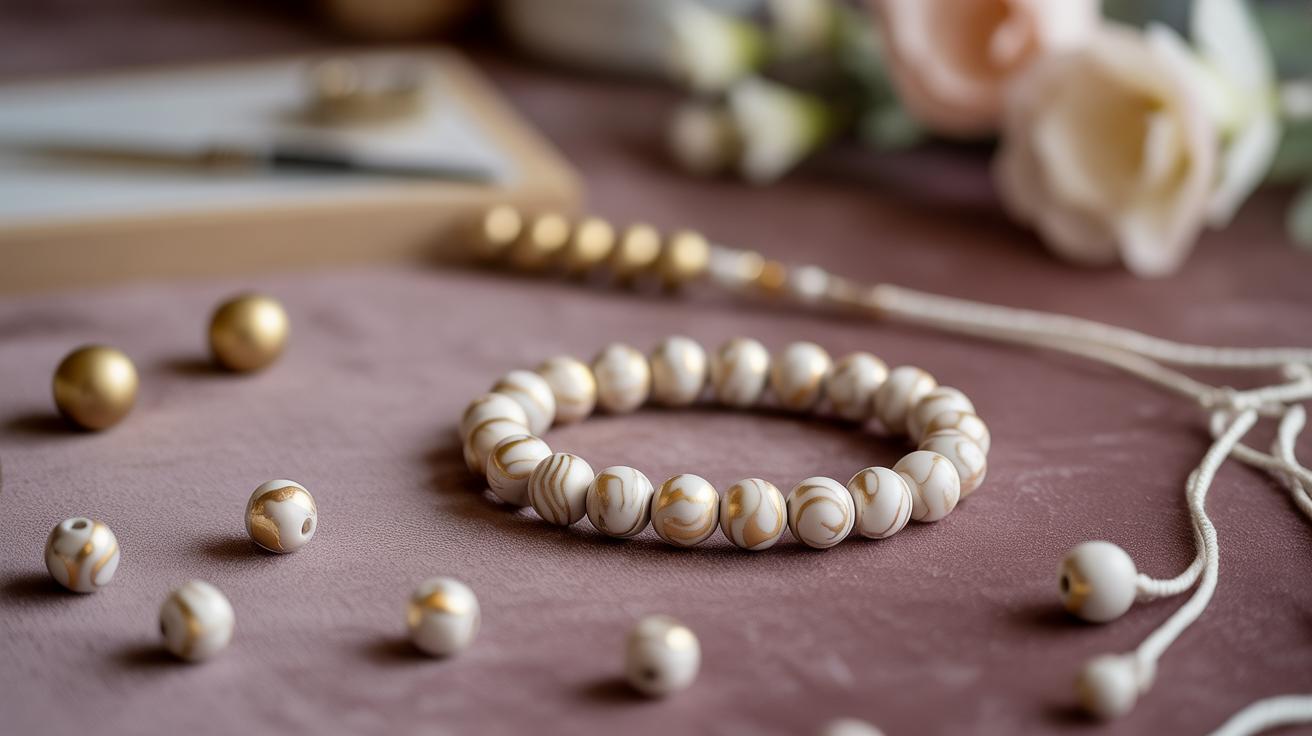
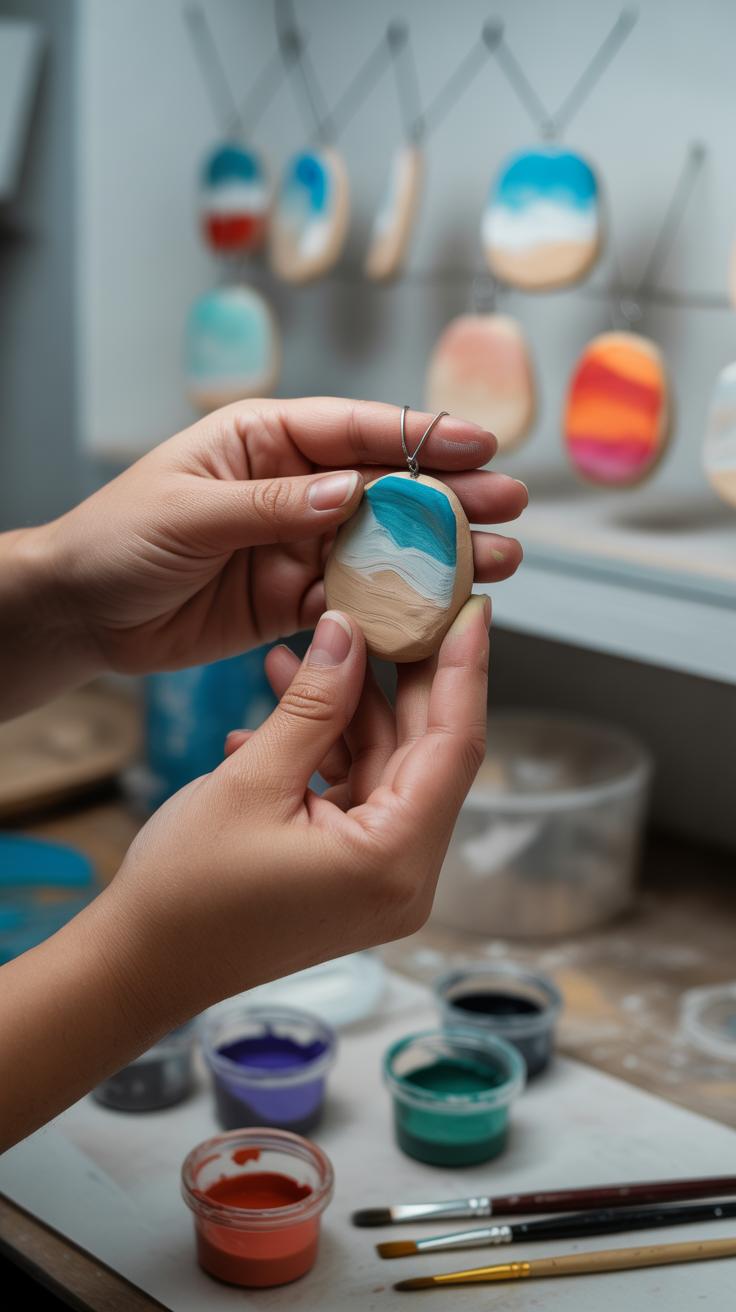
Mixing colors by twisting and folding clay can give you wonderful marbled effects. The trick is not to overdo the blending—you want enough contrast to see the swirls but not so much that everything turns muddy. I found it helps to fold the clay several times and then twist gently to keep some of the original colors distinct. This technique works beautifully on larger surfaces, like wide pendants or statement beads, creating organic, one-of-a-kind patterns. It’s subtle but adds a layer of depth that simple solid colors can’t offer.
What’s fun about these methods is how unpredictable they sometimes are. Even with careful planning, each slice or swirl can surprise you by revealing unexpected shapes or color combinations. Does that ambiguity stress you out or inspire you? Either way, experimenting with caning and marbling can really push your Fimo jewelry to stand out for special events.
Baking and Hardening Your Fimo Jewelry
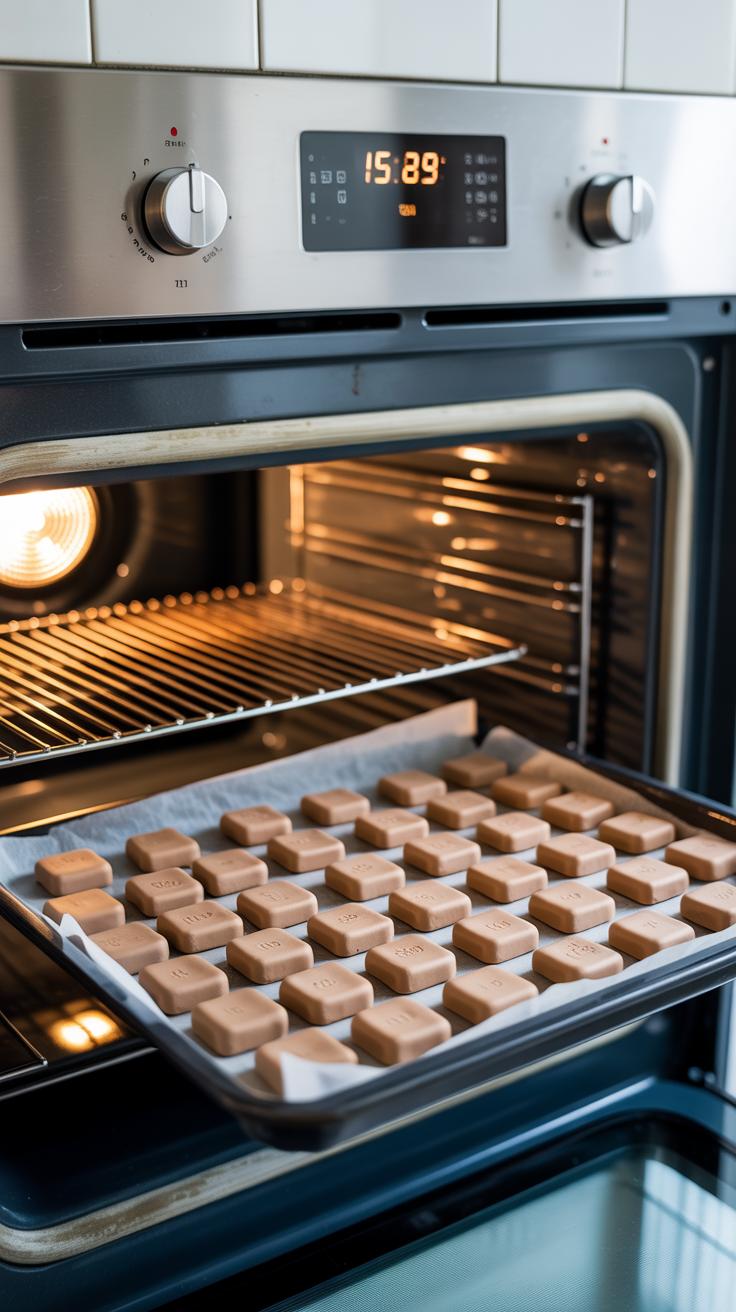
Getting the baking process right is crucial to ensure your Fimo jewelry hardens properly without cracking or discoloring. Usually, Fimo clay calls for a baking temperature around 230°F to 265°F (110°C to 130°C), depending on the type and thickness of the piece. Going above this can cause burning or warping, which you definitely want to avoid.
Timing varies with size. For thin pieces like small pendants or earrings, 15 to 30 minutes usually suffices. Thicker or layered items may require up to 45 minutes. I’ve found it helps to check the manufacturer’s instructions carefully and then experiment slightly—sometimes 30 minutes feels perfect for something that looks like it needs a bit more strength.
Preheat your oven before placing the jewelry inside, since a sudden temperature change can stress the clay. Keep your pieces on a clean ceramic tile or a baking tray lined with parchment paper to prevent sticking and uneven heat distribution. Resist the urge to bake multiple batches all at once if your oven heats unevenly; it might save time but risks some parts being undercooked.
Once baked, don’t rush to touch them. Let your jewelry cool completely on the tray or tile. They’re fragile right after baking and can deform if handled too soon. Cooling solidifies the structure, making it easier to sand or add finishing details later. Sometimes, waiting feels tedious, but the results pay off when your designs stay intact and feel solid—including that subtle satisfaction of hearing the little snap when bending smaller, well-cured pieces.
Sanding Painting and Sealing Your Jewelry
Sanding and Smoothing Rough Edges
Once your Fimo pieces have baked and cooled, you might notice small bumps or rough edges. These imperfections can distract from your design, so gently sanding them down is key. Use fine-grit sandpaper or even a nail file—something around 400 to 600 grit works well. Don’t rush; take your time smoothing corners and surfaces with light, even strokes. It’s easy to overdo it and accidentally reshape the piece, so pause often to check your progress. If you prefer, wet sanding can help reduce dust and reveal a cleaner finish, though some people find dry sanding gives them more control. The goal is a smooth, even surface that feels nice to touch and lets your paint adhere better.
Painting Designs and Adding a Protective Coat
After sanding, your jewelry’s ready for painting. Acrylic paints are a good choice—they stick well and dry quickly. Use a fine brush to add details, patterns, or accents. You don’t need to cover every inch; sometimes a few well-placed highlights make a bigger impact than fully painted surfaces. Wait for the paint to dry completely, which might take 20 to 30 minutes depending on thickness. When you’re happy with your design, seal everything with a clear varnish or polymer clay gloss. This step protects your work from scratches and moisture. Whether you prefer matte or shiny finishes depends on your style—both work fine, but a glossy coat tends to intensify colors. Apply thin, even layers and let each one dry before adding another, just to be safe.
Tips for Wearing and Caring for Fimo Jewelry
Styling Your Fimo Creations for Events
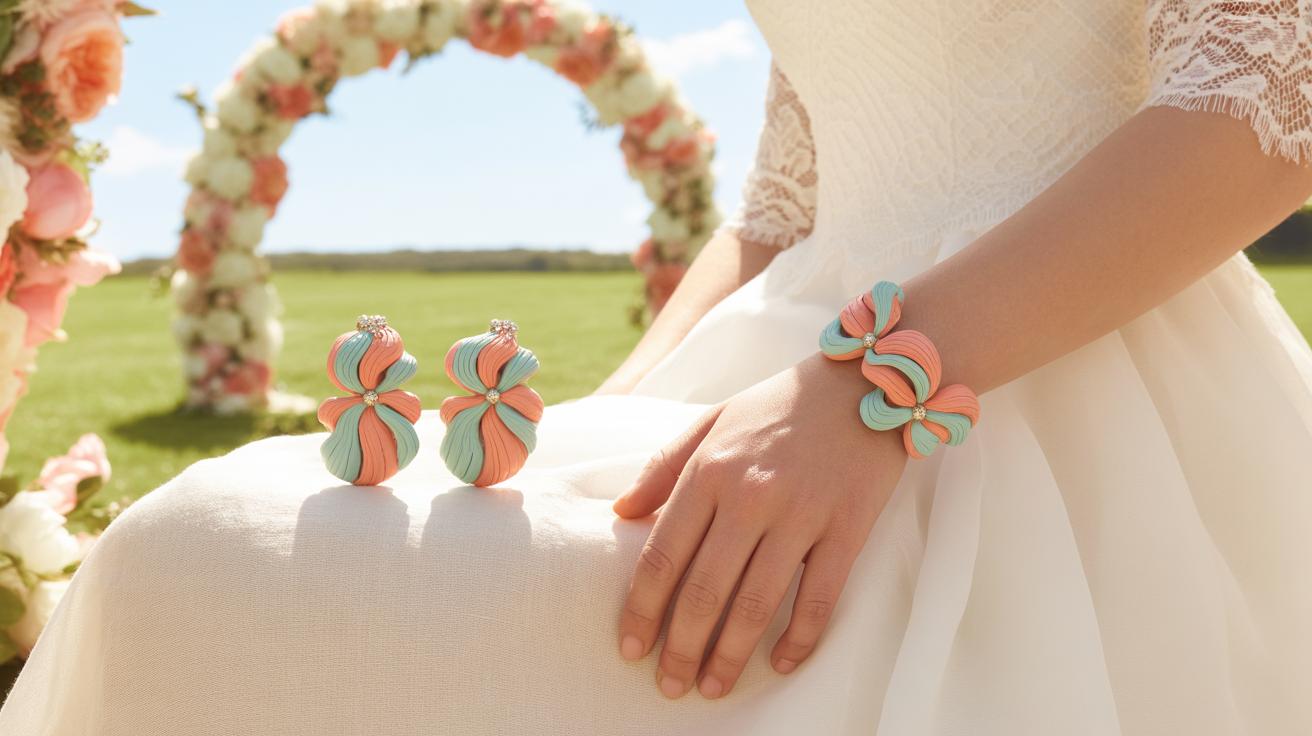
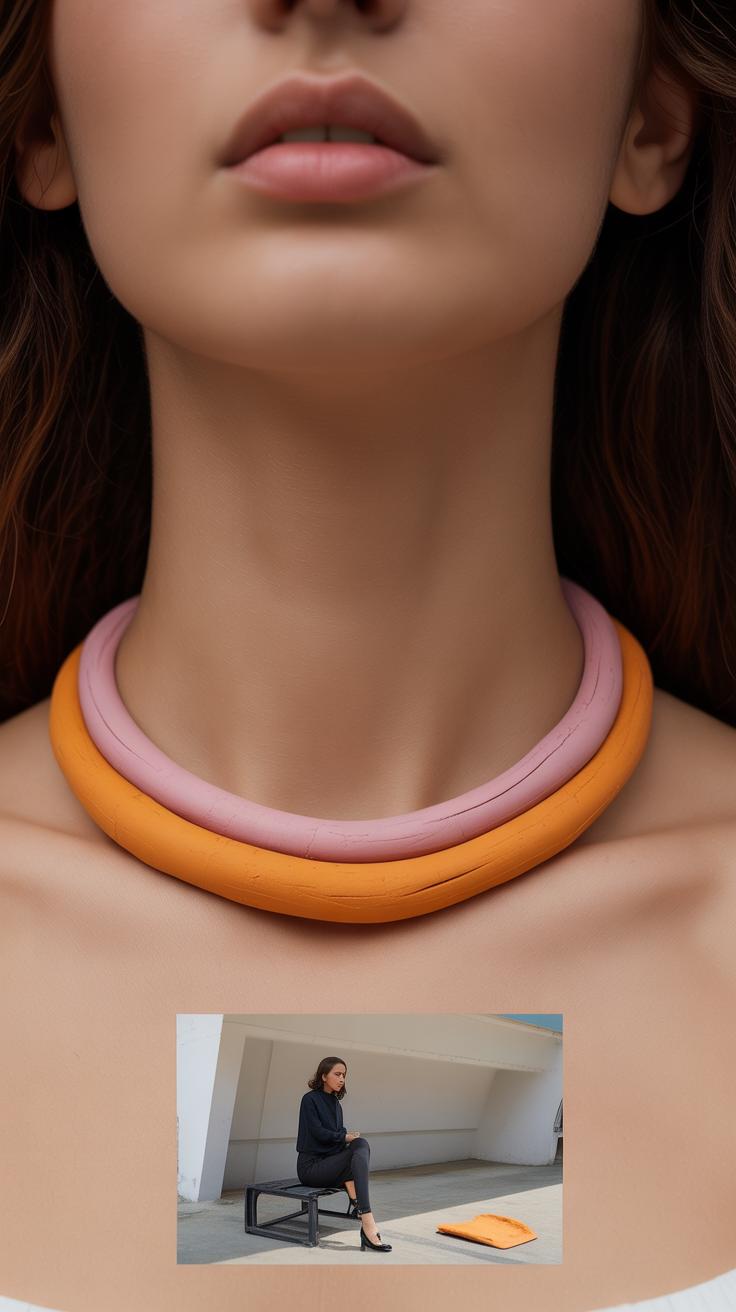
Fimo jewelry often stands out because of its bright colors and unique shapes. So when you wear your pieces to special events, think about letting them be the centerpiece. For instance, if you have a bold Fimo necklace, pair it with a simple, solid-colored outfit to avoid clashing. On the other hand, small earrings or delicate bracelets made from Fimo can add a playful touch to more formal looks without feeling overdone.
Sometimes, matching the theme of the event can help guide your choices. A floral Fimo piece might suit a garden party, while abstract designs might fit better with modern or minimalist attire. Don’t be afraid to experiment a bit—sometimes unexpected combos work well. I once paired pastel Fimo earrings with a heavily patterned dress, and it surprisingly pulled the whole look together.
Also, think about the size and weight of your jewelry. Larger pieces might feel a bit much for a casual event but perfect for something more festive. You can even mix textures—wearing Fimo alongside metal or fabric accessories—to add some depth to your overall look. Does that sound like something you’d try?
Cleaning and Storing Your Jewelry Safely
Keeping your Fimo pieces looking fresh doesn’t have to be complicated. For cleaning, gentle care works best. A soft cloth dampened with water usually does the trick. Avoid harsh chemicals or soaking your jewelry, as this can dull the finish or affect the sealant. Sometimes, a tiny bit of mild soap on the cloth helps remove stubborn dirt—just be sure to wipe off soap residue well and dry thoroughly.
Storing your Fimo jewelry properly is key for its longevity. I like to keep mine in small jewelry boxes or pouches, separated so pieces don’t rub against each other and risk scratching. You might want to avoid stuffing your jewelry into crowded places where pressure could cause bends or breaks.
Some people suggest wrapping each piece in tissue paper or soft fabric, which can be helpful, especially if you live in a humid environment. Storing jewelry away from direct sunlight also matters, since prolonged exposure can sometimes fade colors or cause the clay to become brittle over time. So, where do you usually keep your jewelry? Maybe thinking about a dedicated space could make a difference for your Fimo creations.
Conclusions
Creating jewelry with Fimo clay allows you to express your creativity in many ways. You can experiment with colors, shapes, and textures to design pieces that fit your style and occasion. This guide has shown you the main techniques and steps to work with Fimo, from basic preparation to advanced crafting methods like caning and beading.
By following these steps, you can make beautiful and personalized jewelry for special events. Remember to practice and enjoy the process. Your unique jewelry will stand out and add a special touch to your look. Start your Fimo jewelry journey today and see where your creativity takes you.