Introduction
Polymer clay is a special type of modeling clay that hardens when baked in the oven. It is made from a plastic called polyvinyl chloride (PVC) and is popular for creating arts and crafts. You can make colorful and unique items like jewelry, decorations, and miniatures with polymer clay. This article explores beginner polymer clay DIY projects to help you start crafting and bring your creative ideas to life.
Learning how to use polymer clay is simple and enjoyable. You only need some clay, basic tools, and an oven to bake your creations. As you follow easy-to-understand projects, you will discover how to shape, bake, and finish polymer clay items. This guide will spark your creativity and encourage you to keep making beautiful things at home.
Understanding Polymer Clay

Polymer clay is a type of modeling material that feels soft and pliable until it’s baked. Unlike natural clays, which often dry by air or need water to stay workable, polymer clay stays flexible until heated. This makes it great for crafting since you can shape and reshape without it drying out too fast—though it can be a bit tricky to work with at first.
Its composition mainly involves synthetic materials, which means you won’t find the usual minerals or organic matter that traditional clays have. Once baked, polymer clay hardens and becomes solid, permanent, and sort of plastic-like. This durability is probably why it’s so popular with hobbyists and artists who want their pieces to last without cracking or crumbling over time.
You might wonder how it compares to air-dry or ceramic clays. The main difference? Polymer clay needs heat to cure properly, making it less messy and faster for small projects. The flexibility before curing invites experimentation, but at the same time, you have to be cautious about overworking it—it can get crumbly.
What is Polymer Clay Made Of
At its core, polymer clay is mostly polyvinyl chloride (PVC). This synthetic plastic gives it its moldable character. But on its own, PVC is too rigid for clay purposes, so manufacturers mix in plasticizers. These additives soften the material, keeping it flexible and workable for sculpting.
The combination of PVC and plasticizers is delicate. Too much plasticizer, and the clay feels greasy and hard to handle. Too little, and it becomes brittle. This balance affects how easy it is to condition—meaning the kneading and softening you do before shaping—and how it cures without cracks emerging.
There’s no water or natural clay minerals, so you won’t have traditional “muddy” textures or drying. Instead, you get a consistent, uniform texture that holds fine details well once baked. You’ll notice this when you try making intricate designs or smooth surfaces. It’s a bit like working with a dense, soft putty.
How Polymer Clay Cures
Polymer clay cures through a process called polymerization, which happens when you heat it to a specific temperature. Usually, you bake it in a home oven at around 265°F to 275°F (about 130°C) for 15 to 30 minutes per quarter-inch thickness. Timing can be a bit flexible depending on brand and piece size, but going too hot or too long often causes burning or discoloration.
This heating causes the plasticizers and PVC molecules to bond permanently. You’ll know it’s done when the clay shifts from soft and pliable to hard and solid, almost like plastic. It’s quite satisfying—after hours of shaping, a quick bake finalizes your work, which you can then sand, paint, or varnish.
Interestingly, curing doesn’t make polymer clay fully heatproof. It’s durable, but can still melt or warp at high temperatures. That means you might want to avoid cooking or exposing finished pieces to heat. Still, the bake-and-go nature makes polymer clay well-suited for craft enthusiasts looking for quick results and lasting creations.
Tools and Supplies You Need
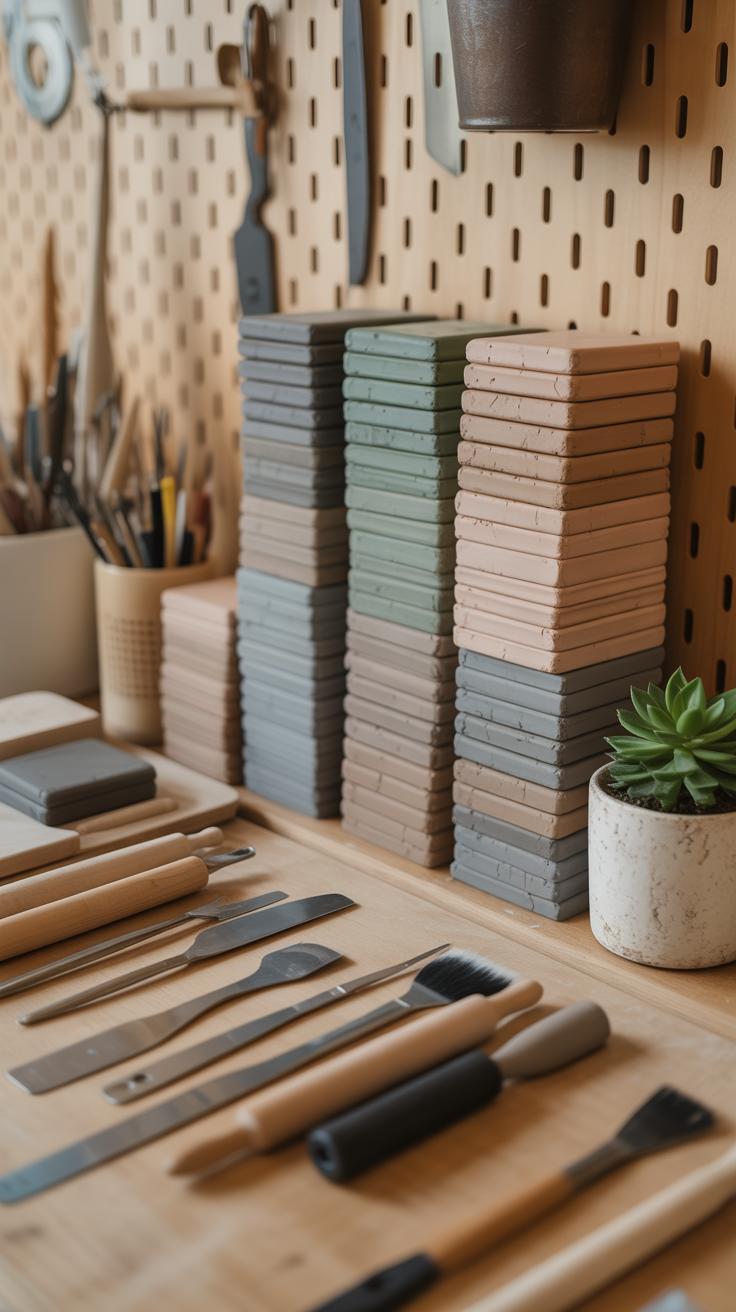
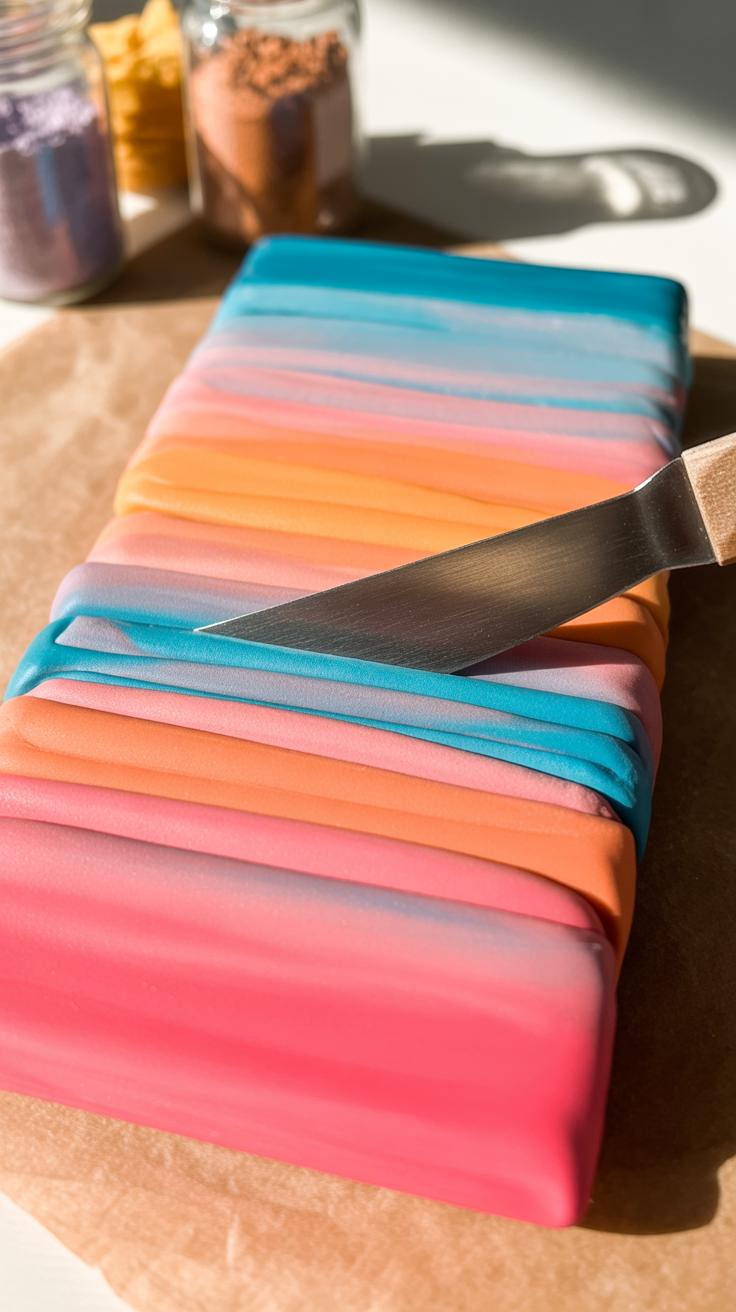
Starting with polymer clay can feel a bit overwhelming. But really, you just need a handful of basic tools to get going. These help shape, cut, and bake your creations. For example, a sharp blade is essential. It lets you slice through clay cleanly, which makes a huge difference when you want precise edges or delicate details.
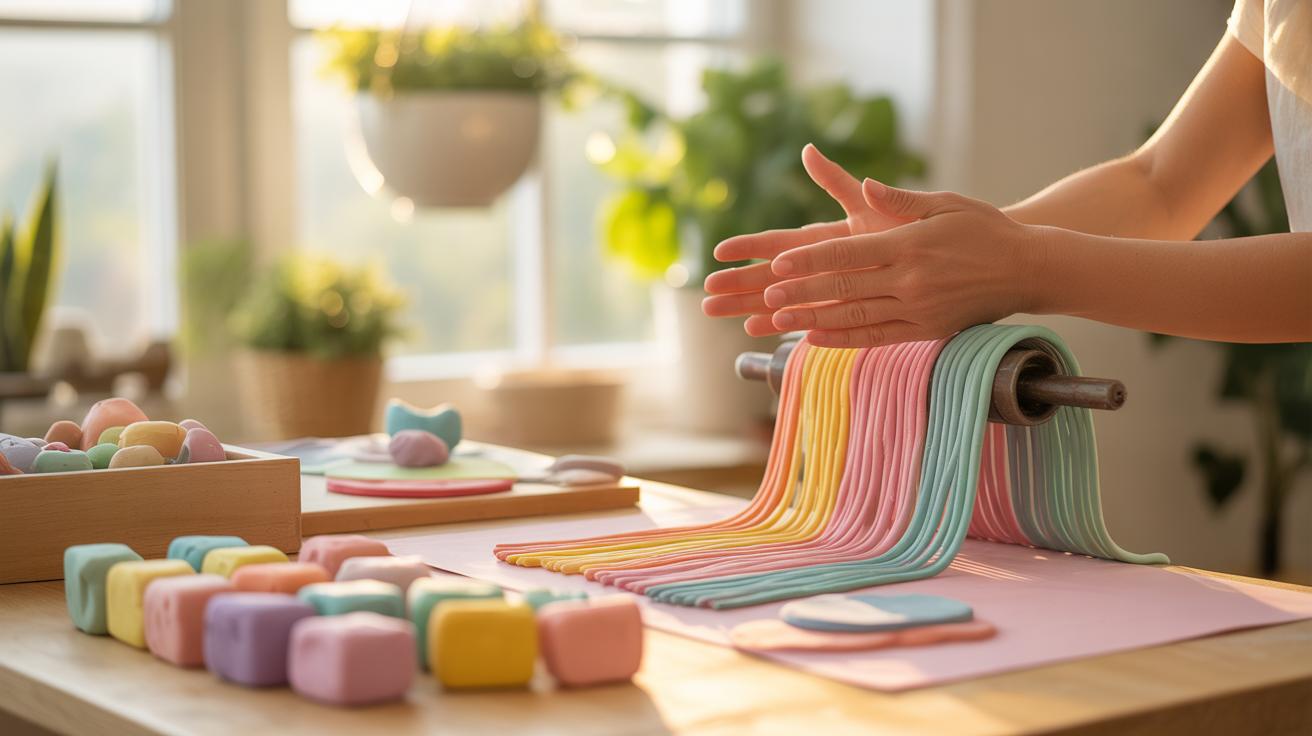
Then, there are shaping tools—small, oddly shaped sticks or silicone-tipped tools that help you sculpt fine details or smooth out surfaces. I found that having a variety is useful because some shapes work better for certain textures or designs. Rollers are another must-have. Something simple like a pasta machine or even a regular rolling pin can flatten clay to an even thickness, which is key for consistency.
Baking trays come next. Polymer clay needs to bake in a stable environment, and a dedicated baking tray—usually metal or ceramic—keeps your pieces safe in the oven and prevents unwanted marks. Sometimes I’ve used parchment paper on these trays to further protect my work.
Essential Tools for Beginners
For someone just starting, I’d suggest focusing on a small kit with:
- Blades: Look for a thin, sharp craft or X-Acto knife. It slices cleanly without squashing the clay.
- Shaping Tools: A set with different tips—ball ends, flat, and pointed—that let you add textures or smooth details.
- Rollers: A simple rolling pin or dedicated clay roller to get a uniform surface.
- Baking Tray: Something sturdy that can take oven heat and holds your pieces securely.
You don’t need fancy or expensive gear at first. Even household items like toothpicks, clean kitchen knives, or glass jars can double as makeshift tools. The key is to experiment and see what feels comfortable for your style.
Choosing the Right Polymer Clay Brand
Bit of a dilemma, isn’t it? There are several big names out there. Brands like Sculpey, Fimo, and Premo pop up a lot. Each has slightly different textures and baking requirements. For example, Sculpey tends to be softer and easier to condition, which beginners often like. Fimo can feel a bit stiffer but is great for durability. Premo strikes a balance but might be pricier.
When picking your clay, think about what you want to create. Soft clay is easier for detail but might be less firm after baking. Firmer clay holds shape better but can tire your hands during conditioning. Color range matters too—some brands offer more vibrant or translucent options.
Personally, I felt a bit stuck deciding. So, trying small packs from two or three brands helped me find the right feel. Maybe you’ll want to do the same. There’s no perfect brand; it really depends on what suits your workflow and project goals best.
Conditioning and Preparing Your Clay
Before you can truly work with polymer clay, conditioning it is key. It might seem like an extra step, but it makes all the difference. Conditioning softens the clay and evens out its texture, making it easier to shape and less prone to cracking later. If you skip this, you might find your clay stiff, crumbly, or just plain frustrating to work with.
Think of conditioning like warming up dough before baking.
Here’s what happens when you condition clay:
- The clay heats up slightly from your hands or tools, which softens its consistency.
- It mixes any pigments or fillers uniformly, so colors stay consistent.
- Air bubbles trapped inside get pushed out, reducing cracking risks during baking.
For hand kneading, just tear off a chunk and fold it repeatedly. Squeeze, stretch, and press it between your palms for about 5 to 10 minutes. Your fingers will tell you when it’s right—the clay becomes smooth and pliable but not sticky. I often notice that, at first, the clay feels a bit dry or tough, but as I keep working it, it gains elasticity.
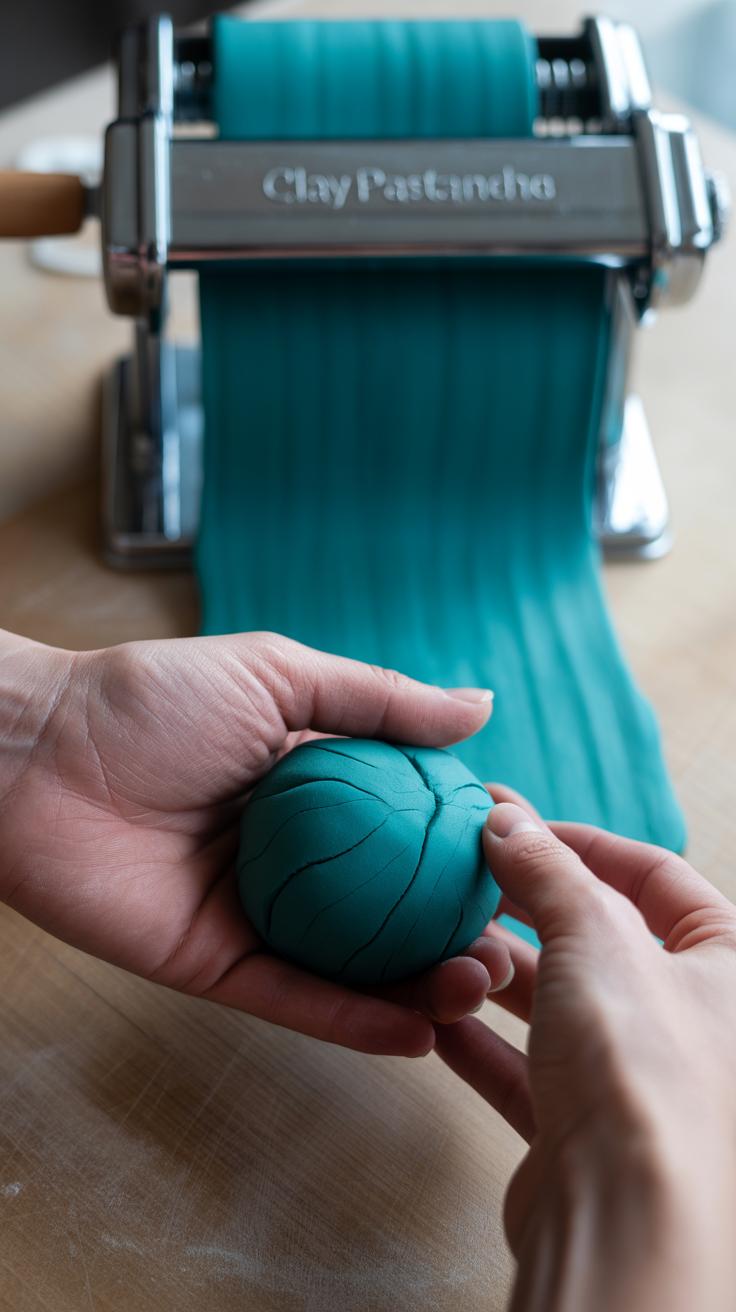
You can also use a pasta machine if you own one. Flatten a piece of clay, feed it slowly through the rollers on the thickest setting, fold the sheet in half, and feed it through again. Repeat this process several times, adjusting the thickness as you go. This method not only conditions the clay evenly but also creates uniform sheets. Sometimes I wonder if doing it too many times makes it overly soft, but generally, it’s just more workable.
So, conditioning might feel like a chore, but it sets a solid foundation for your project. Wouldn’t you want your clay to behave nicely rather than fight you every step of the way?
Basic Techniques for Shaping Clay

Once your polymer clay is conditioned, the next step is shaping it. This part is where your creativity starts to take form. Rolling and flattening the clay evenly can seem simple, but getting the right thickness is a bit of a trial and error, at least at first.
When rolling, try using a smooth surface—something like a clean table or glass works well. You can roll with a small rolling pin or even a cylindrical object like a bottle. The key is to keep an even pressure. Uneven thickness might not ruin your project, but it does affect how neat it looks or bakes. Flattening can be done by gently pressing with your fingers or a roller. Some people like to place the clay between parchment paper so it doesn’t stick—a trick I found handy.
Cutting shapes is where it gets fun but also a bit fiddly. You don’t need fancy tools; a simple craft knife or even a needle tool works fine. For standard shapes, cookie cutters can help make clean edges quickly. But you might want to experiment by cutting freehand to gain confidence.
Assemble your shapes by gently pressing pieces together. Sometimes rubbing the edges slightly softens the clay, helping the parts bond better. I’ve noticed that a bit of trial reveals whether your shape holds or falls apart after curing. It makes you wonder how much precision really matters versus just trusting your feel for the material.
Color Mixing and Effects
Mixing Clay Colors
Mixing polymer clay colors isn’t complicated, but it does require some patience and practice. When you combine two colors, start by breaking them into small pieces and kneading them together slowly. This helps avoid streaks and creates a smooth, consistent shade. If you rush the mixing, you might end up with swirls rather than a solid color—which can be great if that’s what you want, but otherwise a bit frustrating.
Try blending primary colors to get secondary ones—like red and yellow for orange, or blue and yellow for green. Experiment with adding tiny amounts of white to lighten a color or black to darken it, but be careful: black can quickly overpower. I often find that blending several colors in small amounts gives more subtle or unexpected results than strictly sticking to two.
Also, consider tempering your clay by warming it slightly with your hands before mixing; it softens and blends more easily. If smooth transitions are your goal, rolling the mixed clay between two sheets of baking paper can help flatten layers gradually, easing one shade into another.
Adding Color Effects
Once you have your base colors, you can play with special clays to add interesting effects. Translucent clay, for example, behaves somewhat like frosted glass. Using it in thin layers brightens your work and can create depth. I like placing a translucent sheet over a colorful base to give a glowing, soft look—though sometimes it dulls colors more than expected. It’s a little like seeing colors through fog.
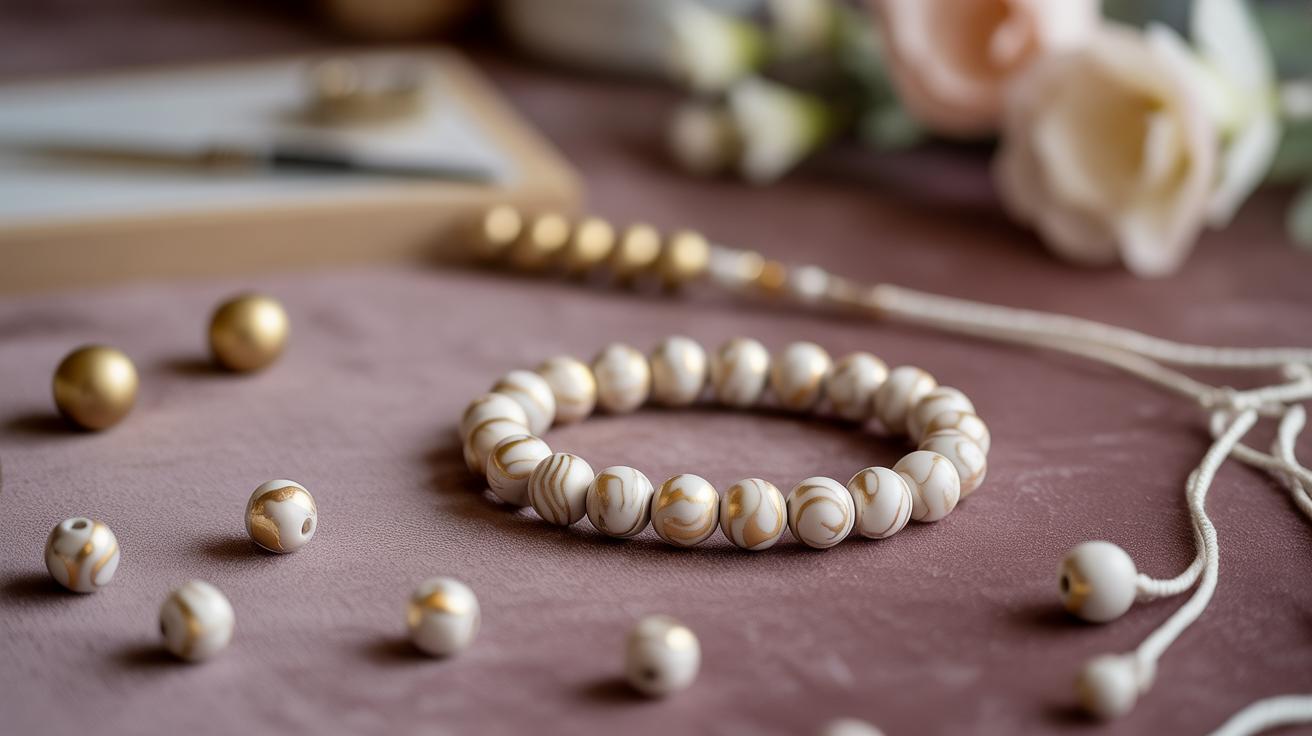
Metallic clays offer a very different vibe. They catch light in ways regular clay can’t, giving your pieces a subtle shimmer or a bold shine depending on how much you use. You can mix small bits of metallic clay into regular colors to create flecks or veins that catch attention when the piece moves, or build whole shapes from just metallic clay for a sleek, modern feel.
Trying these effects may lead to surprises—some translucent sections might bake clearer over time, or a metallic layer could develop tiny textures. Does this unpredictability bother you, or add to the fun? It’s worth trying both and seeing how the clays behave in your oven and with your style.
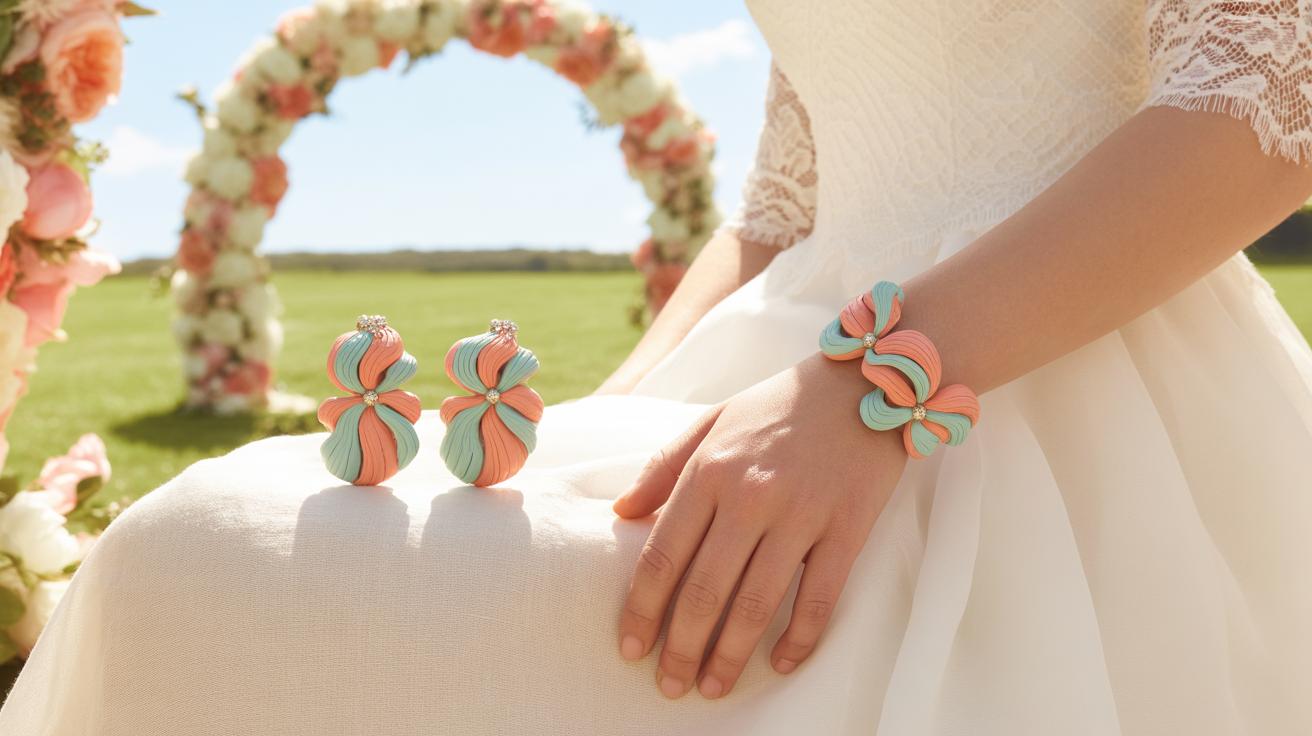
Creating Simple Jewelry Pieces

Working with polymer clay to make jewelry is surprisingly accessible. You don’t need a ton of fancy tools or skills to get started. Pendants and earrings are perfect beginner projects because they’re small, quick to make, and can really showcase your creativity.
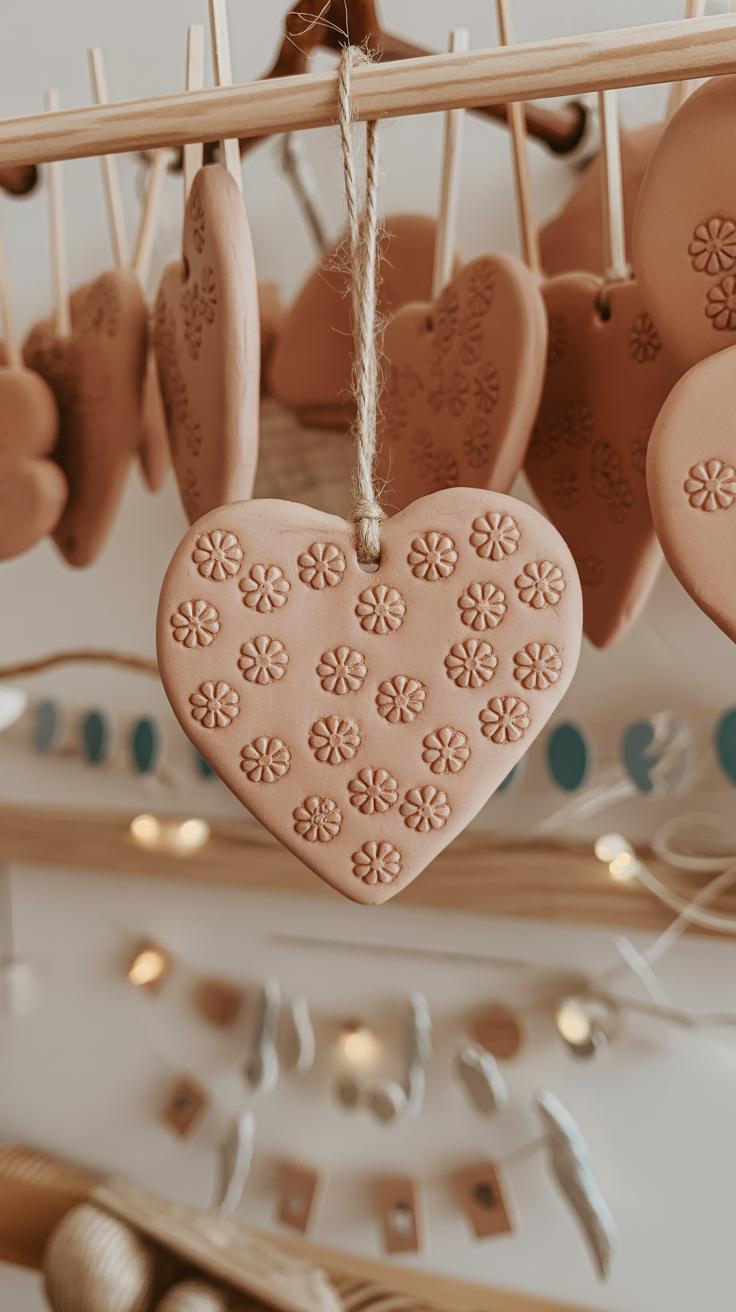
Crafting Pendants
Start by conditioning your clay until it’s soft and pliable—this step makes shaping easier, trust me. Roll it out flat with a roller or a smooth bottle to a thickness around 1/4 inch. Then cut your shape; circles, ovals, or simple abstract forms work best when you’re starting out.
Before baking, poke a hole near the edge using a toothpick or a needle. This hole lets you string a cord or chain through later. Bake according to the package instructions—usually around 265°F for 15-30 minutes—but keep an eye on it just in case your oven runs hot.
Once cooled, you can sand edges or add gloss with a varnish to make it shine. The hole you made? It’s your portal to turning this simple shape into a wearable piece.
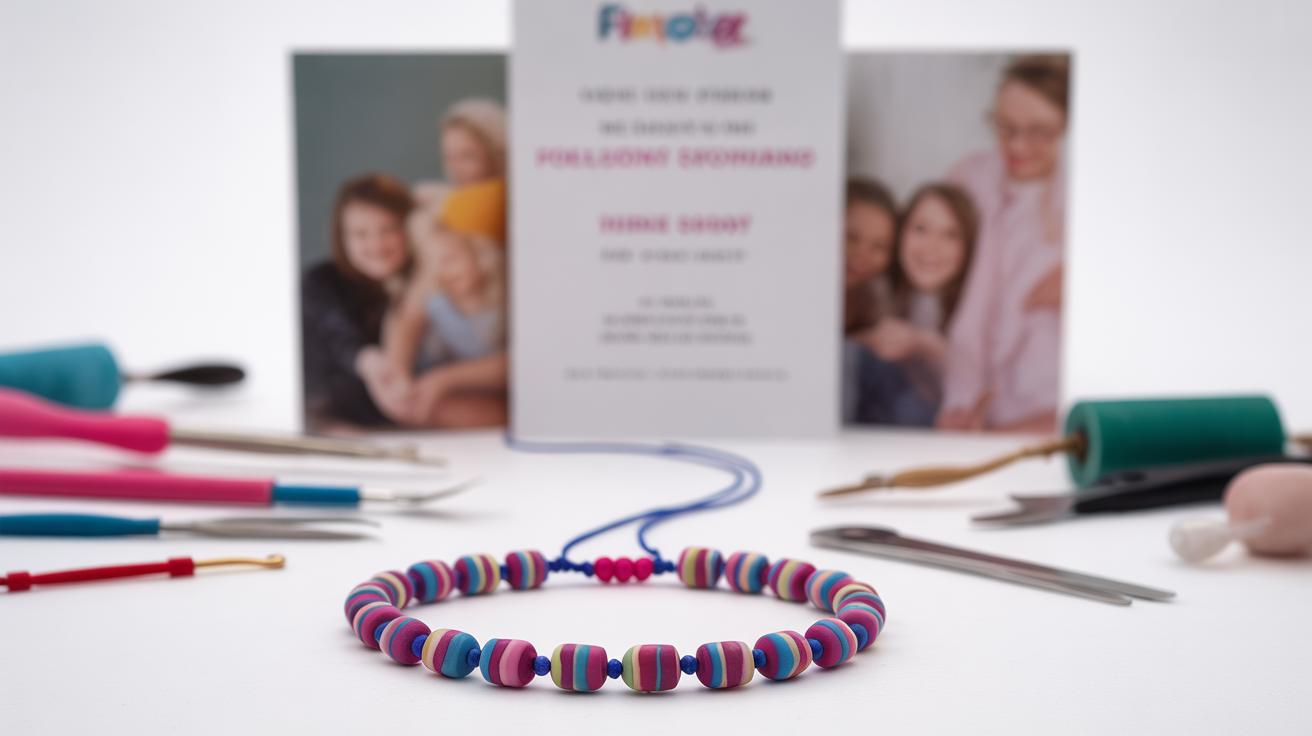
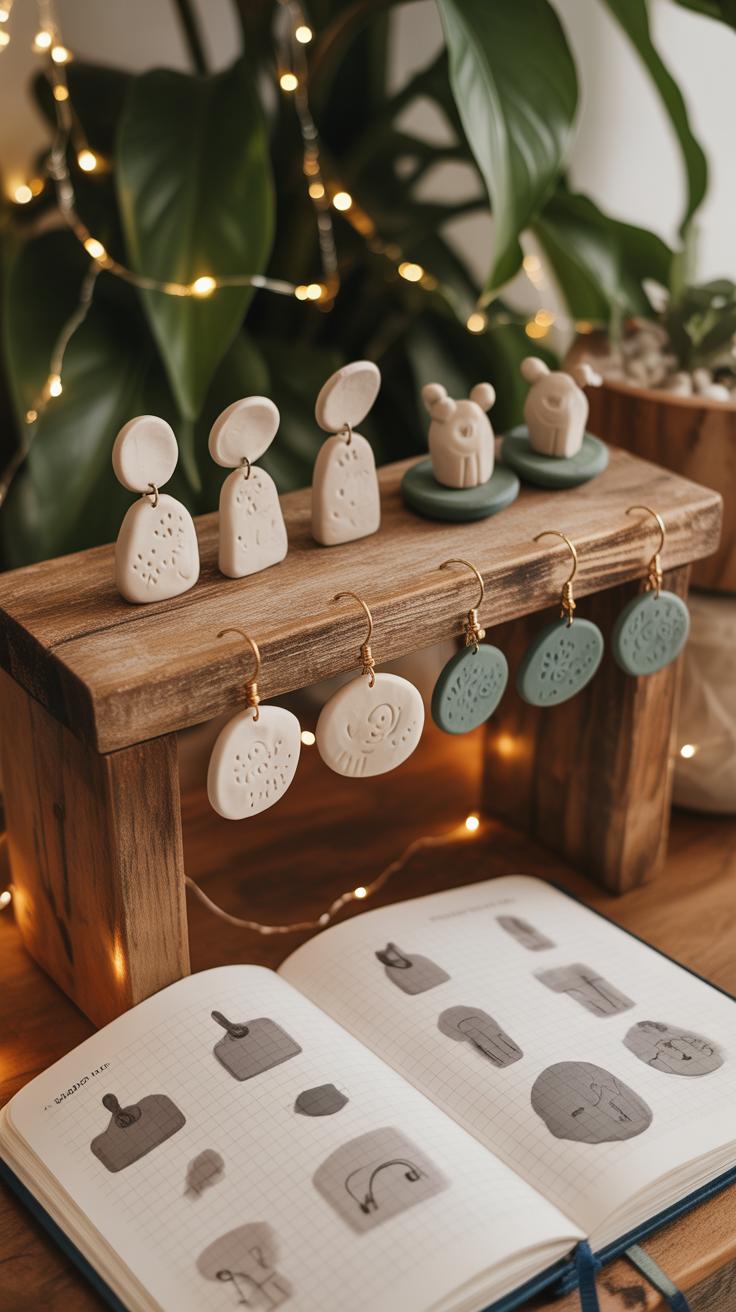
Making Earrings
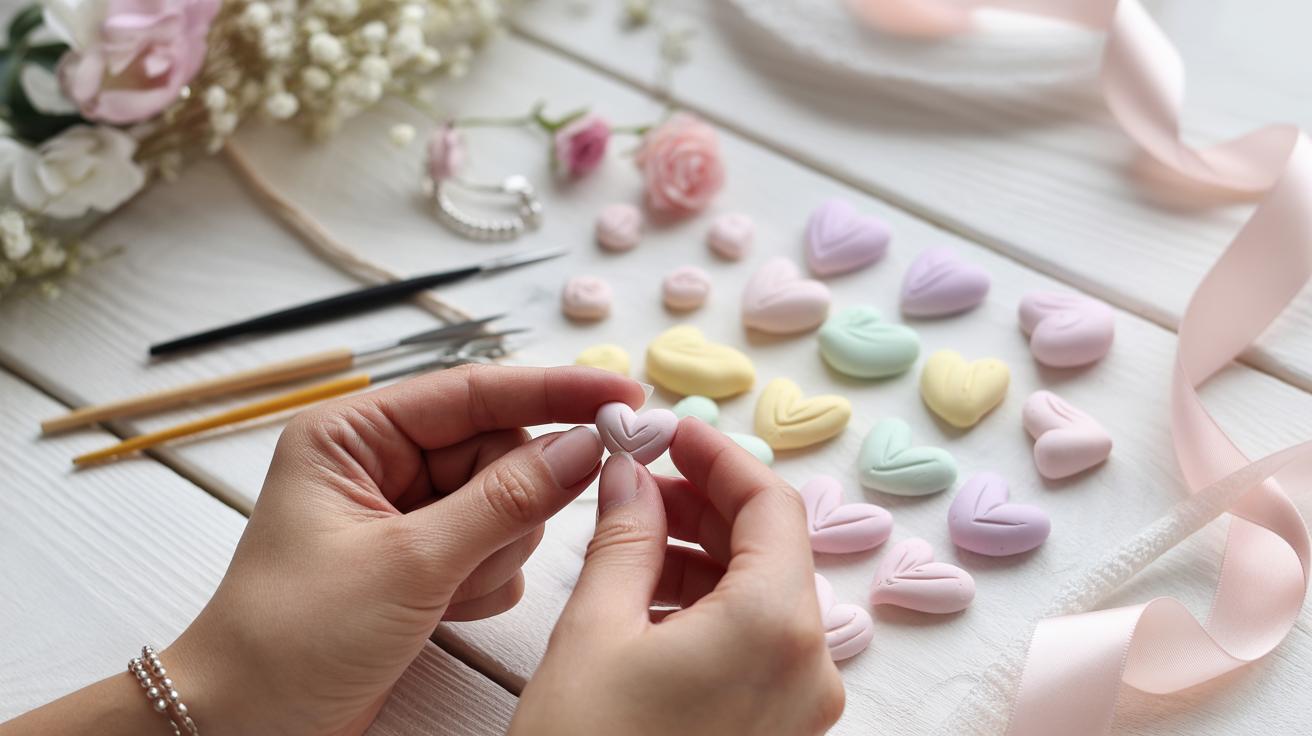
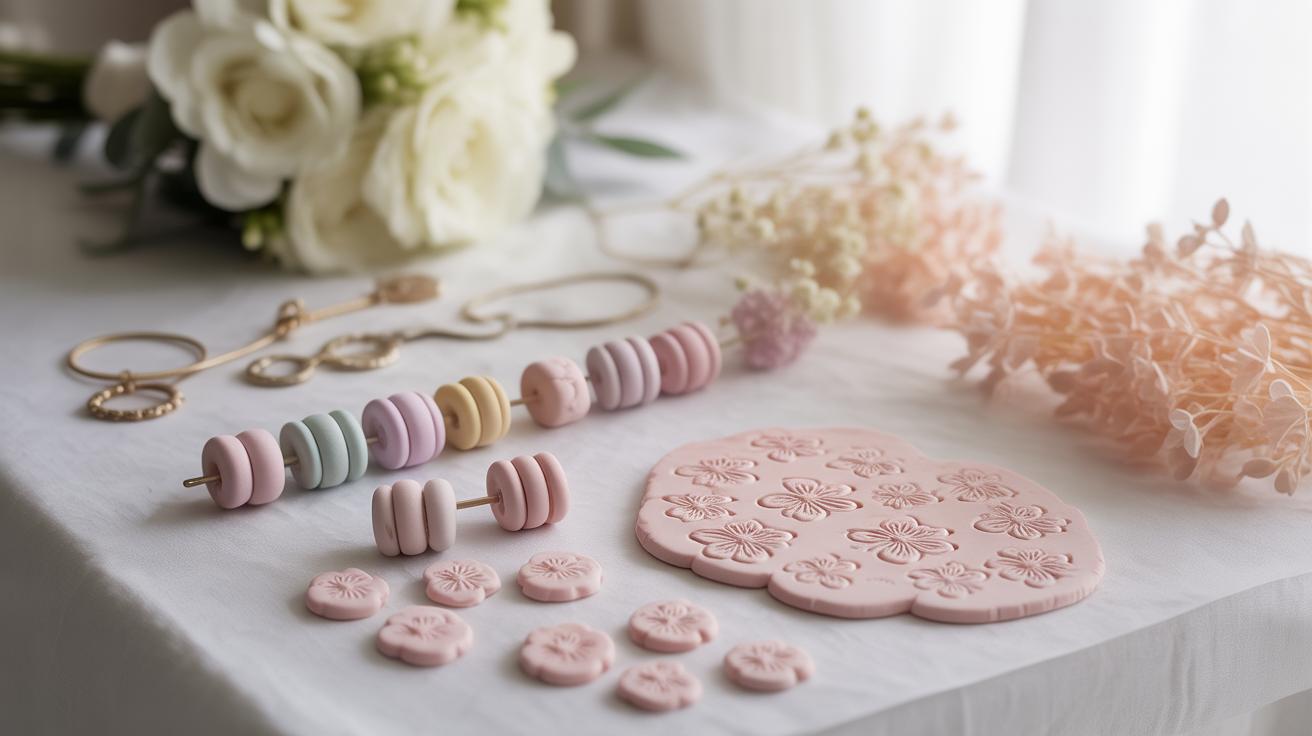
For earrings, lighter and thinner pieces work best. Think small geometric shapes or tiny flowers. Follow the same conditioning and rolling steps, but keep your pieces under 1/8 inch thick so they don’t get too heavy or uncomfortable to wear.
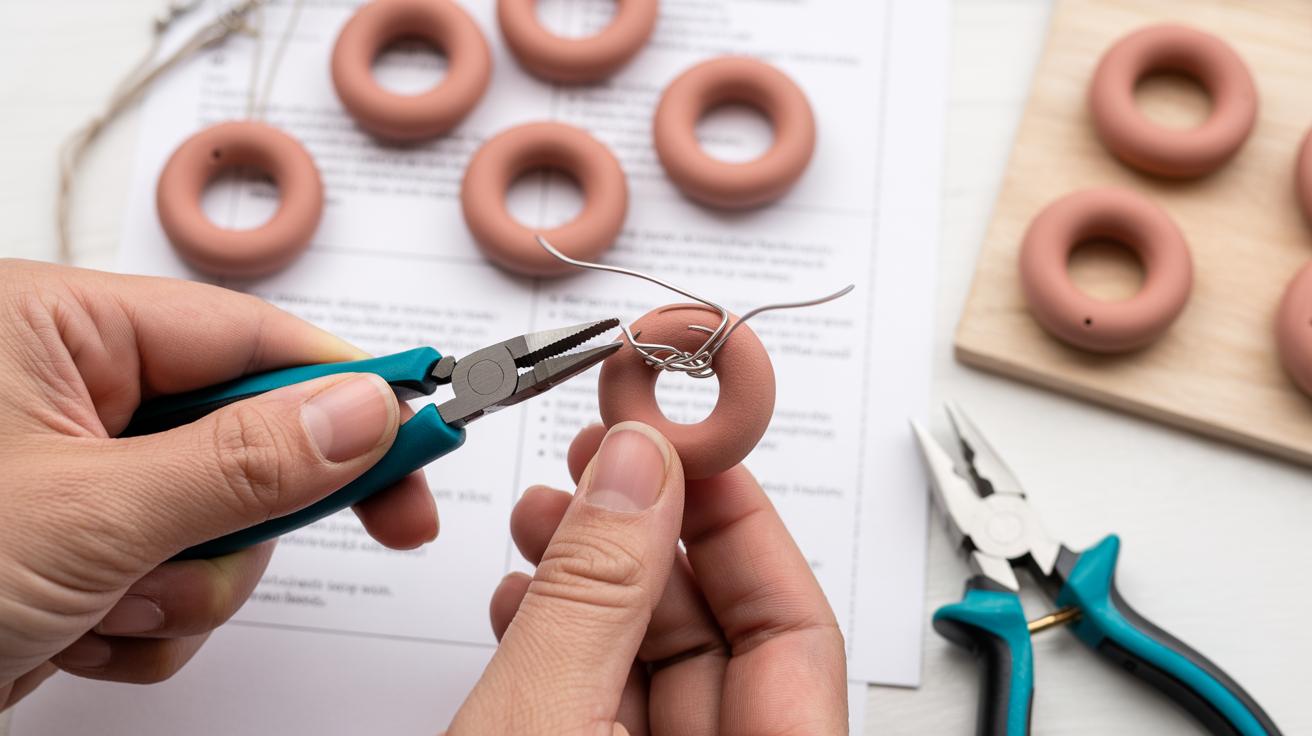
Again, make holes before baking. After the clay is baked and cooled, attach earring findings like jump rings and hooks using pliers. You can buy these basics online or at craft stores.
What I like about earrings is how quickly you can experiment—try different colors, shapes, or patterns without much commitment. Plus, they make nice gifts that feel personal and handmade, which, honestly, is pretty rewarding.
Making Decorative Items
Polymer clay lets you create small decorative objects that brighten your space or add a personal touch to everyday things. Fridge magnets are a popular choice—tiny shapes or miniatures can easily become a functional art piece on your kitchen. You can mold anything from fruits to simple geometric forms. After baking, attaching magnet backs is simple but needs a bit of care. Using a strong adhesive like E6000 ensures the magnet won’t fall off, but sometimes I’ve found letting the glue cure overnight really helps. If you press the magnet into the clay before baking, it might lose magnetism from the heat, so it’s better to add it post-bake.
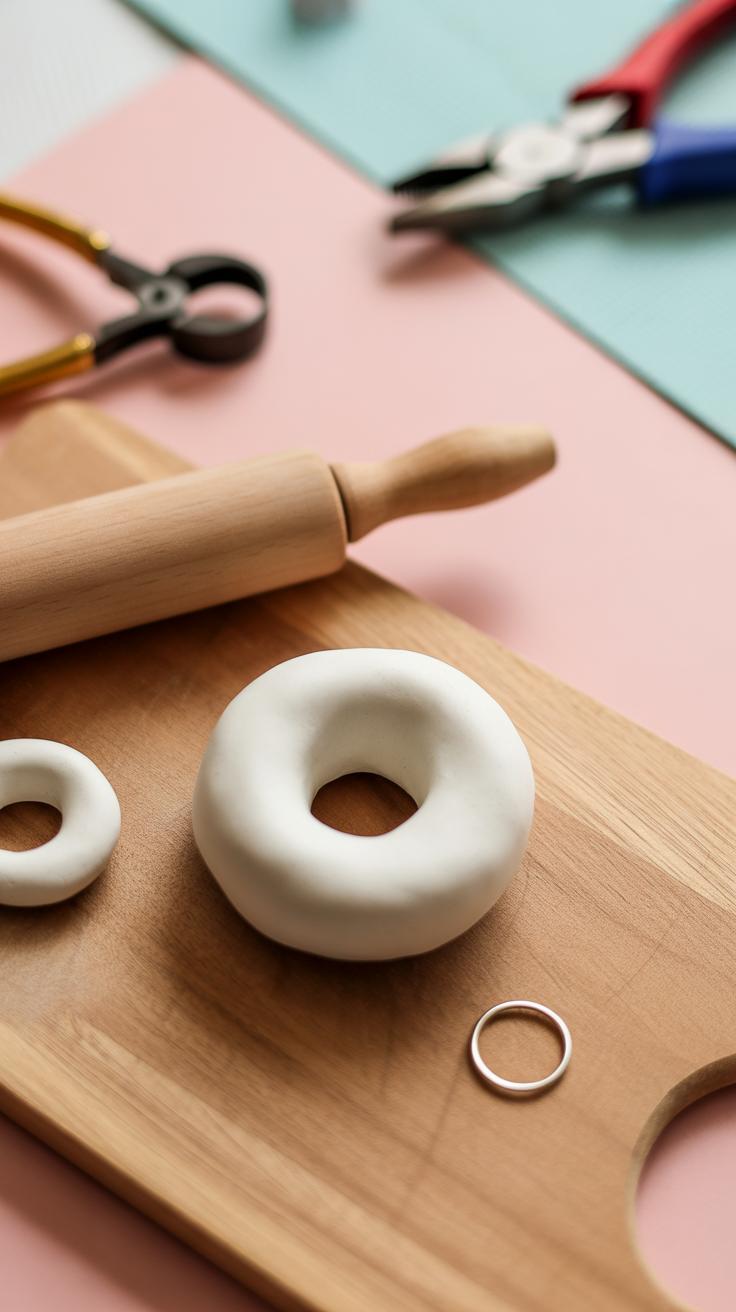
Keychains and charms are another straightforward project. You just shape your design, bake it, then punch a small hole or gently push a metal eye pin in before baking. Adding metal rings afterward completes the piece for your keys. I tend to push the ring in as soon as the piece cools, to avoid cracking. You could experiment with different shapes and colors to match your style—and it’s an easy way to give personalized gifts that don’t look mass-produced.
Small sculptures are a bit more daring, especially for beginners, but a few simple forms stacked or combined can turn into interesting little figures or abstract art. Don’t worry too much about precision—sometimes imperfections add charm. Crafting these can spark ideas for jewelry or larger projects, too. What small shape could brighten your day on the fridge? Or perhaps a keychain that feels just right in your hand?
Baking and Finishing Your Projects
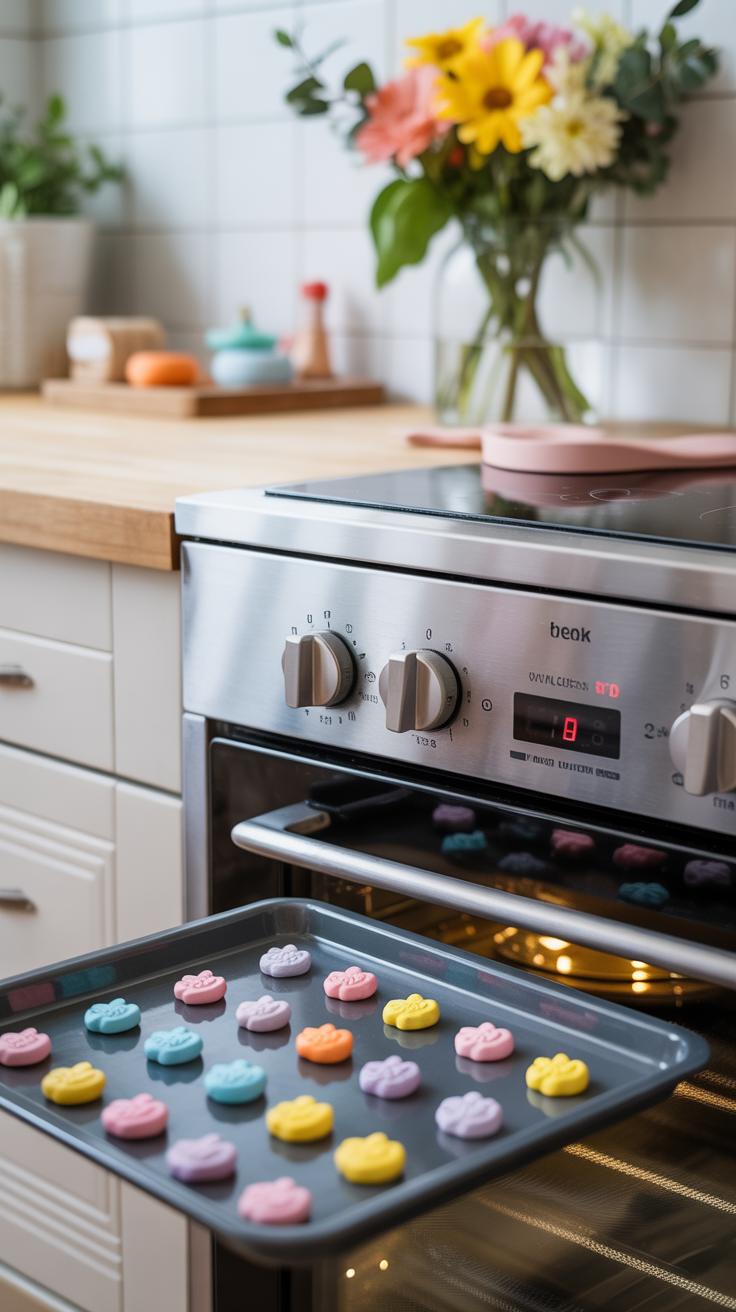
Baking Polymer Clay
Baking polymer clay properly is crucial to make your creations durable. Most brands recommend baking at around 265°F to 275°F (129°C to 135°C). The baking time depends on the thickness of your piece—but generally, 15 to 30 minutes per quarter inch (about 6mm) is a good guideline.
Using a home oven can feel a bit tricky at first. Oven temperatures often vary, so if yours runs hot, your clay might burn or darken. Some people use an oven thermometer to check the exact temperature—seems like extra fuss, but it can save you a ruined project. Also, avoid baking on glass or plastic surfaces; a ceramic tile or plain baking sheet works fine.
It’s tempting to bake longer “just to be sure,” but that can cause brittleness or discoloration. The clay cures fully within the recommended time, so don’t overdo it.
Sanding and Sealing
Once baked and cooled, your piece might have rough edges or tiny imperfections. Sanding is the way to smooth these out. Start with medium-grit sandpaper (around 220 grit), and finish with a finer grit like 400 or 600 for a polished surface. Wet-sanding is an option—this helps keep dust down and lets you see progress better. But dry sanding is fine too if you’re gentle.
Sealing your work protects it from dirt, moisture, and wear. There are various sealers: glossy, matte, or satin finishes. Some prefer water-based acrylic varnishes for easy cleanup and versatility. Others like resin for shine and durability, but it takes more time and care. Pick one that fits the look you want, and try it on a test piece first—you might like the feel of unsealed clay for some projects.
Finishing touches can make a simple project look professional. But, I find sometimes the simplest finish suits best—overdoing the sealant can mask the charm of your handiwork. What kind of finish do you think fits your style?
Troubleshooting Common Issues
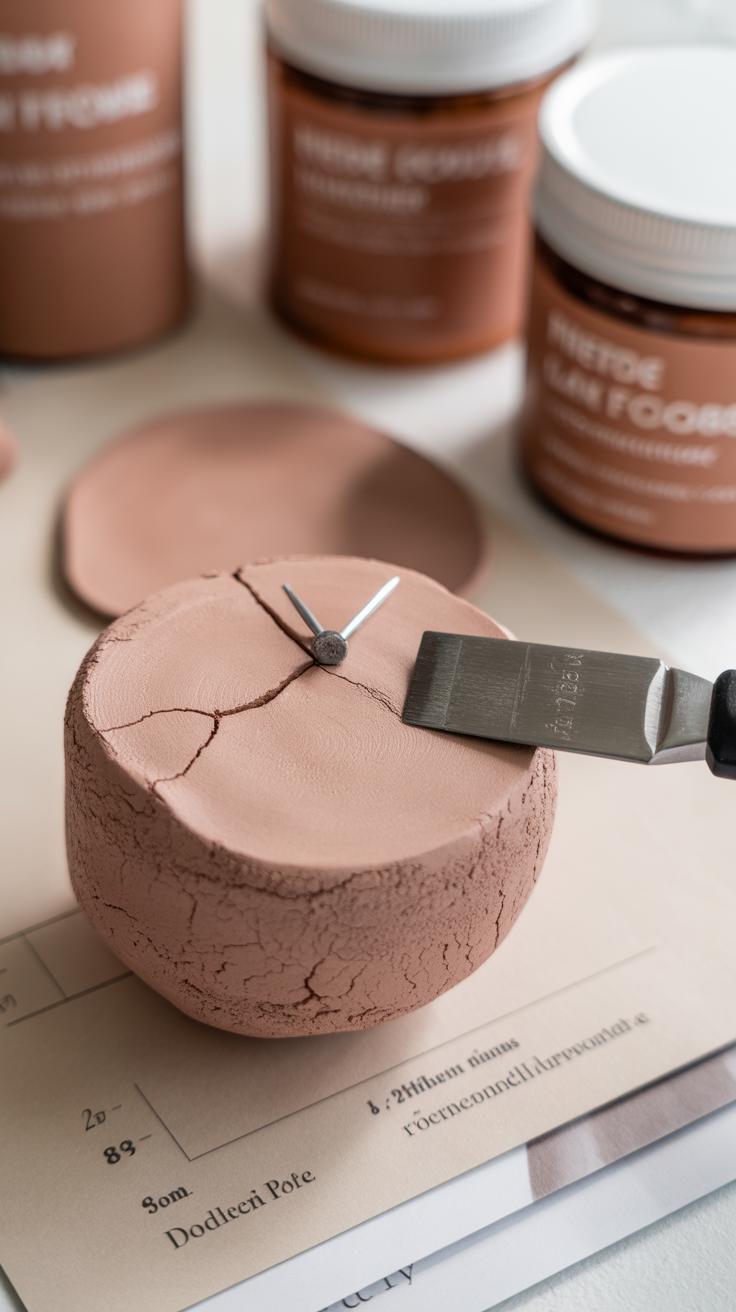
Fixing Cracks and Breaks
Cracks can show up in your polymer clay projects before baking, especially if the clay isn’t fully conditioned or if you bend the piece too much. Sometimes, these cracks seem minor but can turn into big breaks once baked. One way to fix cracks beforehand is to gently press the clay together and smooth the surface with a bit of finger warmth or a soft clay tool. If the crack is deep, adding a thin layer of fresh clay over it can help, but be careful not to disrupt your design too much.
When it comes to breaks after baking, repairing can feel tricky. I found that using liquid polymer clay as a glue works better than regular glue. Apply it carefully along the broken edges, then bake again at the recommended temperature to cure the joint. It’s not perfect, but it often restores enough strength. For tiny surface cracks that appear after baking, a bit of sanding and sealing can disguise them enough so they don’t catch your eye instantly.
Avoiding Color Bleeding
Color bleeding can ruin the crisp look of your designs. It usually happens when two colors mix during conditioning or if they heat unevenly in the oven. To reduce this, separate your colors carefully while conditioning—don’t mash all of them together at once. Also, avoid overworking the clay, especially with softer colors like white or pastels, since they blend more easily.
During baking, uneven heat can cause colors to blur. Using a thermometer to check your oven’s temperature might seem a bit obsessive, but it really helps keep things stable. Placing your clay on a ceramic tile instead of a metal sheet can reduce heat spots that cause bleeding or discoloration.
These steps aren’t foolproof, but they make a noticeable difference. Often, it’s about trial and error, and learning from how your particular clay behaves. Have you noticed some colors always seem to run together? Maybe try swapping brands or testing with small scraps before your main project.
Inspiring Your Polymer Clay Journey
Finding fresh ideas for polymer clay projects can sometimes feel like a challenge. You might think you’ve seen it all already, but inspiration often hides in unexpected places. Sometimes, a quick scroll through online tutorials sparks a new idea—watching someone else shape a tiny animal or layer colors differently can surprise you. I’ve found that craft books, even those not specific to polymer clay, offer patterns or shapes that adapt well.
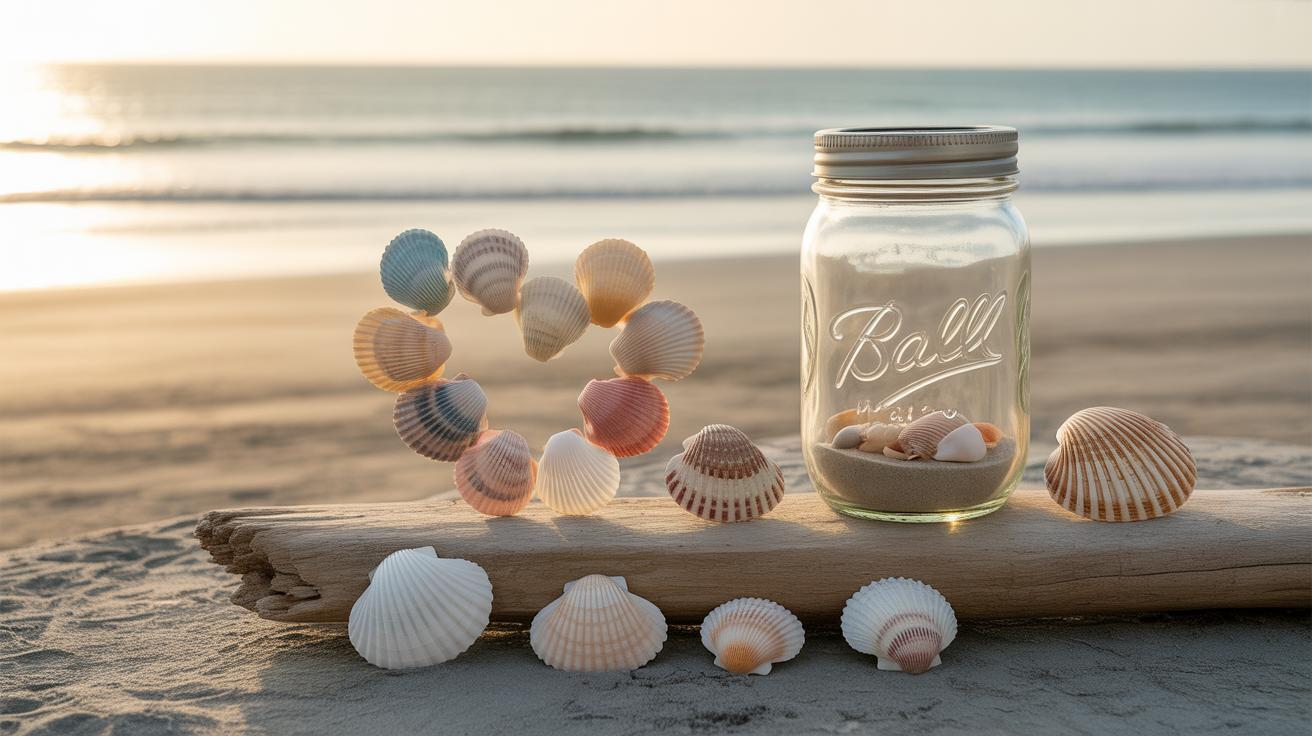
Looking beyond screens and pages helps too. Nature provides countless forms and colors worth trying—leaves, pebbles, or even the texture of bark. Have you noticed how a simple shell can become a whole collection of jewelry ideas?
You don’t have to stick with what you know. Trying new techniques is awkward at first, maybe frustrating. But that’s where growth happens, right? Making more projects—no matter how imperfect—pushes your skills forward. Sometimes I end a piece that didn’t turn out as planned and discover a new technique accidentally along the way.
- Explore YouTube channels or craft blogs for step-by-step projects.
- Browse through local craft stores for inspiration in books or patterns.
- Collect natural materials and experiment with shapes and textures.
- Set small challenges like recreating a favorite object in clay.
- Keep track of what didn’t work to avoid repeating the same mistakes, but don’t fear them.
What is something you haven’t tried yet that might surprise you? Maybe your next project will be exactly what you didn’t realize you needed to make. Just start—again and again.
Conclusions
Polymer clay gives you a fun way to express your creativity by building small artworks and useful objects. By trying different colors, shapes, and techniques, you can improve your skills and produce items that are unique to you. This material is safe, versatile, and perfect for beginners who want to explore crafting.
With practice, patience, and imagination, you will master polymer clay projects and enjoy making gifts, decorations, and personal treasures. Keep experimenting and find joy in the process of turning simple clay into beautiful art. Your polymer clay journey starts now, and it can lead to many creative adventures.