Introduction
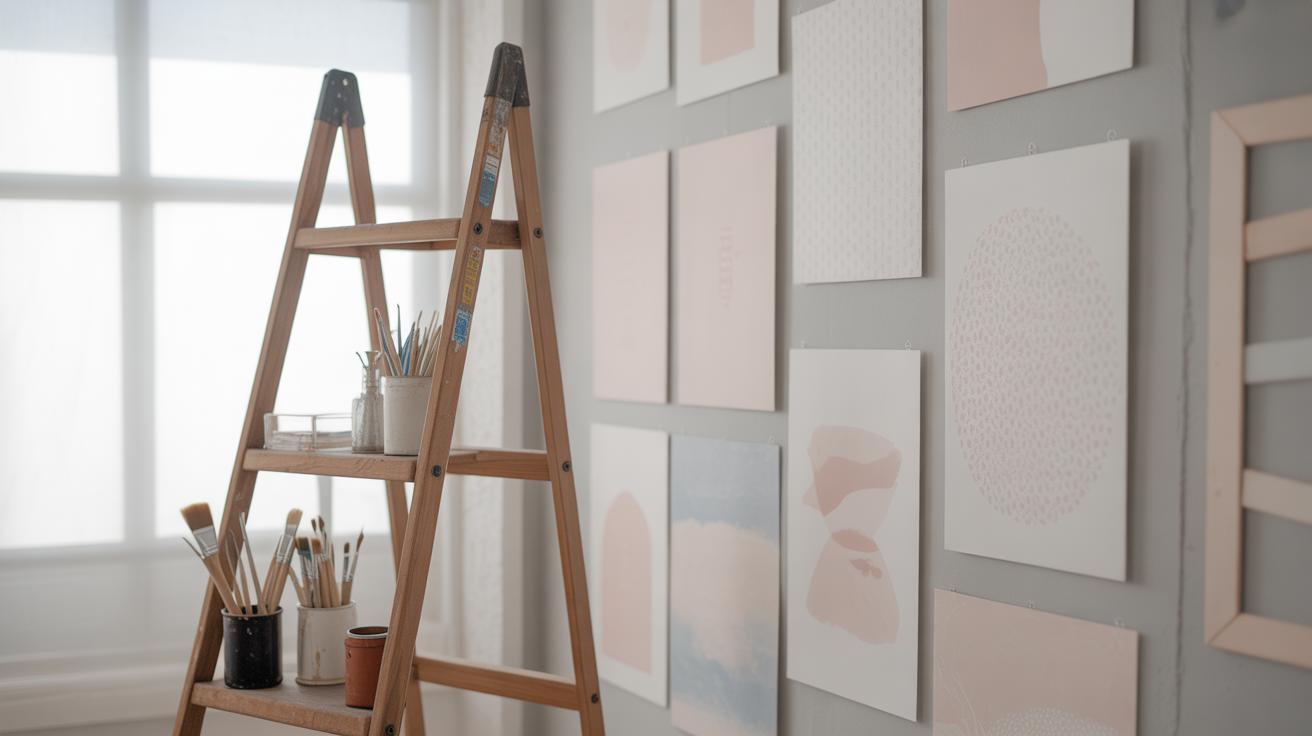
Wall hangings add personality and style to your living room. Making your own wall hangings can be fun and rewarding. Modern wall hanging DIY ideas help you create unique decor that fits your taste and space. You can use simple materials and tools to craft beautiful pieces.
In this article, you will discover different DIY ideas to brighten your living room walls. Learn about materials, techniques, and easy projects. Let your creativity flow and enjoy crafting wall hangings that make your home inviting.
Choosing the Right Materials for Wall Hangings

When deciding on materials for your living room wall hangings, the key is to find things that feel manageable but will still hold up over time. Yarn, fabric, wood, and paper all bring something different to the table, and choosing between them depends a lot on what kind of look you want—and how much effort you’re ready to put in.
Yarn is probably the easiest to work with, especially for beginners. It’s soft, flexible, and forgiving if your knots or loops aren’t perfect. Plus, the variety of colors and textures can give your piece a cozy, inviting vibe. Fabric offers a bit more structure, especially if you’re into sewing or creating macramé styles. It adds a tactile depth but can also be more fiddly if you haven’t worked with textiles much before.
Wood pieces introduce a sturdier element. Thin wood panels or driftwood can become striking bases or frames for your hanging. They might need a bit more handling, like sanding or staining, but they bring a natural contrast, especially if your living room décor leans toward rustic or minimalist styles.
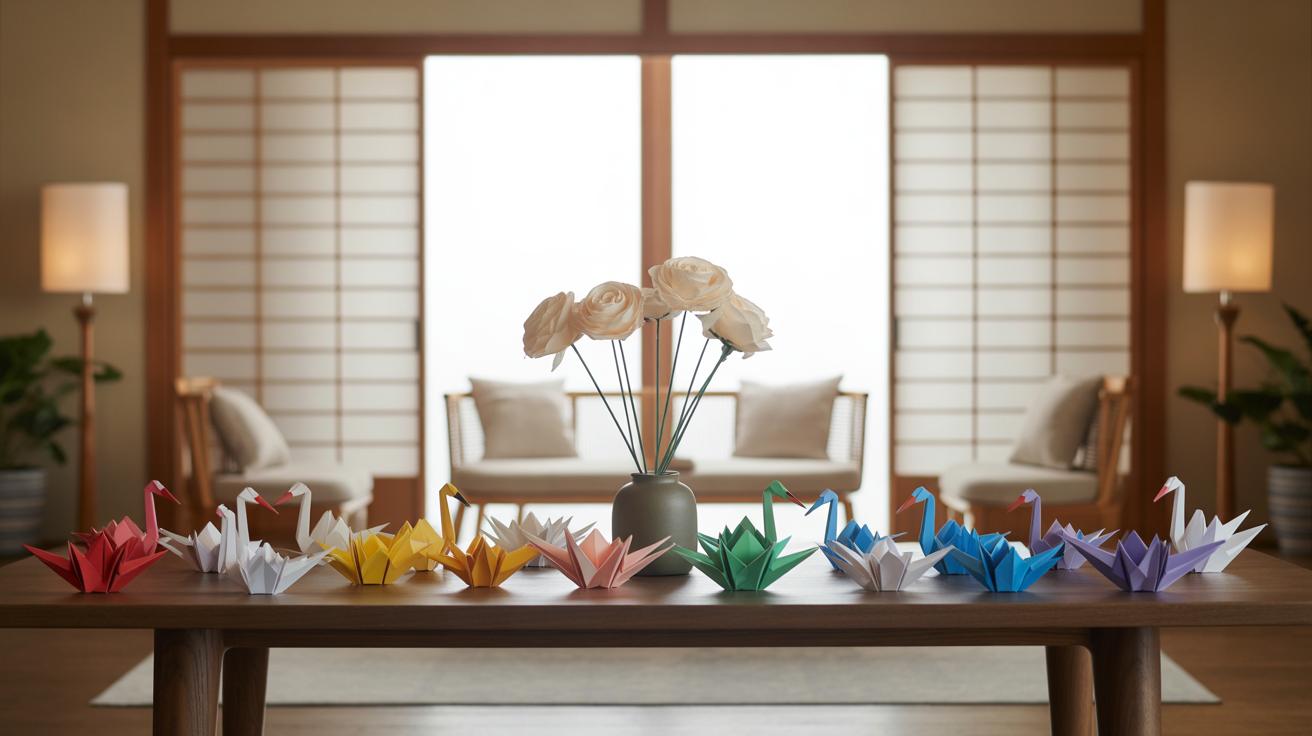
Paper might surprise you as a material for wall hangings. It’s light and easy to manipulate into shapes, whether it’s origami-inspired layers or cutout patterns. Though paper isn’t the longest-lasting, placing it away from direct sunlight or humidity can keep it looking good for a while.
Here’s how I usually think about it:
- Are you looking for something tactile and soft? Yarn or fabric usually work best.
- Want a more solid piece with texture? Wood is a good bet.
- Fancy light, intricate designs? Paper could be worth a try.
Affordable supplies don’t have to be tricky to find. Yarn and fabric remnants often show up at craft stores, sometimes in clearance bins. Don’t overlook thrift shops—old curtains, tablecloths, or even sweaters can provide material for unique wall hangings on the cheap. For wood, local hardware stores or salvage yards might have scraps you can repurpose at a low cost. Paper can come from scrapbooking shops, or even recycled magazines and newspapers, which I personally find fun to experiment with.
What matters most is picking materials that feel accessible to you and fit the style you’re aiming for. Sometimes I buy tiny amounts just to test ideas before committing, so don’t hesitate to start small. After all, the creative process is often a bit messy, and your choice of material sets the tone for the entire project.
Basic Tools Needed for DIY Wall Hangings

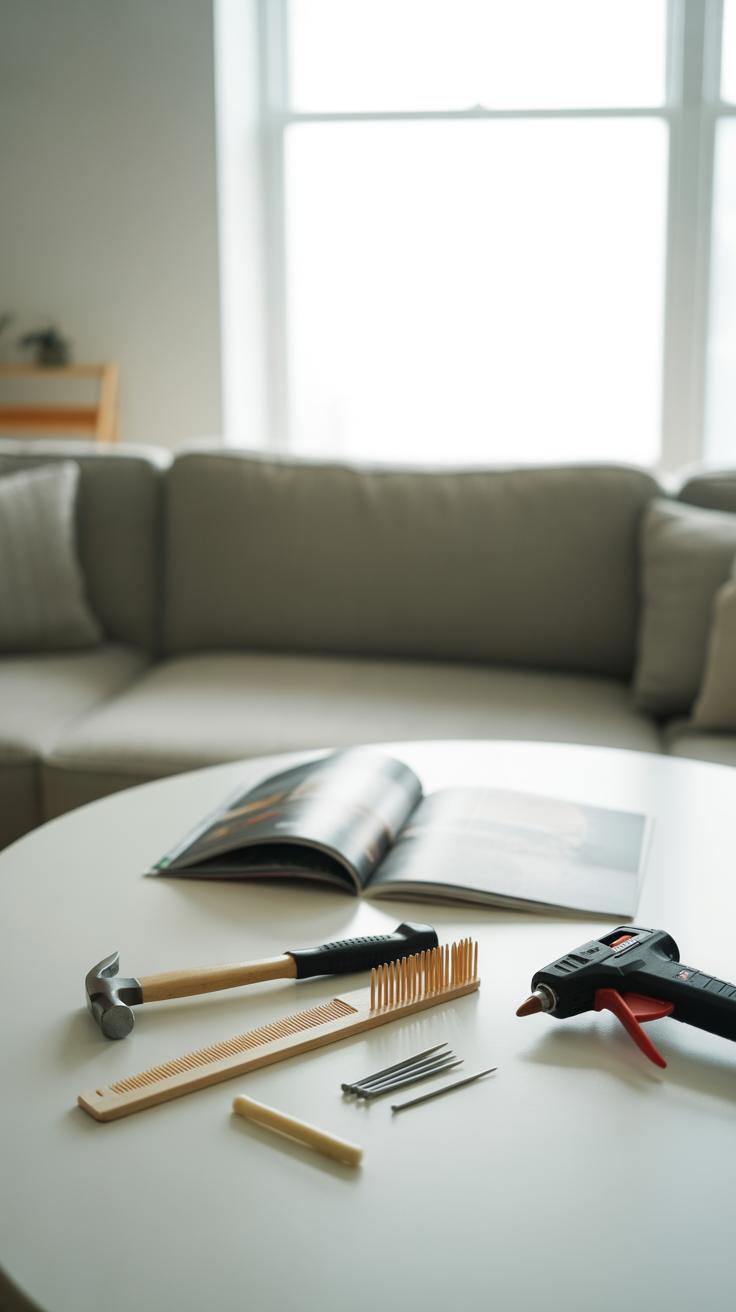
When you’re starting out with DIY wall hangings, it’s tempting to gather a dozen tools, but really, you only need a few basics to get going. Think of this as your starter kit—tools that won’t overwhelm you but will cover most projects.
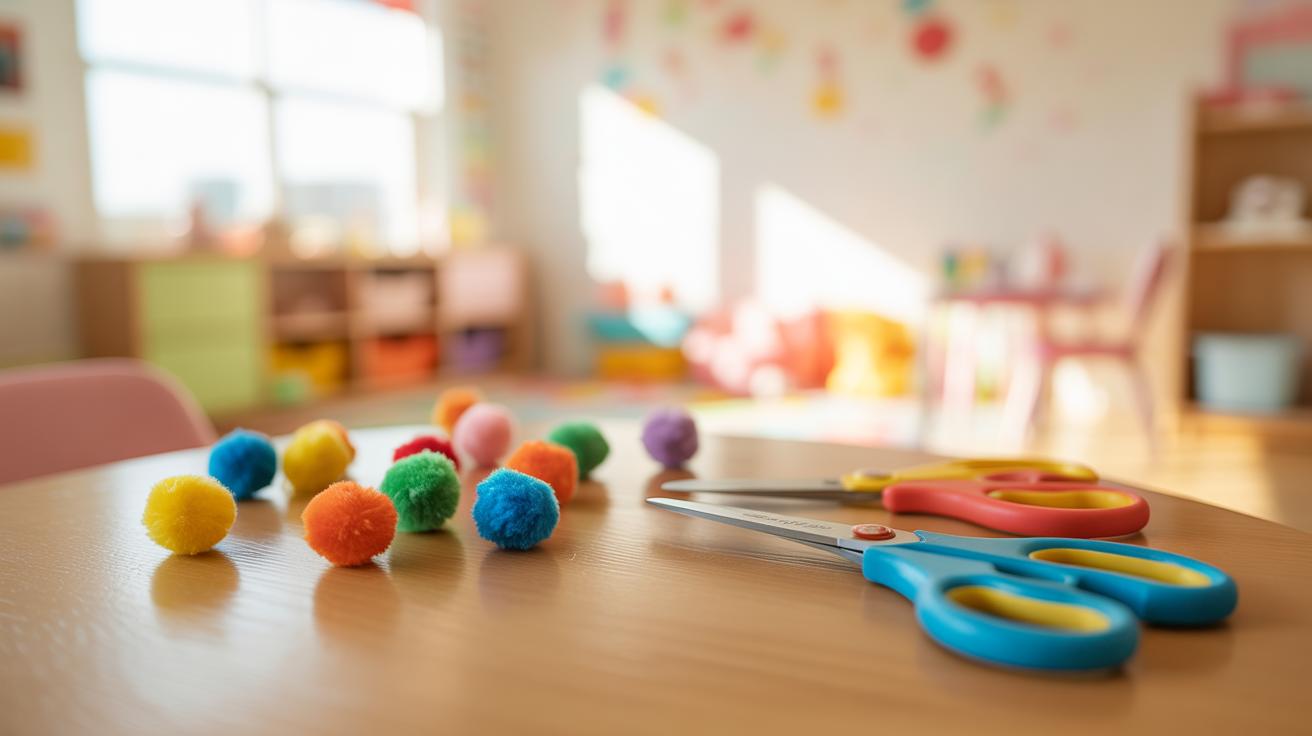
At the very least, you’ll want:
- Scissors: Sharp scissors are essential. They make cutting yarn, fabric, or paper much easier and cleaner. Don’t settle for dull ones—they can quickly frustrate you.
- Measuring tape or ruler: Accuracy matters, especially for yarn projects or fabric lengths. Even a simple ruler can help keep your work neat.
- Glue or fabric glue: For sticking pieces together without fuss. It’s safer and often cleaner than nails or staples, especially for delicate materials.
- Tape or masking tape: Useful for temporarily holding things in place while you work. It’s one of those humble tools that’s surprisingly handy.
You might wonder if you need a hammer or nails right away. Probably not, unless you’re working with heavier materials like wood. Most yarn or fabric projects hang easily with a simple dowel rod or branch.
For more intricate or larger projects, a few optional tools could enhance your work:
- Hot glue gun: Speeds up assembly and bonds materials securely. It’s a bit messier but worth it if you want durability.
- Craft knife or X-Acto knife: Gives precision cutting beyond scissors, especially helpful for paper or thin wood.
- Needle and tapestry needle: If you’re weaving or working with yarn, these can save lots of time and keep everything tidy.
- Wood clamp or small vice: Not essential but useful when working with wooden frames or mounting heavier hangings.

You don’t have to buy everything at once, though. Start small, see what you enjoy, and build your toolkit as you try different styles. What tools do you already have around? Sometimes, improvising with household items can lead to surprising results.
Simple Yarn Wall Hanging Ideas
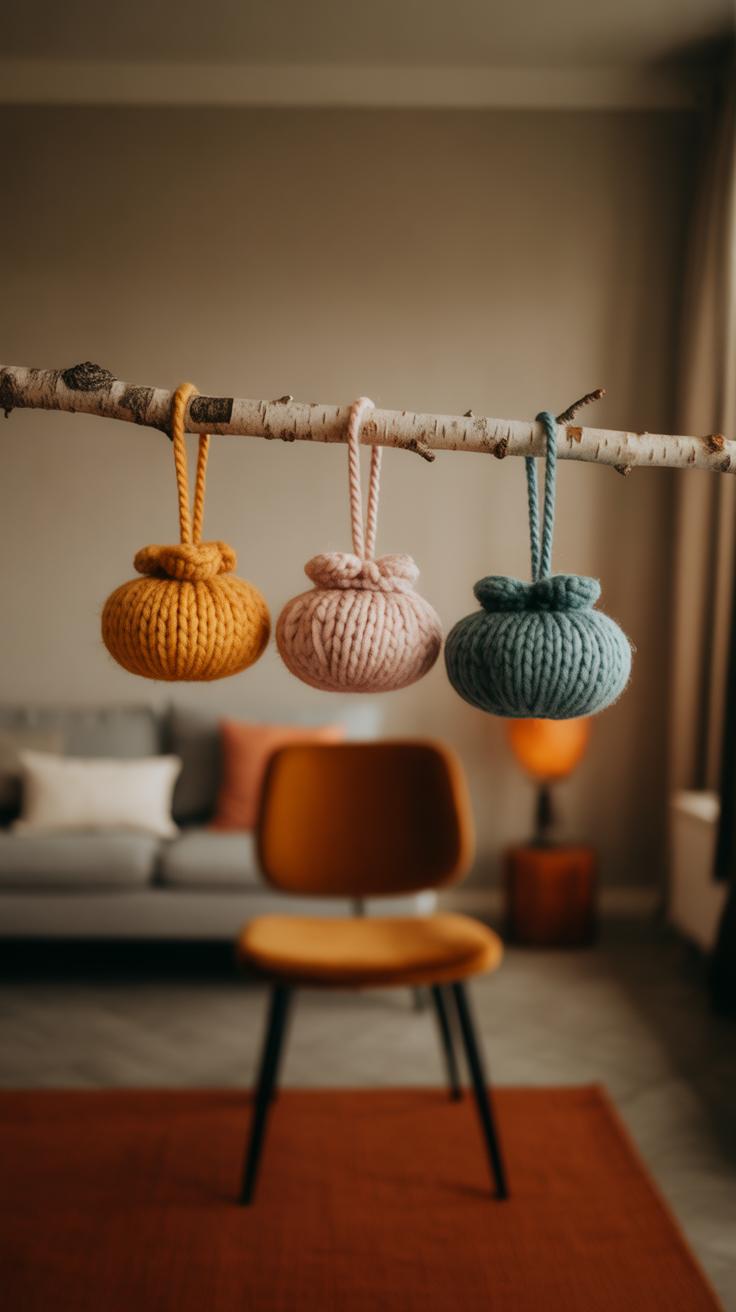
If you’ve got some yarn lying around, you’re already halfway to a cool wall hanging. Yarn projects like weaving and tassels don’t demand fancy tools. Honestly, they feel pretty rewarding once you get going. Let’s start with the most basic weaving—it’s surprisingly forgiving, so don’t worry if you’re a beginner.
Weaving Techniques for Beginners
You can use a simple cardboard loom—just poke evenly spaced notches along the top and bottom edges. String your warp threads tightly between these notches. Then, take a different yarn and weave it over and under the warp, back and forth, filling out the piece. It’s a slow but satisfying rhythm.
Try mixing colors or textures to add interest. Maybe use fluffy yarn for some sections and smooth for others. When you’re done, tie off the ends and slip the whole thing onto a wooden dowel or branch. That’s basically it. The imperfections—like uneven weaving—give it charm, really.
Making Tassel and Fringe Decorations
Tassels add a playful feel and are super easy to make. Wrap yarn around your fingers or a small piece of cardboard several times. Slide it off carefully, tie one end tightly, and cut the opposite end. Trim to shape if needed. Attach your tassels along the bottom of your woven piece or hang them individually for a minimalist look.
Fringe works similarly but involves cutting multiple yarn strands and knotting them at the base of your hanging. It’s almost like giving your piece a shaggy edge. Both tassels and fringes can break up rigidity and bring a bit of movement to your wall. Honestly, once you start, it’s hard to stop adding more.
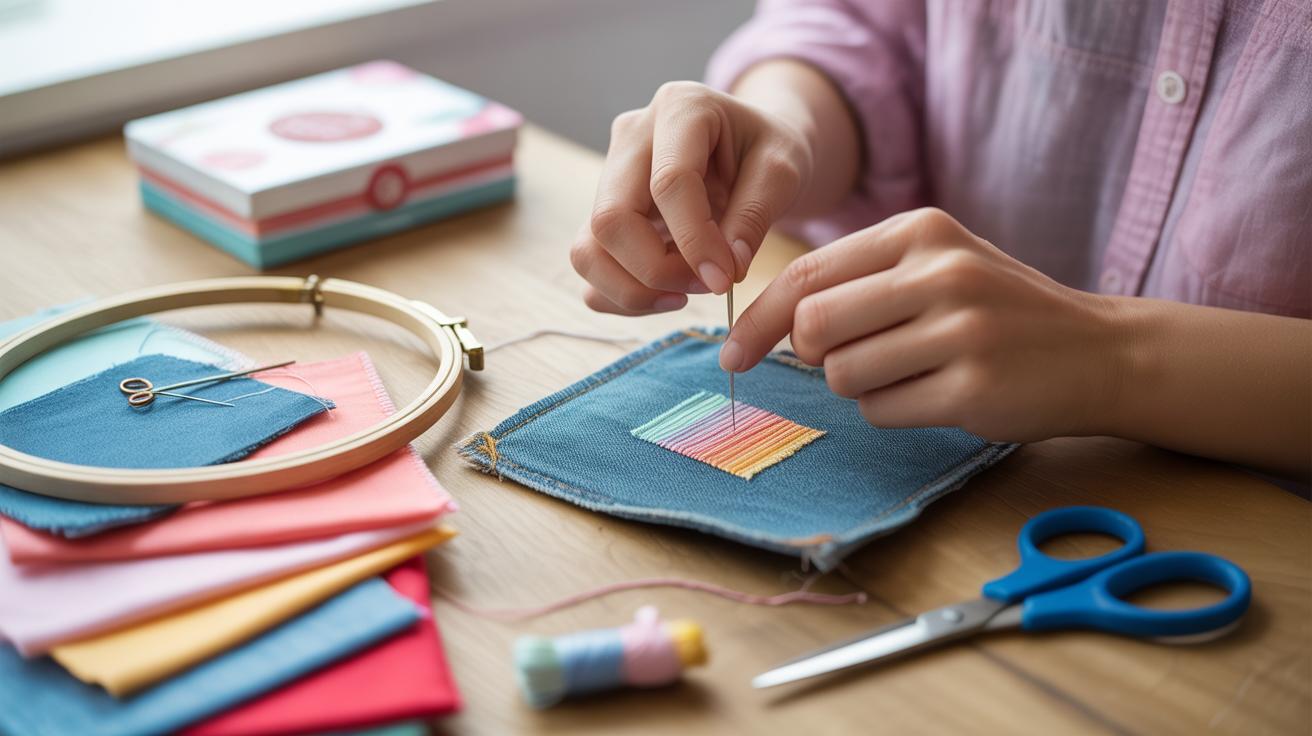
Fabric Wall Hangings with Prints and Patterns
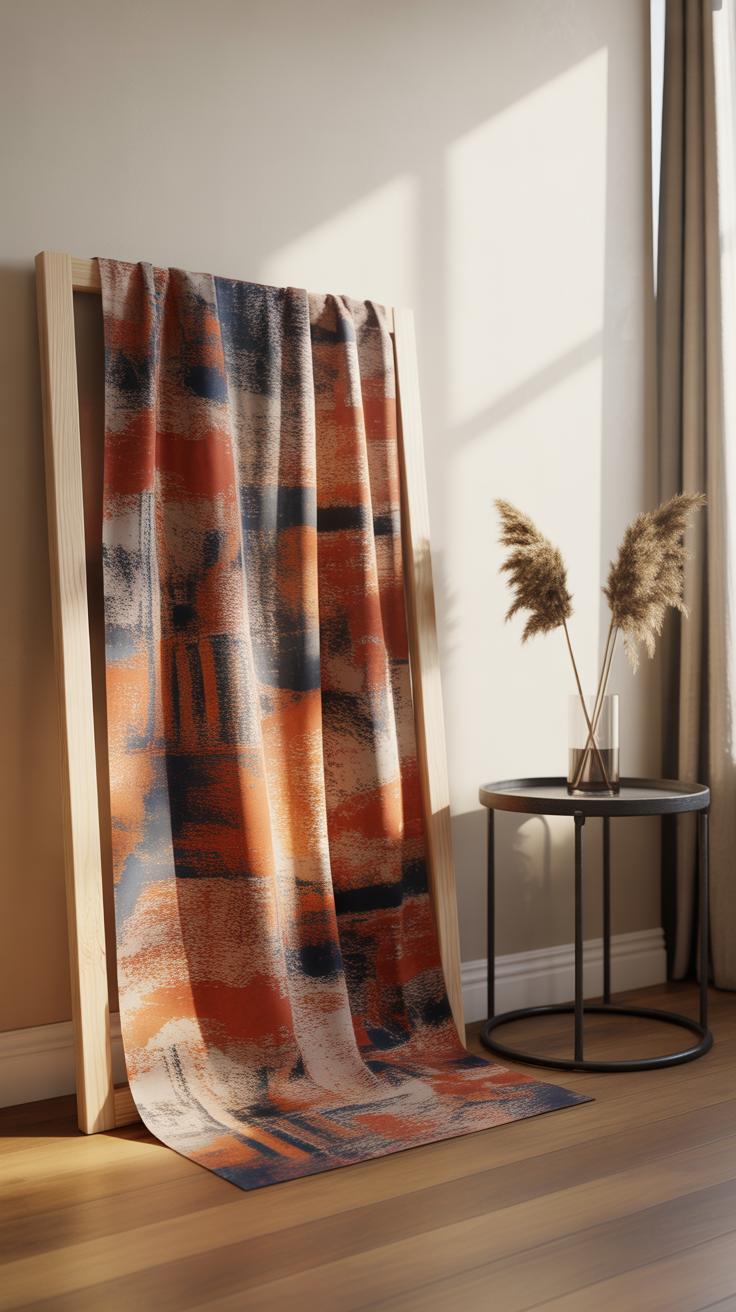
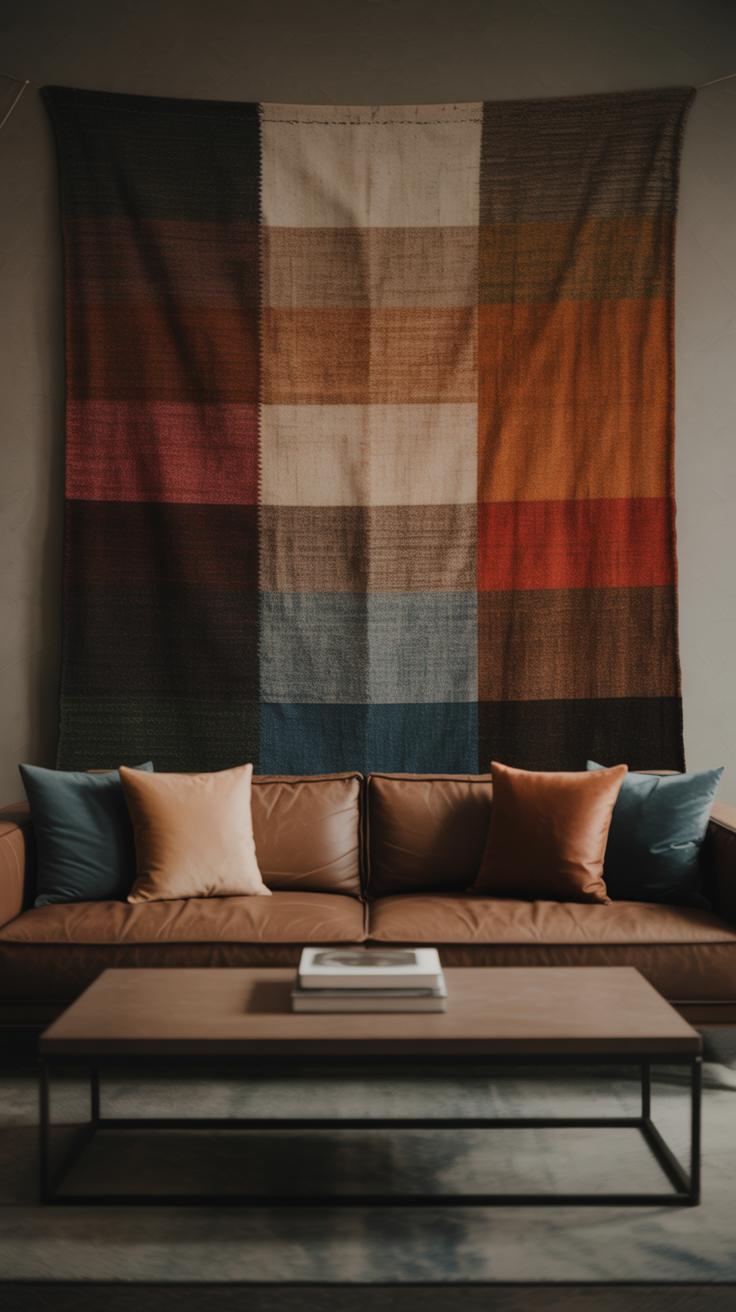
Picking the right fabric for a wall hanging can feel more personal than tricky. You might find yourself drawn to bold geometric patterns that pop, or maybe softer florals that blend quietly into the room. Cotton, linen, or canvas are common choices—they hang well and aren’t too heavy on the wall. But sometimes I find mixing textures works better; a printed cotton over a burlap backing creates a nice contrast, even if it’s just for a temporary display.
When choosing a pattern, it’s not all about matching the existing decor exactly. Think about introducing a small clash instead—perhaps a lively print that challenges neutral tones can be refreshing. Or keep it simple with stripes or dots if you’re cautious. There’s no rule that a print has to shout to be effective.
If sewing isn’t really your thing, no-sew fabric hangings are surprisingly doable. You can fold a printed fabric and clamp it between two wooden dowels or embroidery hoops—quick, tidy, and changeable whenever you want. Sometimes, just fabric glue or fusible bonding tape does the trick for hems or layering, so you avoid needles altogether. I once made a striking piece by layering three printed fabrics, securing them with fusible tape, and suspending the whole thing on a leather cord. The texture mix caught everyone’s eye, and I didn’t sew a single stitch.
Could that tension between pattern and fabric type give your living room wall a bit more character? Maybe try it out before overthinking it too much. You never really know until you hang it up and step back.
Wooden Wall Hangings and Art Pieces
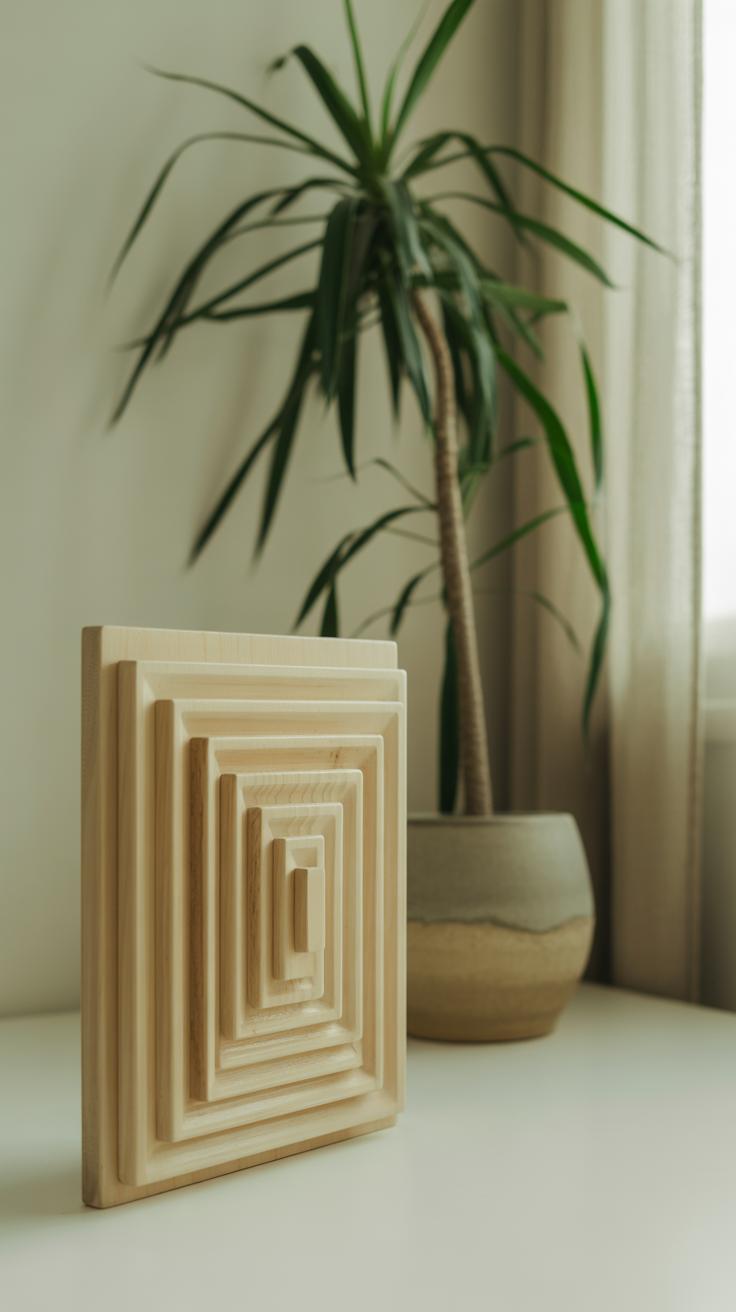
Wood offers a unique warmth to living rooms that’s hard to match. When it comes to creating wooden wall hangings, you can either lean into the natural texture or add some paint for a more vibrant or subtle look—depending on your space. For example, simple wood panels can be painted with geometric shapes or soft color gradients, giving a modern feel without overwhelming the room. Or, you might prefer letting the wood grain speak for itself, highlighting knots and imperfections for a rustic or organic touch.
Using Reclaimed Wood for Projects
Reclaimed wood is a go-to choice if you want something with character—and it often has a story behind it. Finding reclaimed wood can be as easy as checking local salvage yards, construction leftovers, or even old pallets. Once you have your wood, prepping it is crucial: clean off any dirt or nails, sand it down—though not too much if you love the rough feel—and treat it to avoid future damage. I remember rescuing some old barn wood once; its original paint chips gave my project a subtle weathered look I didn’t have to fake.
Painting and Decorating Wood Art
Painting on wood can be straightforward but there’s room to experiment. Some like to use stencils for crisp patterns, while others choose freehand designs to add personality. Layering paints—like starting with a base coat and adding distressed edges or splatter effects—can create depth and interest. You could also try wood burning for a different texture. Don’t forget that decorating isn’t limited to paint; attaching small metal pieces, fabric, or even incorporating negative space through cuts can help your piece stand apart. It’s really about what fits your style—and maybe even challenges your comfort zone a little.
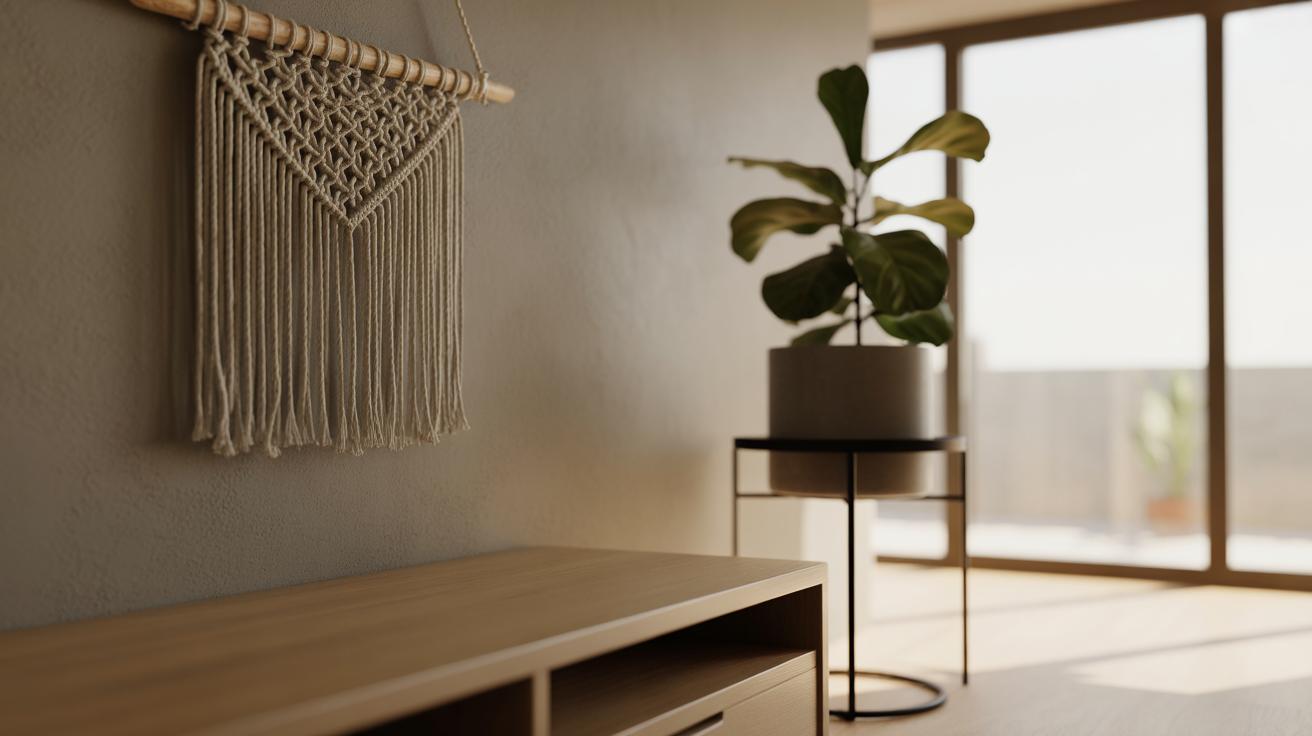
Macrame Wall Hangings for a Boho Look
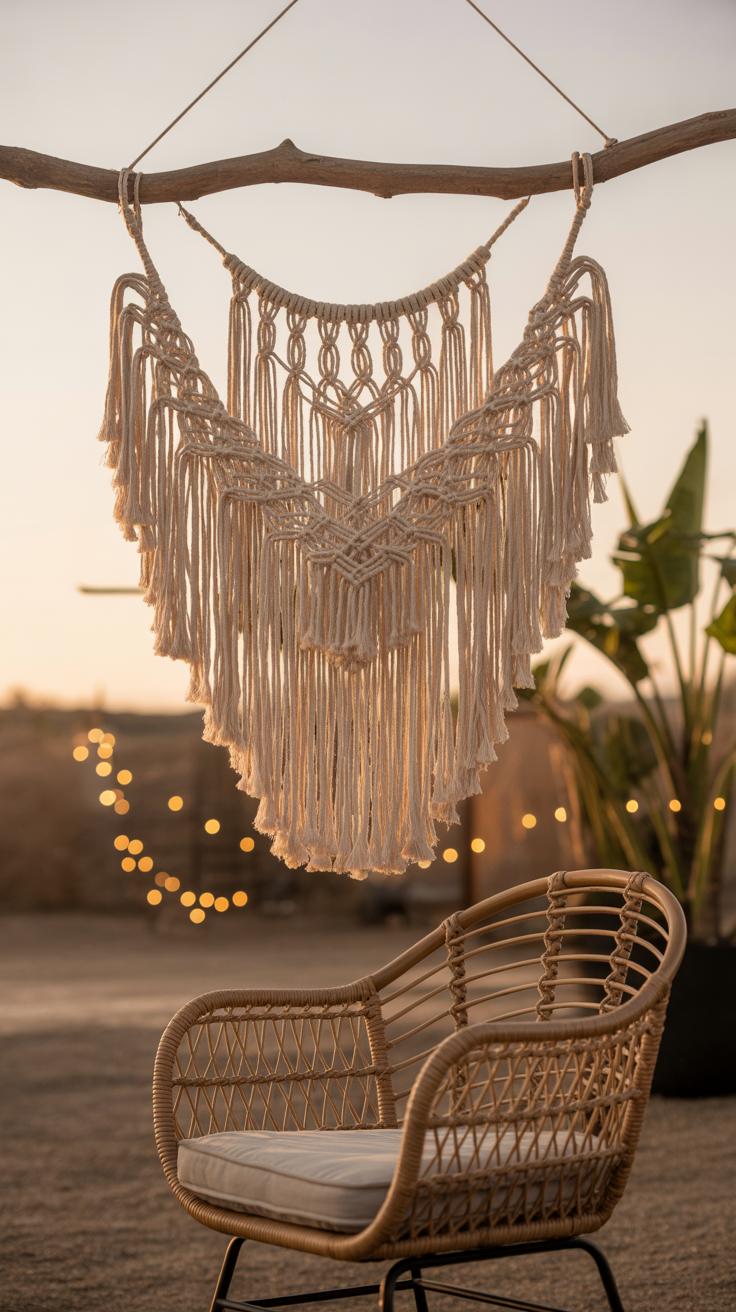
If you’re after that laid-back, boho vibe for your living room, macrame wall hangings can be a great way to bring texture and warmth to your space. Making one yourself isn’t as tricky as it looks. You mainly need some cotton or jute cord and a wooden dowel or branch to start. Then, it’s about learning a few basic knots and practicing a bit.
Many beginners find themselves surprised at how quickly simple knots come together to form interesting patterns. You don’t need to be a pro to create something that looks thoughtful and artisanal. And honestly, the slight irregularities in the knotting—those imperfect loops and twists—add to the charm, giving your piece real personality.
Basic Macrame Knots to Learn
Start with a couple of knots that build up most designs:
- Lark’s Head Knot: This is how you tie your cords to the dowel. It’s just folding the cord in half and looping it around your rod.
- Square Knot: Fairly simple and versatile. You alternate pulling cords over and under, creating a flat knot that’s the backbone of many designs.
- Half Hitch Knot: This knot lets you form curves or diagonal lines, adding some flow and dynamics to your pattern.
Try combining them in rows or alternating sequences. For example, a few square knots followed by diagonal half hitches can create interesting V-shapes. Often, the beauty of macrame lies in how even the simplest knots, arranged thoughtfully, can create complex looks.
Design Ideas for Your Macrame Project
Now, about styles—you might want to keep it minimal with a simple, long hanging piece that tapers to a point or plays with varied lengths of cord hanging down. Or maybe you’ll prefer a wider panel with dense knotting, creating an almost fabric-like texture.
Shapes can range from rectangular to triangular, but don’t shy away from circular or even asymmetrical designs. Experiment with adding beads or mixing cord thicknesses for subtle contrast. The type of wood you use also shifts the whole feel—a smooth dowel makes it modern, while a natural branch leans more rustic.
Think about your living room’s vibe and how this piece can complement or gently disrupt it. What do you want to say with this wall hanging? Sometimes, a simple cluster of knots can speak more quietly but just as loudly as more elaborate patterns.
Incorporating Nature with Wall Hanging Plants
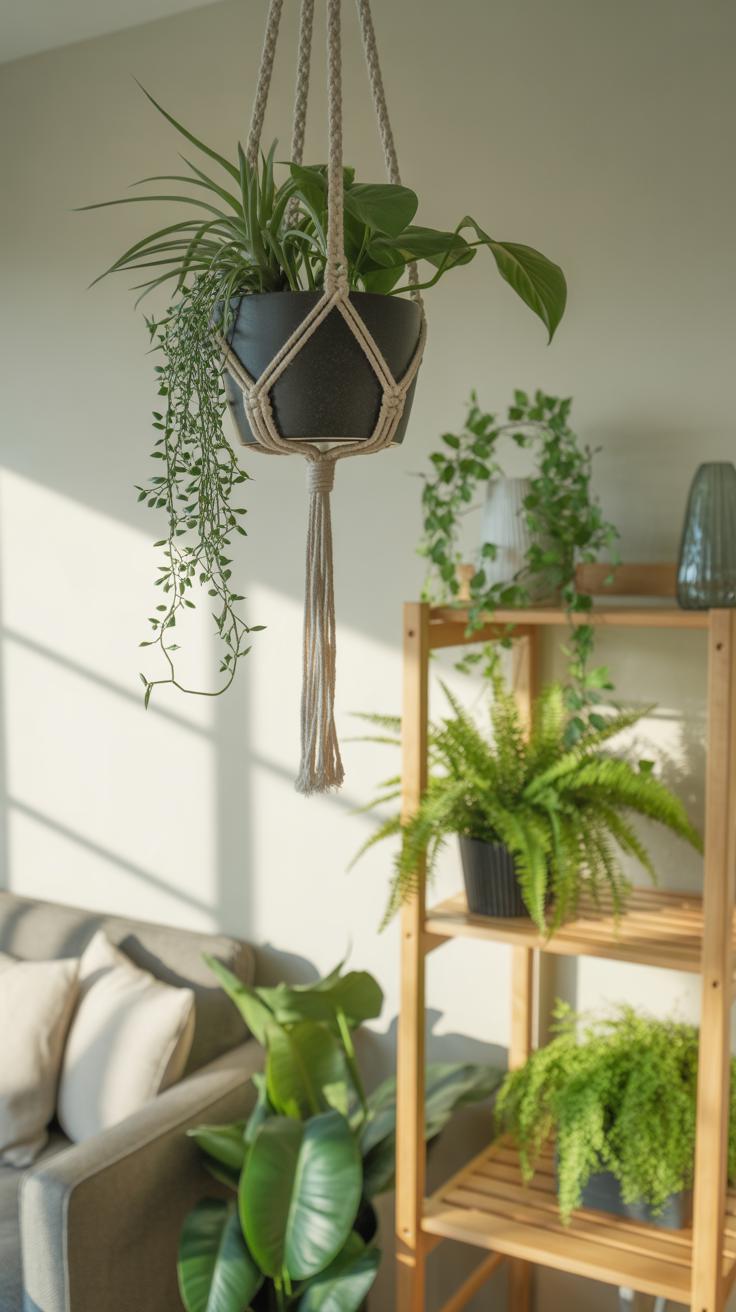

Bringing plants into your wall hangings adds a fresh, living touch to your living room. You can attach small planters directly to the wall or use woven holders that cradle pots with style. Woven holders, like macrame plant hangers, blend warmth and texture, softening the look of hard walls. Simple wooden or metal wall planters offer a more structured, modern vibe—whatever fits your space.
Think about positioning too; placing these near natural light sources helps your plants thrive. You don’t need elaborate setups. Sometimes, even a single cascading pothos or fern in a small hanging basket can change the entire mood of a room.
Choosing Plants for Indoor Wall Hangings
Not every plant does well hanging on walls, right? You want ones that are lightweight and don’t demand constant attention. Pothos, spider plants, and philodendrons are some favorites—they’re forgiving and grow in indirect light, which is usually what indoor walls get. Snake plants are tougher but bulkier, so they might need sturdier holders.
Keep watering routines simple, especially if your hangers don’t easily come down. Succulents aren’t always the best here, as they prefer flat surfaces and more light. If your wall receives low light, try heartleaf philodendrons or ZZ plants.
DIY Plant Holder Ideas
You don’t have to buy fancy hangers. A few ideas:
- Use sturdy wooden boards with hooks to hang small pots securely.
- Create woven holders with natural cords—macrame techniques work, but loosely braided ropes can also hold pot rims nicely.
- Repurpose metal baskets or even wire racks fixed to the wall for an industrial touch.
- Attach leather straps to boards or pots to make holders that look sleek and modern.
Making these yourself means customizing size and style to your exact walls and plants. It can feel a bit experimental—you learn as you go, and sometimes a second try fits better. It’s all part of the charm, I guess.
Using Wall Hangings to Create Focal Points
DIY wall hangings can really change how your living room feels by drawing the eye to certain spots. When you craft or choose a piece with bold shapes, colors, or textures, it naturally becomes a focus. It’s like telling your guests, “Look here first.” Sometimes just one well-placed hanging does the trick, but other times, grouping a few smaller pieces creates a balanced highlight that holds attention longer.
Choosing the Right Spot in Your Living Room
Picking where to hang your wall art is a bit of an art itself. Usually, a large empty wall behind the sofa or above a fireplace makes sense. But don’t overlook smaller, unexpected spaces—like above a side table or near lighting fixtures. Think about how people move through the room. Will they notice it? Is it at eye level? These small details can change everything. If you’re unsure, try holding the hanging up with painter’s tape first and live with it for a day or two.
Combining Wall Hangings with Other Decor
Wall hangings don’t stand alone, even if they’re the stars. They often work best when paired with furniture and lighting that complement their style, size, and color. For example:
- A chunky macramé piece over a simple wooden bench makes both stand out more.
- Soft lighting, like wall sconces or spotlights, can add depth and draw extra attention.
- Match the colors or textures of pillows and rugs with your hanging for a pulled-together look—or don’t, if you want contrast.
Sometimes mixing in metallic frames or natural elements around your hanging makes it pop. It’s a bit of trial and error, but that’s part of the fun. How do your wall hangings talk to the rest of your room? It’s a question worth exploring.
Maintaining and Updating Your Wall Hangings

Keeping your wall hangings looking fresh and inviting takes a bit of effort, but it’s not overly complicated. Depending on the material—whether fabric, wood, or woven fibers—the approach to cleaning and minor repairs will differ. For fabric hangings, gentle vacuuming or light spot cleaning with a mild soap solution often does the trick. Be cautious with water and detergents; some fabrics may fade or shrink if you’re not careful. Wooden pieces usually need dusting with a dry or slightly damp cloth, and a touch of wood polish if they start to look dull. If you notice fraying threads or small tears in woven art, a simple stitch repair can prevent further damage.
Refreshing your wall hangings isn’t just about cleaning. Think about swapping pieces in and out with the seasons to keep your living room feeling lively. You might want lighter colors and airy textures in spring, moving to warmer and richer tones as autumn arrives. Some people even use the change as an excuse to rotate styles—maybe a boho vibe in summer, then something more subdued when the year winds down. It’s surprising how a small update can shift the whole mood of a room.
Are there any old hangings you’ve been holding onto but never use? It might be time to fix or reimagine them. Sometimes a quick touch-up makes something feel brand new. You can also layer pieces or swap out a frame for a fresh look. Taking the time to care for what you already have saves money and keeps your space personal. Plus, there’s something satisfying about watching your walls evolve without starting from scratch.
Conclusions
Creating your own wall hangings is a great way to refresh your living room decor. You can experiment with colors, shapes, and textures to match your style. DIY projects offer a satisfying experience and can save money while making your space special.
Whether you prefer woven tapestries, macrame, or framed art, there is a DIY idea for everyone. Use the ideas and tips in this article to start your wall hanging project. Your living room will shine with your custom creations.