Introduction
Easy Diy Wedding Backdrop Tutorials For Every Skill Level help make your wedding day personal and memorable. Whether you are a beginner or have crafting experience, you can create a beautiful backdrop tailored to your wedding style. This guide explores various techniques and ideas that you can try with simple materials at home.
You will discover step-by-step instructions for basic and advanced diy backdrops. These projects will fit different skill levels and budgets. By the end, you will be ready to design an eye-catching backdrop that enhances your wedding celebration and creates lasting memories.
Choosing the Right Materials for Your Wedding Backdrop
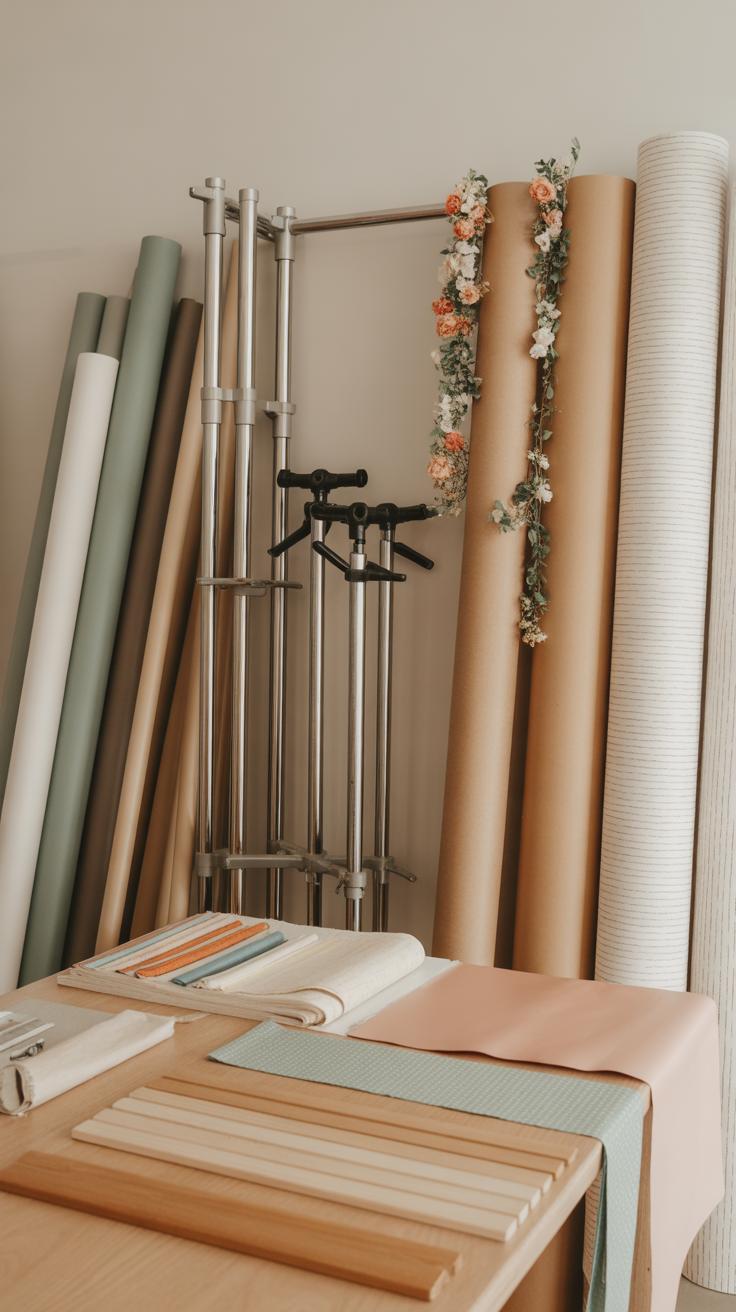
Picking materials for a DIY wedding backdrop can feel overwhelming at first. You want something that looks good, fits your style, and doesn’t break the bank. But really, it boils down to a few simple things: the type of material, how much it costs, and whether you can find it nearby or online without too much hassle.
Think about the setting and mood you want. Are you going for soft and flowing, or rustic and sturdy? Fabric is great for drapes and soft feelings but may need more support like rods or frames. Paper can add texture and color, but it might feel less substantial or fragile outdoors. Wood offers structure but can get heavy and pricey. Lights bring ambiance but require a source of power and possibly more setup time.
Cost is a key factor for many. For instance, bulk fabric at craft stores is usually affordable and available in lots of colors, but specialty fabric like silk or velvet tends to climb the price ladder quickly. Meanwhile, recycled or repurposed wood might save money and add personality, if you have somewhere to get it. Don’t overlook dollar stores or discount outlets for paper and string lights — sometimes those are what make a backdrop stand out without a serious budget.
Availability isn’t just about money. If your wedding date is near, sourcing materials that ship fast or you can pick up locally might be crucial. Some florists and event rental shops may loan or sell basic backdrop materials, which can be a nice option if you want something straightforward but don’t want to hold on to bulky leftovers afterward.
So, ask yourself: Does the material meet your vision? Is it something you can afford? Where can you get it? Finding the balance can take a bit of trial and error but usually makes for a more satisfying DIY experience.
Common Materials Used in Diy Wedding Backdrops
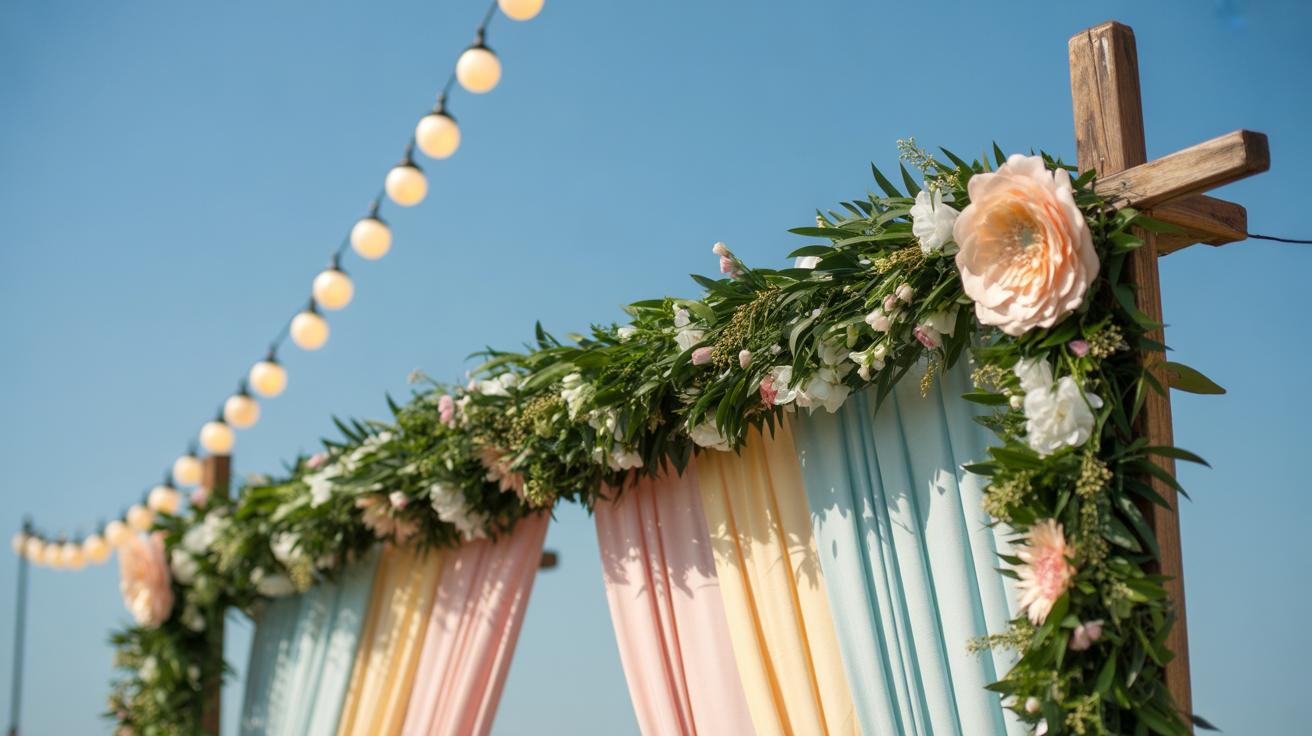
A few materials come up often when talking about wedding backdrops because they hit the sweet spot between availability, affordability, and looks. Fabric tops the list. Think sheer curtains, satin, or even burlap for rustic vibes. Easy to drape, cut, or layer, fabric really shapes the space and softens a look.
Paper is an unexpected star. Crepe paper, tissue paper, or even large sheets of colored or textured paper can be folded, layered, or fringed to create depth and interest. They’re lightweight and quite inexpensive — ideal if you’re on a tight schedule and budget.
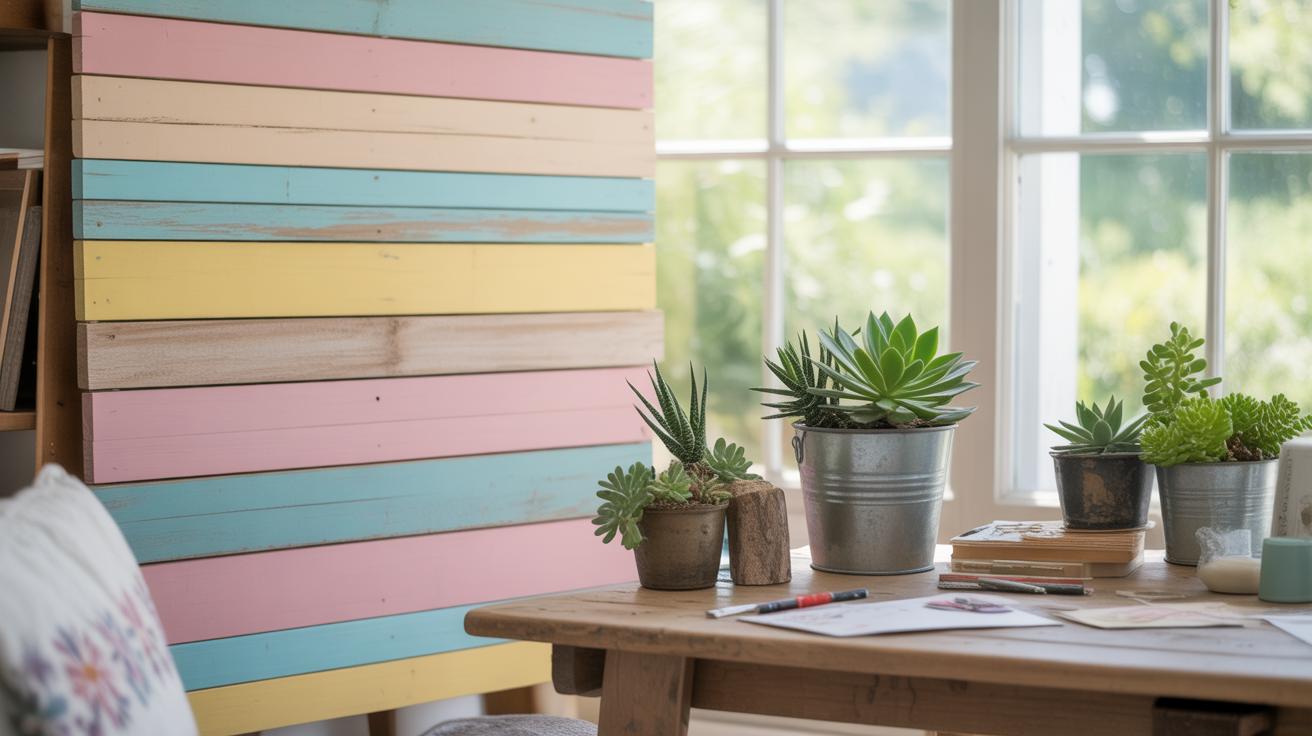
Wood shows up mostly in frames or panels. You’ll see pallet backdrops, simple rectangular frames draped with fabric, or wooden slats arranged vertically or horizontally. Wood feels sturdy and supports other elements like greenery or lights.
Lights, string lights mainly, add a touch of enchantment. They can be woven through fabric or hung around wooden frames. Battery-operated versions can avoid the need for cords and outlets, making setup easier but maybe a bit less bright.
All these materials can mix. You might layer paper flowers over a fabric base or hang lights behind a wooden frame. It really depends on your time, skill, and how much effort you want to put in. But these are the everyday building blocks.
Budget-Friendly Options for Quality Backdrops
You don’t have to spend a lot to pull together a backdrop that looks nice and fits your wedding theme. In fact, sometimes cheaper materials, arranged cleverly, have more charm than expensive, polished alternatives. Here’s a few tips based on what I’ve found through trial and error and watching other DIY brides.
- Look for end-of-roll fabric sales or clearance bins at craft stores — these can offer large amounts of material for pennies on the dollar.
- Check local thrift shops or Facebook Marketplace for curtains, tablecloths, or previously used decorative fabrics.
- Dollar stores often carry crepe paper and string lights that work perfectly for a simple, delicate look.
- Consider borrowing or renting wooden frames or ladder props instead of buying new materials.
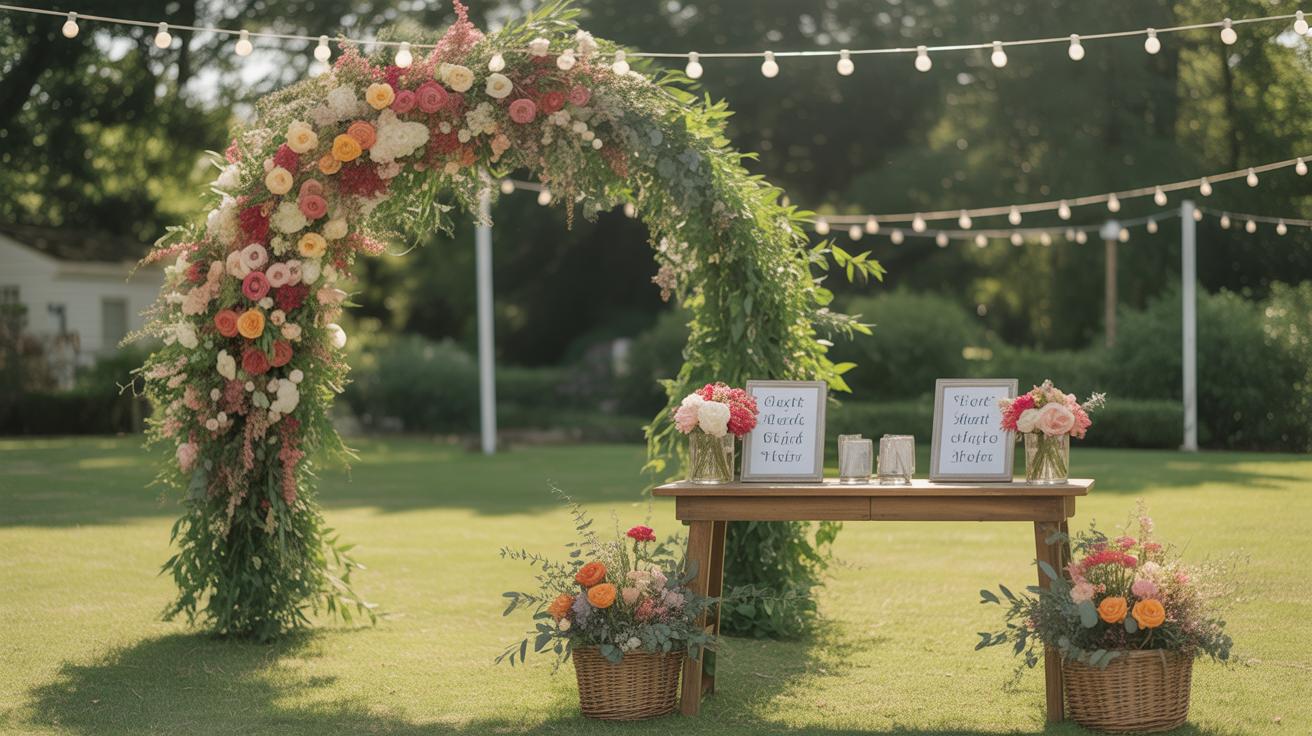
- Try using natural elements like branches, leaves, or flowers you can gather yourself, which add texture without extra cost.
Also, sometimes a backyard or park with existing trees or fences can become your “natural” backdrop. This way, materials might only be needed to enhance rather than build from scratch. The question is: can you get creative with what’s at hand and still achieve a memorable setup? Often, yes.
Affordable doesn’t mean sloppy. Thoughtful choices and a bit of patience can make your DIY backdrop memorable and fitting—even if you’re careful about what you spend.
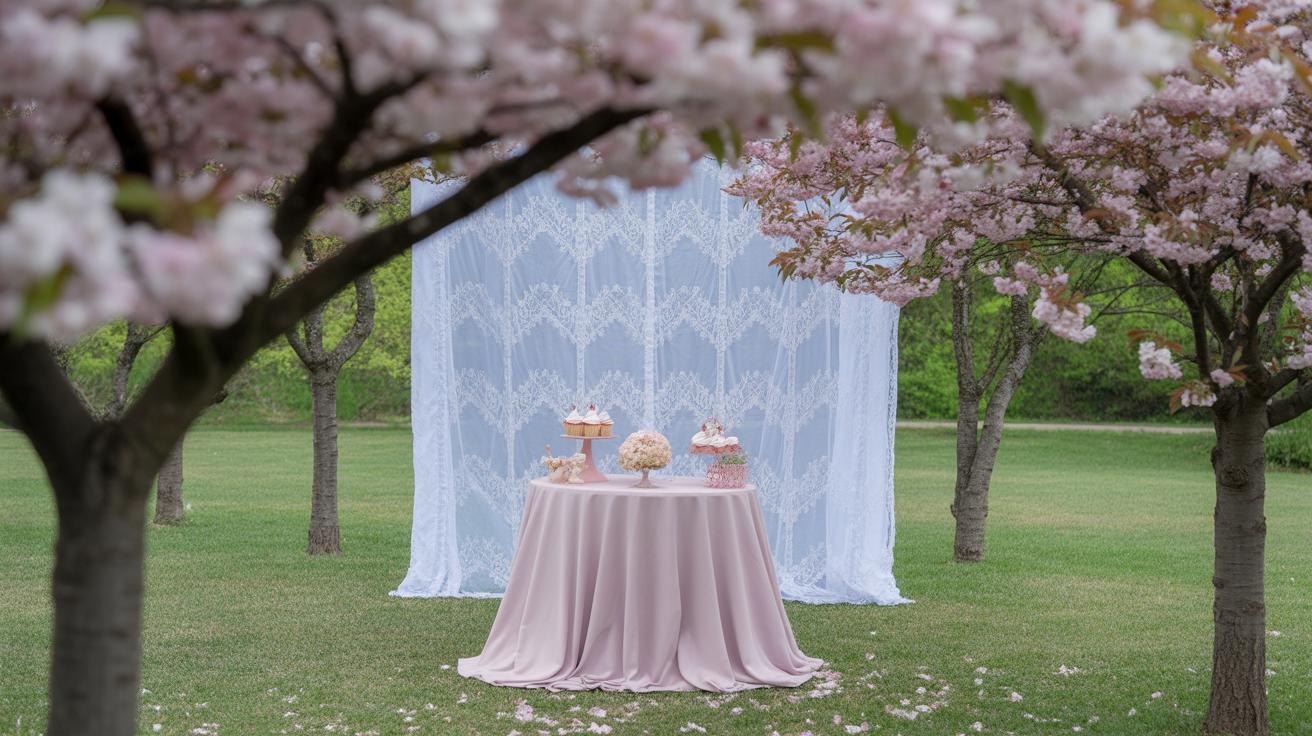
Simple Fabric Backdrops Anyone Can Make

Choosing Fabric Colors and Textures
Picking fabric colors can feel a bit tricky, but it really comes down to your wedding’s mood and setting. Soft, muted tones work well for classic or rustic themes, while bolder or jewel tones add a pop to modern or glamorous weddings. Think about what complements the venue and your outfit. I’ve noticed that velvety textures reflect light differently than sheer ones, and sometimes mixing them creates unexpected depth.
If you want something simple, opt for cotton or linen blends—they hang nicely and don’t wrinkle too badly. Or silk blends if you’re aiming for a flowy, romantic vibe, but those tend to be pricier and might need more care. Don’t be afraid to experiment a little; maybe grab swatches if you can and hold them up in the venue’s lighting before deciding.
Step-by-Step Assembly Guide
Start by selecting a solid support—think tension rods between walls, a pipe-and-drape frame, or even a sturdy curtain rod. You don’t need anything fancy, just something reliable enough to hold your fabric without sagging.
Then, drape your fabric loosely. You can fold it over the rod or clip it with simple curtain rings. If you want a gathered look, pinching fabric at intervals gives soft waves with zero sewing.
Try layering pieces—perhaps one translucent fabric over a solid color—to add dimension. To keep fabric in place, use discreet hooks or clamps behind the scenes. Don’t shy away from pulling and adjusting the folds until it looks right; it’s a bit like arranging curtains at home.
Finally, test your backdrop from various angles. Is the fabric catching light nicely? Are wrinkles too distracting? Maybe a gentle steaming will help. Sometimes, a fabric backdrop feels simple but creates a surprisingly effective visual anchor for your photos and ceremony.
Paper Garlands and Floral Arrangements for a Soft Look
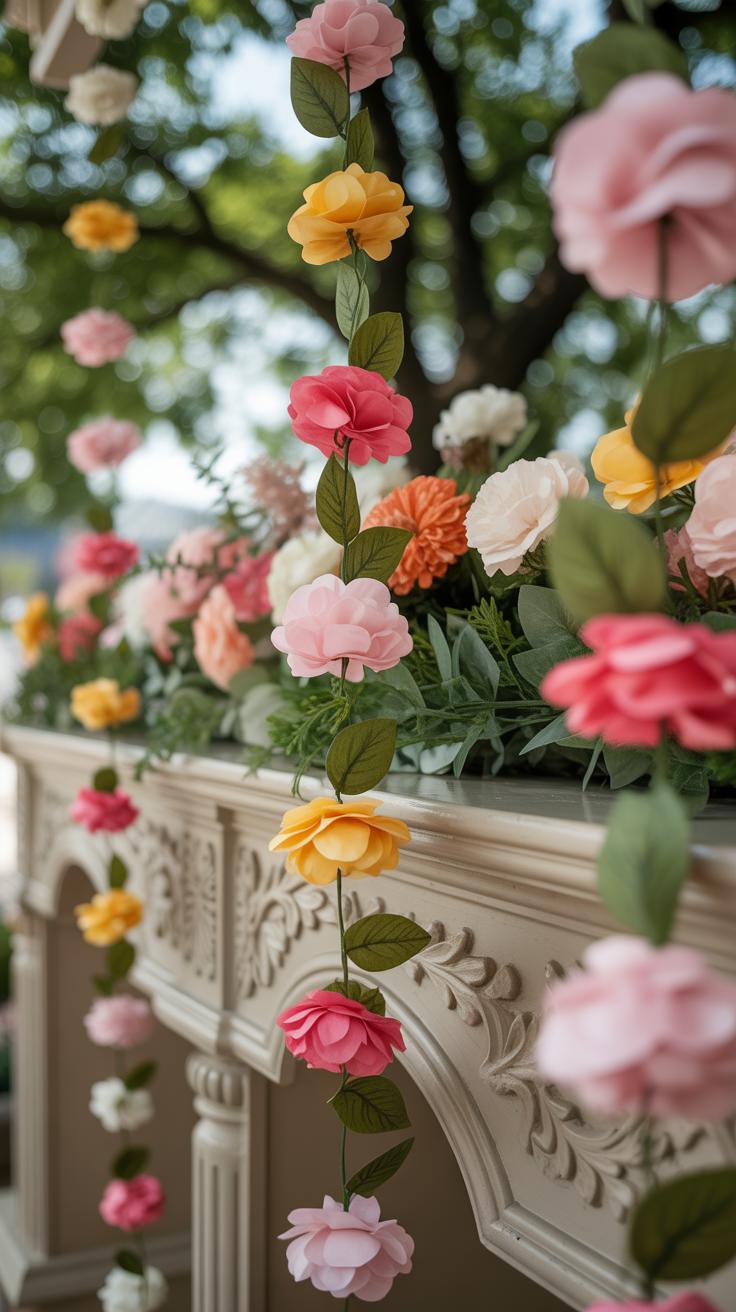
Making Paper Flower Garlands
Creating paper flower garlands is simpler than you might think, and they add a charming softness to any wedding backdrop. Start by cutting petals from colored cardstock or crepe paper—tissue paper works too if you want a lighter feel. You don’t need perfect shapes; in fact, slightly uneven petals can look more natural. Fold and layer petals around a small base, such as a button or a tight circle of paper, then glue them in place. Repeat until you have enough flowers.
Once you have a bunch, string them on thin twine or fishing line, spacing them out depending on the effect you want—crowded for richness, or spaced out for a light, airy touch. Using a hot glue gun helps them stay put. You can make these garlands long enough to drape across a frame or hang vertically like a curtain. I found that varying flower sizes adds interesting depth, which keeps things from feeling too flat.
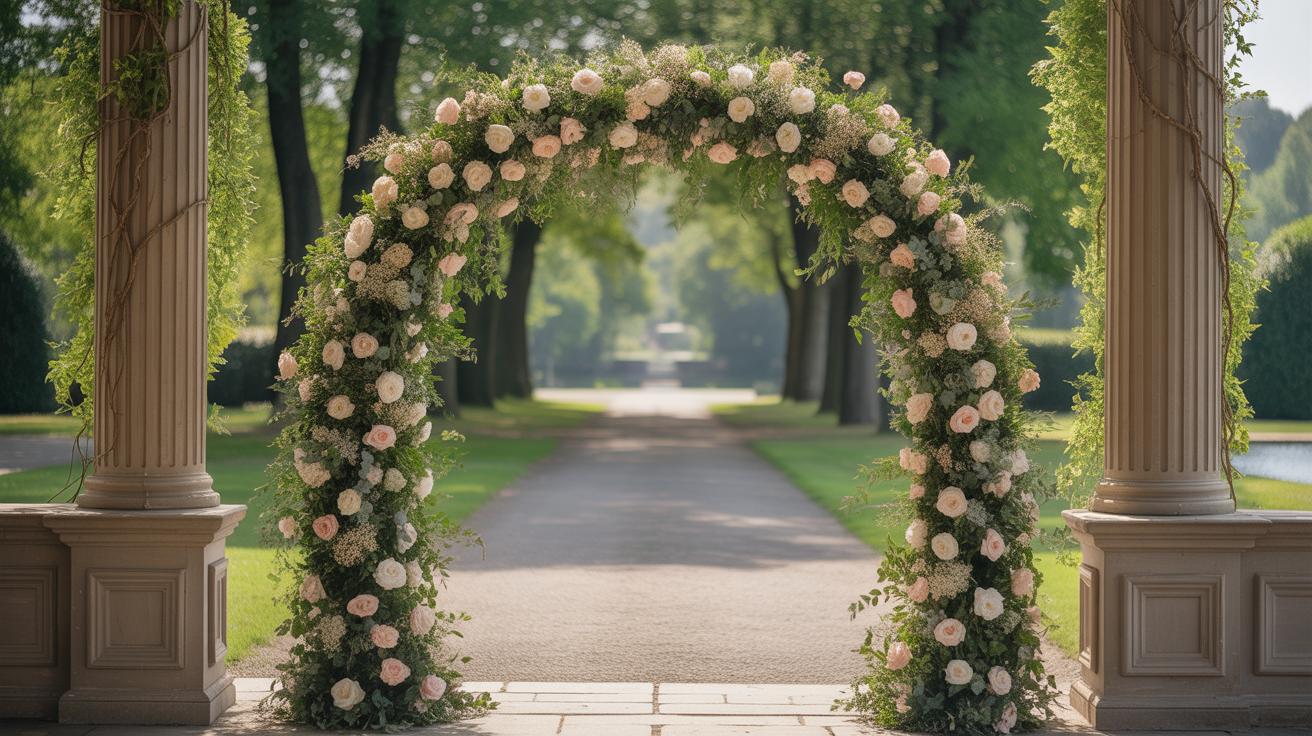
Incorporating Floral Elements
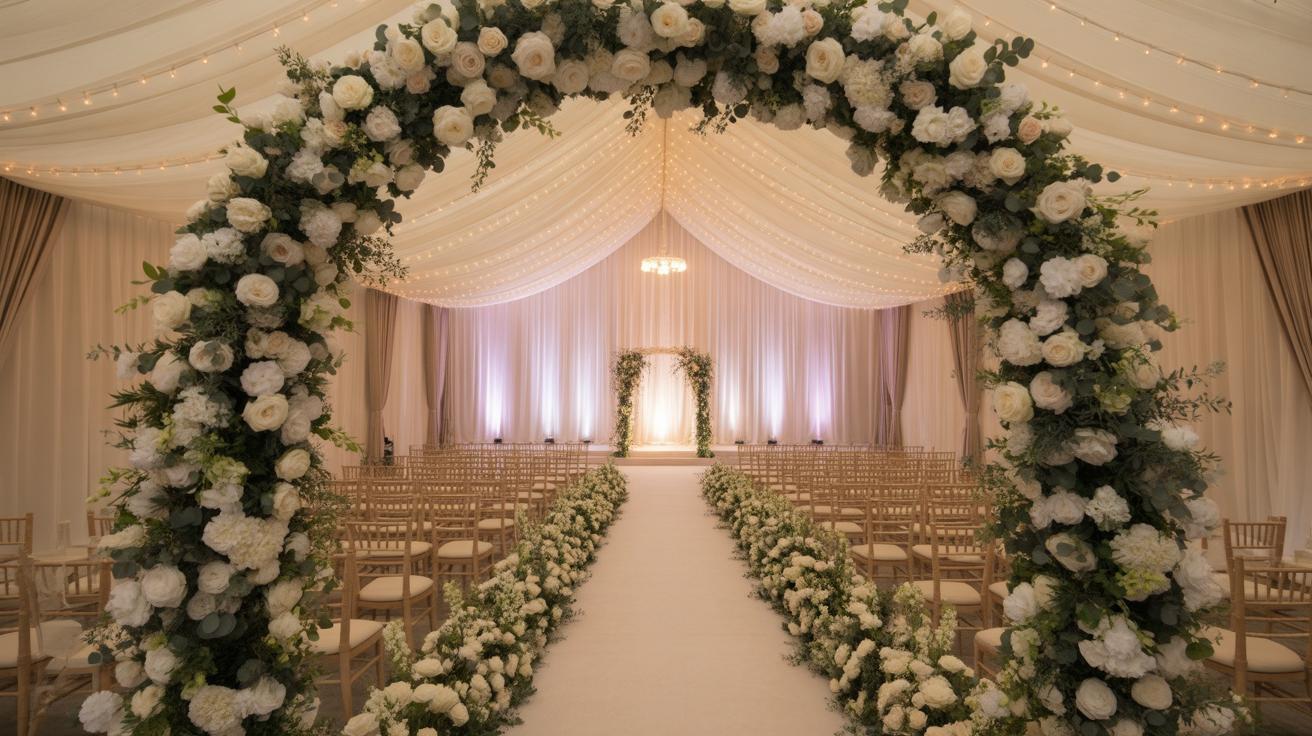
Whether you choose fresh blooms or artificial ones, positioning your flowers is key to that effortless, elegant look. Start by framing corners or edges of your backdrop—these spots naturally catch the eye. Clusters grouped unevenly often look less staged than perfectly balanced rows. Don’t shy away from mixing paper flowers with fresh or faux greenery for texture contrast.
Try attaching flowers with floral wire or zip ties to a base frame or fabric. You might experiment with placing bigger blooms lower and smaller ones higher to mimic how flowers grow naturally. I think placing a few stray petals falling down or tucked behind corners can soften the whole design, even if it seems a bit random. This casualness can help make a DIY backdrop feel less contrived and more like a natural scene.
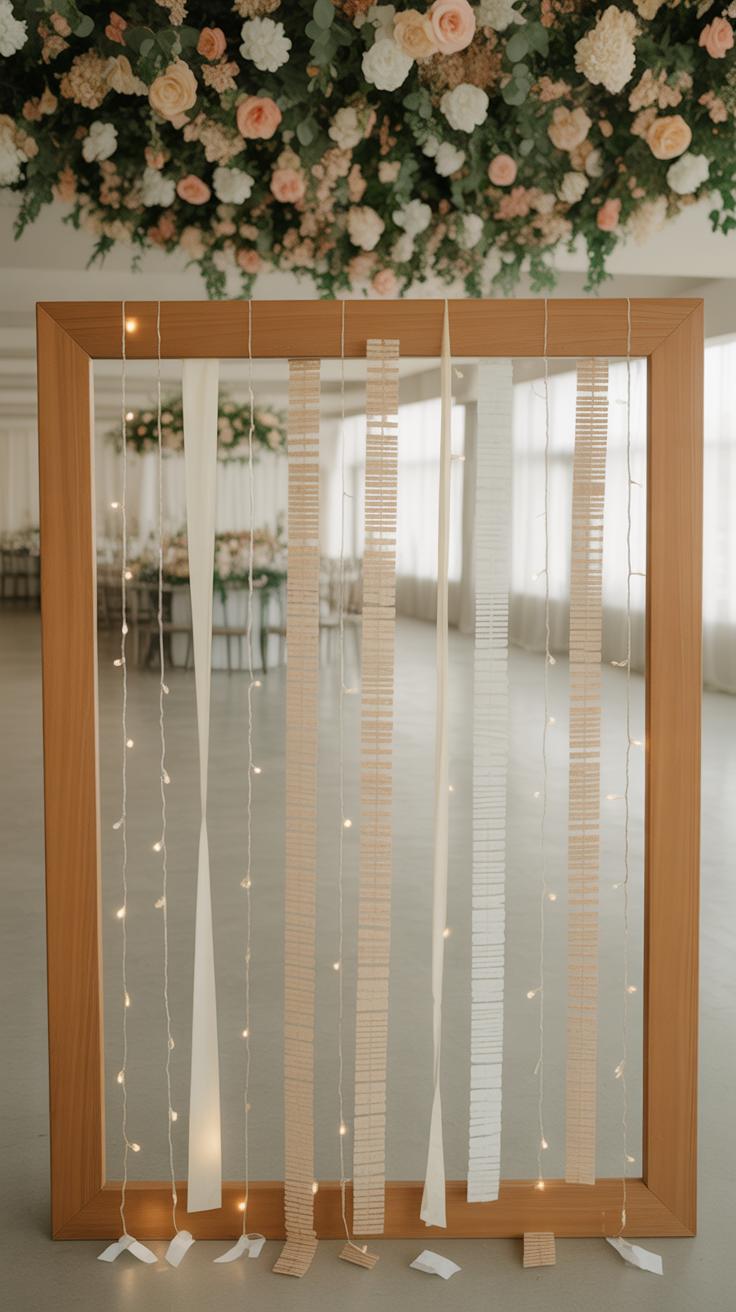
Using Lights to Brighten Your Diy Wedding Backdrop
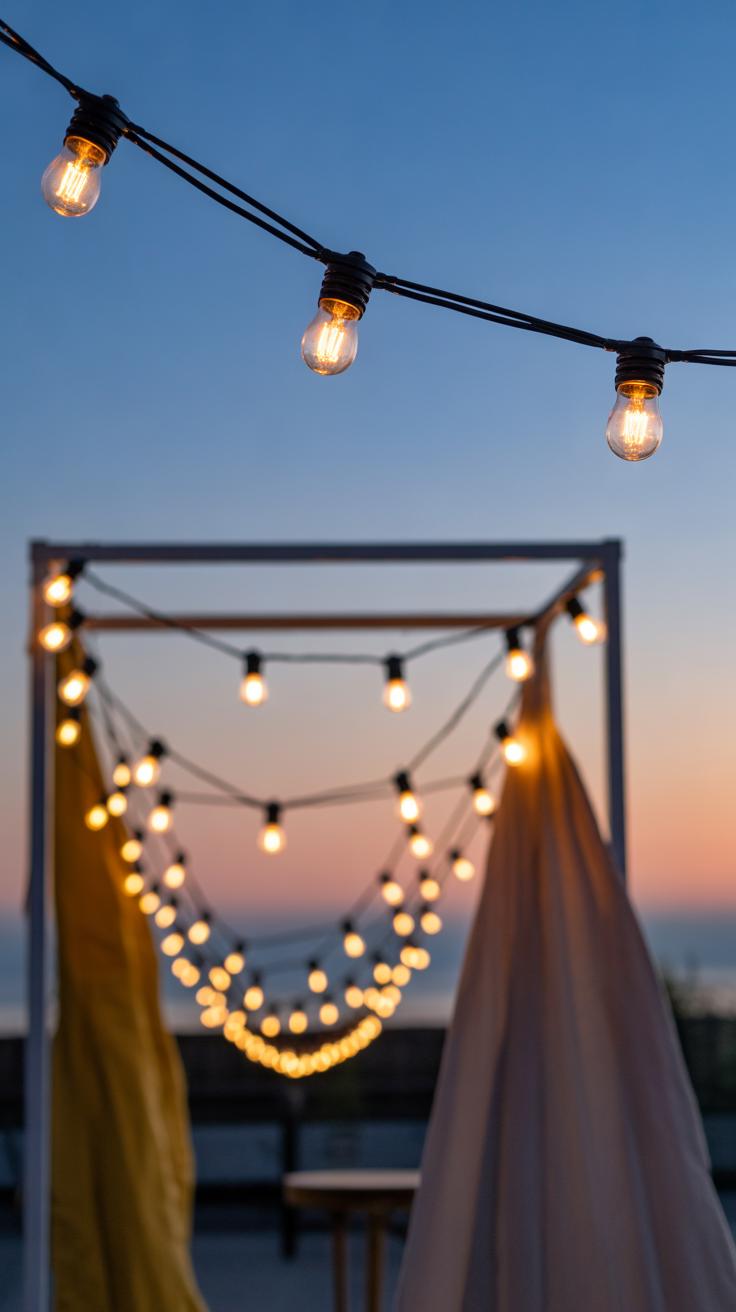
Lighting can change everything about your wedding backdrop, sometimes in subtle ways you don’t expect. Fairy lights and LED strips are popular choices, mostly because they’re easy to work with and create a warm, inviting glow. Fairy lights—those tiny bulbs on a thin wire—can weave through fabric, wrap around structures, or hang loosely for a twinkling effect that feels, well, almost magical.
LED strips, on the other hand, provide continuous light and come with color options, letting you match mood or theme more precisely. They can be stuck behind sheer curtains or along the edges of a frame. One thing I found—LEDs are surprisingly cool to the touch, which means you can handle them without worry about heat, making them pretty safe for close contact with flowers or fabric.
Types of Lights Suitable for Backdrops
Not all lights are created equal when it comes to weddings. You want something safe, hassle-free, and visually effective.
- Battery-operated fairy lights: No cords, which is perfect if you want to avoid tripping hazards or visible plugs.
- LED strip lights: Flexible and sticky-backed, easy to hide and arrange.
- Clip-on spotlights: Good for highlighting specific sections, but they need a power source close by.
- Lantern string lights: Larger bulbs with a softer glow, great if your backdrop has a rustic vibe.
The key is balancing effect and practicality. You probably don’t want open flame candles near delicate fabrics, so these electric options fit best.
Creative Lighting Arrangements
Simple isn’t always dull. One way I like is draping fairy lights vertically, almost like a curtain of light. It’s relaxing, but if you pull the strings loosely, it adds a bit of texture and randomness that feels less staged. Alternatively, twisting lights into shapes or initials can personalize your backdrop.
LED strips can be placed behind sheer fabric to create a glow that feels like it’s coming from within. Or, arrange lights along the frame’s edges to highlight the shape, which works nicely if your backdrop design is geometric.
Deciding between bold or subtle depends on your venue lighting and dress style, too. Would you want the lights stealing the show, or just quietly enhancing the scene? Sometimes, less light lets other decor elements stand out more. It’s a bit of trial and error, but lighting is one of those things that makes a big difference—even if you don’t notice it right away.
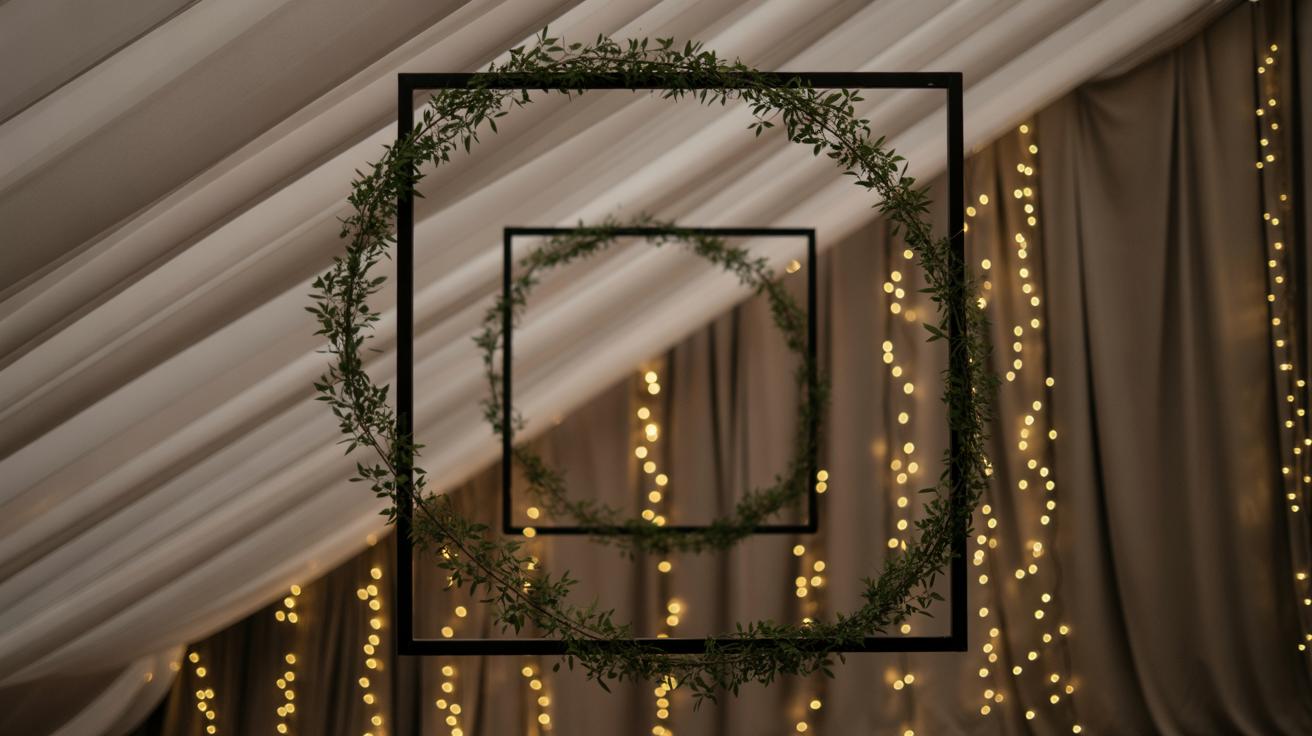
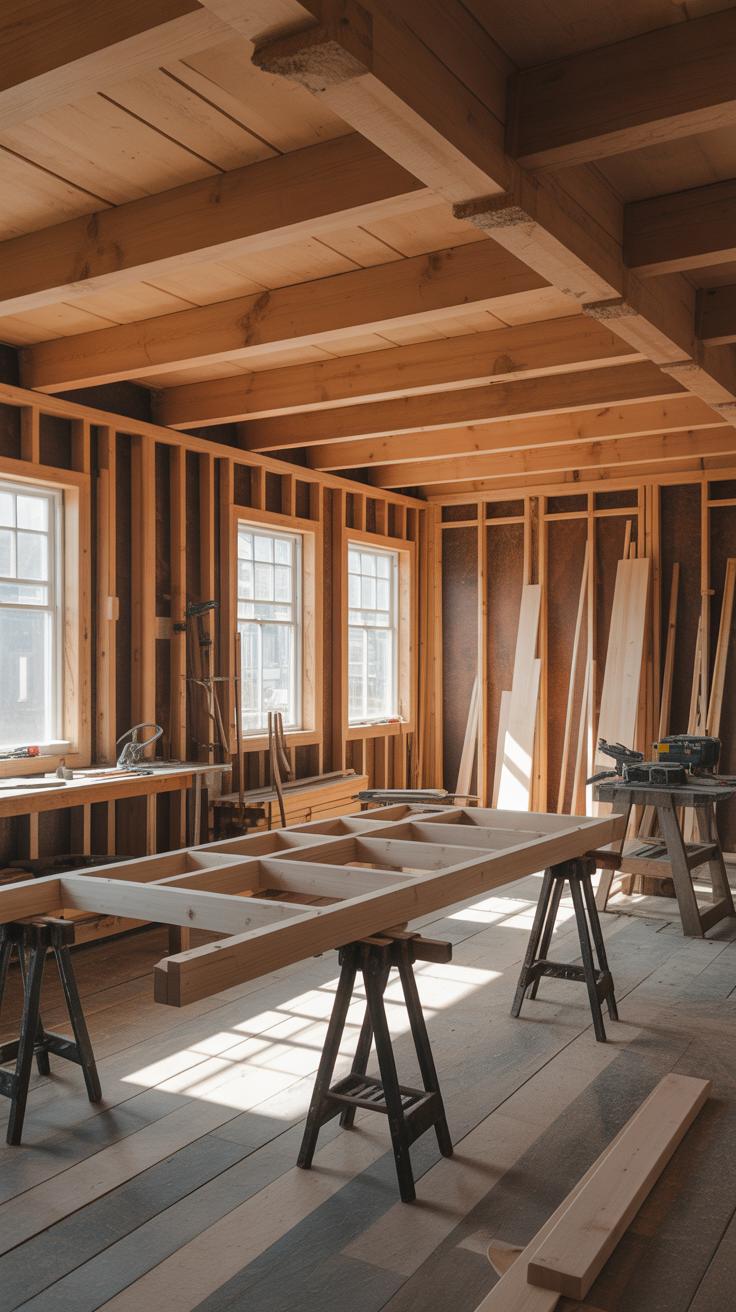
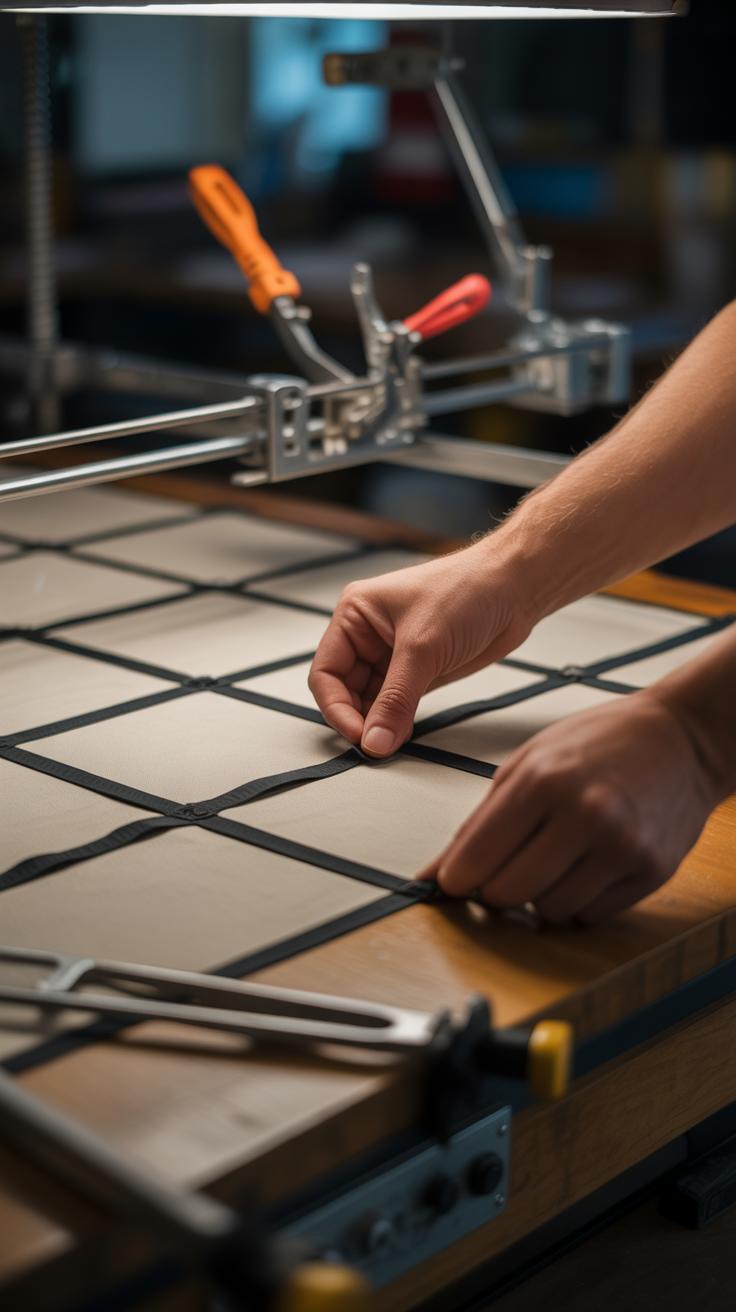
Building a Wooden Frame for a Sturdy Backdrop
Materials and Tools Needed
You’ll want to gather just a few basic things to build a simple wooden frame that can hold fabric or decorations. Here’s what you need:
- Wooden planks or 2×4 lumber (length depends on your desired size)
- Wood screws (about 2-3 inches long)
- Power drill with screwdriver bit
- Measuring tape
- Saw (hand saw or electric, whichever you’re comfortable with)
- Carpenter’s square or a simple right angle tool
- Sandpaper or sanding block
- Optional: clamps to hold planks steady while screwing
That’s basically it. You might think you need a ton of tools, but for a basic frame, this list covers all the essentials.
Construction Steps for Stability
Start by measuring and cutting your wooden planks to form a rectangle or square—the size depends on your backdrop needs and space available. I usually go for something around 8 feet wide and 7 feet tall, but you can tweak that. It’s helpful to double-check your cuts before moving forward.
Arrange the cut pieces on the ground in the shape of the frame. Use the carpenter’s square to ensure every corner is as close to 90 degrees as possible. This makes your frame neat and stable—trust me, uneven angles cause more fuss later.
Then, drill pilot holes at the ends of the horizontal planks where they meet the vertical ones. This avoids the wood splitting when you screw them together. Screw each corner tightly but don’t overdo it—too much force can crack the wood.
For extra stability, you might want to add a crossbar or two inside the frame. It depends on how heavy your decorations are going to be. I didn’t at first and regretted it once I hung some heavier flowers and fabric.
Once assembled, gently sand rough spots or edges. It’s not just for looks; it prevents snags on your fabric.
Remember, the sturdiness of this frame sets the foundation for everything else. A shaky structure will frustrate your decorating efforts and might get unsafe.
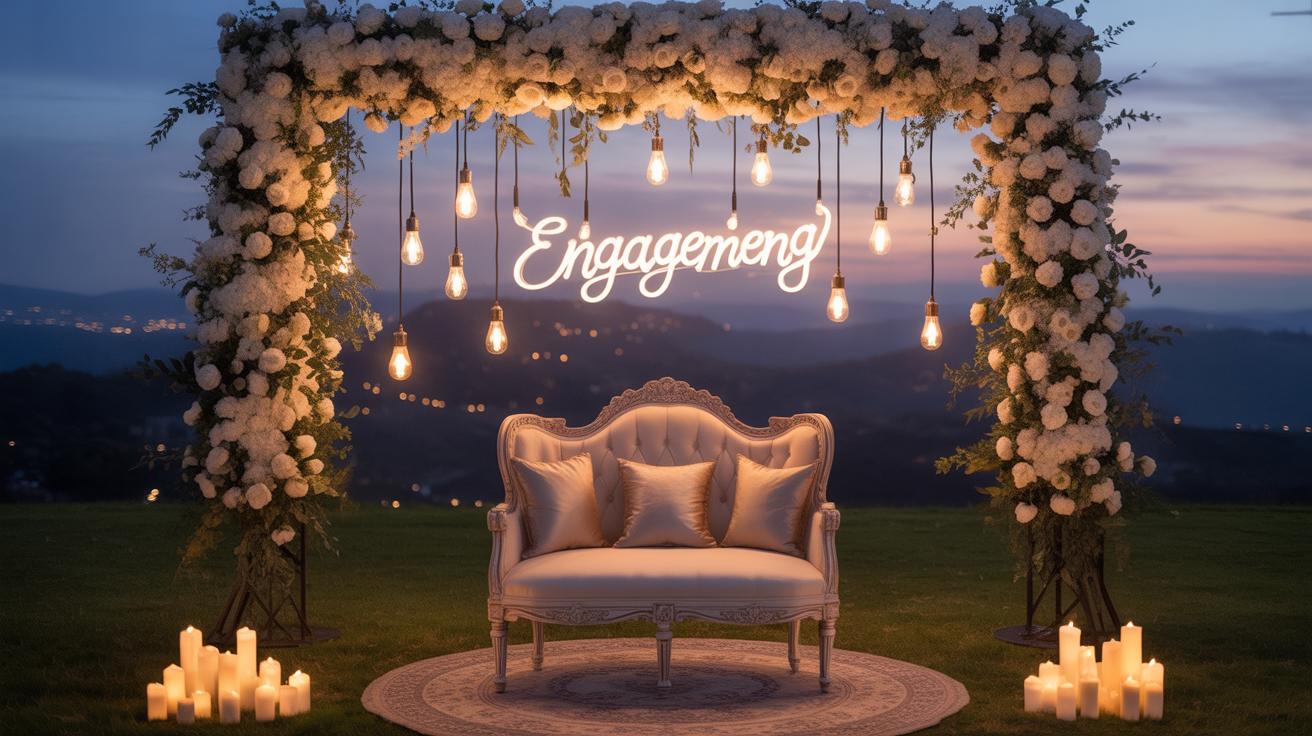
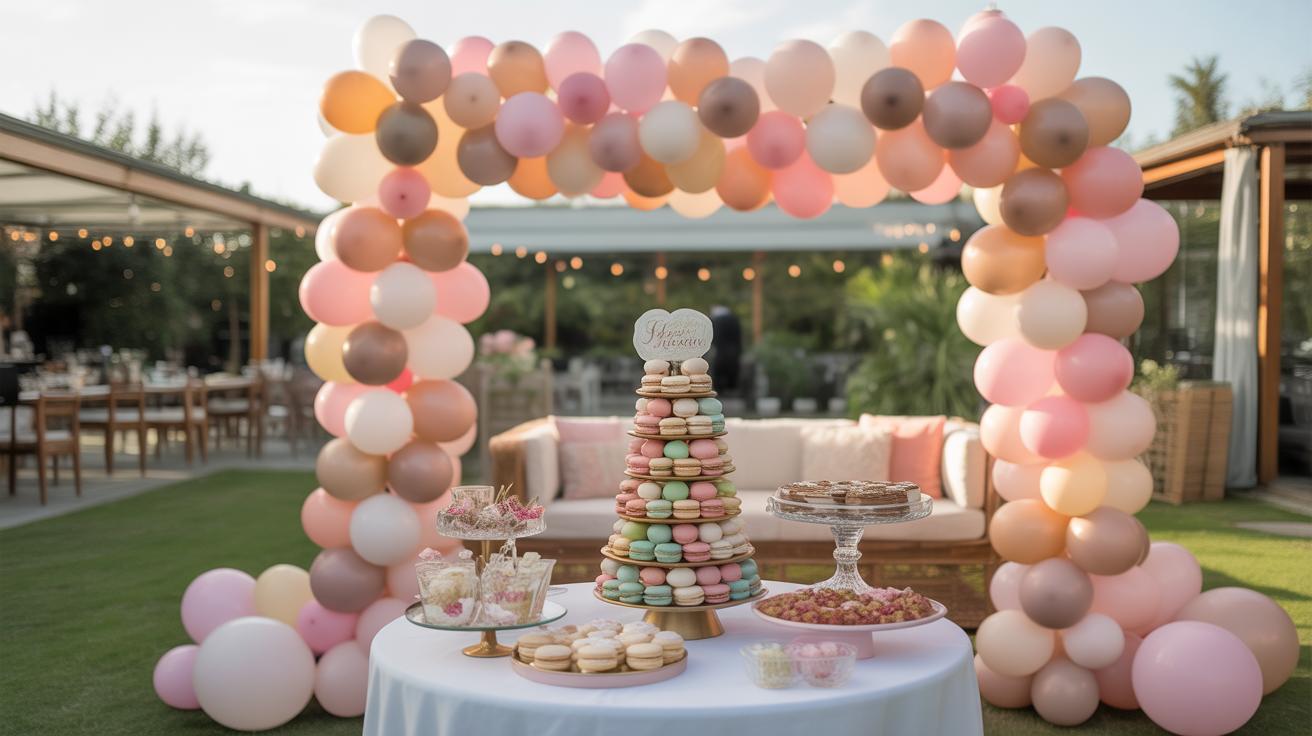
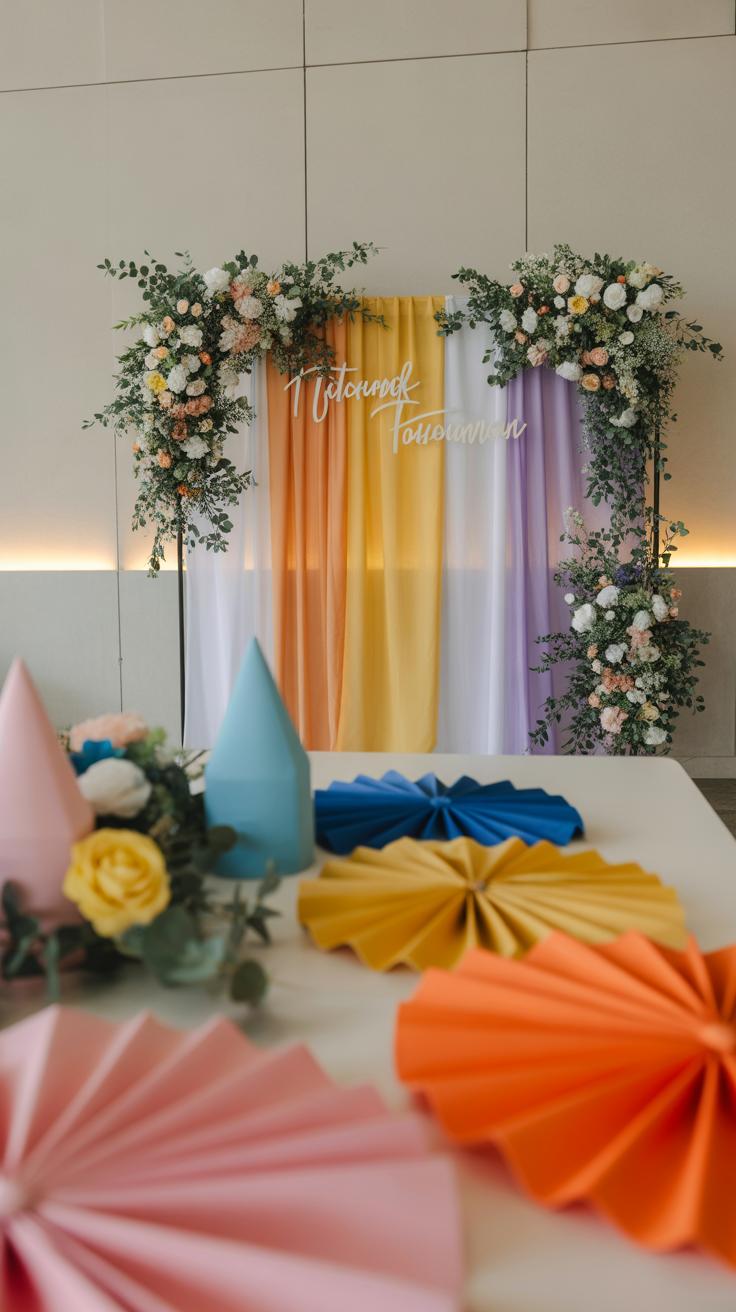
Combining Multiple Elements for Unique Backdrops
Mixing different materials like fabric, flowers, paper, and lights can bring your backdrop to life in unexpected ways. Think of layering soft fabrics as a base, then adding paper garlands or floral clusters to introduce dimension. String lights woven through these layers create subtle glows that catch the eye without overwhelming the scene. The trick is in the balance—you want enough texture to add interest but not so much that it looks cluttered or chaotic.
Try to focus on a few main textures rather than every possible element. For instance: use a light, sheer fabric combined with bold paper flowers and warm fairy lights. That contrast offers depth without competing for attention. One thing I learned experimenting was that mixing too many small details can make the backdrop visually confusing, especially from a distance where the overall shape matters more.
Some ideas that worked well include:
- A rustic wooden frame draped with gauzy fabric, accented by a cluster of fresh eucalyptus and paper lanterns.
- Ribbon strips interwoven with small string lights, paired with delicate paper cutouts hanging down for movement.
- Simple panels of fabric with pockets or attached spots for silk flowers, softly illuminated by battery-powered LED strands.
These blends show how combining tactile materials, natural elements, and light can produce a backdrop that feels layered and inviting, not just busy. It’s worth thinking about how each component complements the others and what story you want your backdrop to tell.
Customizing Diy Backdrops for Theme and Venue
When creating a DIY wedding backdrop, you want it to feel like part of the celebration, not just an afterthought. That means tuning your project to fit the wedding’s vibe and the spot where it happens. It’s not always obvious how to start, but thinking about the theme and venue first helps a lot.
Matching Your Backdrop to Wedding Themes
Think about the style you’re aiming for. If it’s rustic, rough textures like burlap, wood slices, or wildflowers click well. For a modern look, clean lines, geometric shapes, or monochrome palettes work better. Vintage weddings? Maybe lace, antique frames, and soft lighting. You might even mix some elements, but balancing them can be tricky. Too much might feel cluttered. I remember once trying to combine vintage and modern – it was a bit confusing, honestly. So, pick what feels right and stick with it.
Try these ideas:
- Rustic: Wood pallets, fairy lights, greenery, and mason jars
- Modern: Metallic hoops, white drapes, and LED strips
- Vintage: Soft fabrics, floral garlands, and old photo frames
- Bohemian: Macramé, mixed textures, and bright colors
Adjusting Backdrops for Indoor and Outdoor Venues
Location matters a lot. Outdoors, you might face wind, sunshine, or even sudden rain. That means choosing materials that resist weather, like waterproof fabrics or synthetic flowers that don’t droop. Anchoring your backdrop firmly is necessary too—stakes or weighted bases can save a disaster. On top of that, consider sunlight. Bright light can wash out colors. Maybe add a canopy or position the backdrop in shade.
Indoors, space and lighting are your main concerns. Tight rooms might mean a slim, vertical backdrop instead of a wide one. For lighting, softer bulbs create warmth, but sometimes you want brighter spots for photos. Using reflective materials or adding string lights can help brighten up dim spaces without overdoing it.
In the end, adapting your backdrop to both theme and place can feel a bit like solving a puzzle—you don’t have to get perfect, just close enough to create that special atmosphere. What’s your venue like? Could adjusting the backdrop make a big difference there?
Troubleshooting and Enhancing Diy Wedding Backdrops
Preventing Stability and Safety Problems
One of the most common issues with DIY wedding backdrops is stability. Backdrops can sway, tip over, or sag unexpectedly, especially outdoors or in crowded spaces. To avoid this, you want to anchor your structure securely. Think about using heavy bases or sandbags for extra weight. If you’re using lightweight frames or poles, adding guy lines tied to nearby supports can help—yes, it might seem a bit much, but I’ve seen backdrops crash mid-ceremony, and it’s not pretty.
Double-check your connections and joints. Sometimes tape or glue just won’t cut it. Screws or zip ties often hold better. And if the backdrop material is heavy, try reinforcing the top bar by spreading the weight evenly. Don’t hesitate to recruit a friend to hold things steady while you’re setting up; it’s safer and easier.
Adding Personal Touches to Make It Special
Personalization is what turns a simple backdrop into something memorable. Names, wedding dates, and meaningful quotes are classic but effective ways to customize. You can paint these directly on fabric, or make cut-out letters from cardboard or wood for a bit more dimension. Some couples like to incorporate photos or mementos—tiny framed pictures or vintage items that reflect their journey together.
Another idea is weaving in small objects that carry meaning—perhaps dried flowers from the bouquet or fabric scraps from a family heirloom. This kind of detail silently tells a story. But be careful not to clutter the backdrop. Sometimes less is more, especially if your space is limited or the theme is minimalistic. What’s your story? Finding simple yet meaningful ways to show it can really change the vibe of the whole setup.
Conclusions
Creating your own wedding backdrop is rewarding and adds a unique touch to your special day. Following easy diy tutorials allows you to control design, cost, and personal detail. You can choose simple fabric drapes or experiment with lights, flowers, and creative arrangements for a standout look.
By exploring a variety of diy wedding backdrop ideas, you gain confidence in your crafting skills. Each small project builds toward a beautiful setting that you, your family, and guests will admire. Start today and turn your backdrop vision into reality.