Introduction
Creating a wedding arch by yourself can add a personal touch to your special day. A wedding arch can be more than just decoration; it can serve as a beautiful frame for your vow exchange and photos. This guide explores how you can craft a DIY wedding arch at home with simple materials and clear instructions.
You don’t need to be a professional or have special tools. By following this step-by-step guide, you will learn how to plan, build, and decorate your own wedding arch. It is a rewarding project that can make your wedding unique and memorable.
Choosing the Right Location and Arch Style
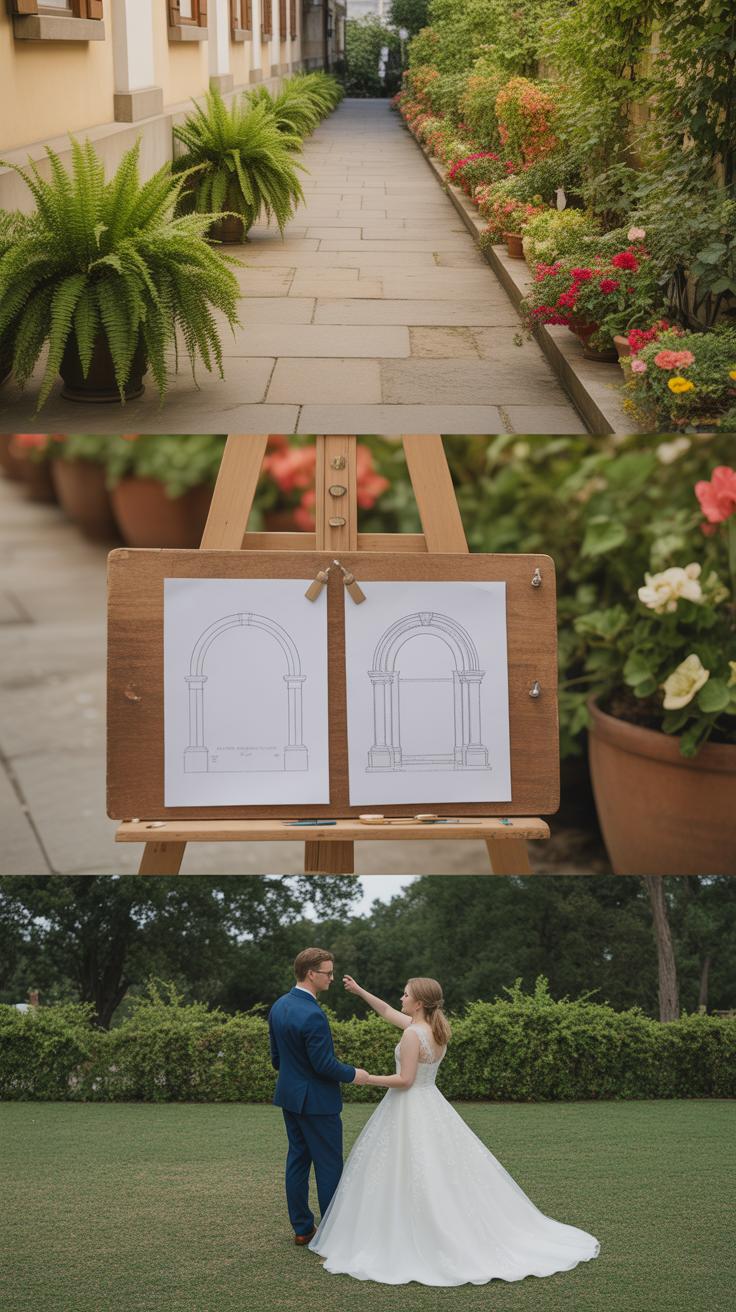
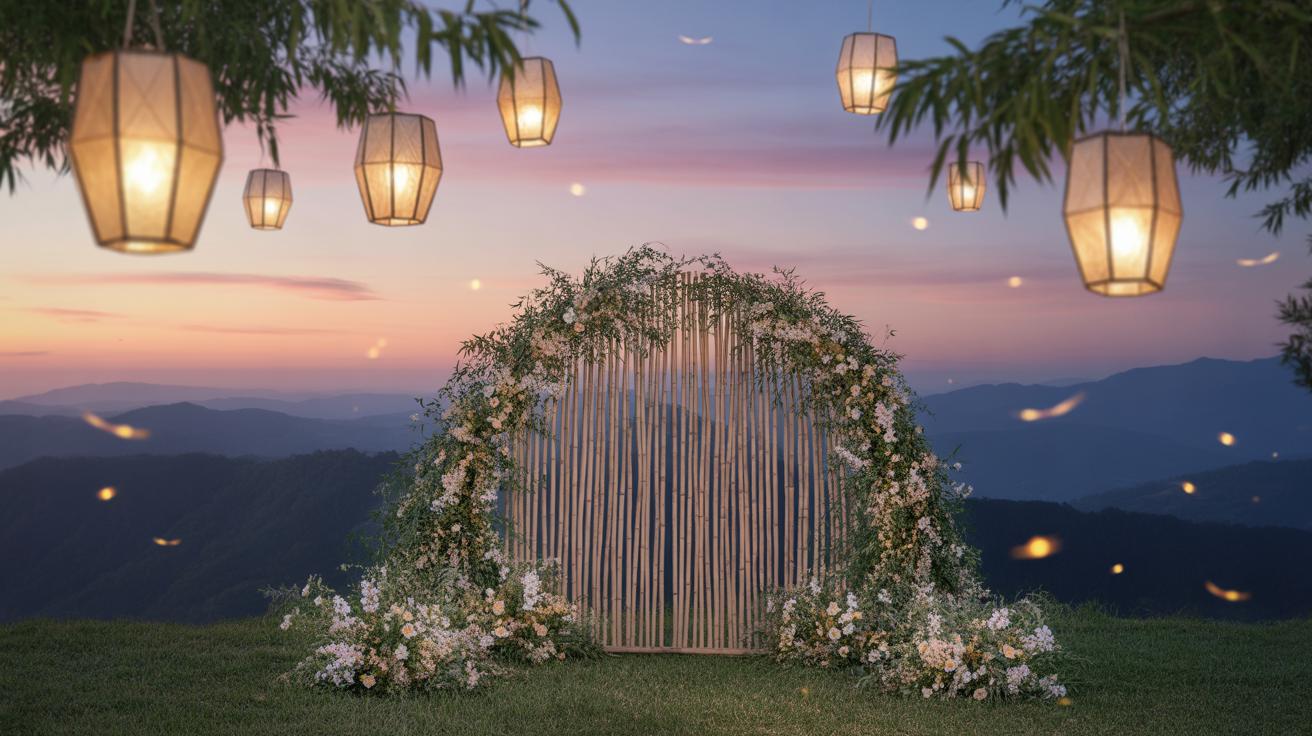
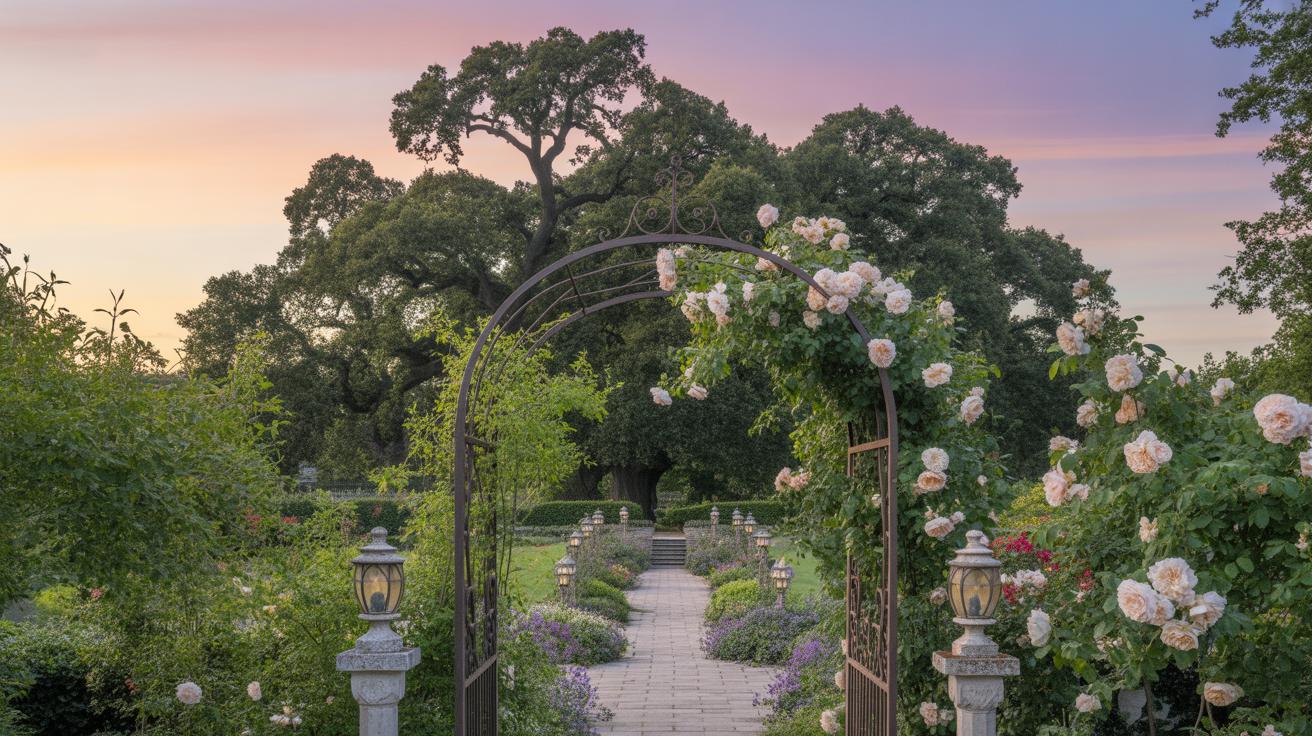
Picking the spot for your wedding arch might seem straightforward, but it can shape the whole vibe. Think about space first. Is the area wide enough for guests to gather comfortably without feeling cramped? You don’t want your arch squeezed into a corner or lost in a wide-open field where it looks tiny. Accessibility matters too – can everyone, including elderly or differently-abled guests, reach it easily? Sometimes a shaded area outdoors works well, other times an indoor room with good lighting suits better. The background plays a big role as well. A plain wall or natural scenery can either highlight your arch or compete with it.
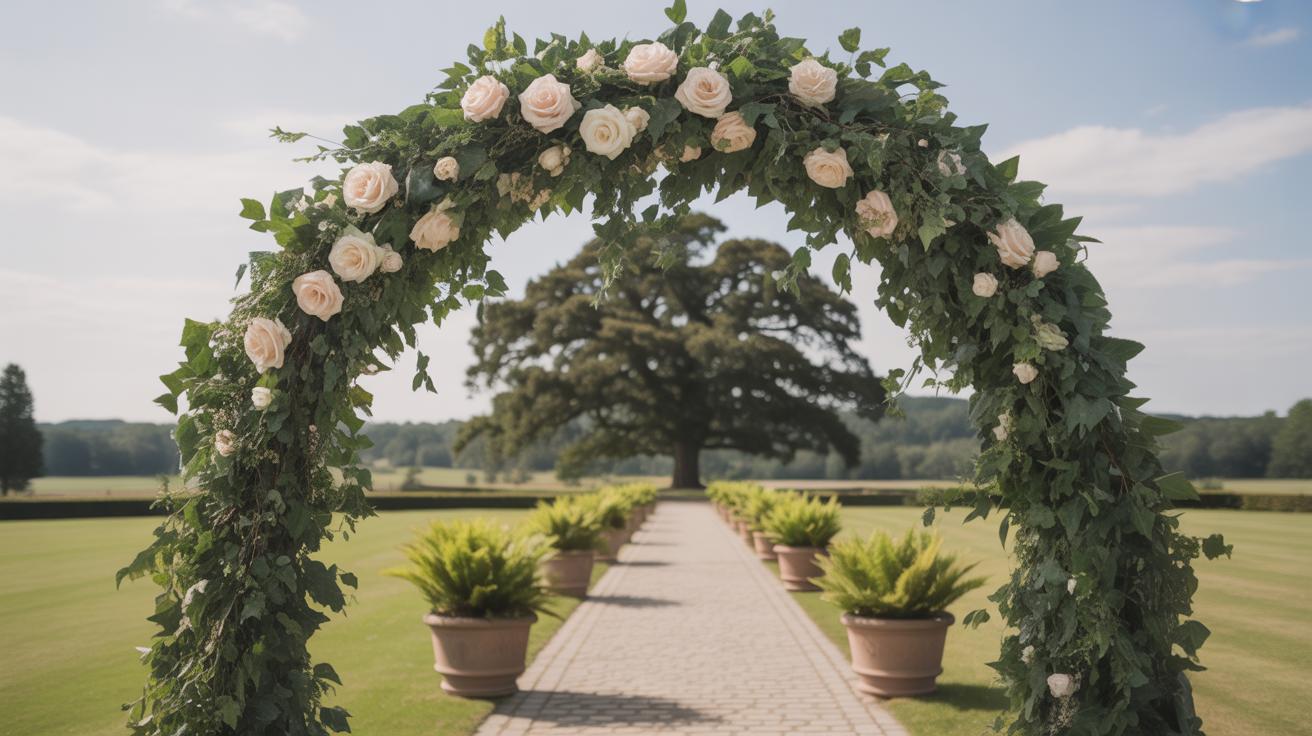
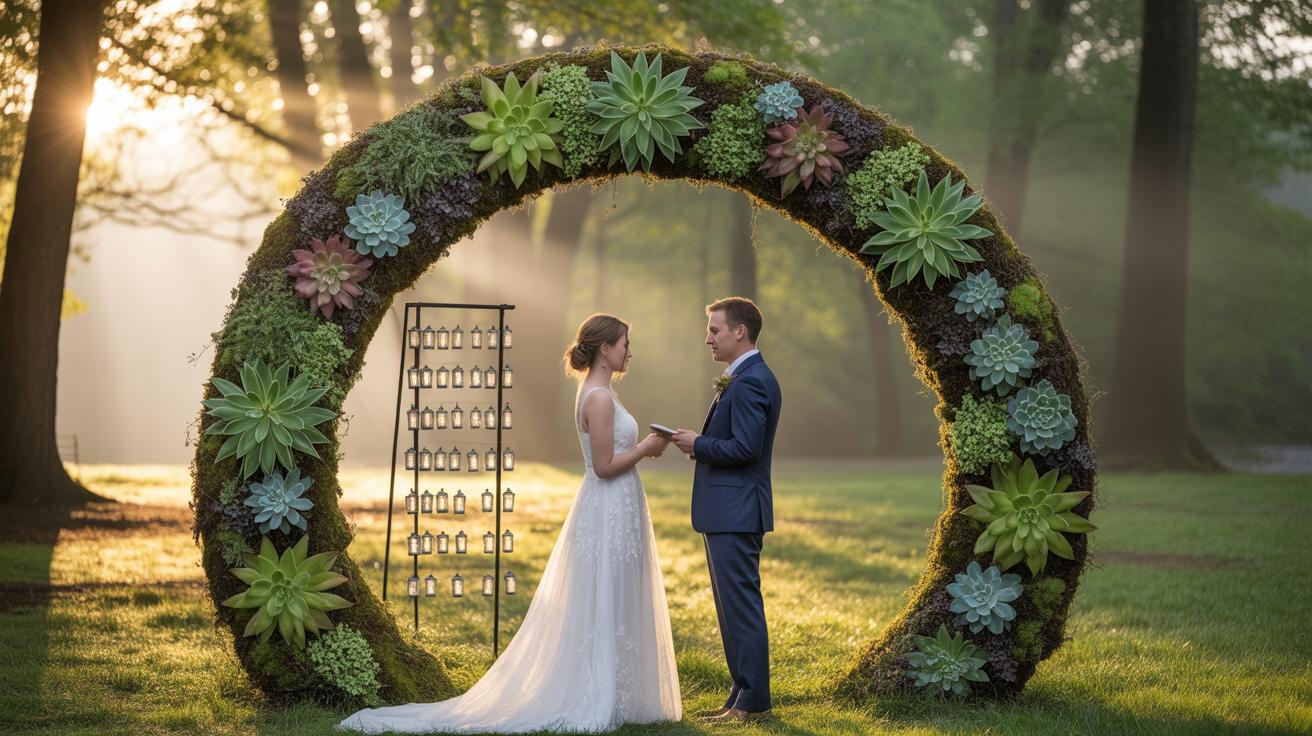
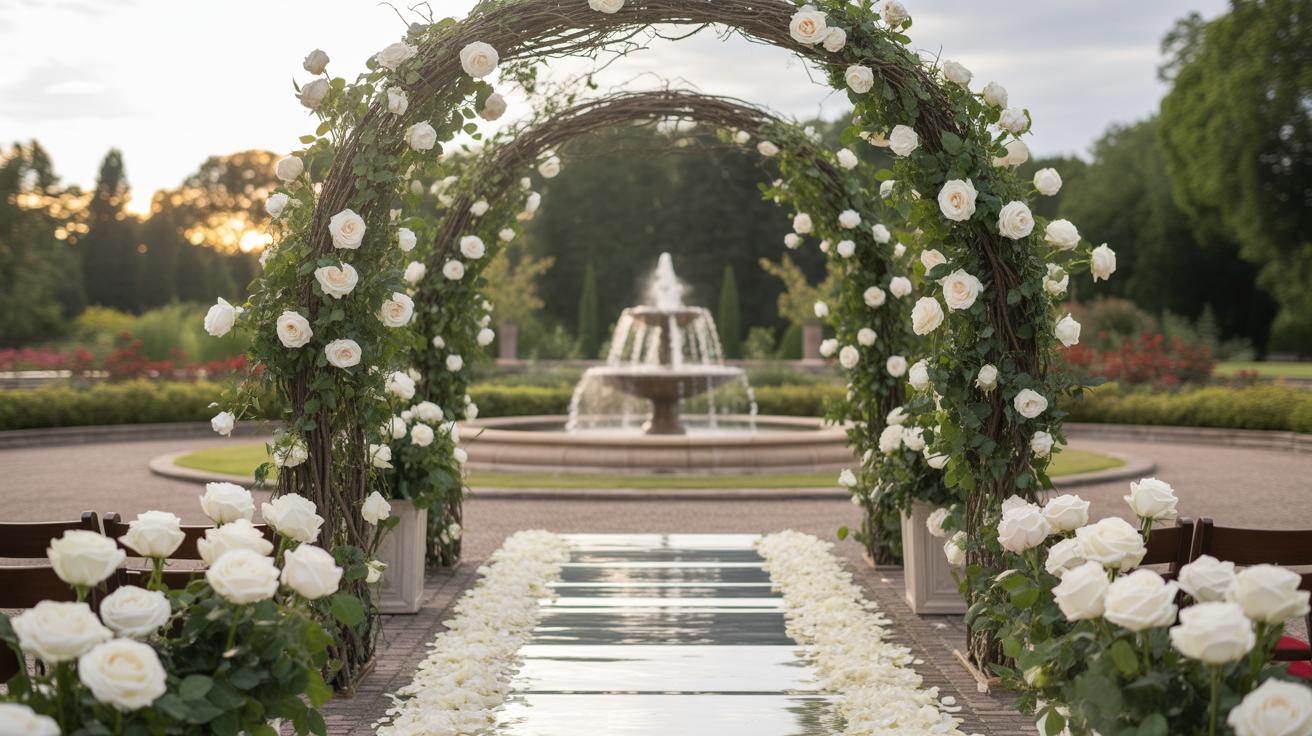
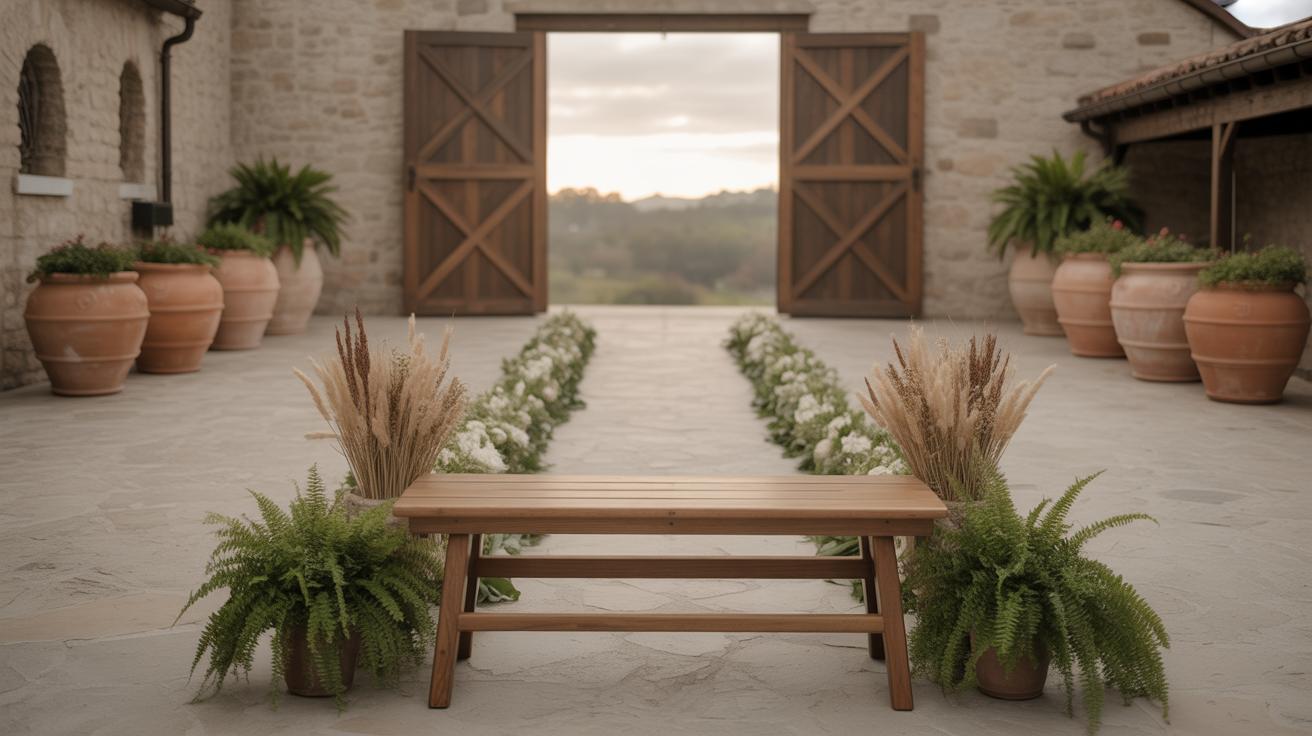
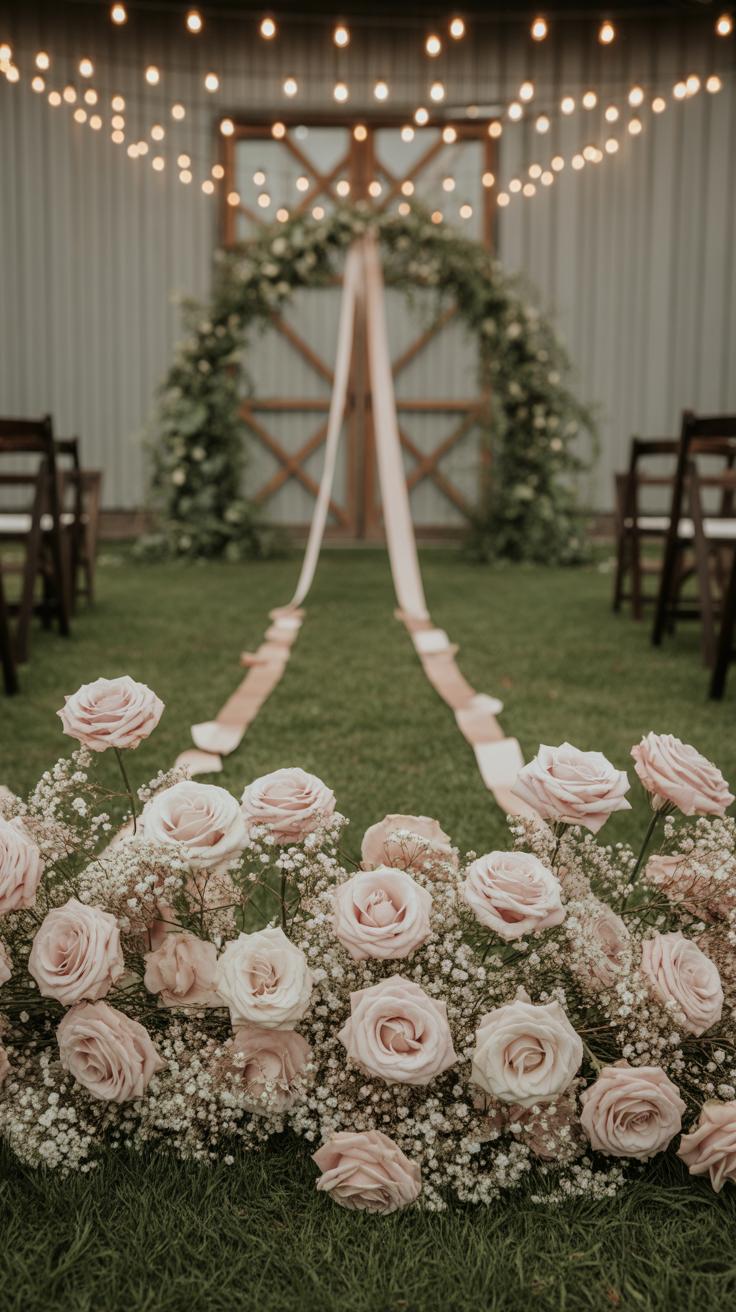
When it comes to style, you have options that can shift the mood drastically. Rustic arches, made with wood and greenery, feel warm and homey—great for outdoor or barn weddings. Modern styles often use clean lines and metallic frames, fitting for urban or minimalist settings. If florals are your thing, floral arches overflow with blooms and color, offering a romantic, lush look. Minimalistic arches strip back the extras, focusing on form and simplicity, which can be surprisingly powerful. Does your wedding theme lean toward nature, elegance, or simplicity? Matching your arch style to your theme helps unify the experience for your guests.
Consider how the location might limit or inspire your arch style. A rustic arch in a sleek hotel lobby? It might feel out of place. But a modern metal frame in a garden could clash with the natural softness there. Imagine how the setting and style will look in photos—that often guides the final choice better than you think. What kind of atmosphere do you want at the altar? Cozy, airy, striking? Sometimes the perfect spot nudges you toward a style you hadn’t originally planned.
Selecting Materials for Your DIY Wedding Arch
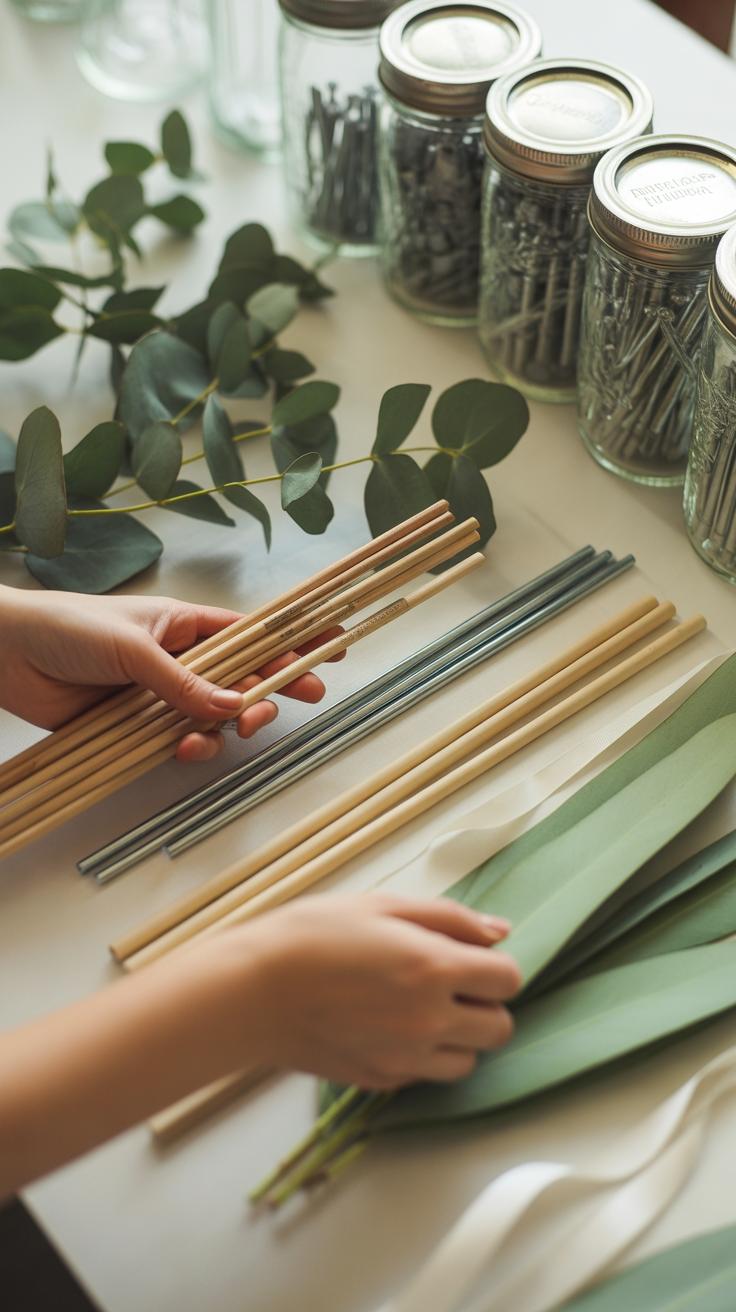
When it comes to building your own wedding arch, choosing the right material for the frame can feel a bit overwhelming. You have options like wood, PVC pipes, metal, or even natural branches. Each offers something different, and well, your choice really depends on the look you want, budget, and how much effort you’re ready to put in.
Types of Materials for the Frame
Wood is probably the go-to option for many because it’s sturdy and easy to work with. It suits rustic or classic styles and can be painted or stained as you like. But, wood can get heavy and a bit pricey if you want high-quality pieces. Plus, transporting it might be annoying.
PVC pipes feel lighter and more flexible, and they don’t cost much. They fit minimalistic or modern styles, especially if wrapped with fabric or greenery. They’re not as strong, though—so if windy weather is a concern, you might want to think twice.
Metal frames—think steel or aluminum—offer durability and a sleek look, but they usually require welding or at least special connectors. Not everyone has the tools or skills, which could mean paying someone. They work great for industrial or contemporary themes.
Then, there’s the option of using branches or natural wood. It’s charming and works beautifully for outdoor, woodland, or bohemian weddings. The challenge is ensuring they’re solid and consistent enough to hold decorations or flowers. Sometimes they’re just too irregular.
Where to Find Materials
Hardware stores are your first stop—local places often carry wood, PVC, and even basic metal supplies. Sometimes, you can get discount or scrap wood if you ask around or visit smaller shops.
Online marketplaces are useful if you’re looking for specialty pieces or specific sizes. Websites like Amazon or woodworking stores often have kits or individual supplies. Keep shipping times in mind, though—ordering last minute can be stressful.
If you’re into that natural vibe, collecting branches directly from parks or your backyard might work, just make sure it’s permitted. I once picked some branches from a friend’s garden for a small arch, and that added a personal touch. But be ready to clean and treat natural wood to avoid bugs or cracking.
Thinking through what matches your style, budget, and patience will help you settle on the best frame material. Don’t rush—sometimes testing pieces or sourcing multiple types can clarify what feels right for your unique day.
Tools and Supplies Needed
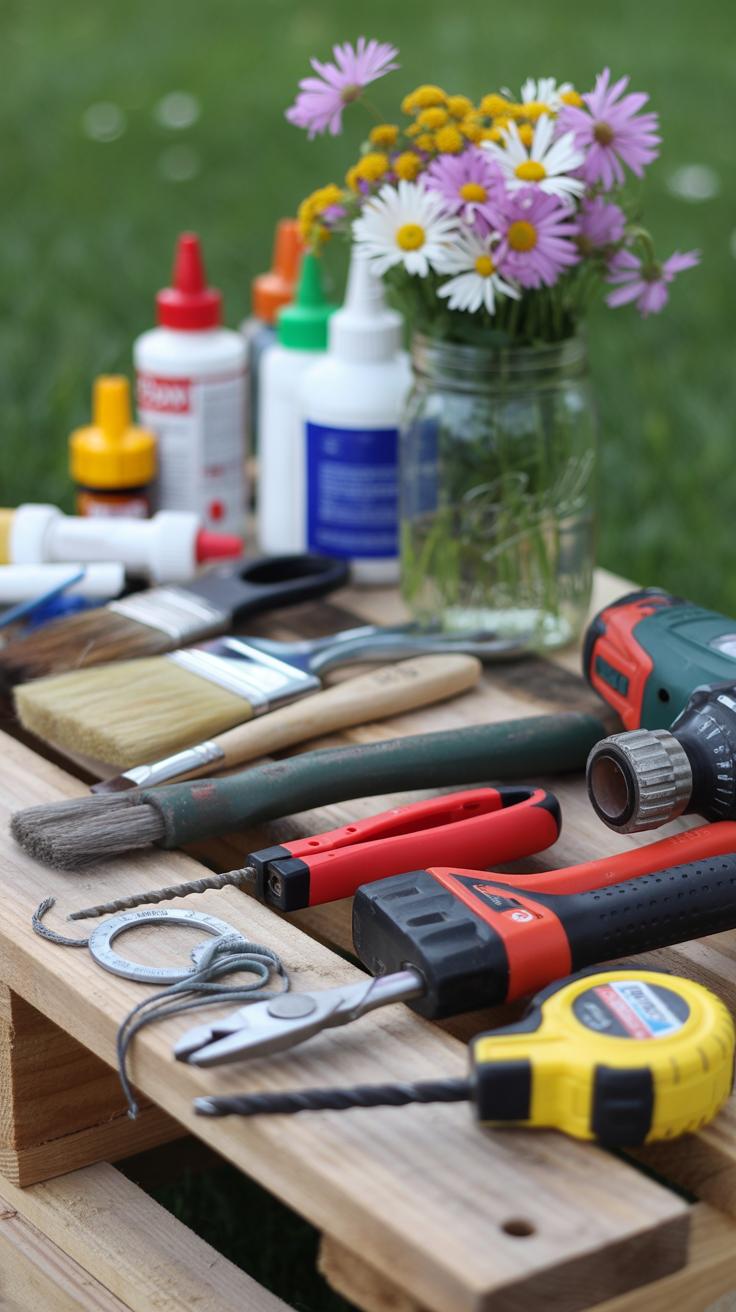
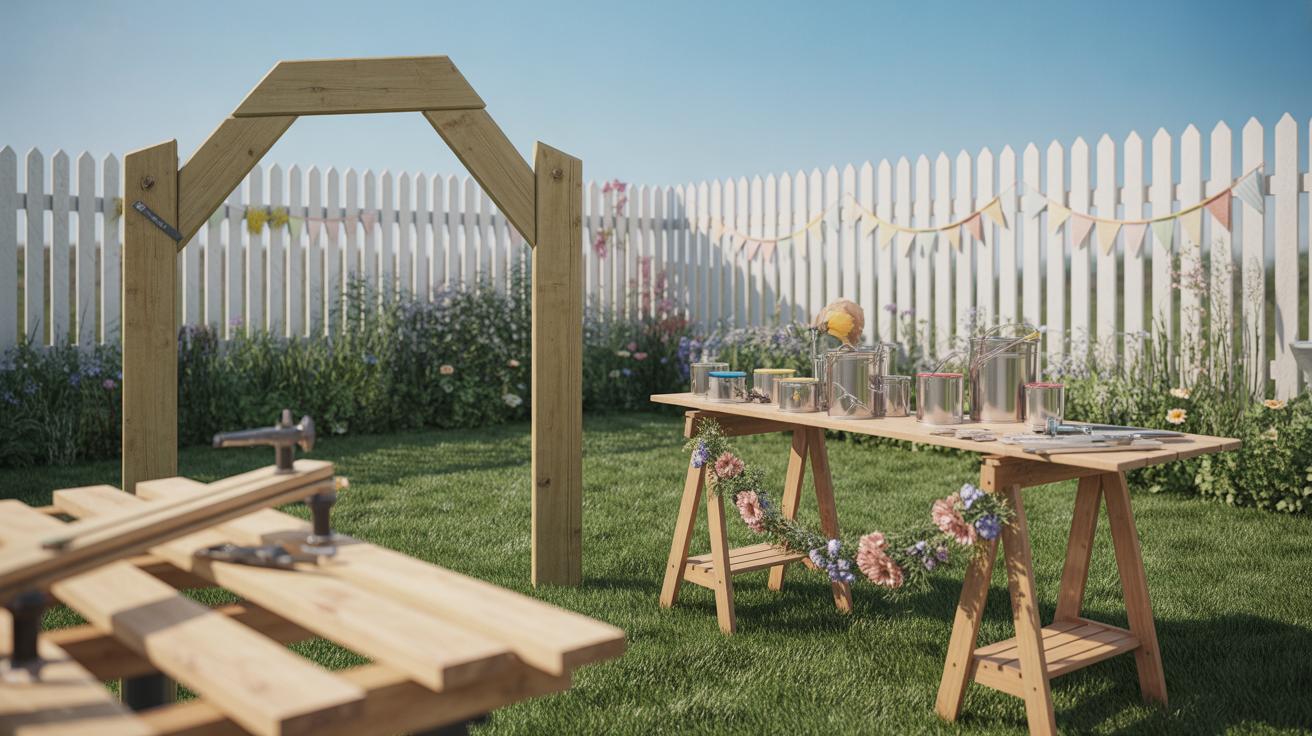
When gearing up to build your wedding arch, you’ll want to gather a few basic tools and supplies beforehand. Think saws, drills, screws, nails, zip ties, and maybe some clamps if you have them lying around. These seem straightforward, but each plays a key role in putting everything together.
A handsaw or a power saw helps you cut wood or PVC pipes cleanly. A drill is crucial for making holes and driving screws, which hold the frame firmly. Screws and nails keep things in place, though screws offer stronger joints, especially if you plan to dismantle the arch later. Zip ties come in handy for quick fixes or holding lightweight greenery and fabrics to the frame. Clamps can steady pieces while you work, but if you don’t have any, your hands will do.
Safety is an area you can’t skip—please don’t. Wear gloves to protect your hands, and goggles to shield your eyes from flying debris. If you’re new to drills or saws, take slow, steady strokes and keep your work area tidy to avoid tripping. It’s tempting to rush, yet slowing down often prevents those “oops” moments.
Have you thought about where to start? Sometimes having the right tool nearby makes the difference between frustration and flow. Gathering these basics helps you stay prepared and, honestly, makes the project feel less daunting.
Measuring and Cutting the Frame Components
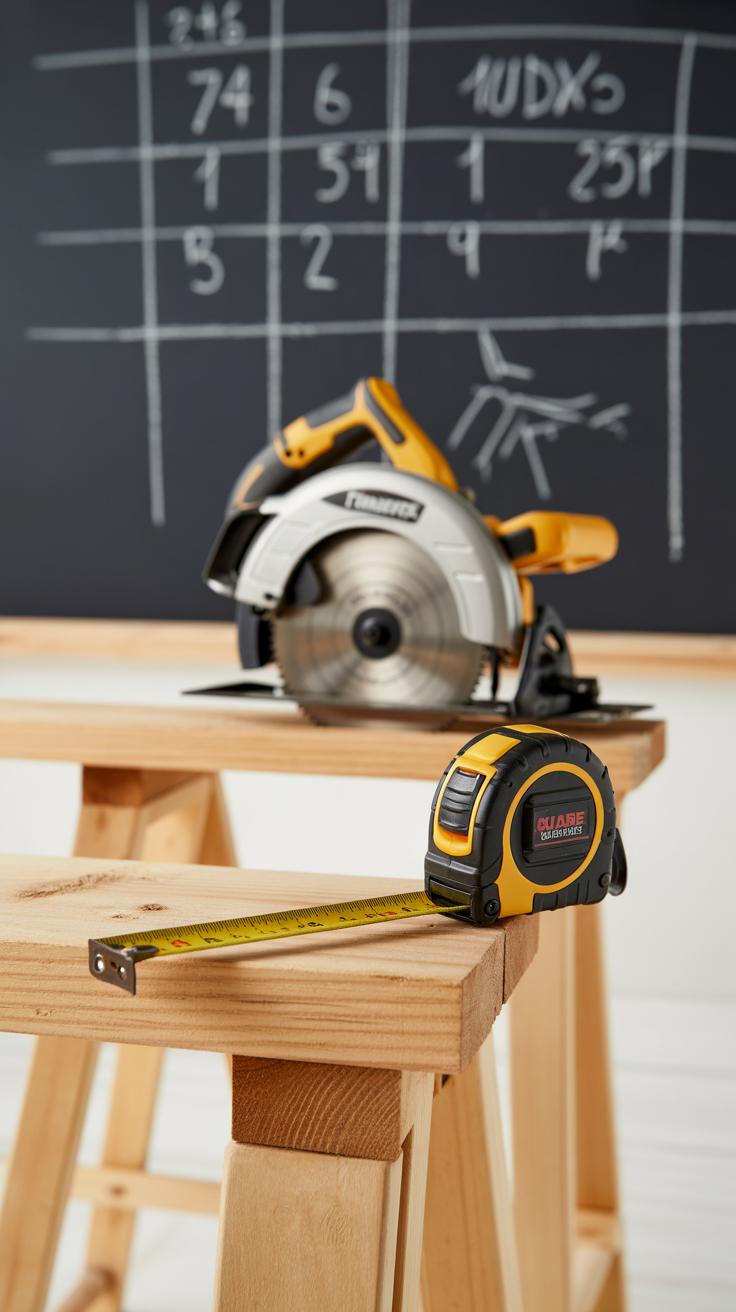
When it comes to measuring for your wedding arch, getting the size right is a key step. You want the arch to feel grand but not overwhelming, fitting well into your ceremony space. Typically, aiming for about 8 feet tall and 6 feet wide works well for most setups, but this can change depending on your venue and preferences. Measure out your chosen dimensions on the material carefully. Mark the lengths with a pencil or chalk—make sure marks are clear but light enough not to smudge or confuse later.
It helps to double-check measurements before cutting. I’ve learned the hard way that cutting too soon can cause frustration and wasted materials. So, measure twice or even thrice. Check your marks from different angles and confirm they align if you’re making symmetrical cuts.
For cutting, if you’re new to this, a basic hand saw or a small circular saw will do fine. Keep your saw steady, and follow along your mark slowly. Avoid rushing—uneven cuts will make assembly trickier, and the arch might not sit right. A tip I found useful is to clamp your wood down while cutting. It keeps it from shifting and helps get straighter lines.
Try to cut with the sharpest part of the blade hitting the mark first, so the cut edges come out clean. If your saw tends to splinter wood, sanding the edges lightly afterwards can smooth rough spots and make joints fit better. It’s a small step but makes a difference in building a sturdy frame that looks neat.
While cutting, never forget safety. Use protective glasses and keep your hands clear of the blade path. If the idea of freehand cutting feels intimidating, guide your saw along a straightedge or ruler — it helps keep cuts straighter and safer.
Does the size you’ve picked feel right for your space? Sometimes it’s worth standing next to the full measurement using a measuring tape or a broomstick before making final cuts. It gives a better physical sense of how guests will see the arch. You might find you want to adjust height or width based on that, and that’s perfectly fine. After all, this is your design.
Assembling the Wedding Arch Frame
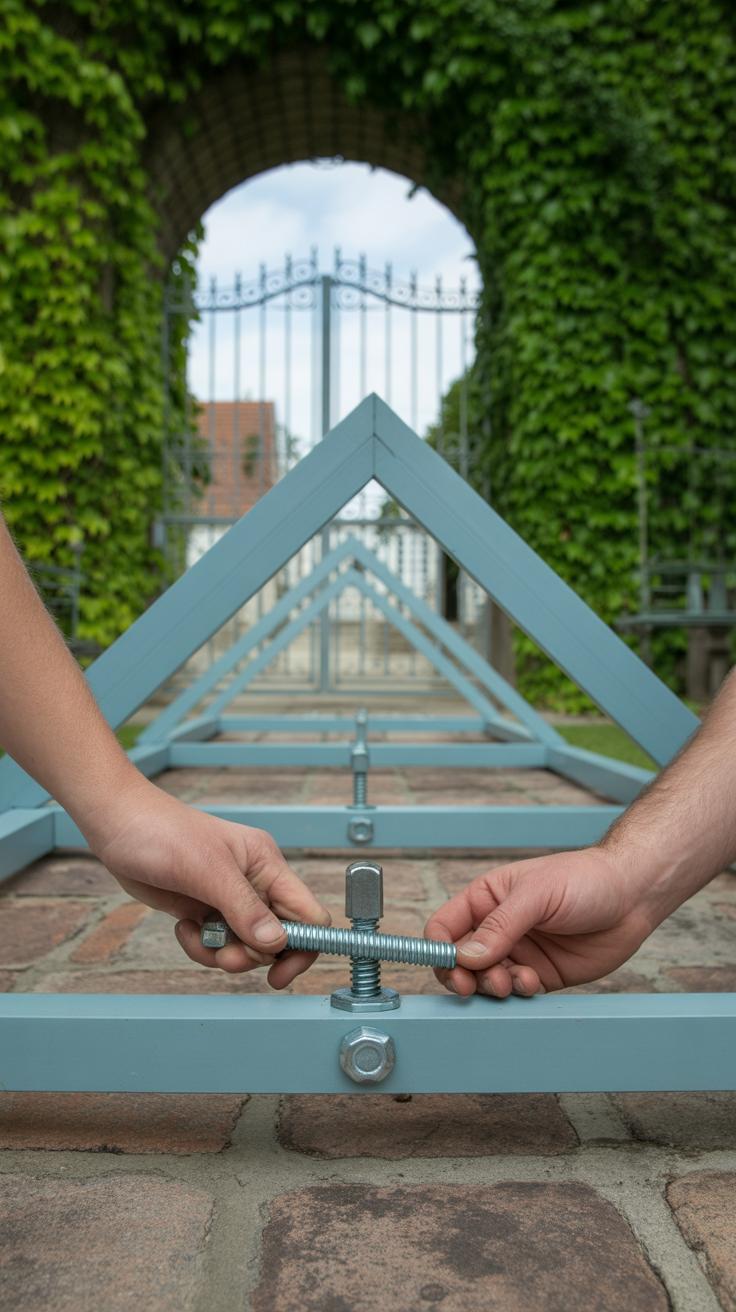
Once your pieces are cut, it’s time to bring them together. Start by laying out the parts on a flat surface, arranging them as they’ll fit to form the arch.
Use screws for a solid hold—pre-drill holes to avoid splitting the wood. If you prefer nails, hammer gently and consider using corner brackets for strength. Ties, like heavy-duty zip ties or ropes, can work too but expect less rigidity. Think about the spot where the vertical posts meet the horizontal top piece; that’s the critical joint.
Attach the top beam to each side post, making sure it’s level. Check alignment often, because slight shifts here can make the whole frame wobbly.
- Use clamps or even have someone hold pieces steady while you secure them.
- Double-check measurements before fastening anything permanently.
- Reinforce corners with metal braces if available—these add balance you might not see at first glance.
To test stability, gently shake the arch once assembled. If it wobbles or shifts, add extra supports or adjust joints. For outdoor setups, consider anchoring the base with stakes or weights.
Remember, your goal is a frame that won’t lean or tip when you add decorations or when a breeze blows through. It’s a bit of trial and error, but once it feels steady, you’re good to move on to the fun part—decorating.
Decorating the Wedding Arch
When it comes to dressing up your wedding arch, the choices can feel endless—and honestly, a bit overwhelming at times. You might want to keep things simple or create something lush and dramatic. Either way, focusing on a few core decoration elements usually works best.
Choosing Decorations
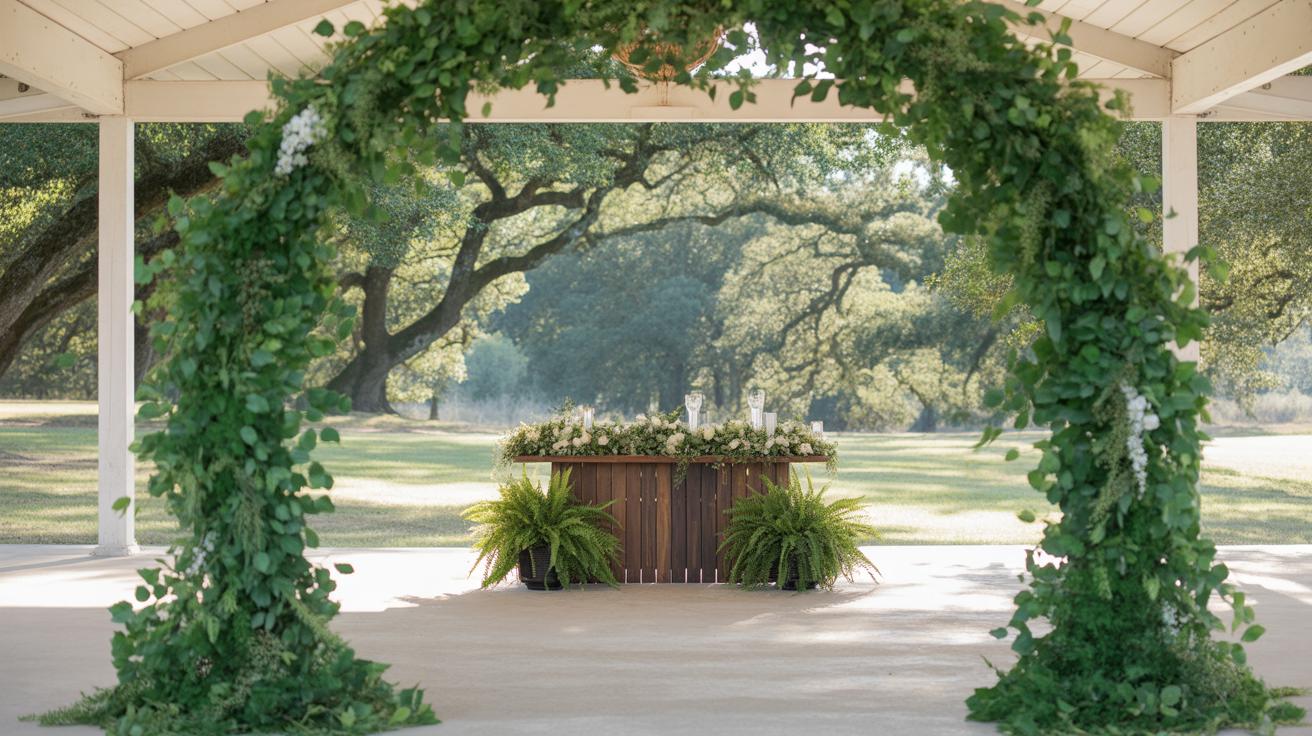
Think about what fits your venue and vibe. Fresh flowers bring natural color and scent, but faux blooms can be easier to handle and last longer. Greenery like eucalyptus or ivy adds texture without overwhelming. Fabrics—sheer curtains, tulle, or burlap—soften the structure and introduce movement.
- Flower options: roses, peonies, wildflowers, or even dried blooms
- Lights: fairy lights or small LED strands for a gentle glow
- Fabrics: chiffon, organza, or a favorite cozy textile
- Greenery: ferns, eucalyptus branches, or trailing vines
- Other accents: ribbons, hanging lanterns, or paper decorations
Colors? Match your overall palette, but don’t be afraid to mix soft and bold shades. Sometimes a splash of an unexpected shade can add just the right pop.
Arranging Decorations on the Frame
Start by draping fabric loosely around the arch, letting it cascade naturally rather than forcing it tight. You want softness, so avoid pulling too taut. Secure fabrics with zip ties or floral wire; these are discreet and strong.
When using flowers and greenery, group them in clusters instead of spacing them evenly. Clusters create points of interest that draw the eye. Wire stems can be wrapped around the frame or tucked into fabric folds for stability.

Fairy lights can be woven through fabric or wrapped around poles in spirals. Keep the battery pack hidden behind greenery or fabric folds for a clean look.
Placement is key. Concentrate decorations on one or two corners, like the top left or right, rather than covering the whole arch. It feels more intentional, less cluttered. As you step back, ask yourself: does this catch my eye, or is it muddled?
Adding Final Touches to Personalize Your Arch

Including Personal Elements
Personal details give your wedding arch something unique—something that really speaks to your relationship. You might want to add your initials, the wedding date, or a small sign with a favorite quote or phrase. Some couples choose to hand paint wooden plaques or create simple banners. If you’re handy with calligraphy or graphic design, printing custom monograms can also make a subtle but meaningful addition. Even meaningful symbols, like small charms or objects representing shared interests, can be tucked into the design without overwhelming it.
Think about what matters most to you as a couple. Maybe it’s a nod to the place you met, a shared hobby, or something cultural or spiritual. These touches don’t need to be large or flashy. Sometimes, a discreet symbol tucked among flowers or greenery adds a quiet but powerful layer of meaning.
Keeping the Look Balanced
Adding personal elements is great, but balance is key. You want your arch to feel thoughtful—not cluttered. Spread out decorations so the eye has room to rest. If you add initials on one side, consider a similar-sized accent on another side to avoid taking away from the arch’s overall flow. Avoid clustering too many small elements in one spot; instead, try to space them thoughtfully.
I often find that stepping back and looking at your progress helps. Ask yourself, is the arch still feeling open and inviting? Or is it too busy? Sometimes less is more, even when you want to include several personal touches. You can always let some details stand out while others blend gently into the background.
Transporting and Setting Up Your Wedding Arch
Moving the Arch Safely
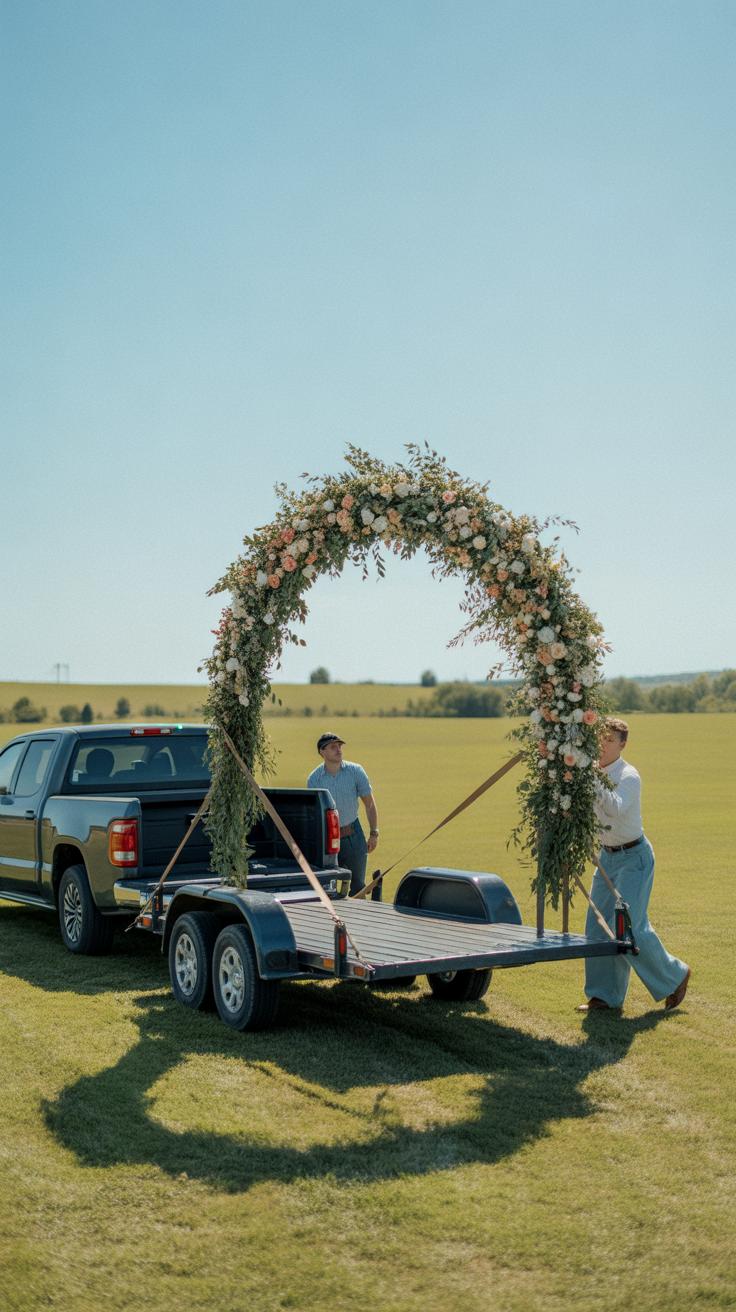
Carrying your DIY wedding arch can feel a bit tricky, especially if you’ve added delicate decorations or flowers. The trick is to keep the structure steady and avoid bumping or twisting it. If your arch comes apart into sections, it’s a good idea to dismantle it for transport. That way, you reduce the risk of bending or breaking anything.
If it’s a single piece, try to hold it by the sturdier parts—usually the base or the thicker frame beams. Avoid gripping where decorations are attached since those can easily come loose or get crushed. Wrapping these areas loosely in soft cloth or bubble wrap can help protect fragile details without smothering them.
Transport the arch laying flat in a car or truck bed rather than standing up. It might take extra space, but it feels safer. You can also recruit a friend or two to help carry it securely. A few extra hands can make a big difference when you don’t want to risk dropping or knocking the arch against walls or doors.
Setting Up on the Day
When you arrive at the venue, take a moment to check the ground where you plan to place the arch. If it’s uneven, think about using shims or small boards to make sure the arch stands straight without wobbling. Stability is key, especially if the weather is breezy or if guests will be close by.
Here’s a quick checklist for setting up:
- Assemble the arch sections firmly but gently, double-checking all fastenings.
- If your arch has legs, push them securely into the soil or use weights at the base for hard surfaces.
- Test the arch’s steadiness by giving it a slight shake—if it moves too much, improvise extra support with poles or ties to nearby structures.
- Arrange any final floral or fabric touches on site to avoid damage during transport.
Setting up often takes longer than expected, so leave yourself enough time before the ceremony. You don’t want to rush this part and risk a crooked or unstable arch. But again, don’t overthink it—sometimes a little imperfection adds charm.
Maintaining and Reusing Your Wedding Arch
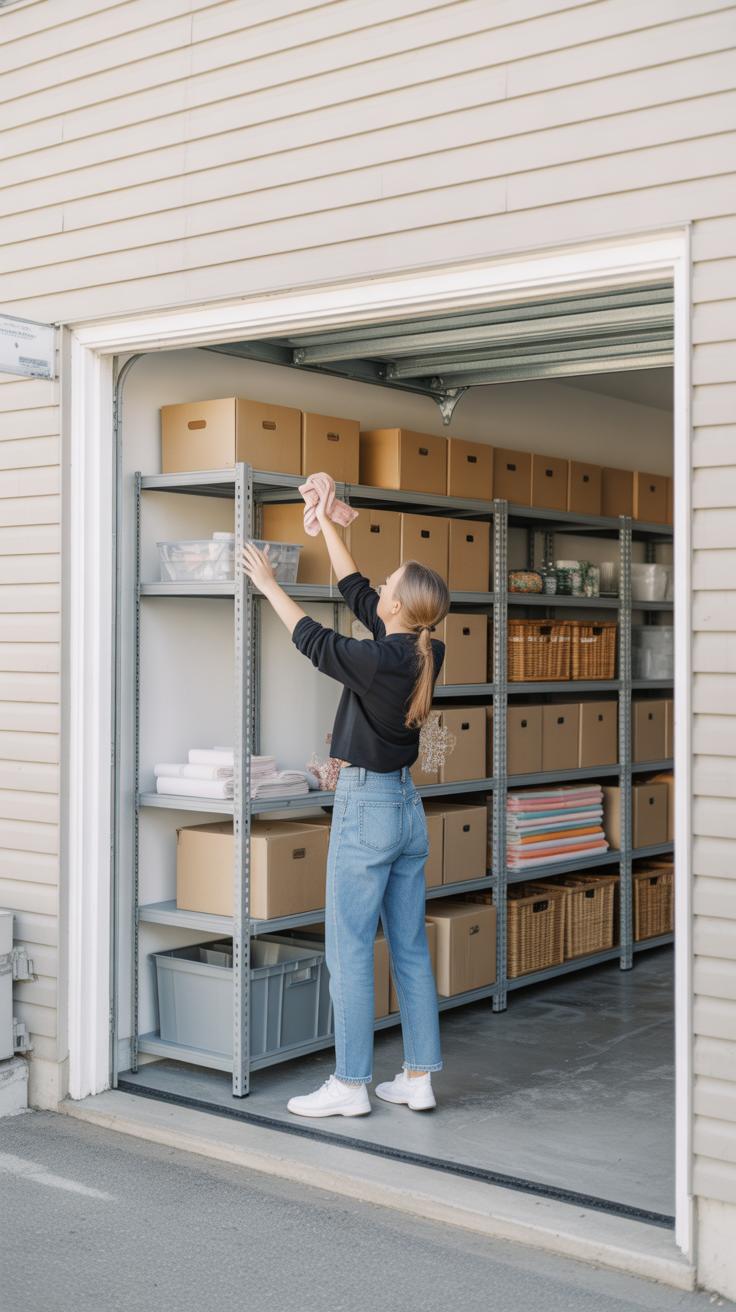
Cleaning and Storage Tips
Right after the wedding, your arch probably looks a bit worn—dusty, maybe some petals stuck in crevices. Give it a gentle shake to remove loose debris, then lightly wipe down wooden or metal parts with a damp cloth. If your arch has fabric, spot-clean stains carefully, but avoid soaking it to prevent damage.
For flowers—whether real or artificial—remove any that are wilting or falling apart. Artificial ones can usually be cleaned with a soft brush or a quick rinse if they’re plastic, then left to air dry. Wood elements can benefit from a light coat of oil or polish to keep them from drying out or cracking over time.
When storing, disassemble any detachable parts if possible. Keep everything in a dry, cool place away from direct sunlight to prevent fading or warping. Use bubble wrap or cloth to cushion fragile pieces. If you have limited space, stacking them carefully in a corner with protective covers will help avoid accidents.
Ideas for Reusing Your Arch
So, what to do once the big day is over? You might be tempted to toss it aside, but the arch can still serve many purposes. Think about repurposing it for:
- Garden trellis: Use the framework for climbing plants or vines in your backyard.
- Photo backdrop: Decorate it anew for birthday parties or family reunions with different themes.
- Seasonal displays: Wrap lights or seasonal decor around it for holidays like Christmas or Halloween.
- Home decor: Smaller parts like floral garlands or wooden frames might become centerpieces or wall art.
Personally, I turned the leftover flowers and greenery into wreaths and table runners for future occasions—way easier than buying fresh every time. Maybe you’ll find parts of your arch inspire more creative uses as you unpack it.
Conclusions
Crafting your own wedding arch allows you to add meaning and creativity to your ceremony. As you follow the steps, you will see how simple materials can come together to form a stunning centerpiece. Your effort will reflect in the beauty and uniqueness of the arch.
Making a wedding arch yourself also means you control the design and details. You can adjust colors, shapes, and decorations to fit your wedding theme perfectly. This guide empowers you to create something special with your own hands.