Introduction
Looking to add a personal touch to your photos, parties, or events? Simple Diy Backdrop Ideas You Can Craft At Home offer a fantastic way to do just that. This guide helps you explore creative, affordable, and easy-to-make backdrops that fit your style and needs.
Whether it is for a birthday celebration, a photo booth, or a decorative room feature, these DIY projects empower you to transform any space. This article walks you through practical ideas, the right materials, and clear steps so you can confidently create your perfect backdrop at home.
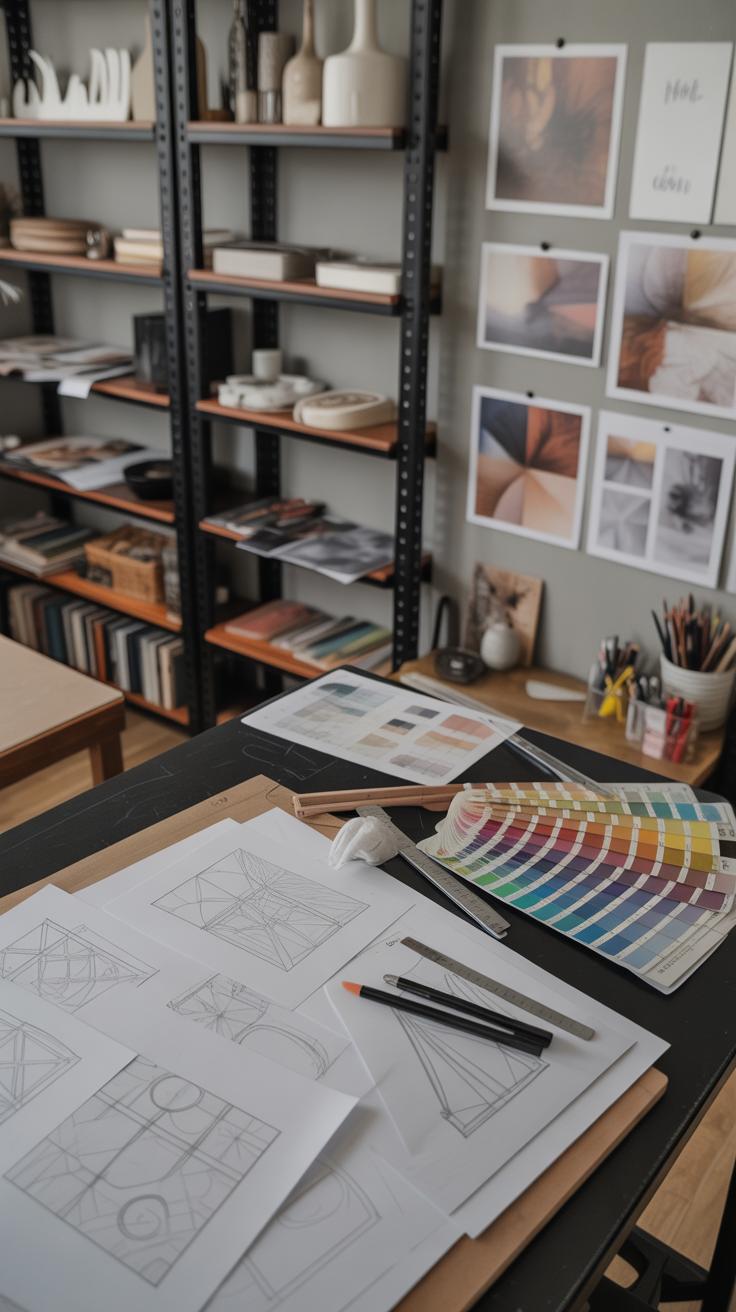
Choosing the Right Materials for Your DIY Backdrop
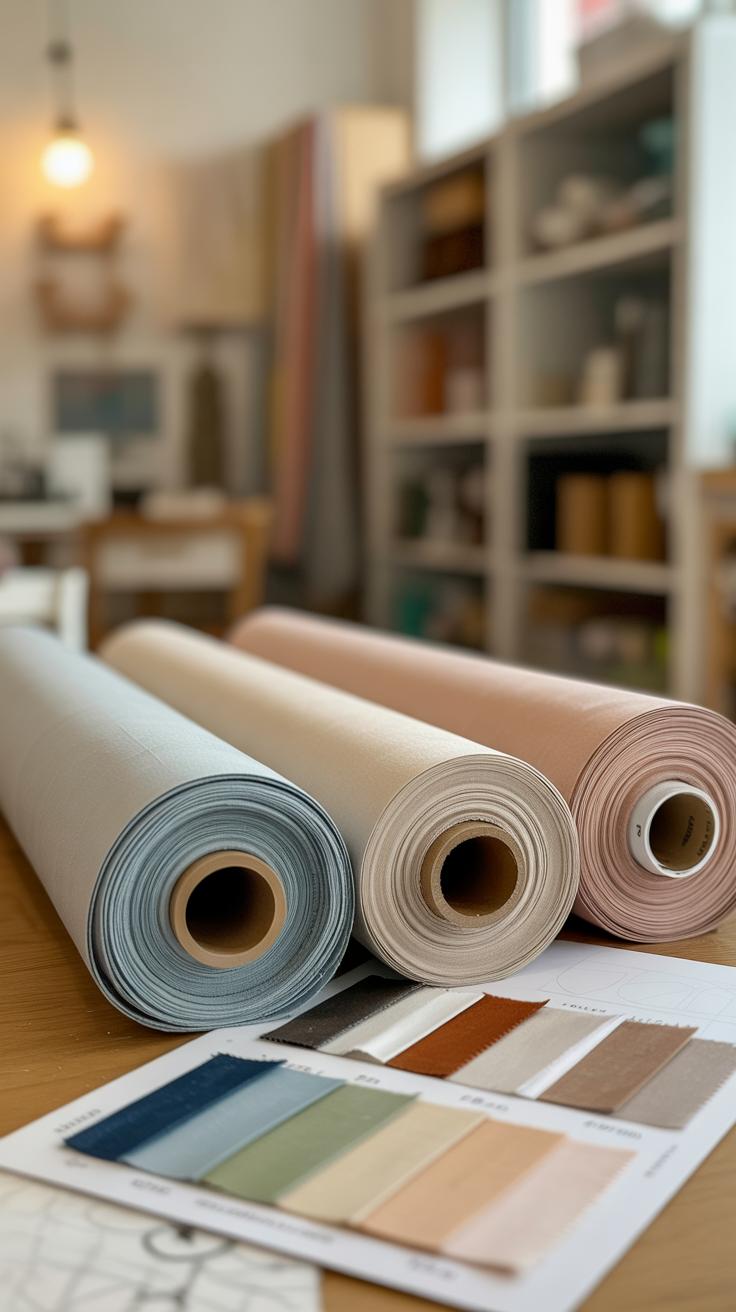
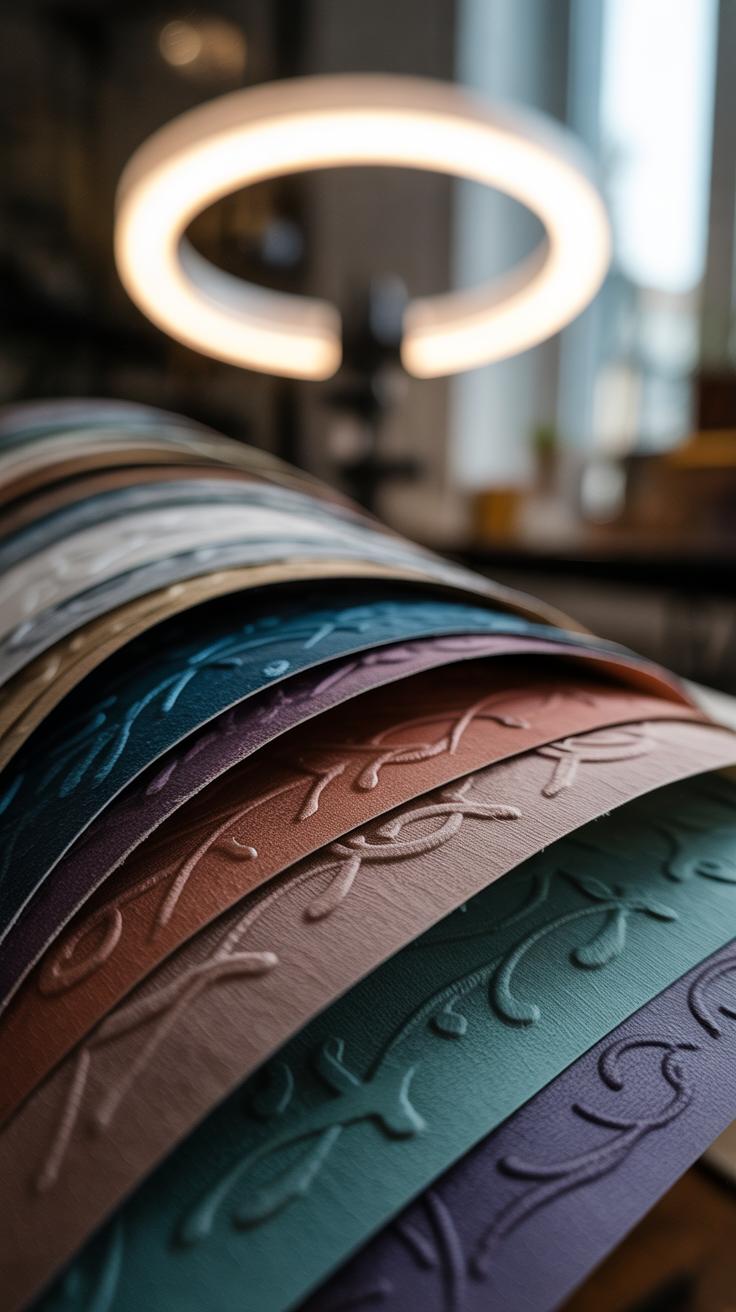
When picking materials for your backdrop, you want something that won’t break the bank but still looks good. It’s tricky because you want ease of use and a nice visual impact, but these don’t always go hand in hand. For example, fabric can be pretty forgiving and has a great texture, but sometimes it can be expensive depending on the type you choose. On the other hand, crepe paper is cheap and comes in tons of colors, but it can tear easily if you’re not careful.
Here’s a short list to get you thinking:
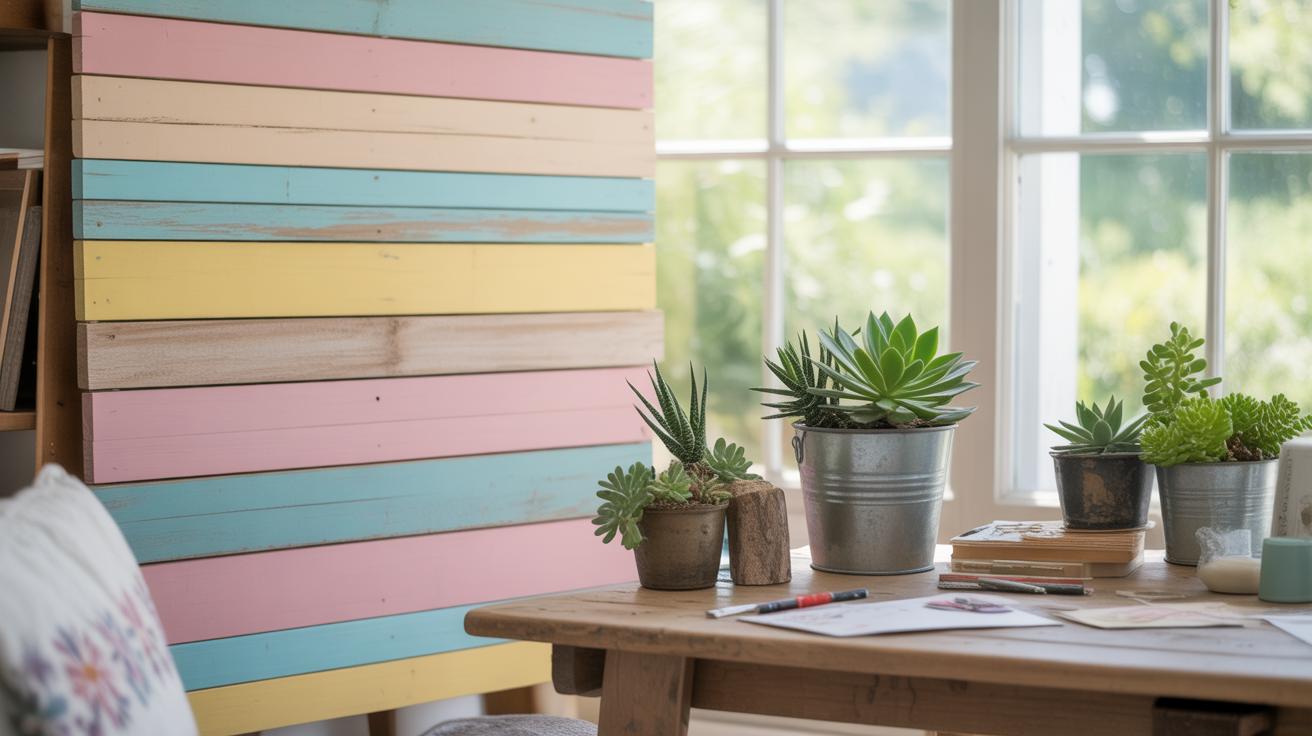
- Fabric: Cotton, muslin, or even old bedsheets work well and can be dyed or patterned.
- Crepe Paper: Perfect for streamers or layered looks, very affordable but delicate.
- Cardboard: Good for structure or base frames, cheap and sturdy but less colorful.
- Wood: Plywood or pallet wood can make rustic backdrops but requires tools and effort.
- String Lights: Easy to drape and add atmosphere, you can find affordable options online or in stores.
I often find sourcing these materials from thrift stores or craft outlets helpful. Sometimes, even dollar stores surprise you with hidden gems. And if you’re patient, buying remnants or clearance fabric saves money too.
Affordable and Easy-to-Use Materials
Materials that are both cheap and simple to work with often make the process less stressful. Crepe paper, for example, is a favorite among many crafters because it’s so lightweight and colorful. You can twist it, cut it, or layer it to create texture. Cardboard is great if you want to create shapes or letters, and it’s sturdy enough to hold paint or glue without warping too much.
Fabric is wonderful if you want a backdrop you can reuse. Old curtains or sheets can be repurposed and get new life with some dye or fabric paint. String lights are a nice touch that don’t demand much effort but can change the whole vibe, especially for evening events. Overall, buying in bulk or on sale will help keep your costs down.
Decorative Elements to Enhance Your Backdrop
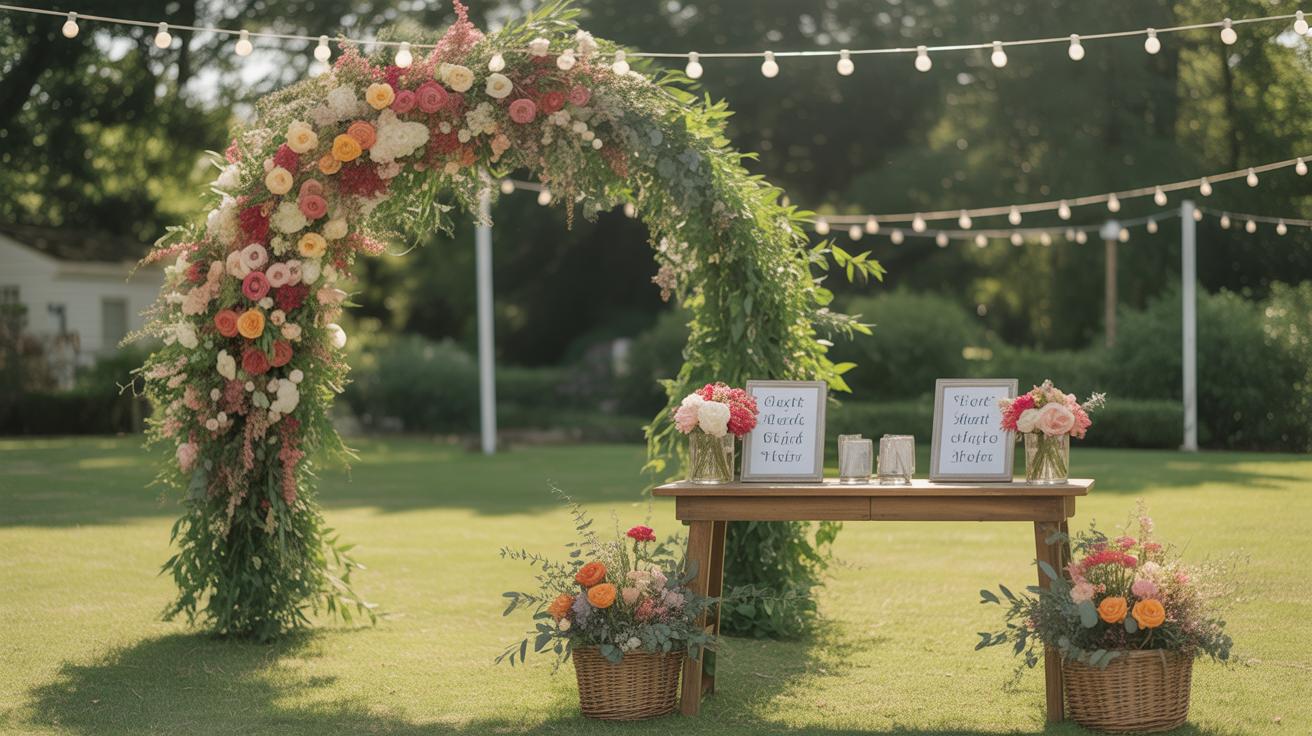
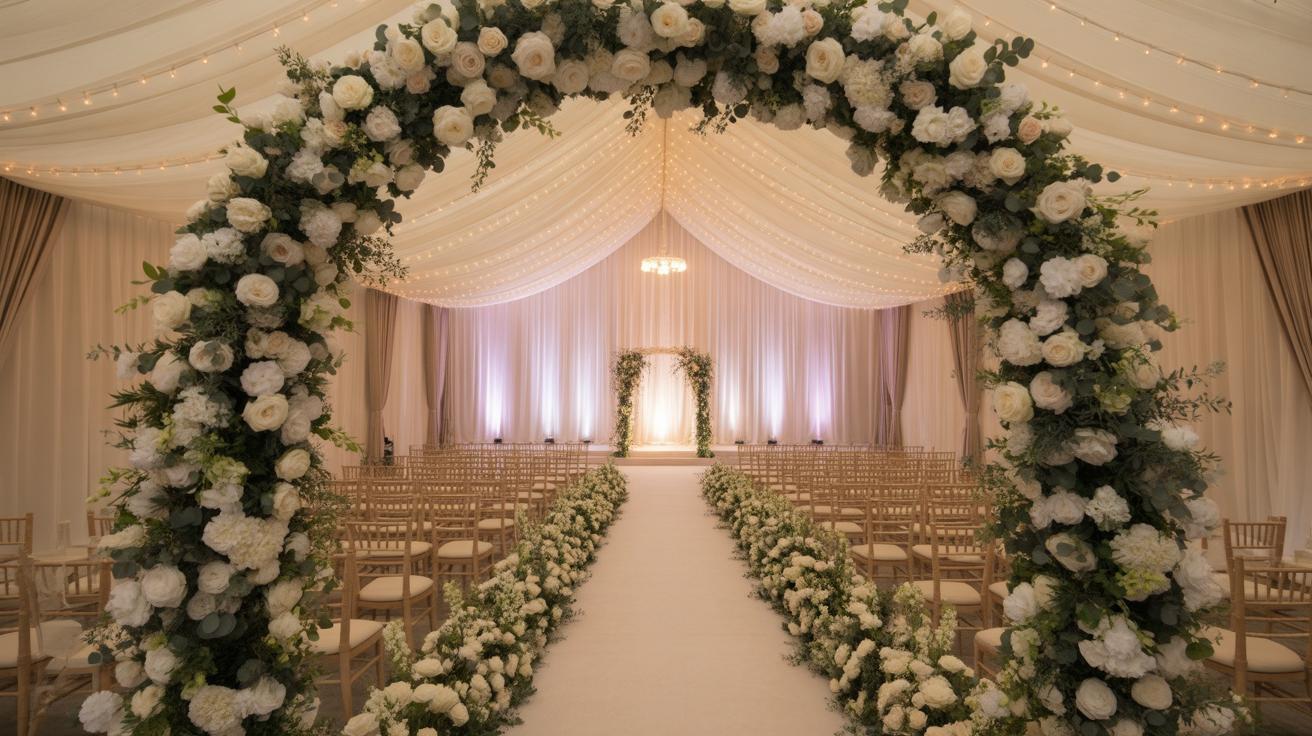
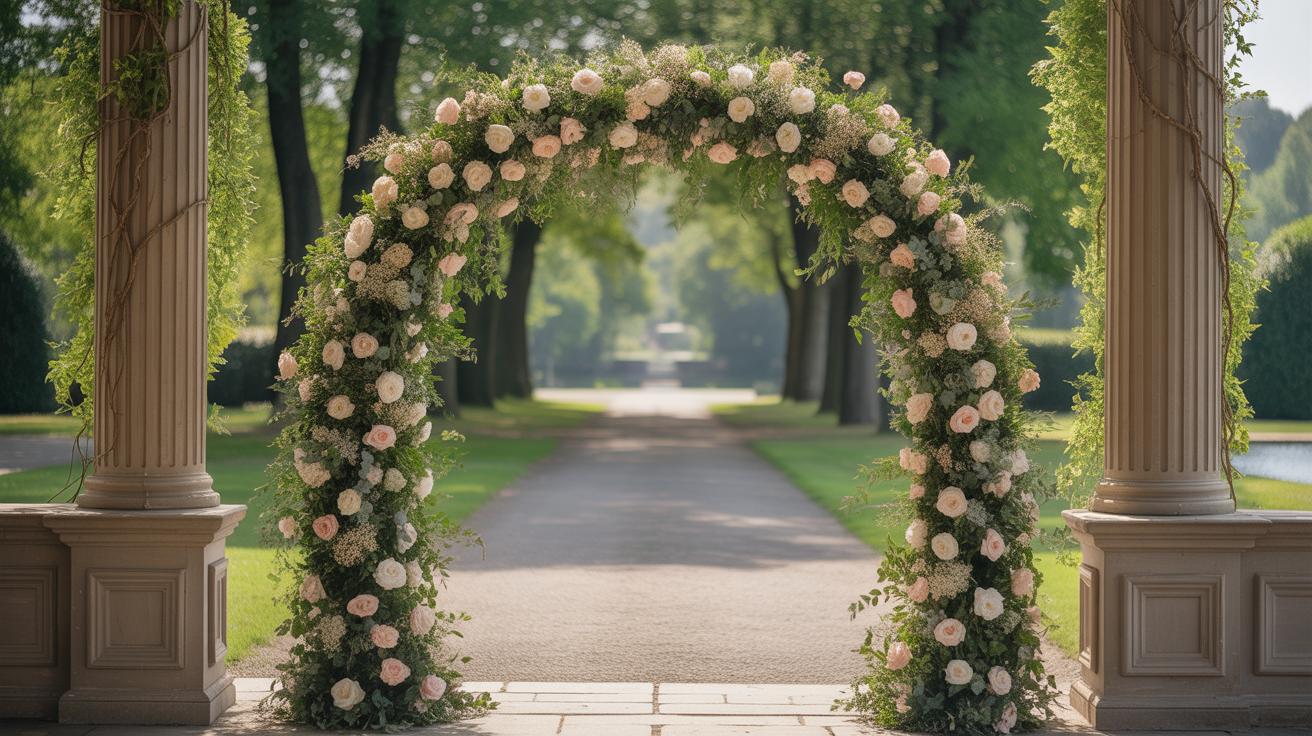
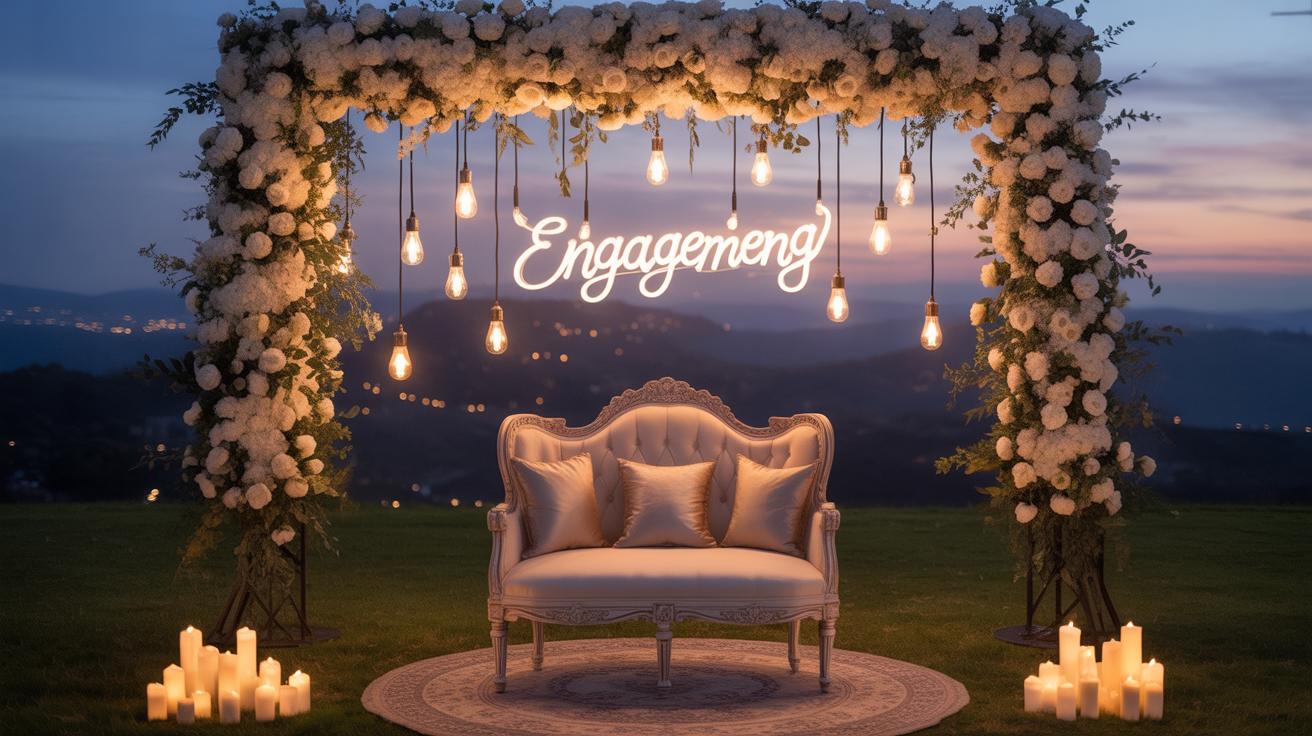
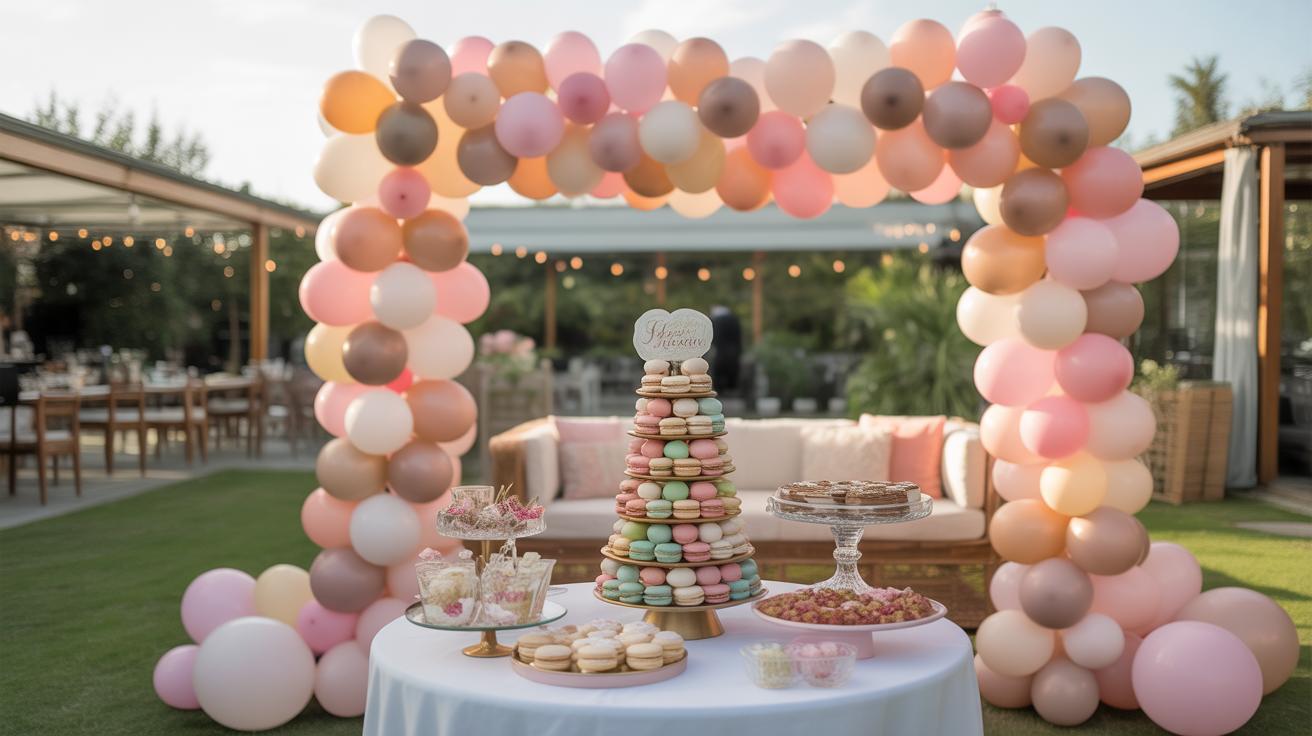
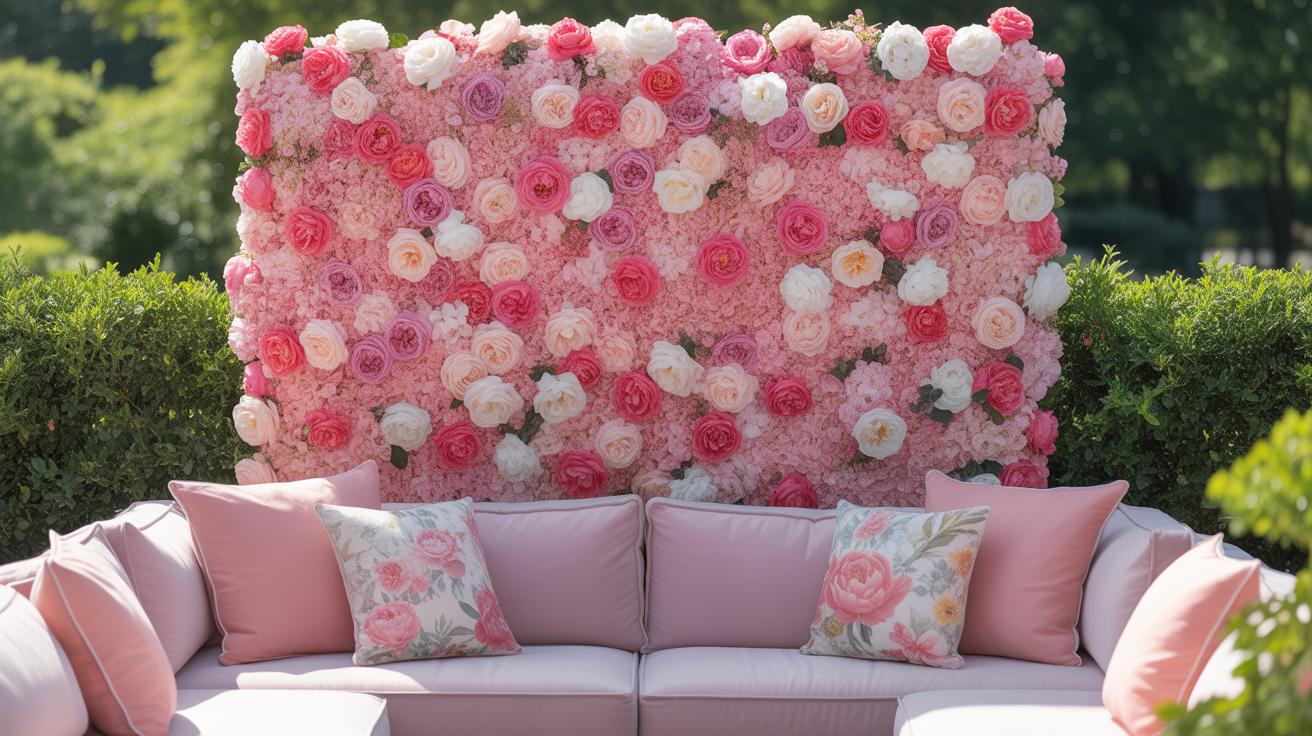
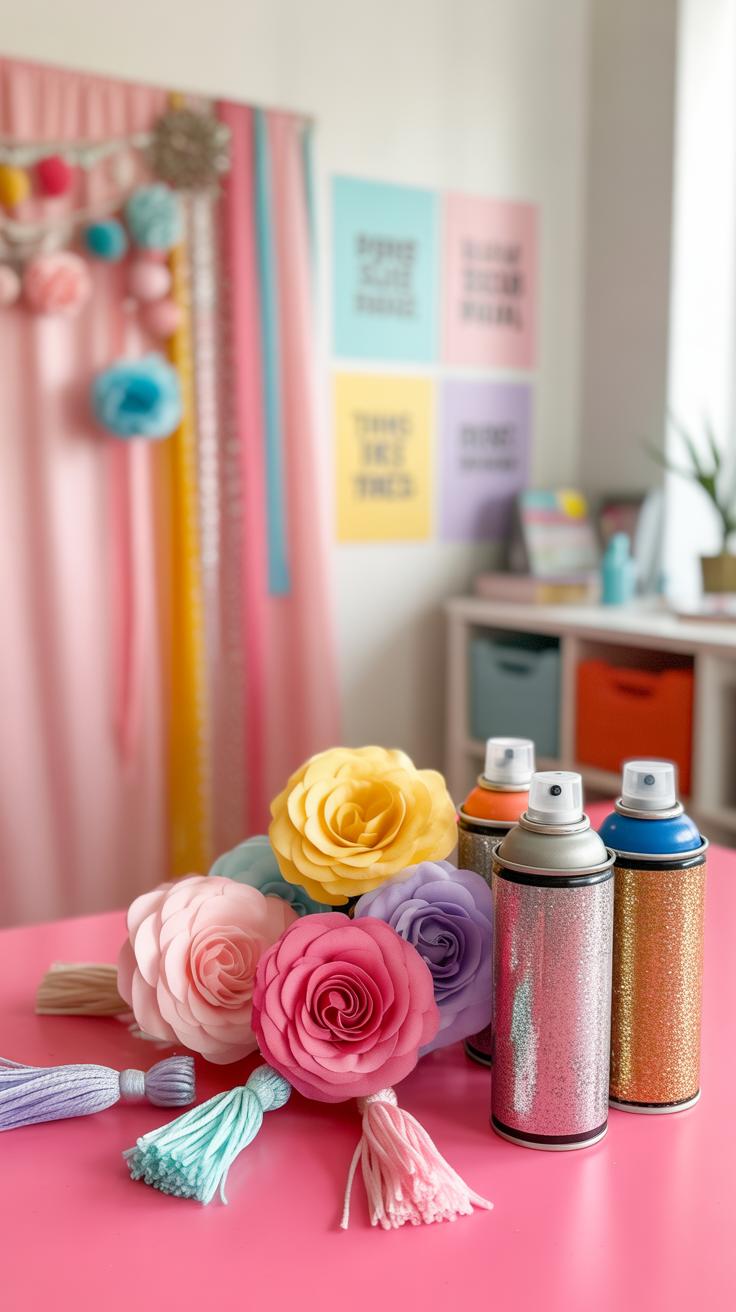
Adding decorations can take a simple backdrop to another level. Flowers, either fresh or silk, give a natural or elegant touch. Balloons are a classic that never really goes out of style, and they come in so many shapes and sizes. Ribbons hung vertically or tied into bows add nice details without overwhelming the overall look.
These extras do more than just fill space; they lend character and can help match the backdrop to the event’s mood. For example, delicate ribbons and flowers suit weddings or baby showers, while balloons feel fun and casual for birthdays. Sometimes, mixing a few of these elements can seem like too much—so testing out a small section before committing is never a bad idea. What decorative accents do you think would best fit your occasion?
Planning Your Backdrop Design
Matching the Backdrop to Your Event
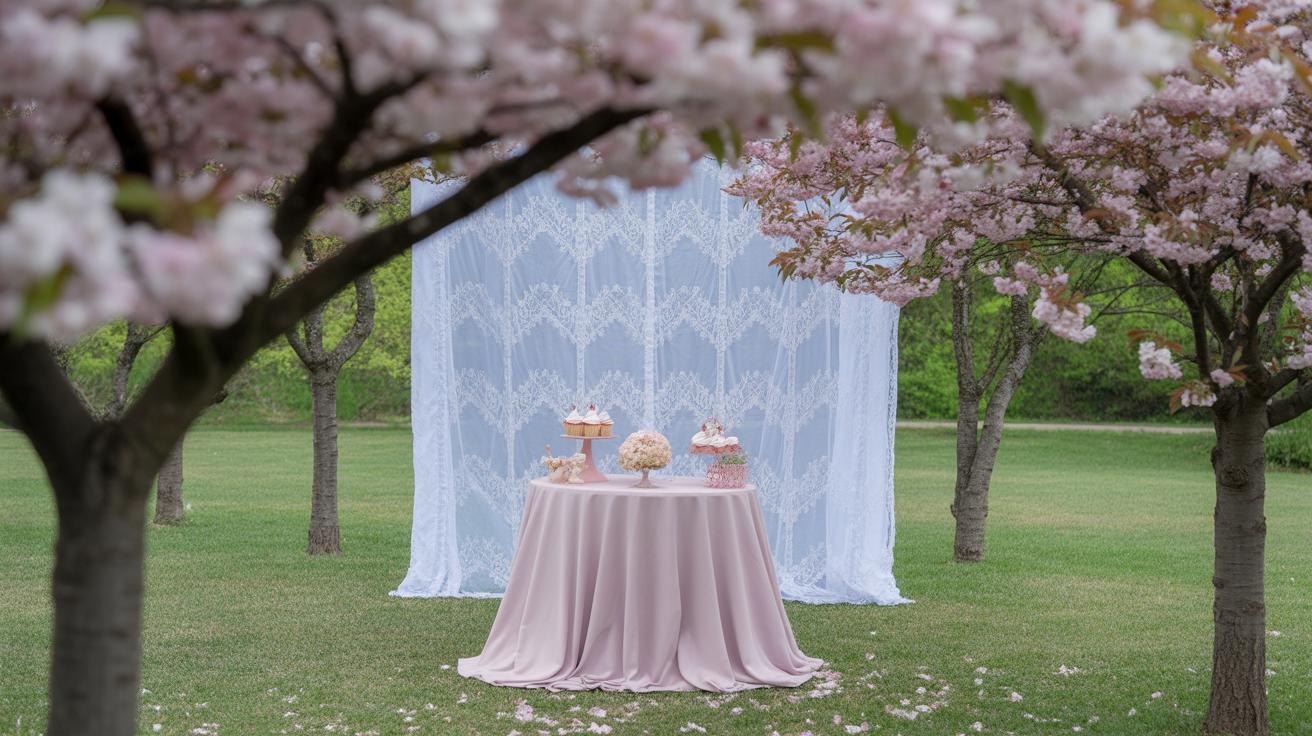
When planning a backdrop, the first question you might ask yourself is, what’s this backdrop really for? Different events call for different vibes, so matching the color and theme to the occasion makes a big difference. For instance, a birthday party may welcome bright, cheerful colors—think yellows, pinks, or blues—along with fun patterns or balloons. Weddings lean toward softer tones, pastels, or elegant metallics like gold or silver. For a photo shoot, neutrality or a subtle pop of color might work better, depending on the subject’s style and the mood you want to capture.
Sometimes the event’s décor or dress code gives you clues. Other times, you might want the backdrop to stand out on its own or subtly enhance the scene. What about seasonal themes? Autumn with its warm oranges and browns, or winter whites? Don’t be afraid to mix traditional choices with a personal twist—you might find that unexpected combos bring more life to the photos.
Measuring and Setting Backdrop Size
Size matters more than you might guess. Before cutting or assembling anything, measure your space carefully. How much room do you have behind the subject? Will people stand close or further back? Camera angles also play a role; for example, shooting from a low angle may require a taller backdrop to avoid unwanted ceilings or walls creeping in.
Here’s a quick guide to size planning:
- Measure the width of your shooting area — the backdrop should be at least as wide as the widest expected frame.
- Consider height — think about the tallest person or object to appear fully in front of the backdrop without gaps.
- Factor in extra space around the edges for framing and mounting.
Sometimes you’ll want a larger backdrop to allow for movement or multiple subjects, while other times something more compact works better, especially in confined spaces. It helps to visualize or even sketch the setup, imagining how the backdrop will fill the shot and interact with lighting.
Cutting and Assembling Your Backdrop
Safe and Precise Cutting Techniques
Cutting your materials carefully makes a big difference in the final look of your backdrop. When working with fabrics, scissors or rotary cutters work best, but you have to keep your fingers clear—sometimes it’s easy to get in a hurry and risk a nick. To avoid mistakes, measure twice and cut once; it’s tempting to speed through, but a slip can throw off your whole project. A straight edge or ruler can help guide cuts, especially on paper or cardboard, where jagged edges are much more noticeable.
When cutting cardboard, use a craft knife with a fresh blade and cut on a proper surface, like a cutting mat. It requires several gentle passes rather than one hard cut; otherwise, you might tear the material or hurt yourself. Don’t forget, slow and steady usually wins here. If you find the edges rough, a bit of sanding or trimming can soften the look. It’s a little extra step, but it pays off.
Joining and Fixing the Pieces
Once your pieces are cut, bringing them together is the next hurdle. There’s no one-size-fits-all method, so think about what materials you have on hand and how permanent you want the join to be. Tape is quick and clean for paper-based backdrops but might fail if the weight is high. Clear packing tape or double-sided tape can hide well, but remember, sticky residue can sometimes mess up delicate surfaces.
For fabric, sewing is an option, but if you want quicker results, fabric glue, or even a hot glue gun works. Though be careful—glue can soak through fabrics unpredictably. String or ribbon can also tie pieces together if you want to create a modular backdrop or something easy to take apart. Punch holes along edges for threading and adjust the tension to keep everything snug. It’s not fancy, but it holds well and gives you some flexibility.
Sometimes, combining methods gives better results. Tape and string, for instance, or glue with some pins to hold pieces while drying. You’ll probably try a few ways before figuring out what fits your style and materials best. It can feel a bit like trial and error, but that’s part of the fun—don’t rush it.
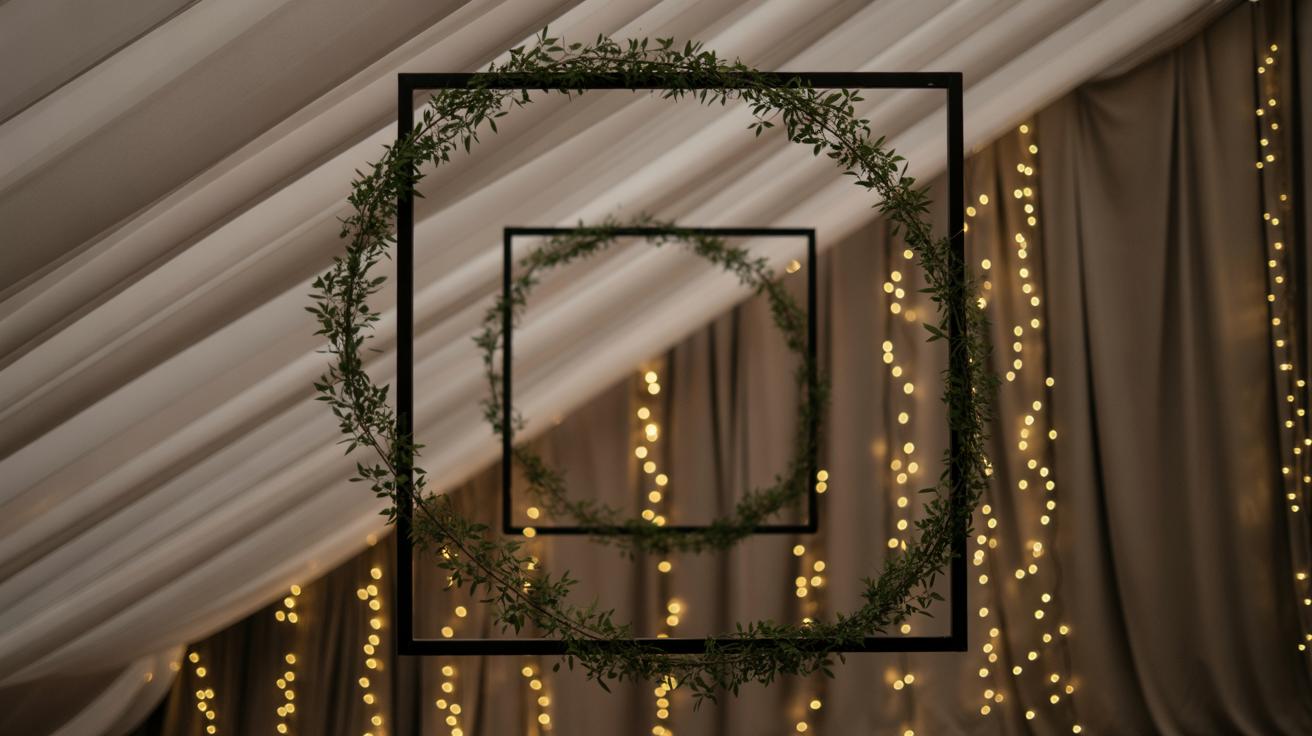
Adding Texture and Layers for Impact
Texture and layers bring your backdrop to life. Without them, even the best colors can seem flat or dull. You might think that just hanging a piece of fabric or sticking some paper to the wall is enough, but adding dimensional elements can totally change the energy of your setup. For example, folding or gathering fabric creates subtle shadows and highlights that catch the eye.
Using Fabric to Create Texture
Try draping fabric loosely rather than stretching it tight. Gentle folds and gathers add depth and interest, almost like a quiet pattern. You could pin or clip different sections so the fabric bunches naturally—that way, you’re not forcing perfect lines. Wrinkled textures don’t always look messy; sometimes they feel more organic and inviting.
Also, layering fabrics of different weights or colors works well. Sheer tulle over a solid cotton, for instance, breaks monotony. Play around with lengths too; some pieces hanging lower than others make the backdrop feel less static.
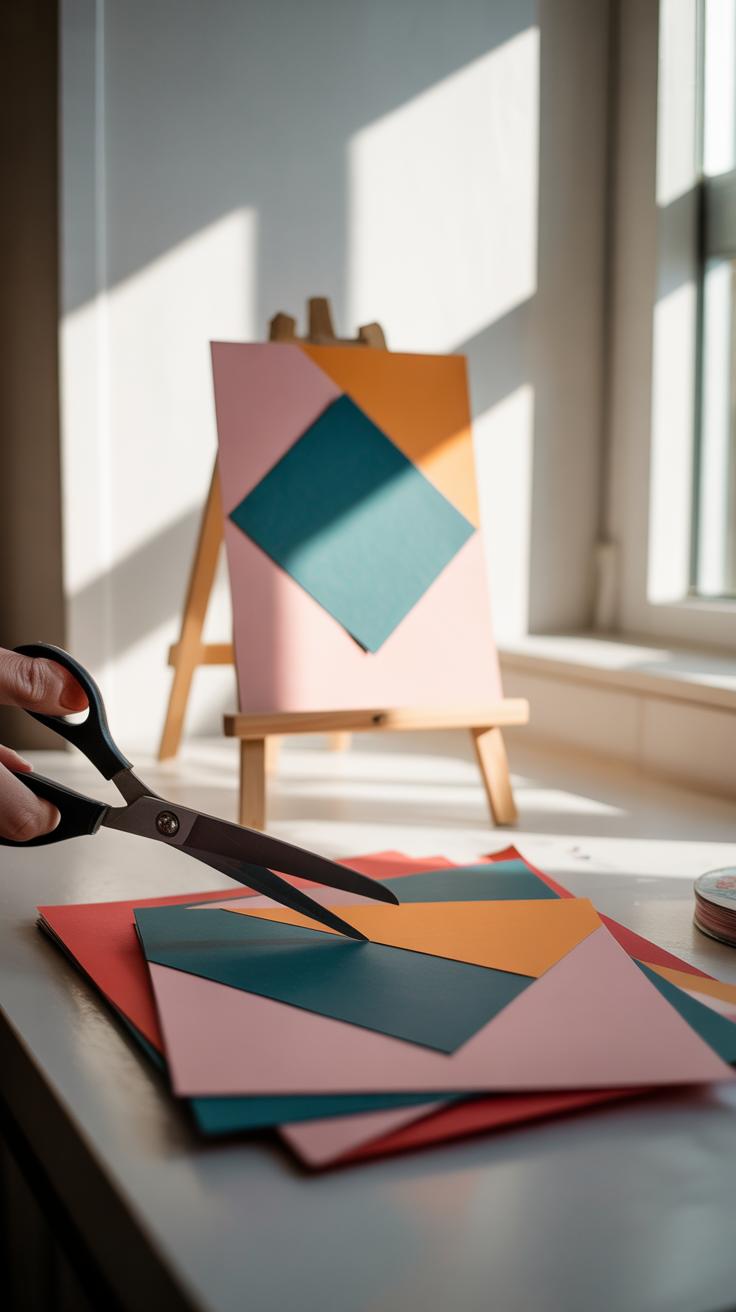
Layering Paper and Balloon Elements
Paper cutouts, like leaves or geometric shapes, stacked on top of one another, create a subtle 3D effect. Try attaching a few cutouts with foam tape or small folded paper tabs. This lets parts of them lift off the background softly. Overlapping shapes with varying sizes can add rhythm or flow, drawing attention without shouting.
Balloons offer a playful way to introduce layers. Mix different sizes, cluster some closely, and let others float away from the center. You don’t have to craft a perfect balloon wall; slight randomness adds charm and makes the backdrop less predictable.
Have you thought about mixing these materials? A few fabric folds behind layered paper or balloons can create a nice contrast between soft textures and firmer shapes. It might feel like too much at first, but the careful combination often ends up richer than expected.
Lighting and Photography Tips for Your Backdrop
Using Natural and Artificial Light
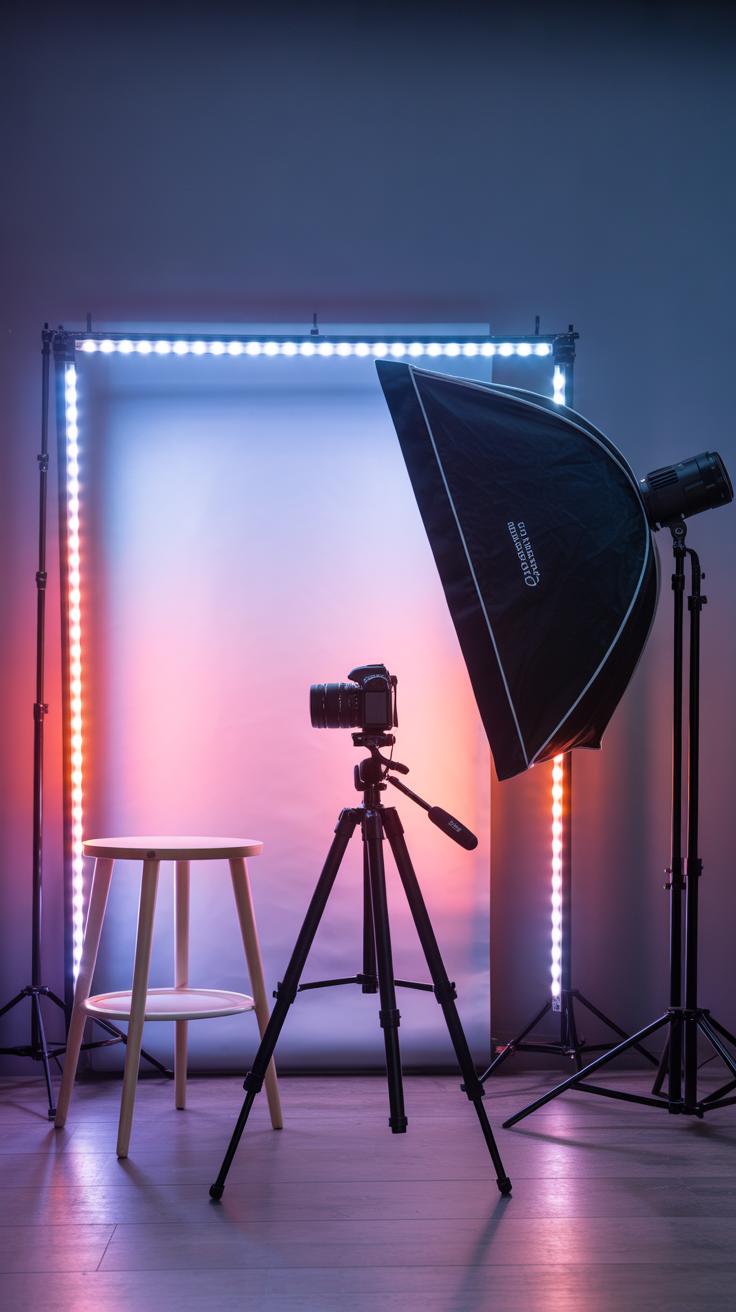
Lighting can change everything about how your backdrop looks in photos or during an event. Natural light is often the easiest to work with and gives a soft, even glow. If you have a window nearby, try positioning your backdrop so sunlight falls on it—but watch for harsh shadows or bright spots that can distract.
When natural light is limited, simple lamps can help. A desk lamp or string lights placed thoughtfully can add warmth or highlight textures you’ve created. Think about layering your lighting sources—maybe a main lamp plus some smaller ones—to create depth. Sometimes, dims or colored bulbs add a cool effect, but be cautious not to overpower your backdrop’s details.
Positioning for Best Photos
How you place the backdrop and your subjects makes a big difference. Ideally, the backdrop should be a few feet behind the person or object you’re photographing. Too close, and shadows ruin the effect; too far, and the backdrop loses its impact. Try moving your subject side to side, or adjusting camera angles, to find the most flattering light and framing.
Also, think about the height of your backdrop. If it’s too low or too tall for your subject, the photo might feel off. Sometimes you’ll find a slight tilt or off-center placement actually works better, breaking the monotony of a straight-on shot. Don’t hesitate to move things around. It’s a bit of trial and error, but often what looks great in person needs tweaking for the camera.
BudgetFriendly Tips for DIY Backdrops
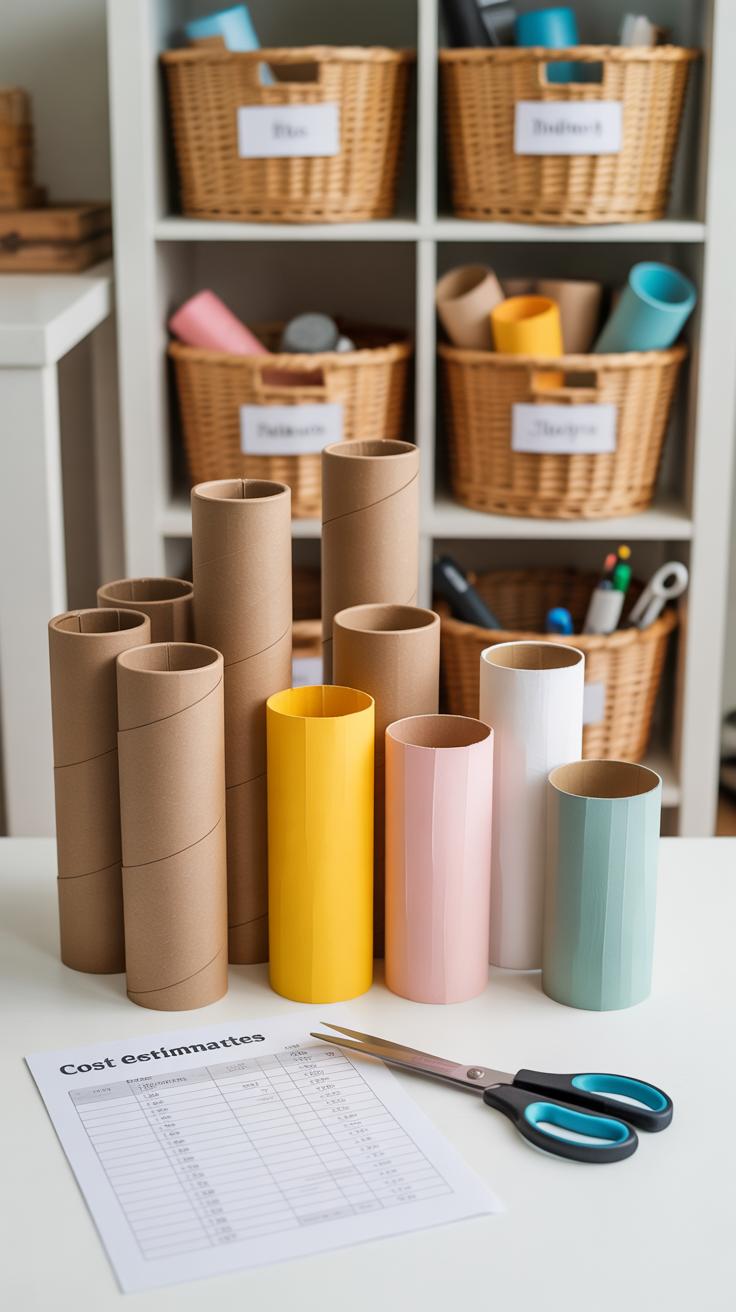
Keeping costs down when making your own backdrop doesn’t mean you have to settle for something dull or low quality. It’s really about being a bit creative and resourceful. For example, think about what you already have around the house. An old bedsheet or tablecloth can serve as a canvas for painting or dyeing. Sometimes a simple sheet with some fabric paint or markers gives surprisingly good results. You might hesitate to use magazines or newspapers, but layering pages with bright colors or patterns can create an unexpected, textured backdrop.
When it comes to buying materials, timing and planning make a big difference. Waiting for sales or buying in bulk can save more than you expect. I’ve found that crafting stores often mark down their supplies after holidays or seasonal events. If you buy without a plan or rush to fix something last minute, you’ll probably spend more on quick fixes. So making a list, sketching ideas beforehand, and shopping early helps avoid those expensive, impulsive purchases.
Sometimes, mixing these ideas helps. Maybe you borrow some fabric from a thrift store but add personal touches with paint or decorations you already own. The trick is to balance what you can reuse with small, smart purchases. Then you end up with a backdrop that looks great and didn’t drain your wallet—not bad, right?
Maintaining and Storing Your DIY Backdrop
Taking care of your DIY backdrop can extend its life far beyond its first use. I’ve sometimes neglected small stains or wrinkles, and later regretted it when the colors looked faded or the fabric became damaged. So, it’s really about addressing things early before they spiral out of control.
Cleaning Tips for Different Materials
Different backdrop materials need different handling. For fabric backdrops, washing gently by hand or using a delicate cycle with mild detergent often works best. You can air dry to avoid shrinking, though sometimes a quick low-heat iron helps smooth out wrinkles. Paper parts are more delicate—you want to avoid water or rubbing, so spot-clean with a soft dry cloth or a gentle eraser for small smudges. Plastic elements can usually be wiped down with a damp cloth. Sometimes they hold onto dust or fingerprints surprisingly well, so a microfiber cloth works wonders without scratching.
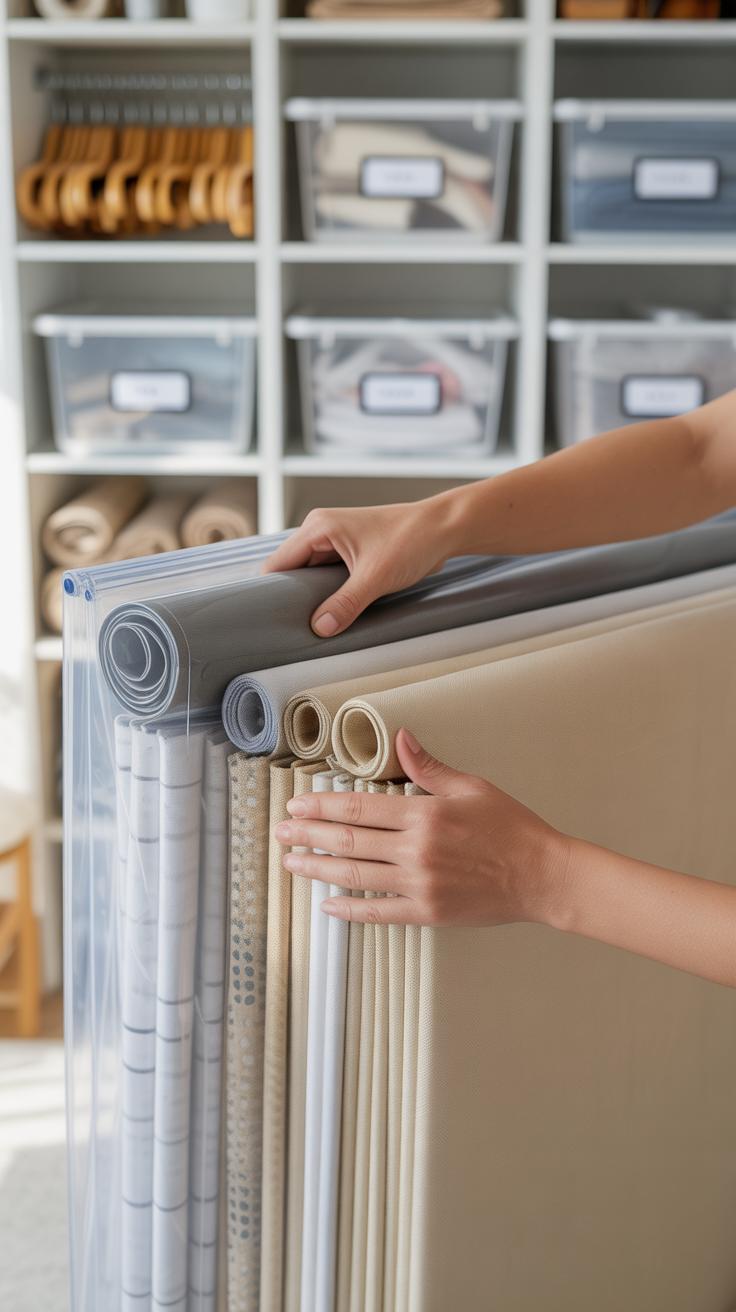
Best Practices for Safe Storage
Storing your backdrop properly can save you headaches later. Fabrics, for example, do better when folded loosely or rolled, depending on size, to avoid permanent creases. Paper backdrops almost always do better rolled rather than folded, unless they’re small enough to fit flat without curling. And plastic pieces? Flat storage is best if you can manage it, but rolling is okay if you don’t crease them. Whatever the material, keep your backdrop somewhere dry and away from direct sunlight, which can fade colors or weaken fibers over time. A large plastic bin or a sturdy cardboard tube can be your friend here. You might think folding always works, but sometimes rolls prevent the permanent lines that ruin the look.
Creative Ideas to Customize Your DIY Backdrop
When making your own backdrop, there’s a lot to gain by leaning into themes that reflect the occasion or mood. You might try seasonal looks—think soft autumn leaves for a cozy vibe or bright florals in spring. Party backdrops are fun too, with balloons, streamers, or even handmade paper rosettes creating bursts of energy. Nature-inspired themes bring something calming, like greenery, wood textures, or beach motifs, depending on what catches your eye—or your imagination.
Personal touches matter. Adding names or messages can turn a simple backdrop into something memorable. For example, cutting out large letters from cardstock spelling out a name, or painting a greeting directly onto fabric, can make the setting feel intimate and deliberate. You might wonder if a handwritten look works better than printed letters; honestly, sometimes the imperfect edges add charm. Don’t hesitate to mix fonts or colors, as long as they’re readable from a distance.
These custom details also raise a question: should the backdrop be reusable or a one-time surprise? You’ll find that some designs are easy to refresh with new phrases or decorations, while others lean toward permanence. Balancing between reusability and uniqueness makes each backdrop feel just right for the moment—whether it’s a birthday, a quiet dinner, or maybe even a virtual event background.
Conclusions
Crafting your own backdrop is rewarding and practical. Using simple materials and following clear steps can help you build a backdrop that suits your needs and style. You have learned how to select materials, plan designs, and assemble your projects with confidence.
Now, you can take these easy DIY backdrop ideas and bring them to life in your home. Enjoy the satisfaction of creating a space that reflects your creativity and complements your events or photos perfectly.