Introduction
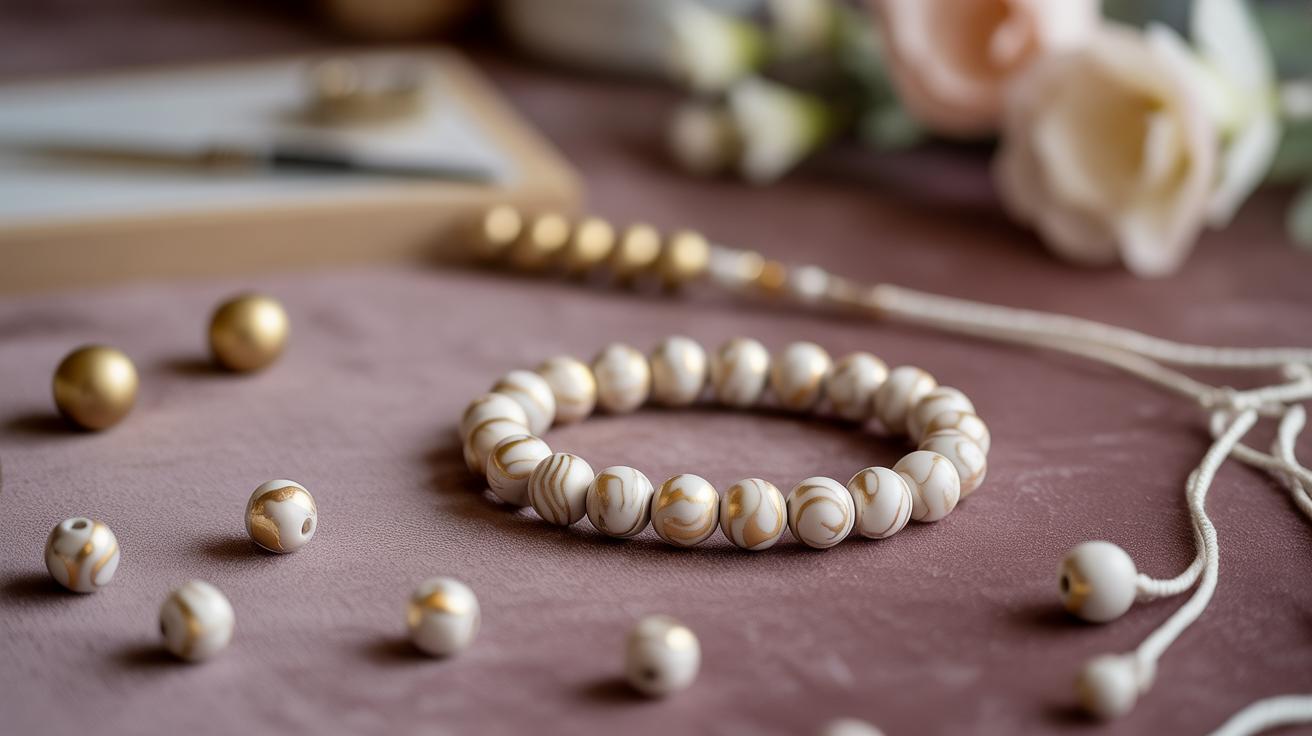
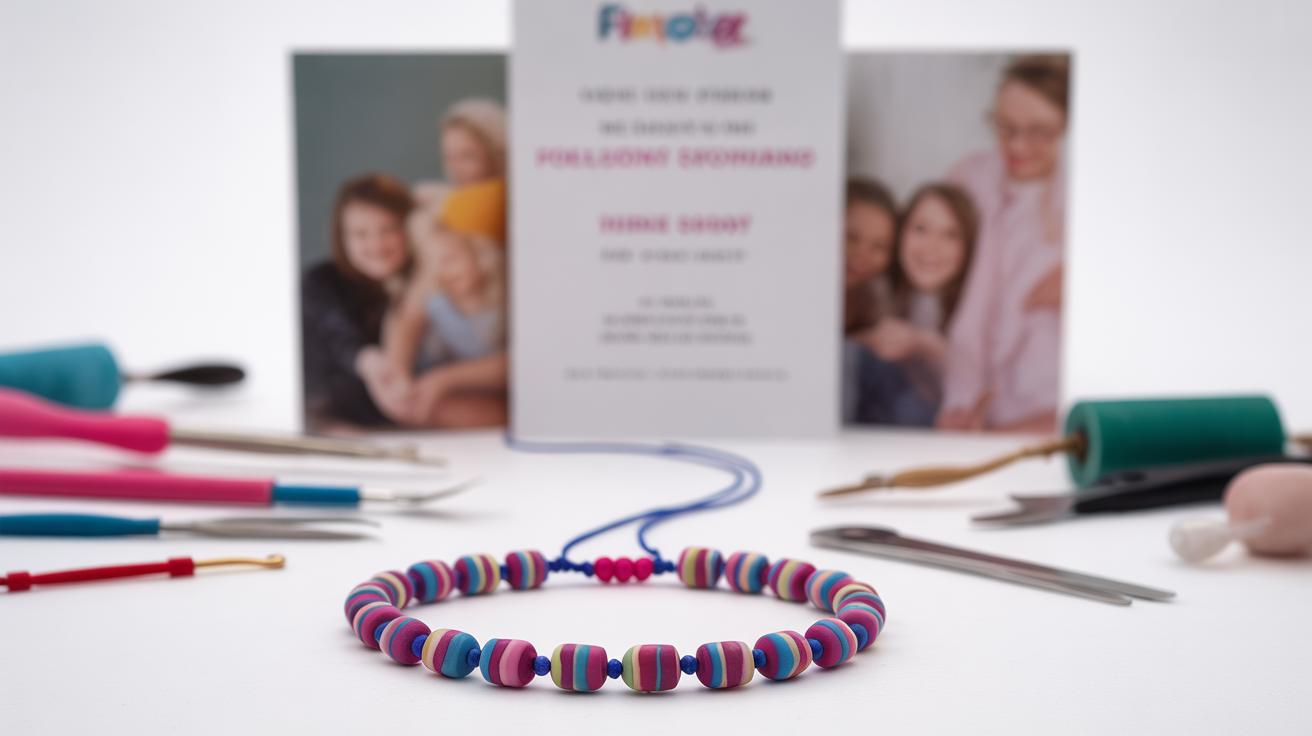
Making clay beads opens a new world for your handmade jewelry projects. Clay beads add a personal and elegant touch to accessories like necklaces, bracelets, and earrings. This guide will introduce you to the essential steps and tips to create your own clay beads right at home.
You will learn about the materials, tools, and techniques needed to shape, decorate, and finish clay beads. Whether you are a beginner or have tried bead making before, this article provides practical advice to help your jewelry stand out with unique clay beads.
Choosing the Right Clay for Beads
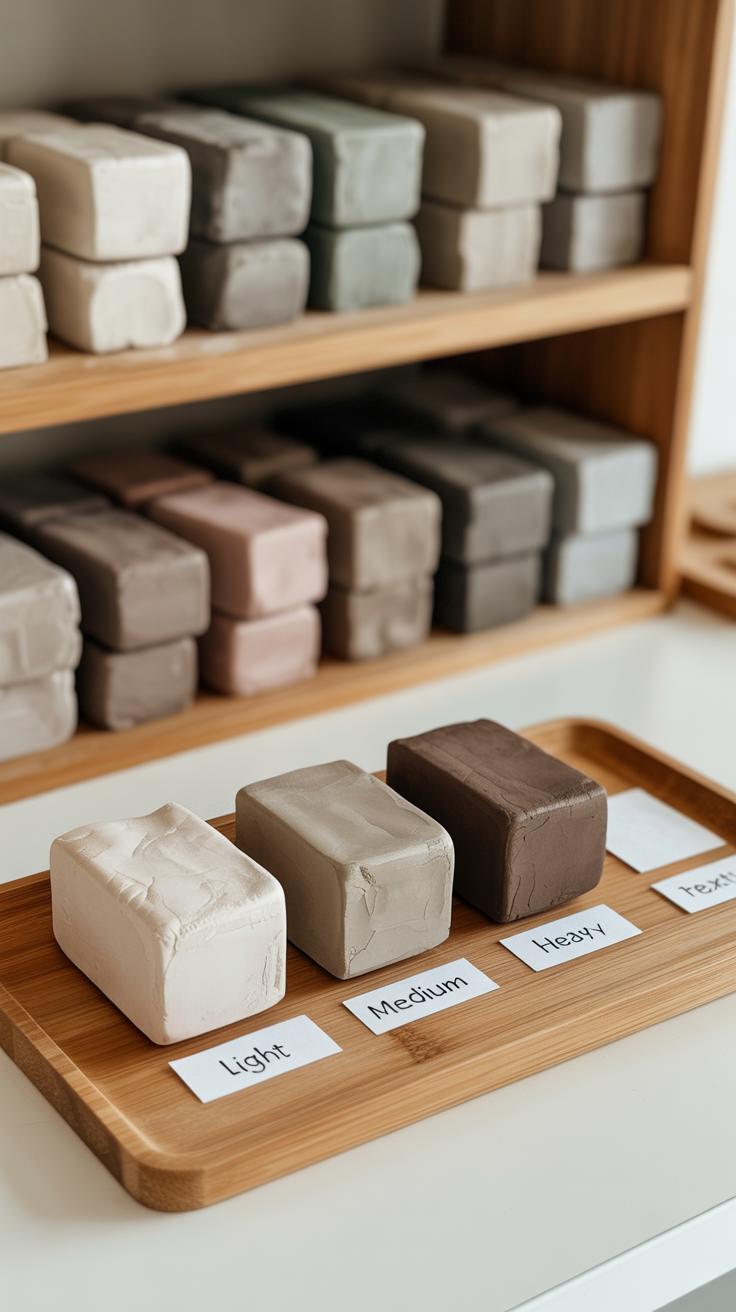
When it comes to making clay beads, the choice of clay matters more than you might think. Among the most common are polymer clay, air dry clay, and ceramic clay. Each offers distinct advantages and challenges depending on your experience level and the style you want to achieve.
Polymer clay is often the go-to for beginners and hobbyists. It’s easy to shape, comes in an array of colors, and hardens in a home oven. Air dry clay, on the other hand, works without baking, drying simply by exposure to air, which can be convenient but less durable if you’re not careful. Ceramic clay demands more skills—it must be fired in a kiln, offering exquisite results but isn’t typical for casual bead makers.
If you’re just starting out, polymer clay likely fits best. It offers control, flexibility, and a forgiving process without the need for special equipment. Meanwhile, air dry clay could be a quick, less technical alternative if you want something simple and fast. Ceramic clay might feel intimidating at first, so keep it on your radar for later projects, perhaps once you become more invested in the craft.
Properties of Polymer Clay
Polymer clay is a synthetic modeling material composed mainly of PVC particles mixed with plasticizers. You work with it soft and pliable, shaping your beads as you like. One big reason it’s so popular is the convenience—it cures in a regular oven at temperatures around 265°F to 275°F (130°C), transforming from soft clay into solid, durable beads.
Its color palette is vast, ranging from bold primaries to translucent and even metallic finishes. Plus, you can mix colors to create custom shades or add surface details before baking. It’s a bit magical how this soft material turns firm overnight.
Still, baking requires attention. The oven temperature and time matter—you don’t want to overbake and risk burns or brittleness. I’ve experienced that mess once, and it wasn’t pretty. So, patience is key. The versatility combined with relatively simple curing makes polymer clay hard to beat for bead makers at any level.
Using Air Dry Clay for Beads
Air dry clay is another option that intrigues many beginners. You don’t need an oven or kiln—just shape your beads and leave them out to dry. This simplicity appeals if you lack baking gear or want a quick setup.
However, the finish tends to be less durable than baked clay, often softer and susceptible to moisture or breakage if not sealed properly. Still, air dry clay allows you to explore bead shapes with fewer constraints. It dries usually within 24 hours but shrinkage can alter bead size a little, which you need to anticipate.
Compared to polymer clay, air dry is less flexible with colors—you usually have to paint beads after drying. The texture can feel grainier or chalkier rather than smooth. Sometimes, that roughness can add charm, but it might frustrate those after a polished look.
In the end, air dry clay is handy for quick experiments and less permanent projects, while polymer clay’s strength and color range keep it favored for more polished, durable pieces. Which path you choose can depend on your goals, patience, and available tools. Or simply what you want to try first.
Essential Tools and Materials
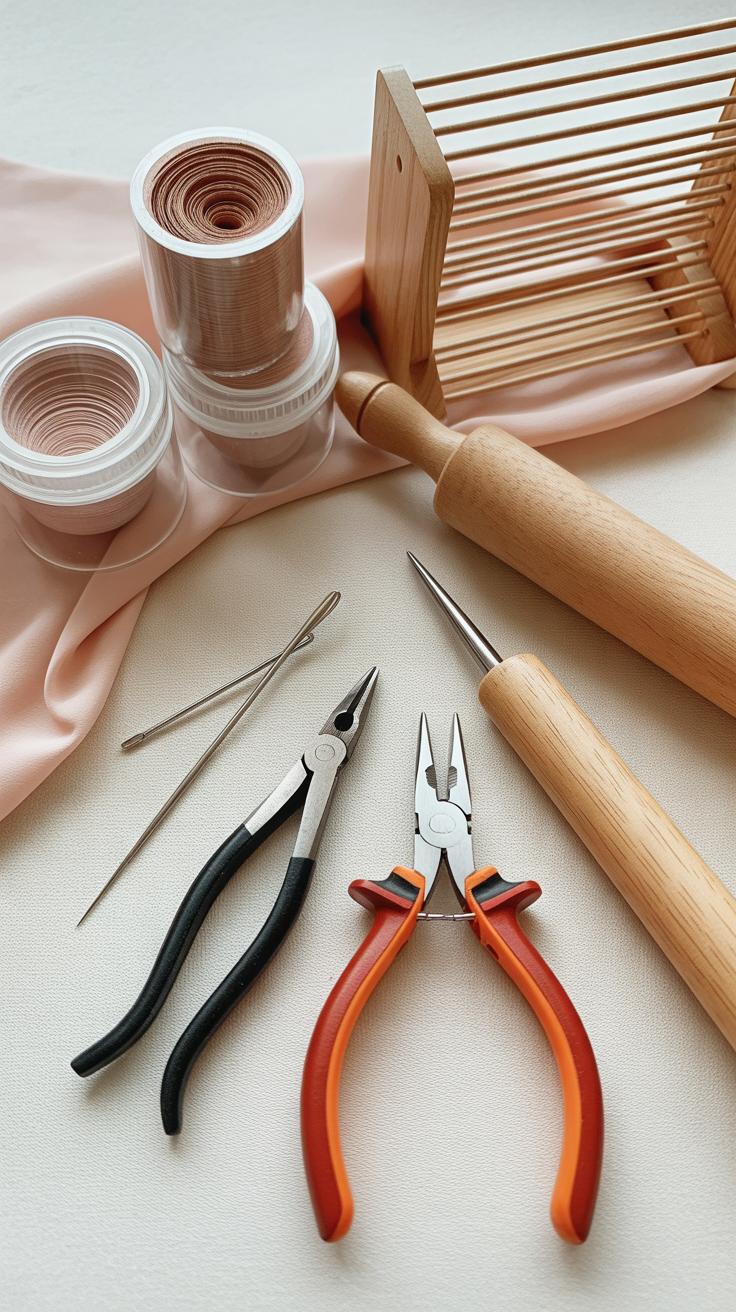
To make clay beads, you don’t need an overwhelming set of supplies. Still, having the right basic tools makes a huge difference, especially when you’re starting out and figuring things out. At the very least, you’ll want sculpting tools, something to roll your clay flat or cylindrical, a way to bake or cure the beads, and some finishing items to complete your pieces.
A few essentials to keep on hand:
- Sculpting tools: Basic sets often include small blades, needles, and shaping sticks.
- Rolling tools: A simple acrylic roller or even a smooth bottle works well to flatten or roll out clay evenly.
- Baking supplies: An oven thermometer can help, especially for polymer clay, where correct temperature matters.
- Finishing items: Sandpaper, gloss varnishes, or matte finishes help give beads that polished look.
Beyond these, you might think about a clean workspace, a nonstick surface like a tile or glass sheet, and some containers to keep small beads organized.
Must-Have Sculpting Tools
Shaping and texturing clay beads calls for a few specific tools. Needles are handy for making holes or fine details. Blades—something sharp but manageable—help slice clay and trim edges precisely. Texture stamps or even just household items like fabric and lace can create patterns. I’ve often found that even simple toothpicks or paper clips step in as great sculpting aids when you don’t have fancy tools around.
The key is having variety, but also knowing which tools let you handle fine detail without ruining the bead’s shape. In my experience, a combination of needle tools and small blades cover most needs when working with beads under 1 inch.
Helpful Extras for Decorating Beads
Once you have your beads shaped, it’s tempting to add color and shine. Acrylic paints are a frequent choice—they sit nicely on cured polymer and dry quickly. Glazes, either store-bought or special polymer clay varnishes, protect your beads and make them pop.
Metal findings like eye pins, jump rings, or bead caps aren’t necessary for making beads but open endless jewelry possibilities. You may even enjoy experimenting with mica powders or chalk pastels to add subtle shimmer without heavy paint layers. Remember, sometimes less is more when it comes to bead decoration, but the chance to mix techniques often leads to unexpected results.
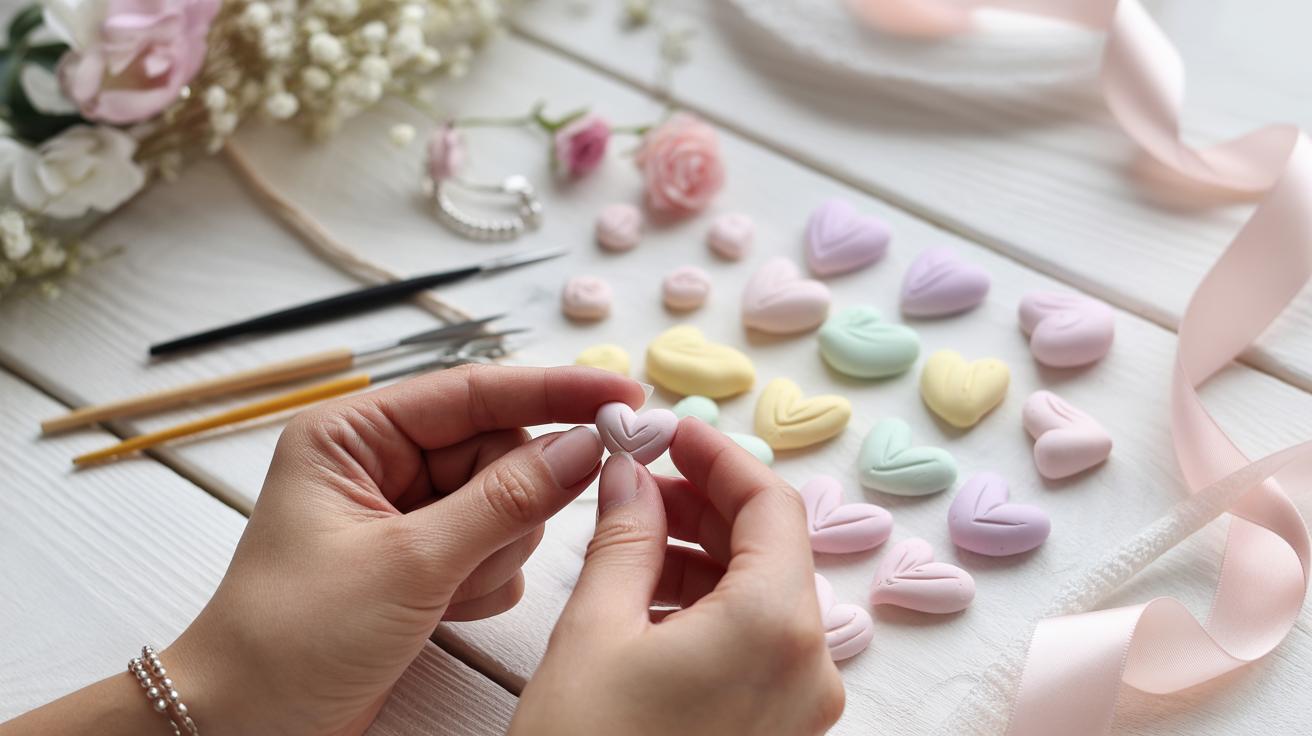
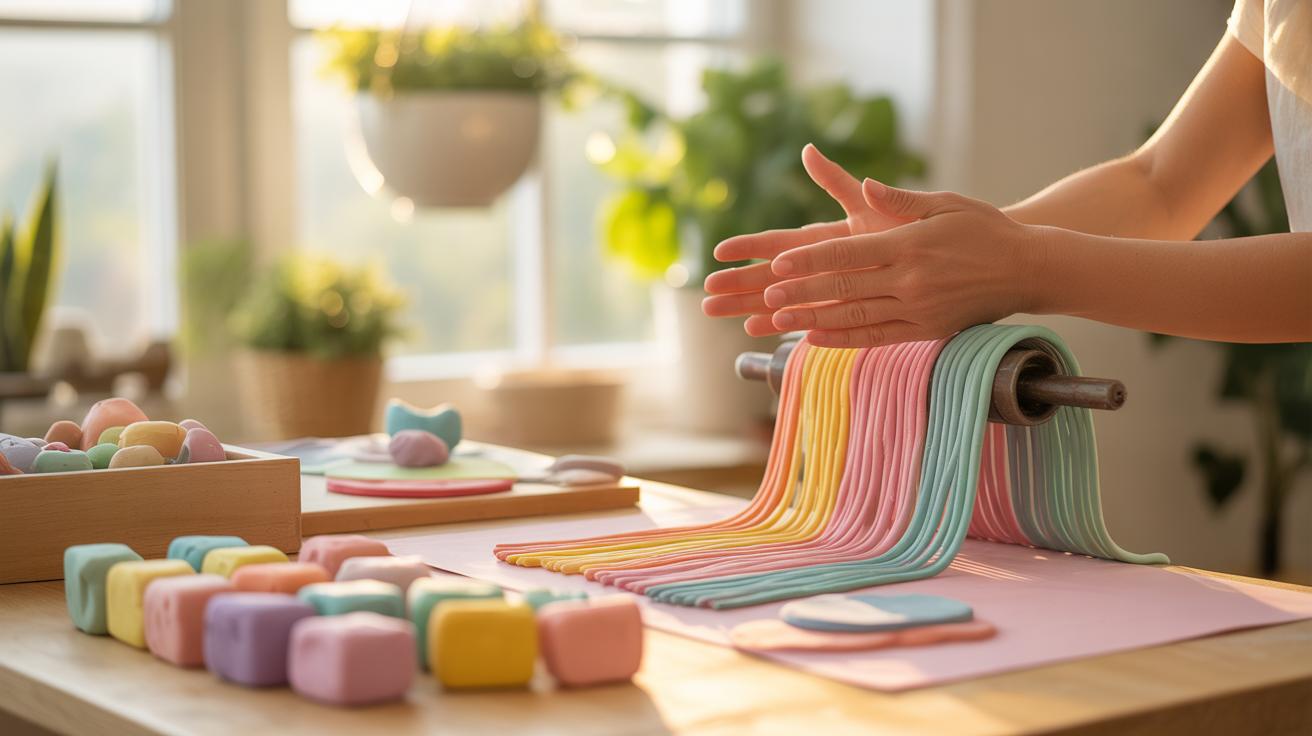
Basic Techniques to Shape Clay Beads
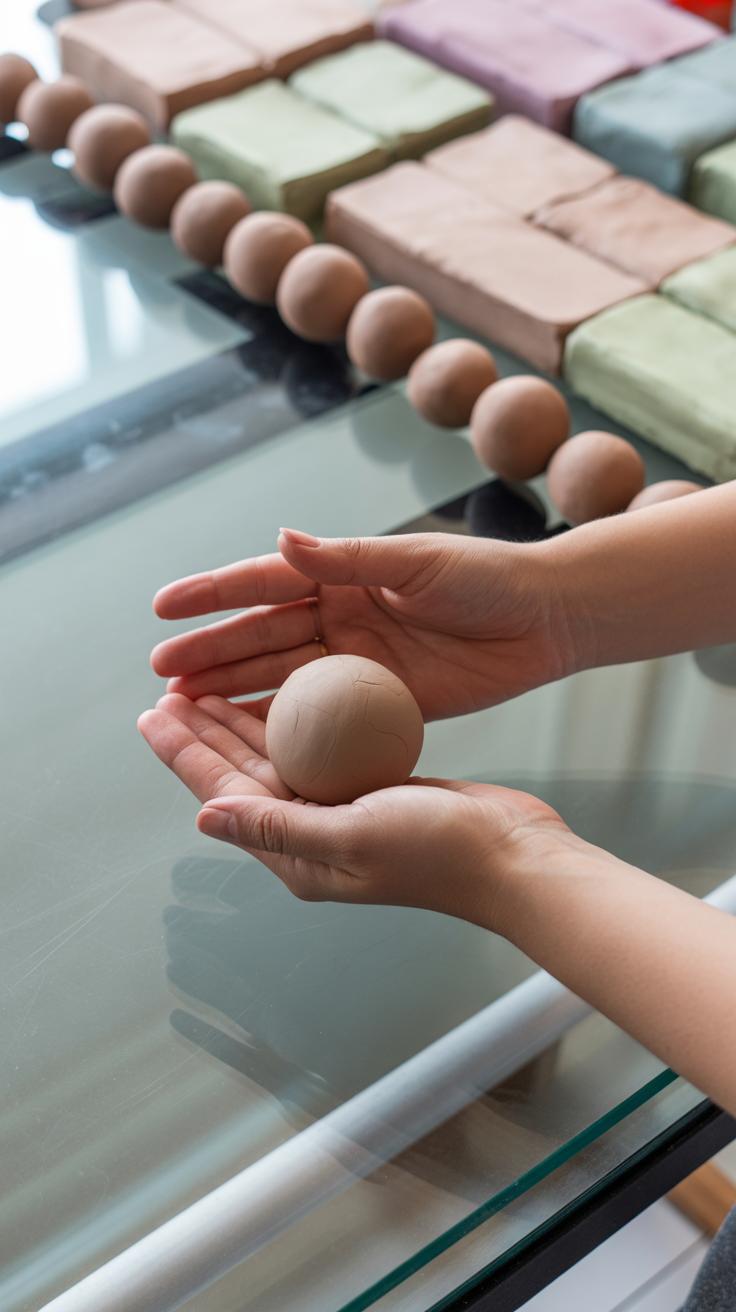
When working with clay beads, the simplest shapes often form the best foundation. Rolling clay into balls is the starting point for many designs. Take a small piece of clay and gently roll it between your palms. This back-and-forth motion helps smooth out any cracks or uneven surfaces. I found that sometimes, if you press too hard, the bead loses its round shape. So, it’s a bit of a balance—firm but gentle.
Flattening clay is straightforward too. You can use your fingers or a small roller to press the clay down evenly. This creates flat discs or oval shapes that can add variety to your jewelry. Sometimes, flattening a bit too much results in thin beads that might break easier, so tapering attention on thickness can help.
Forming Round Beads
To get a truly smooth bead, keep rolling it between your palms until the surface feels uniform. It might take a minute or two, and that’s fine—patience pays off here. If you notice dents or small cracks, just gently reshape and keep going. The goal is a bead that looks almost perfect before baking. Personally, I often check my beads under light to catch little imperfections that aren’t obvious at first.
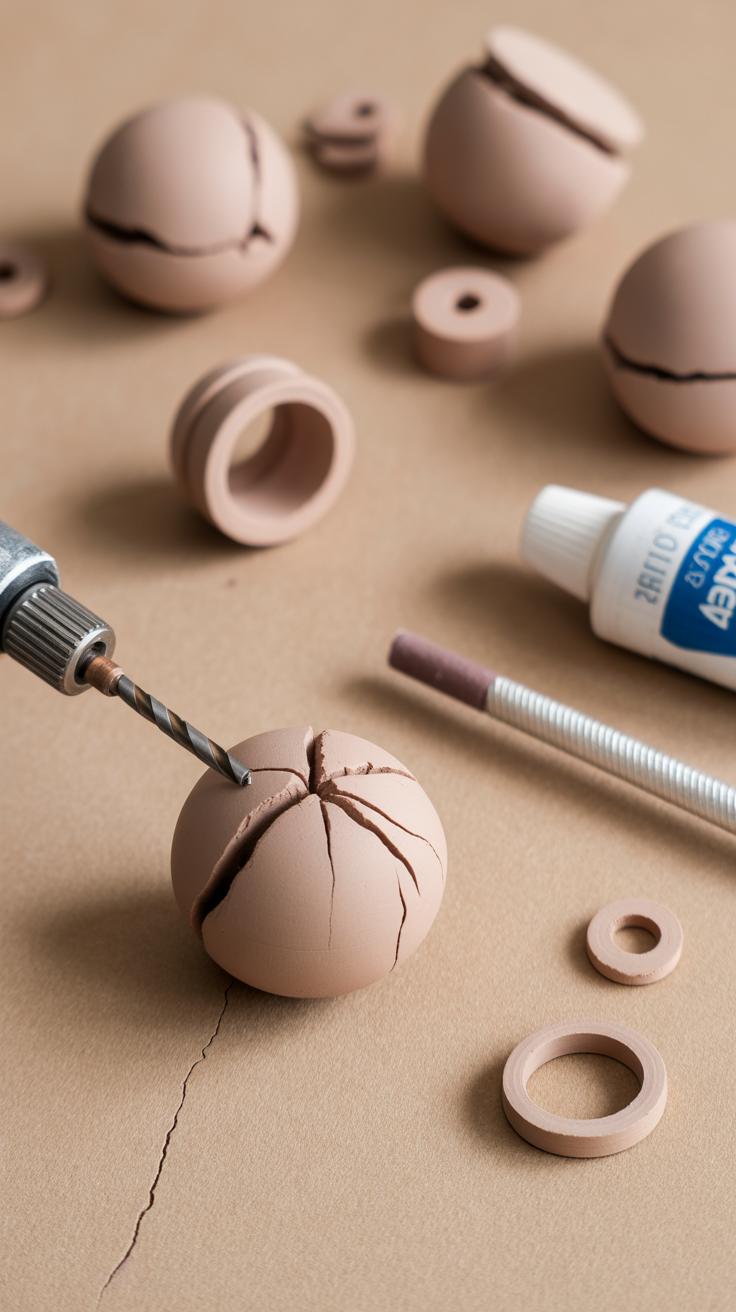
Making Hole in Beads for Stringing
Creating a hole for stringing is simple but critical. Before the bead hardens, use a needle, toothpick, or any sharp, thin tool to pierce the clay. Make sure the hole is wide enough for your string or wire. If it’s too small, the string won’t pass through easily after baking. I tend to rotate the bead slowly as I pierce it, trying to keep the hole straight from one side to the other.
Sometimes the hole may shrink a little after baking; this depends on your clay type. So, it’s better to err on the larger side when making holes. Also, avoid making the holes too close to edges, or your beads might crack during handling or baking. Finding the right hole placement feels a bit trial and error at first, but you’ll get a feel for it soon enough.
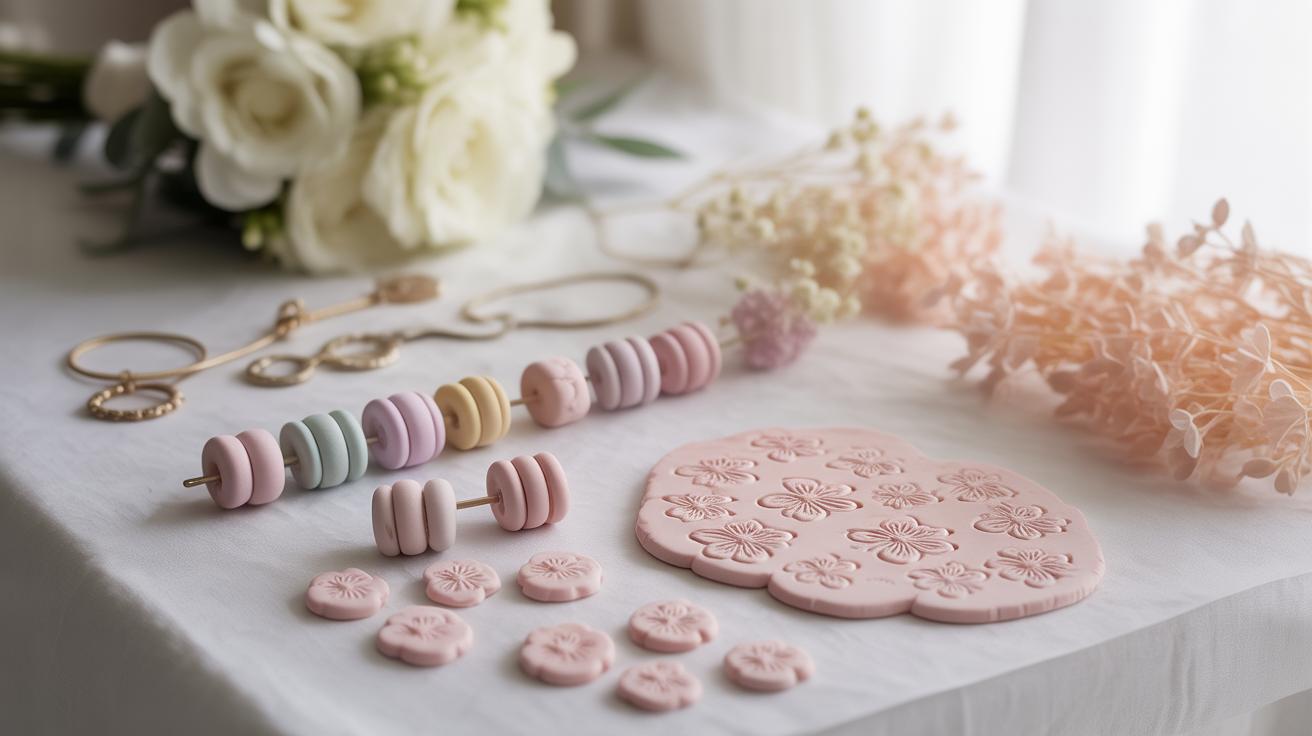
Advanced Shaping and Texturing Techniques
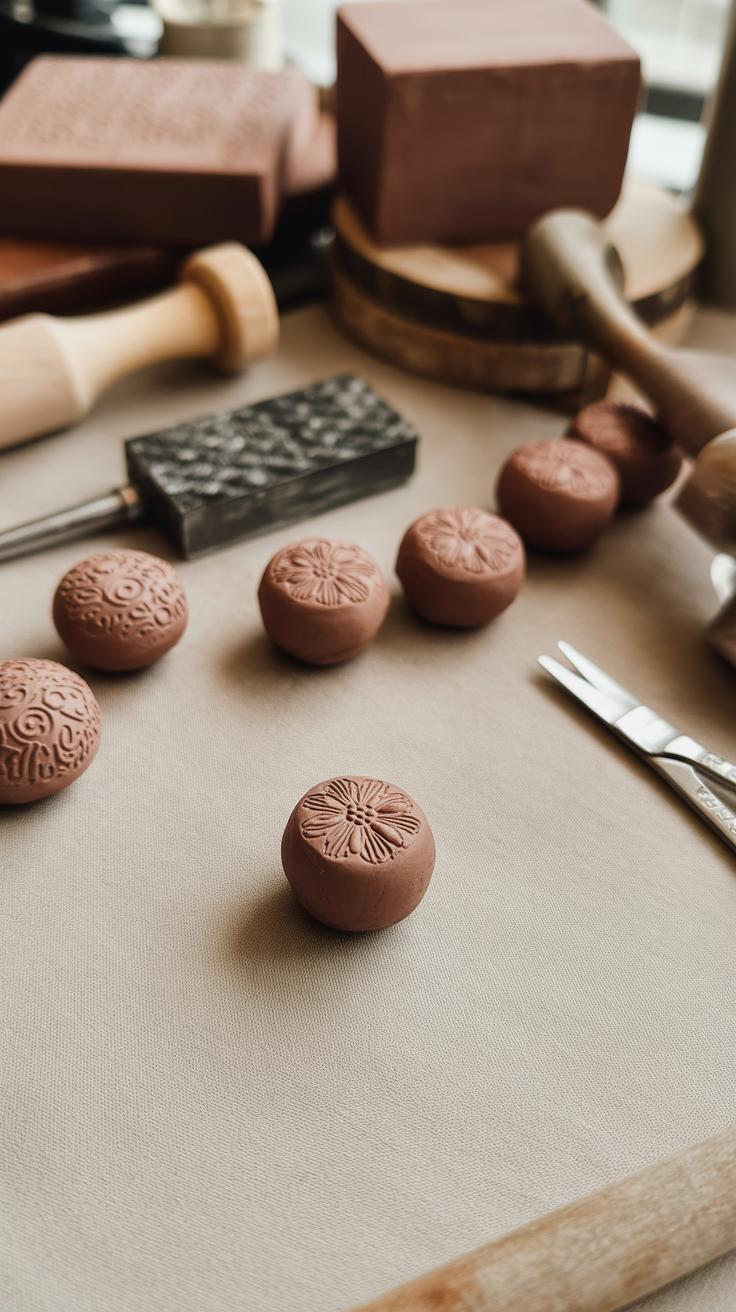
Once you’ve got the basics down, it’s time to explore ways to add a bit more character to your clay beads. Using molds or stamps can save you a lot of time when you need consistent shapes or want to introduce textures that are a bit tricky to do by hand. You can press clay into silicone molds to get neat, repeatable forms that look professional—even if your freehand skills are still developing. Stamps also work well for imprinting patterns that add subtle depth without overwhelming the bead’s shape.
Sometimes, I find myself mixing several colors of clay to get unexpected effects. You might think blending colors would be straightforward, but achieving a marbled look takes a bit of trial. Gently rolling or twisting different clays together before shaping can produce swirls that look like stone or glass. Layering thin slices of varied colors creates stripes or waves that peek through when you carve or flatten the bead. Playing with color combinations is almost like experimenting—some results surprise you, and others, well, less so.
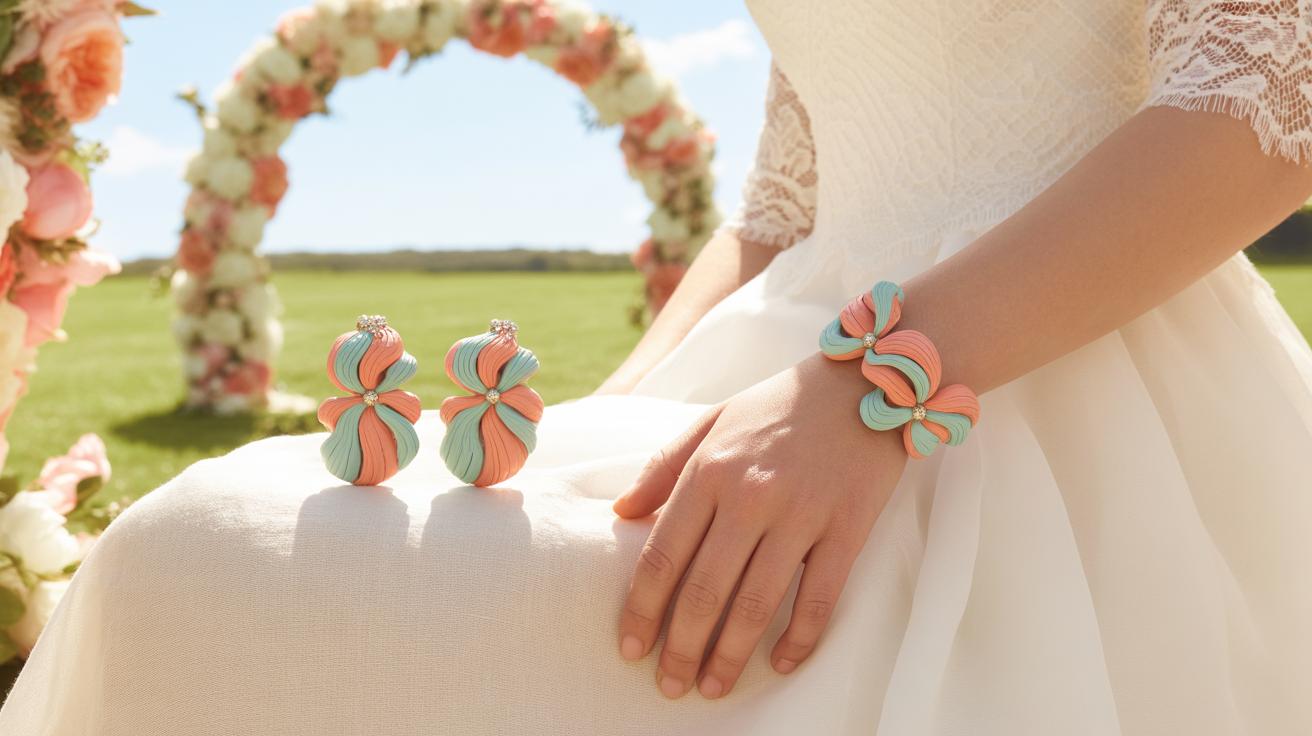
Try combining these techniques. For example, you can press marbled clay into a mold or carve into layered beads to highlight contrasts. It’s worth asking yourself how texture and color can work together rather than separately. What happens if you stamp on a marble bead? Does the pattern enhance or distract? Sometimes, mixing methods feels like a bit of a gamble, but that’s part of the charm here.
Baking and Drying Your Clay Beads
When it comes to hardening your clay beads, the method depends on the type of clay you’re using. Polymer clay beads need baking, while air dry clay beads cure naturally over time. Getting this step right is essential to avoid cracks or warping later on—something I’ve bumped into more than once.
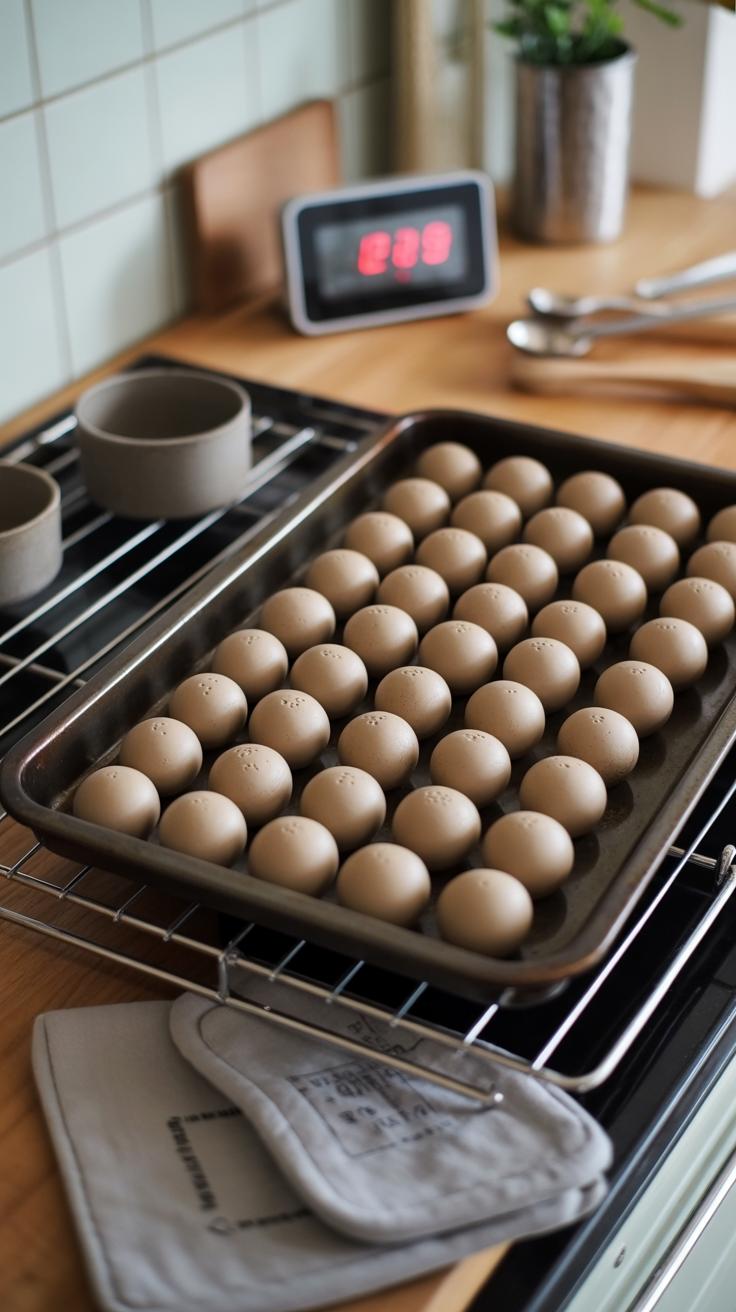
Safe Baking Temperatures and Times
Polymer clay usually requires a low, steady heat. Most brands suggest baking at around 265°F to 275°F (130°C) for 15 to 30 minutes per 1/4 inch of thickness. Thicker beads need more time, but watch out: too high a temperature or too long can cause browning or cracking. An oven thermometer can save you here—ovens aren’t always accurate.
To prevent any damage, bake your beads on a ceramic tile or parchment paper, not directly on a metal tray. You can tent foil over them loosely to keep heat gentle if you’re nervous about over-baking. Let beads cool slowly inside the oven to avoid sudden temperature changes that might crack them.
Air Dry Clay Curing Tips
Air dry clay beads don’t need baking, but patience is critical. Let them dry on a smooth, non-stick surface like wax paper or glass to minimize sticking and uneven drying. Also, try to keep the beads spaced out to allow airflow around each one.
Humidity levels influence drying time a lot. High humidity can stretch drying to days, even weeks, while a dry environment speeds it up—but too fast drying can cause tiny cracks. So, aim for a moderate environment or gently rotate beads every day to promote even curing. In my experience, covering beads loosely with breathable fabric helps keep moisture balanced throughout the drying process.
Decorating and Finishing Clay Beads
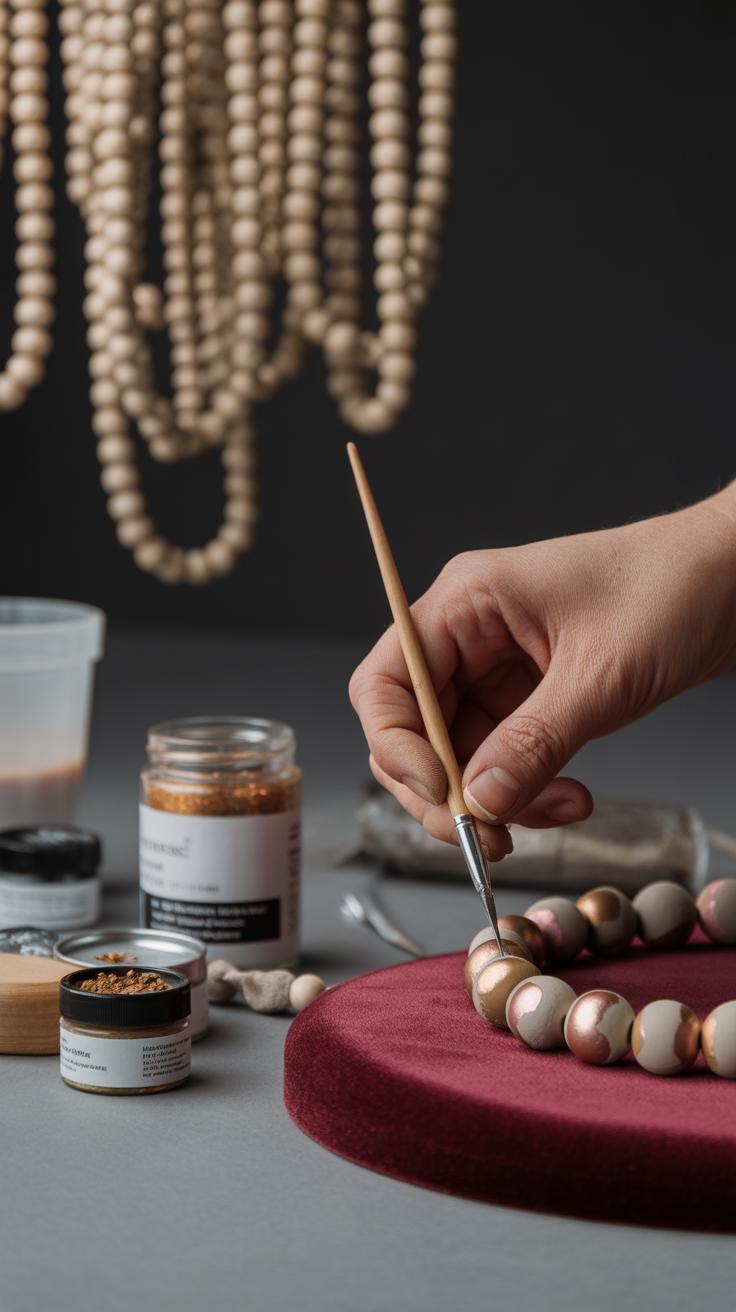
Once your clay beads are baked or dried, the next step is to bring them to life with decoration and finishing. Painting is one of the most straightforward ways to add personality. Acrylic paints work well—you’ll find they adhere nicely to polymer and air-dry clays. Some prefer using watercolor or oil-based paints, but those might not last as long on beads that wear and tear.
Glazing is another option you might consider. It’s not just about shine; glazes can create a subtle depth or a protective layer that shields your beads from scuffs. There are glossy and matte finishes, so choosing one depends on the style you’re aiming for. Sometimes, a glossy glaze makes the colors pop, but it might also highlight imperfections you didn’t notice before.

Sealing your beads is perhaps the most crucial step if you want your jewelry to last. You can use spray sealants or brush-on varnish. Look for something that’s clear, durable, and flexible enough to handle everyday wear. I once skipped sealing on a few beads and they started fading right after a few uses, which was frustrating. A good sealant also prevents chipping, especially with painted beads. It’s not always obvious which sealant will work best until you try a few, so don’t hesitate to experiment until you find the mix that fits your work.
Stringing and Assembling Your Jewelry
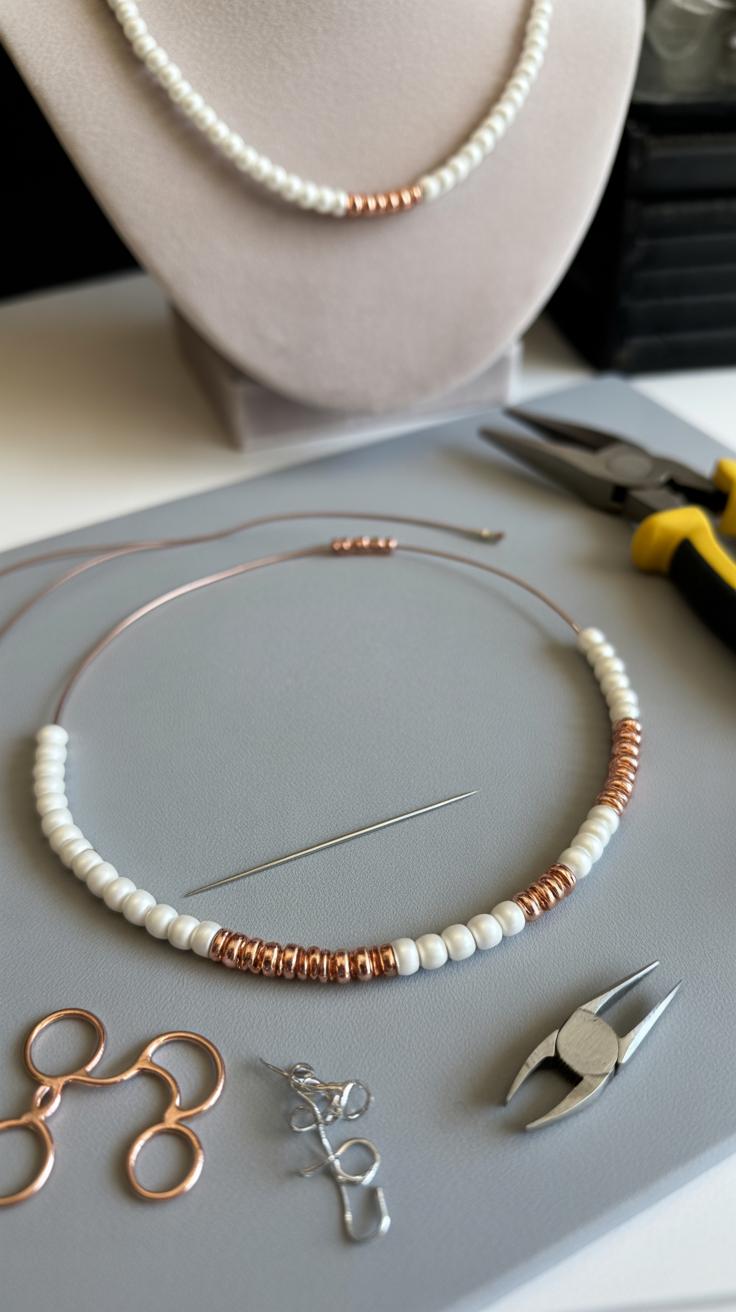
Once your clay beads are ready, it’s time to bring them to life in your jewelry. Stringing clay beads isn’t much different than other beads, but a bit of care pays off. You want to avoid too much strain on your beads—some clay beads can be delicate depending on how thin or intricate they are. Think about the weight too. Thicker wire or cord can support heavier beads better.
There are a few stringing options worth considering:
- Beading wire: Great for necklaces and bracelets that need structure and durability. It bends but holds its shape well.
- Elastic cord: Ideal for stretch bracelets. It’s easy, but might wear out after a while, especially with heavier beads.
- Thread or nylon cord: Works if you want a softer, more flexible feel. You might need to double it to add strength.
Personally, I often mix materials, like using a strong beading wire but finishing with a nylon thread for knots—just adds security and a better look. What feels best? Sometimes, it depends on the design or how often you expect to wear the piece.
Choosing Stringing Materials
Picking the right string or wire really narrows down to the bead size and hole diameter. Clay beads often have larger holes, so thicker cords fit easily, but… snagging threads on rough edges happens. So, smooth edges or pre-drilling might be helpful before stringing.
If your beads are heavier, you might skip elastic altogether to avoid snapping. On the other hand, elastic’s simplicity can’t be beat—just keep an eye on its longevity.
When I started, I underestimated the importance of matching the string to bead weight. A lightweight cotton thread wore out faster than I liked. Now, if I’m unsure, I do a small test pull just to see if the string can hold without fraying or breaking.
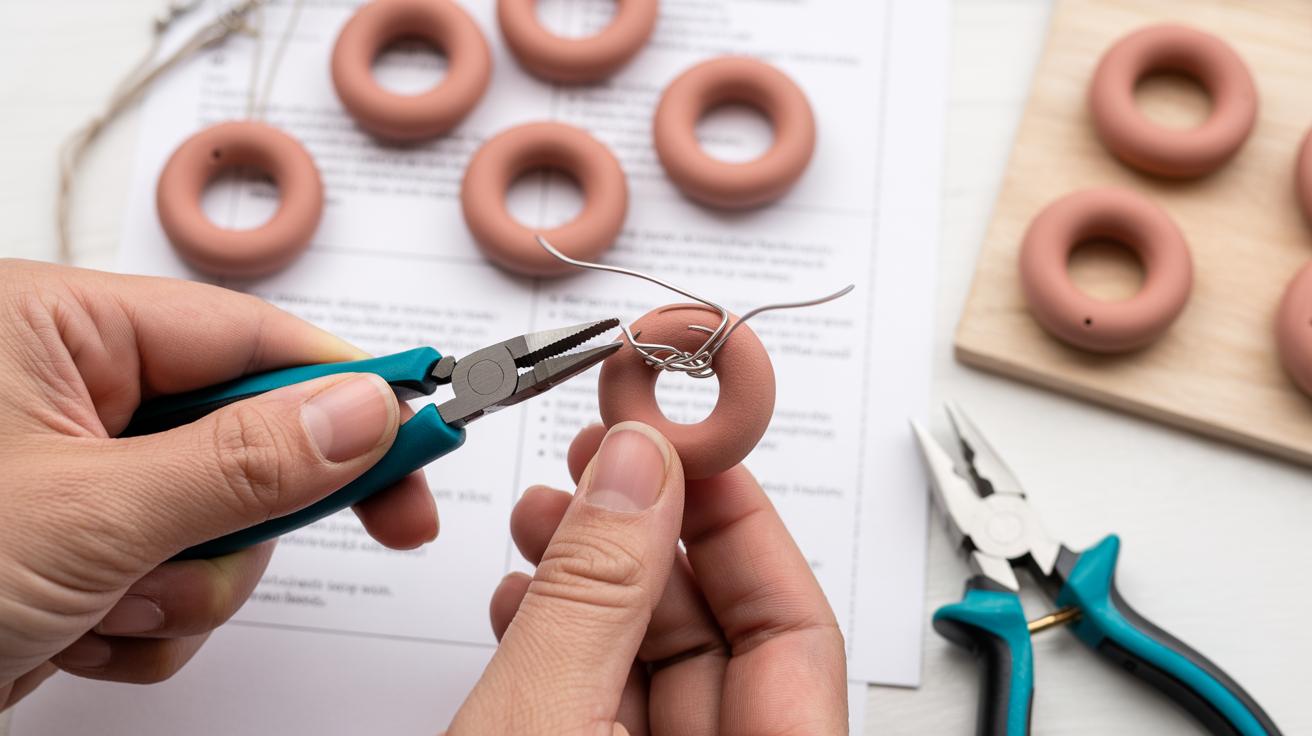
Adding Clasps and Finishing Pieces
After stringing, you need secure clasps to finish the project. Crimp beads or tubes are your friends here—they clamp down on wire ends and keep everything together. Using proper crimping pliers makes a huge difference. I’ve tried without them—let’s just say the clasp slipped once or twice, and it was a mess.
For elastic, you can tie strong surgeon’s knots, but sealing with a dab of glue helps prevent unraveling. Even then, elastic bracelets won’t last forever, so expect to restring over time.
Don’t forget end caps if you’re using cords. They tidy up loose ends and create a neat place to attach clasps. Eye pins can also work if you want to link beads individually.
There’s a balance to find between durability and aesthetics. Sometimes a chunky clasp suits bold beads; other times, a delicate clasp fits better. Trying a few options might feel like extra work but really shapes the final impression of your piece.
Troubleshooting Common Issues
Preventing Cracks and Holes Closing
Cracks can be a real pain when making clay beads, often showing up during baking. One tip I’ve found helpful is to condition your clay well before shaping. If the clay feels stiff or dry, it might lead to cracks as it bakes. Also, don’t rush the baking process—baking at too high a temperature or for too long can cause stress in the clay, making it crack or warp.
Keeping holes open can be tricky, especially if you’re poking them with tools. Try using a thick needle or toothpick that stays firm and gently rotate it as you go, instead of pushing straight through quickly. Make these holes slightly larger than you think you need because holes tend to shrink a bit in the oven. Some people swear by propping holes open with a small wire or skewer during baking, which seemed a bit over the top to me at first, but it really does help prevent closure.
Maintaining Color Vibrancy
Colors can fade or dull, especially after baking or sealing. One thing I learned the hard way: avoid using too much clay conditioner or oil mixed into your colors, as they can mute tones when cured. Baking clay beads on parchment paper rather than metal trays also seems to make a difference; the surface affects how colors hold up.
Sealing your beads is useful but pick your sealant carefully—glossy finishes might darken colors, while matte can wash them out. Testing on a sample bead first can save a lot of disappointment. Lastly, keep your beads out of direct sunlight to prevent fading over time. Do you ever wonder if some fading is just part of the charm, though? It’s a bit of a balance, isn’t it?
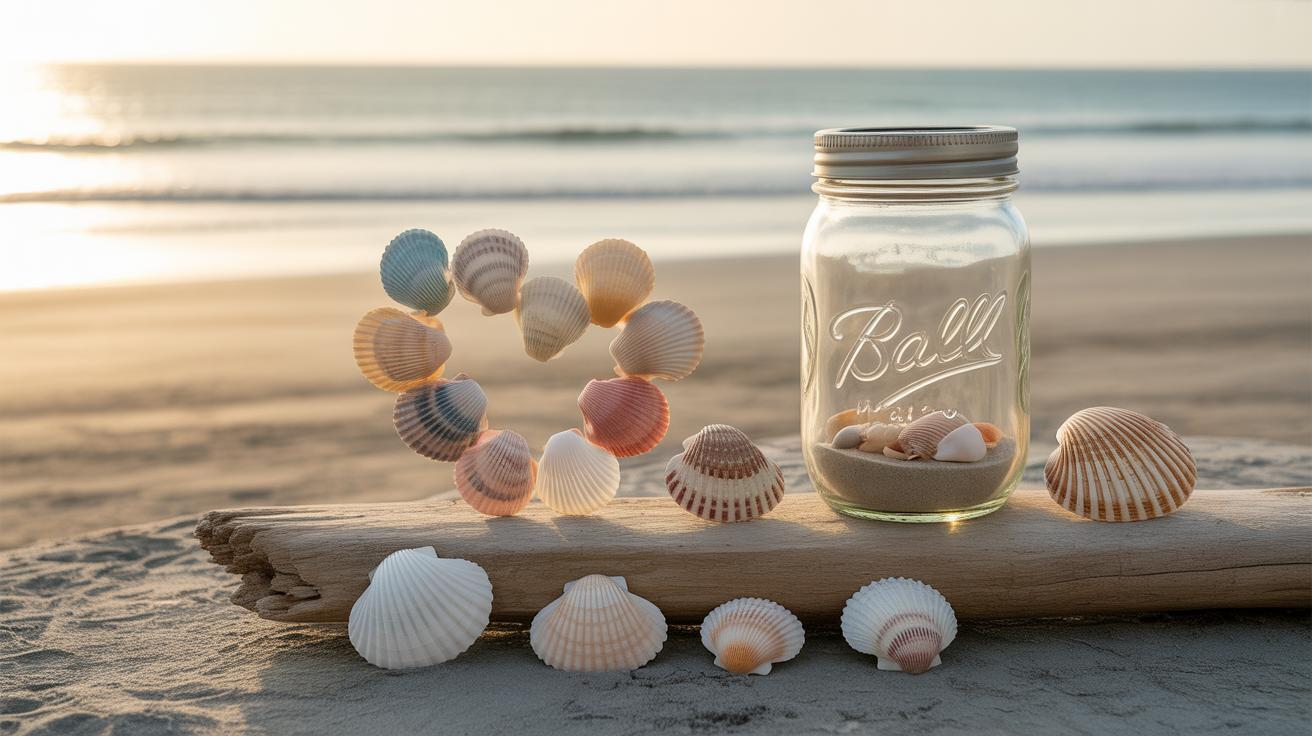
Inspiration and Ideas for Unique Clay Beads
When it comes to making clay beads, you can really let your creativity run wild. One thing I find fun is playing around with textures. You don’t always have to stick to smooth surfaces. Pressing lace, leaves, or even a rough sponge into the clay before baking can add a subtle pattern that makes each bead stand out. Sometimes I’ve tried carving small lines or dots with a needle or a toothpick, and it created this almost tribal or geometric feel that was pretty cool.
Embedding tiny objects is another way to add personality. I once slipped in a couple of tiny dried flowers and some fine metallic flakes into clear clay. It took patience — sometimes the bits shifted — but the end result was quite unlike anything plain beads offer. Maybe you could try something similar with beads, tiny charms, or fine wire.
Don’t feel limited to round beads either. Playing with shapes—square, oval, crescents, or even little abstract forms—can shake things up. I sometimes flatten beads slightly or make them teardrop-shaped, depending on the project. Adding something simple like a pinch of glitter before baking also gives beads a subtle shimmer that catches light in a delicate way.
Have you considered layering colors or mixing textures in a single bead? Pushing just enough to mix but not blend the clays creates marbling effects that look impressive but don’t require complicated techniques. Sometimes, the best ideas come from just experimenting — you might stumble on a style or effect that feels totally unique to you.
Conclusions
You now have a clear path to start making clay beads for your handmade jewelry. With simple tools and materials, you can create many styles of beads that fit your taste and designs. Practice shaping, decorating, and finishing beads to find your favorite techniques.
Making your own clay beads saves money and allows you to craft jewelry with a personal touch. Your creativity will grow as you explore new ideas and designs. Enjoy the process and see how your handmade jewelry becomes more elegant and special with your custom clay beads.