Introduction
Polymer clay charms provide a wonderful way to create unique, personalized wedding favors. These small, handcrafted keepsakes allow you to add a special touch to your wedding celebration. Using polymer clay, you can form shapes, patterns, and designs that reflect your style and the theme of your event.
This article explores how to work with polymer clay to craft beautiful charms for your wedding favors. From understanding the basic materials to exploring creative design ideas, you will learn the steps needed to make memorable gifts that your guests will cherish long after the celebration.
Understanding Polymer Clay
What Is Polymer Clay
Polymer clay is a type of modeling material made primarily from polyvinyl chloride (PVC) particles mixed with plasticizers. This combination gives it a soft, pliable texture that you can easily shape by hand or with tools. Once you’ve formed your charm, polymer clay hardens when baked in a home oven at a relatively low temperature, usually around 265°F to 275°F. It’s not like traditional clay that requires kiln firing. The curing process makes the clay firm, sturdy, and resistant to breakage, which is key for tiny wedding charms that might be handled a lot.
You can think of it almost like sculpting with a dense, soft putty. But instead of drying and cracking, it bakes into something solid but still a bit flexible. This makes it perfect if you want to add fine details or combine different colors without worrying about them cracking apart later. You can even sand and glaze the baked pieces for a finished look, which is something I found useful when aiming for smooth, polished wedding favors.
Benefits of Using Polymer Clay for Wedding Charms
When considering materials for your wedding favors, polymer clay offers some clear perks:
- Durability: Once baked, the charms hold up well against everyday handling — no easy chips or breaks, which is nice for keepsakes meant to last.
- Color Variety: The clay comes in a wide spectrum of vibrant colors straight from the package, and you can blend them to create custom shades. This flexibility lets you match your wedding theme exactly without relying on painted finishes that might wear off.
- Ease of Use: Polymer clay is beginner-friendly. It’s soft enough to manipulate without special tools, but also supports advanced techniques like texturing or layering for more intricate designs.
- Size and Weight: Charms made with polymer clay are light, which suits favors since guests often like to keep them on keychains, jewelry, or tied to gift bags.
- Cost-Effectiveness: A little clay goes a long way. You can craft dozens of unique charms without major expense, which makes it appealing if you’re working on a budget.
Some people might wonder about the longevity of polymer clay over years, and while it isn’t as indestructible as, say, metals, I think the balance of its qualities—especially for wedding keepsakes—makes it a smart choice. You get creativity, practicality, and a personal touch, all in one small package.
Gathering Your Supplies
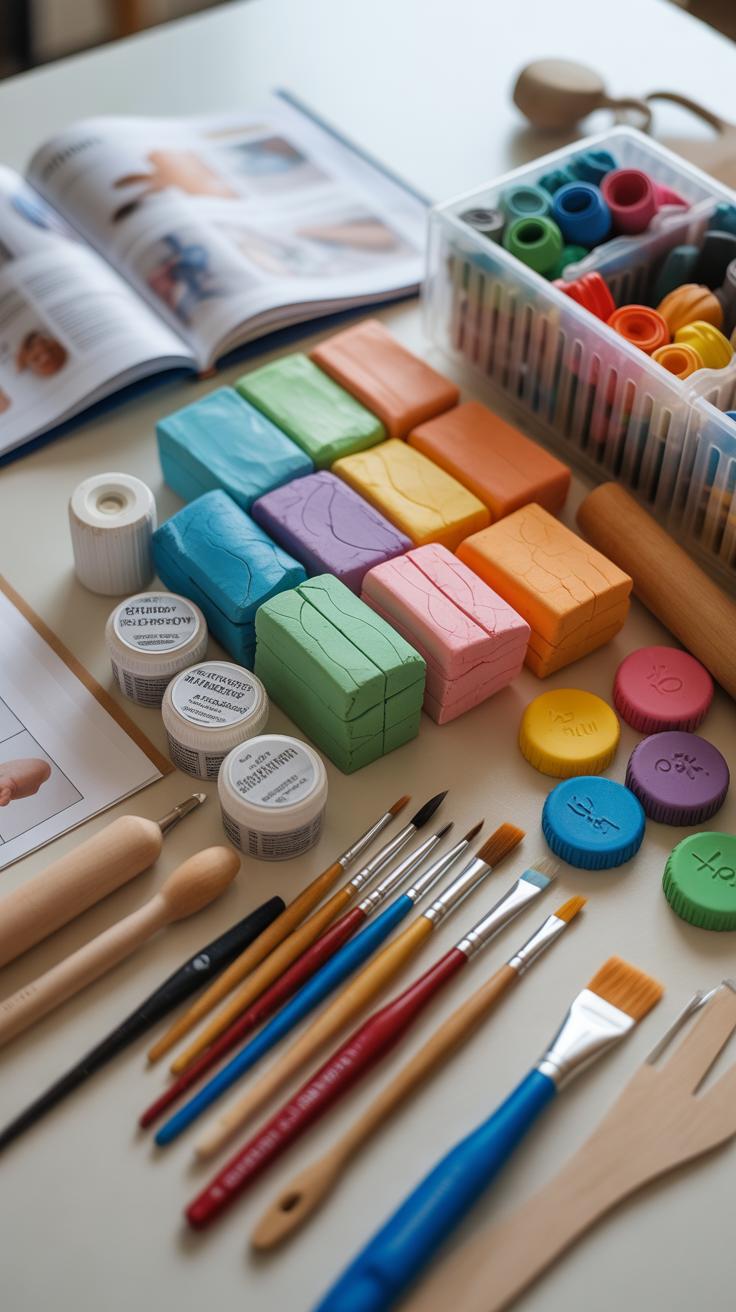
You’ll want to start by assembling a few basic things before getting your hands into polymer clay charms. The right materials make a big difference, even if you’re just playing around at first.
Basic Tools and Clay
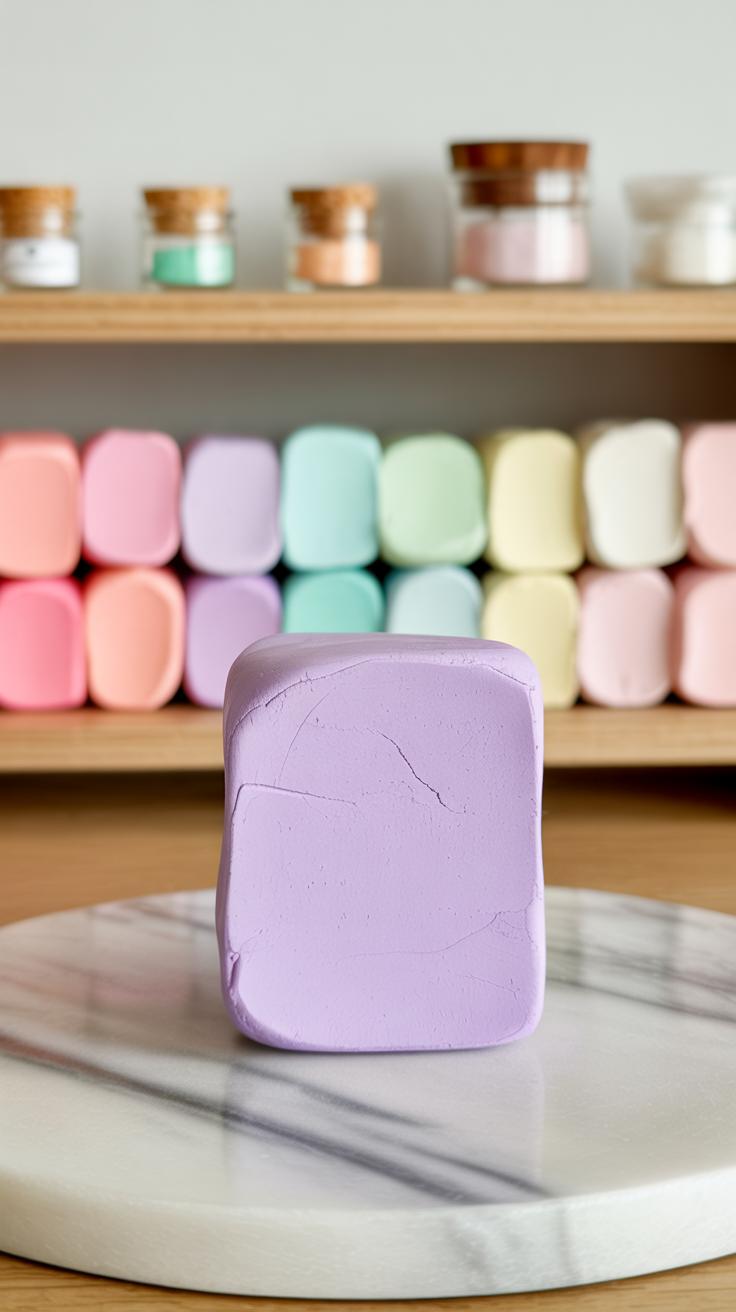
Begin with polymer clay itself. Popular brands like Sculpey or Fimo each have slightly different textures and curing times. Softer clays tend to be easier for shaping tiny details, which is handy for charms that need precision. There are also specialized clays—some hold colors brighter, others are better for mixing shades.
For shaping and cutting, a sharp craft knife or scalpel is key. I find a small blade really helps when you’re making delicate shapes, though a tiny rolling pin can flatten your clay sheets evenly. Needle tools or toothpicks help with fine details, and a set of silicone shapers makes smoothing edges easier. Don’t forget a small sanding block or fine grit sandpaper for after curing, to perfect the finish.
A dedicated oven thermometer is not exactly glamorous, but critical. Polymer clay cures best at specific temperatures, and ovens can vary more than you’d think.
Additional Supplies for Decoration
Once you have your base charms made, you might want to add personality. Acrylic paints work well to bring out details or add little dots and lines. A gloss varnish or liquid clay can give your charms a nice shine, making them feel more finished—though matte finishes can look lovely too, especially if you want a softer effect.
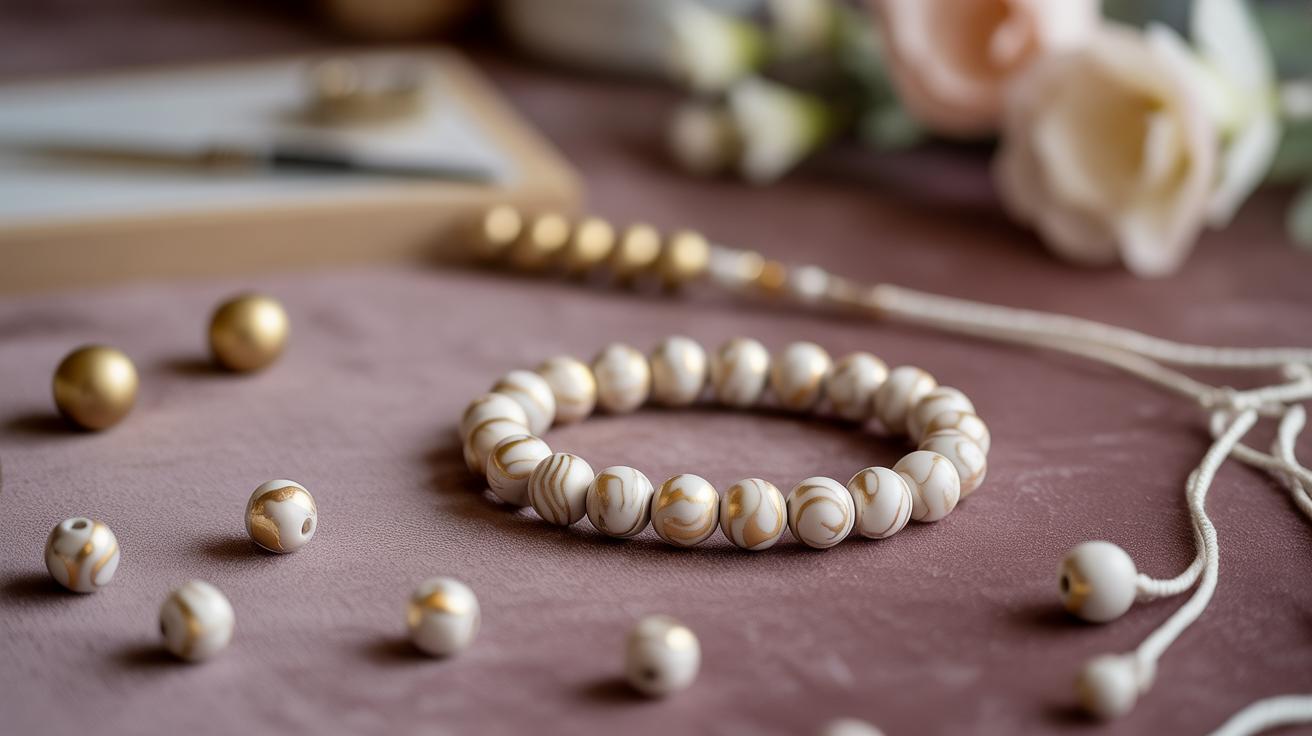
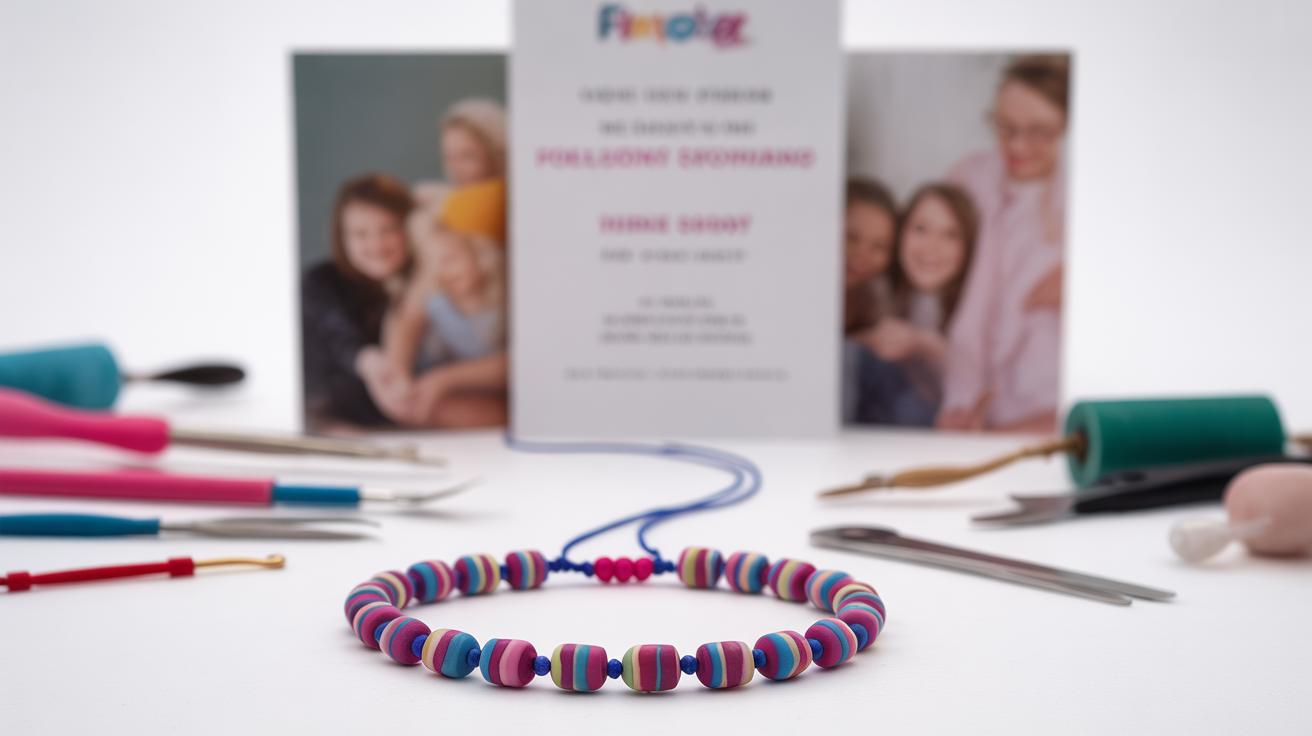
Beads, rhinestones, or tiny metal findings like jump rings and chains turn your flat charm into something wearable or ready to hang. Jump rings are especially useful if you’re making keychains or pendants. You may also want small pliers designed for jewelry-making to open and close these rings without bending them out of shape.
It might feel like a lot at first, but gathering these tools and materials ahead will save you the hassle of stops in the middle of a project. What kind of charm do you want to create, and how detailed do you imagine it? That choice affects what you really need to have on hand.
Preparing Polymer Clay for Crafting
Conditioning Clay
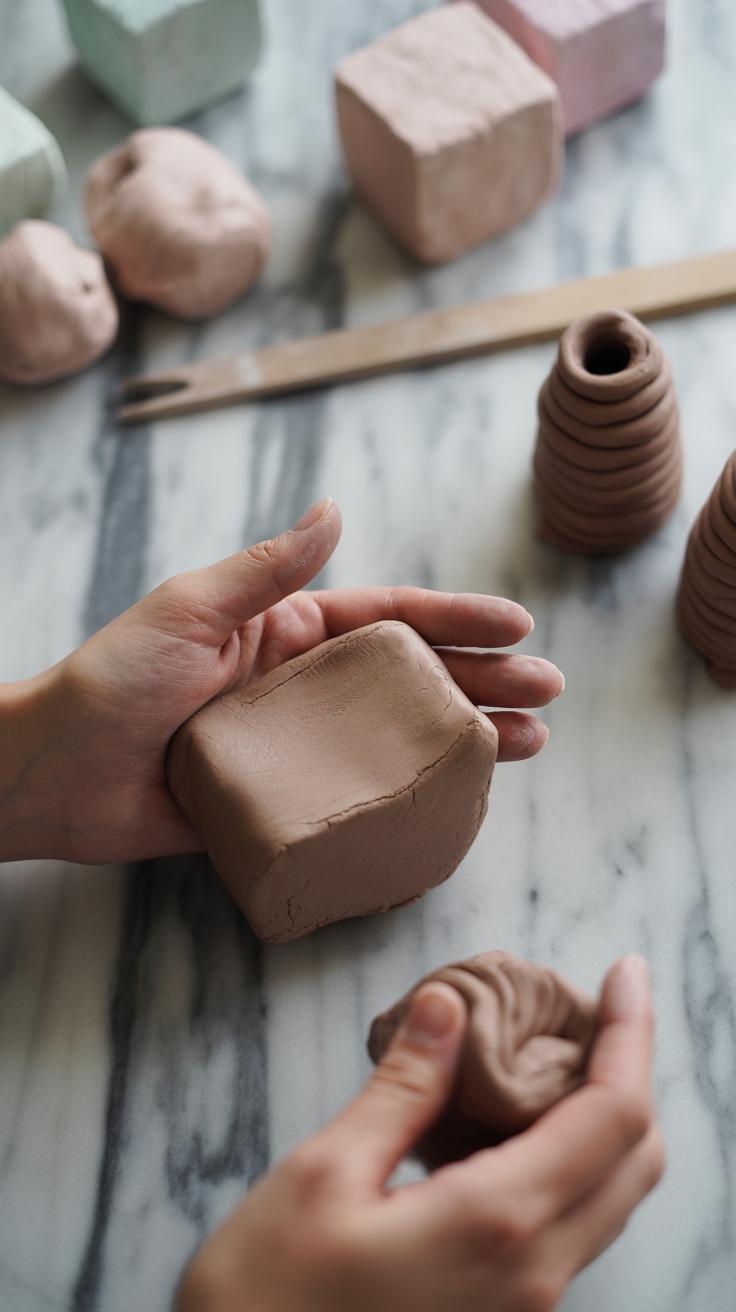
Before you start shaping your polymer clay charms, it’s key to prepare the clay properly. Polymer clay often arrives stiff and hard, and if you dive right in, you’ll struggle to get smooth, detailed results. Conditioning the clay means softening it by working it with your hands. You do this by kneading the clay like dough—folding, pressing, and stretching it. It sounds simple, but this step really changes everything. The clay becomes more pliable, less prone to cracking, and easier to shape.
Many people find rolling the clay into a ball and then flattening it with gentle pressure helps. Repeating this kneading and rolling cycle warms up the clay and distributes the oils evenly, which makes a big difference. Sometimes I skip this and end up frustrated with crumbly edges. So, it pays off to spend a few extra minutes here. Your fingers will feel the difference—the clay loses its stiffness and gains a smooth texture, ready for crafting.
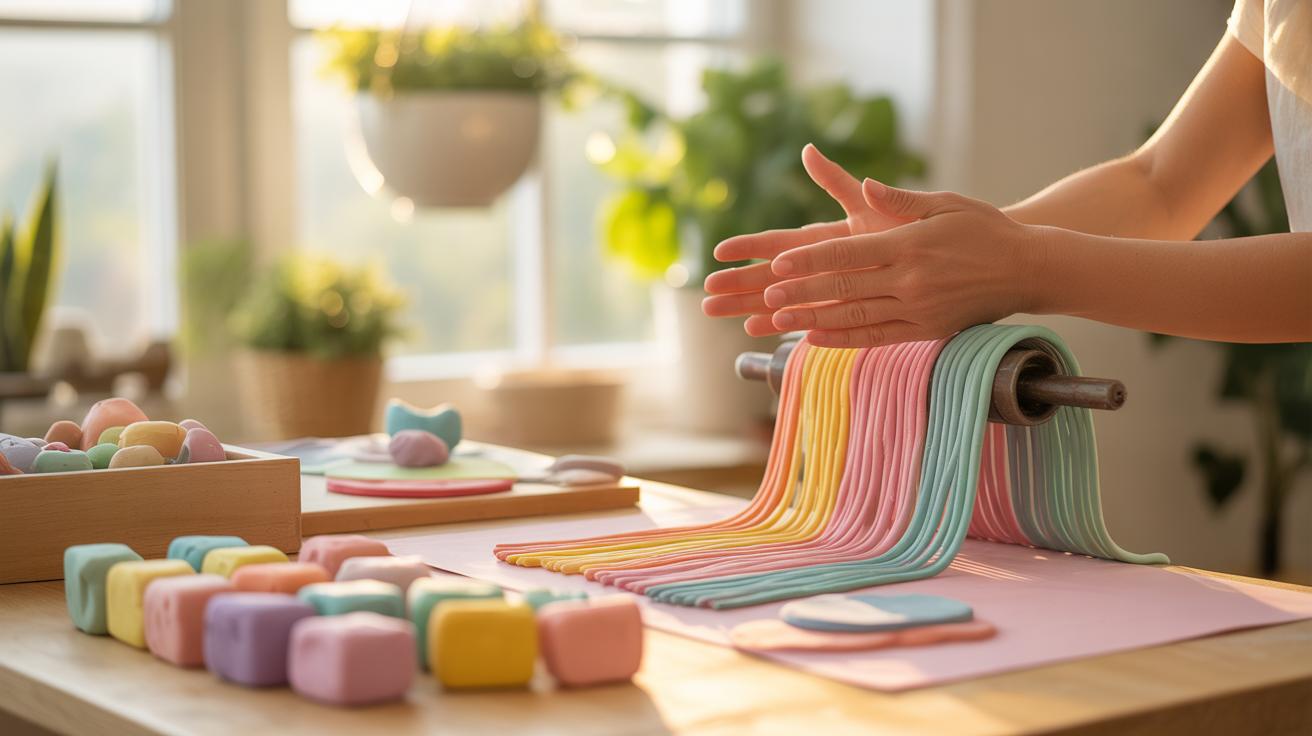
Mixing Colors
Creating custom colors is where the fun and creativity begin. Polymer clay colors can be combined in countless ways to match your wedding theme, but mixing them isn’t quite as straightforward as throwing paints together. You need to blend the clay physically by twisting and folding different colors together until you get the shade you want. It’s a little like blending dough with swirls of color inside.
Try small amounts first—you can always add more clay to adjust the tone. For instance, mixing white with a pastel pink will soften the color, while adding a bit of grey gives a muted, dusty look. Sometimes the colors don’t blend evenly at first, showing streaks and lines. That’s normal, and if you like a marbled effect, you might decide to keep those patterns. But if you want a smooth, uniform color, keep mixing and kneading until the streaks disappear. It takes patience, but the result is a unique palette that can truly set your charms apart.
Designing Your Polymer Clay Charms
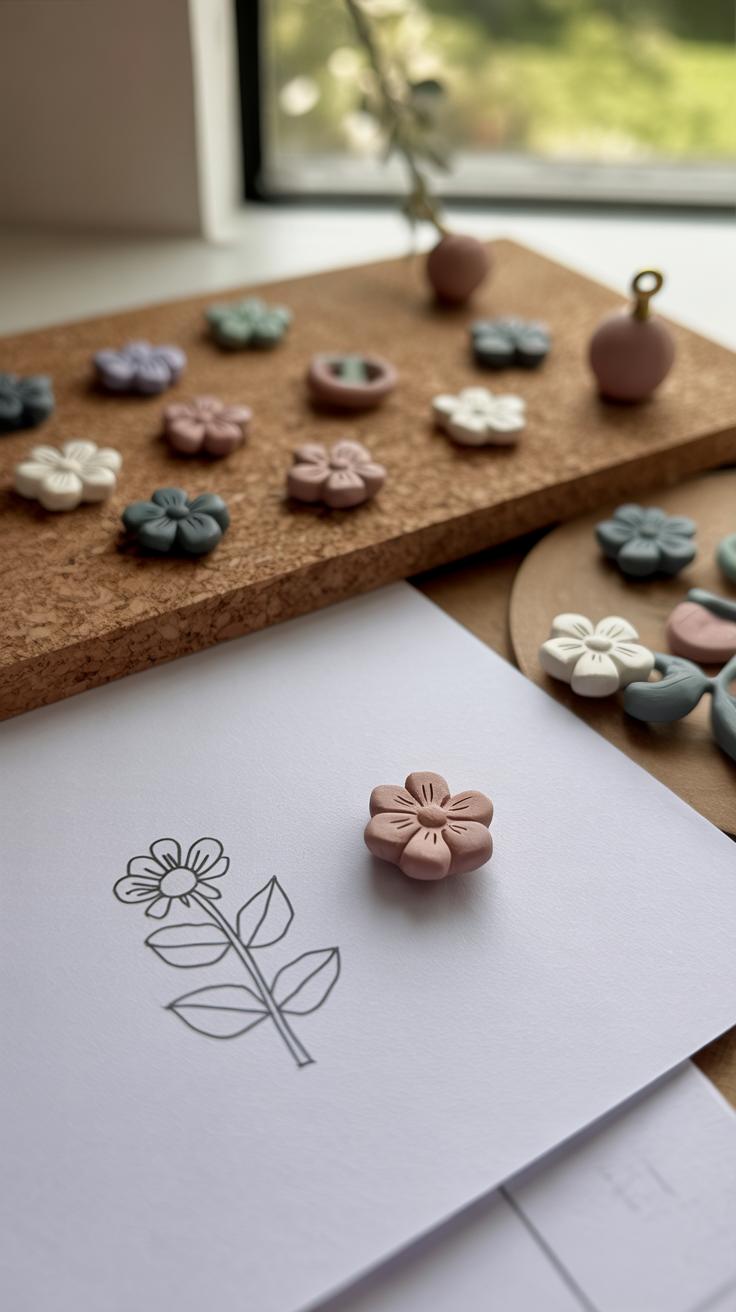
When thinking about your polymer clay charms, the first thing to consider is how they reflect your wedding theme or personal style. Maybe you favor something minimalist, like simple hearts or initials, or perhaps something more whimsical, like tiny flowers or miniature food items that hold meaning for you.
For beginners, starting with basic shapes can be less intimidating and quite effective. Circles, hearts, stars, or leaves make good starting points. These shapes don’t require complex tools or techniques but can still look charming. You might want to try creating one shape in various colors or embedding small details, like an impressed pattern with a toothpick or a stamp.
Once you feel a bit more comfortable, you can get into advanced techniques that add personality and texture. Layering thin sheets of clay to create a marbled effect, carving subtle textures with needles, or sculpting tiny petals or ruffles can elevate your charms. Sometimes, adding dimension by attaching small raised elements gives the charm a handcrafted appeal that feels more personal.
Don’t hesitate to experiment. Maybe mix a smooth base with a rougher detail on top or combine colors to make a gradient. Some of my favorite charms started with an imperfect layer but ended up more interesting because of it. What details speak to you? What small touches could make each charm uniquely yours?
Crafting and Shaping Charms
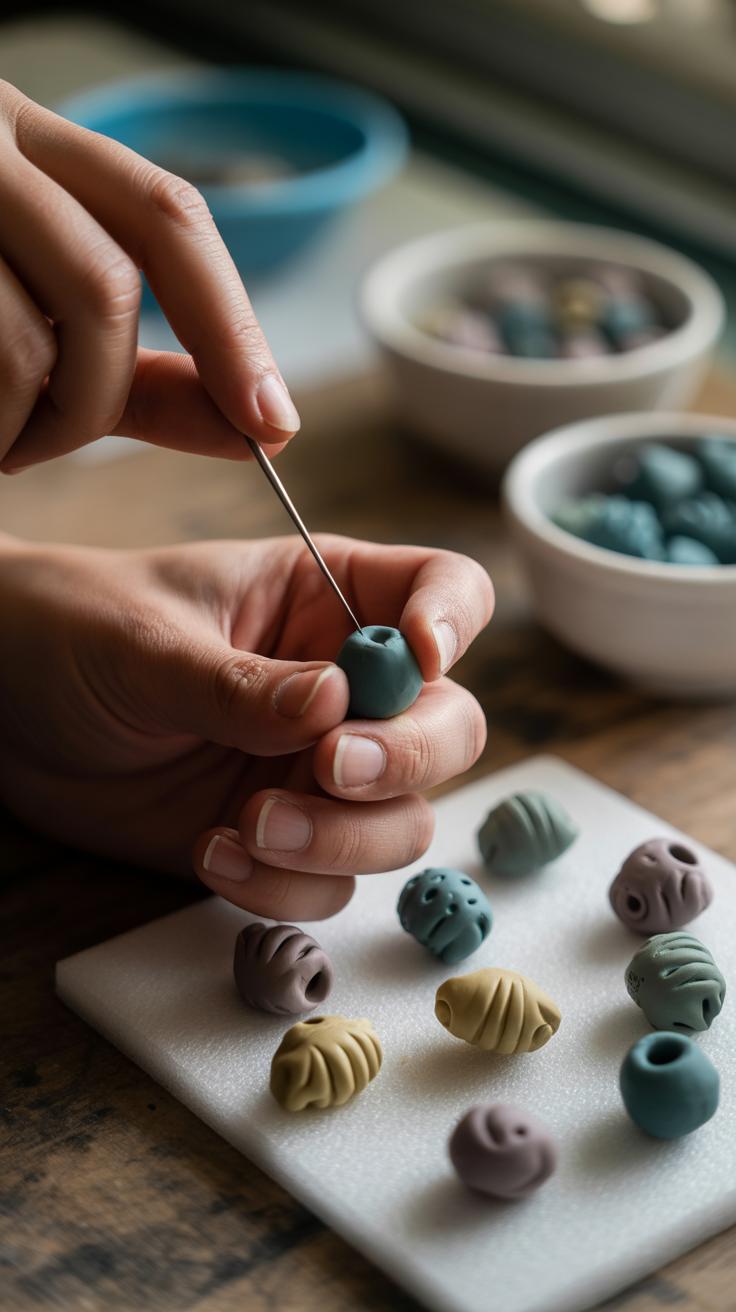
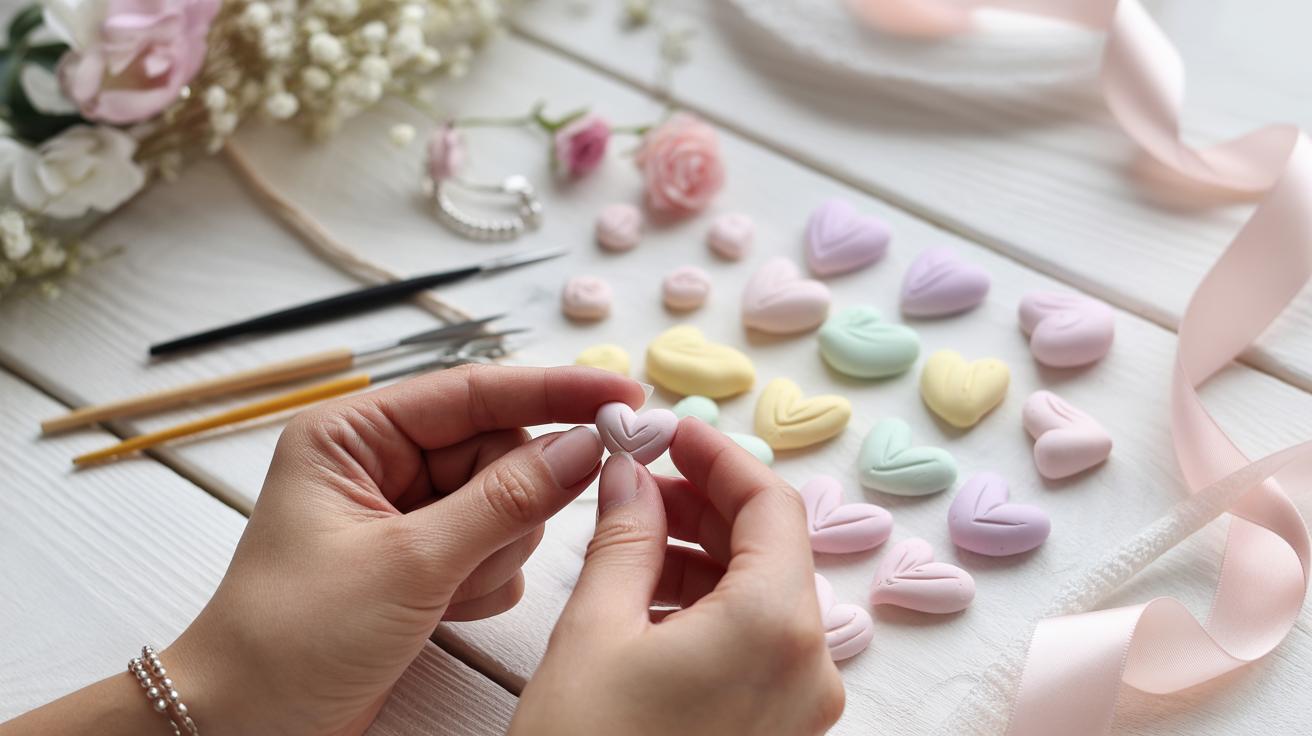
When you start shaping polymer clay charms, the first step is to decide whether you want to go by hand or use molds. Molds can be a real time-saver if you need many charms that look nearly identical. Just press your conditioned clay into the mold, making sure to fill every nook, then carefully peel it out. I find that firm, silicone molds work best, but if yours are too soft, the clay might lose its shape when you remove it.
On the other hand, hand shaping lets you give each charm a unique touch. Rolling tiny balls or flattening bits by hand takes patience, especially for small details, but sometimes that slight imperfection adds character. You might want to experiment a bit here—sometimes rough edges can be smoothed with a slightly damp finger or a soft brush before baking.
Cutting shapes often involves simple tools like a craft knife or small cutters. I usually start with a thin sheet of clay rolled evenly, so the thickness stays consistent throughout. When cutting, press firmly but gently to avoid squashing the clay.
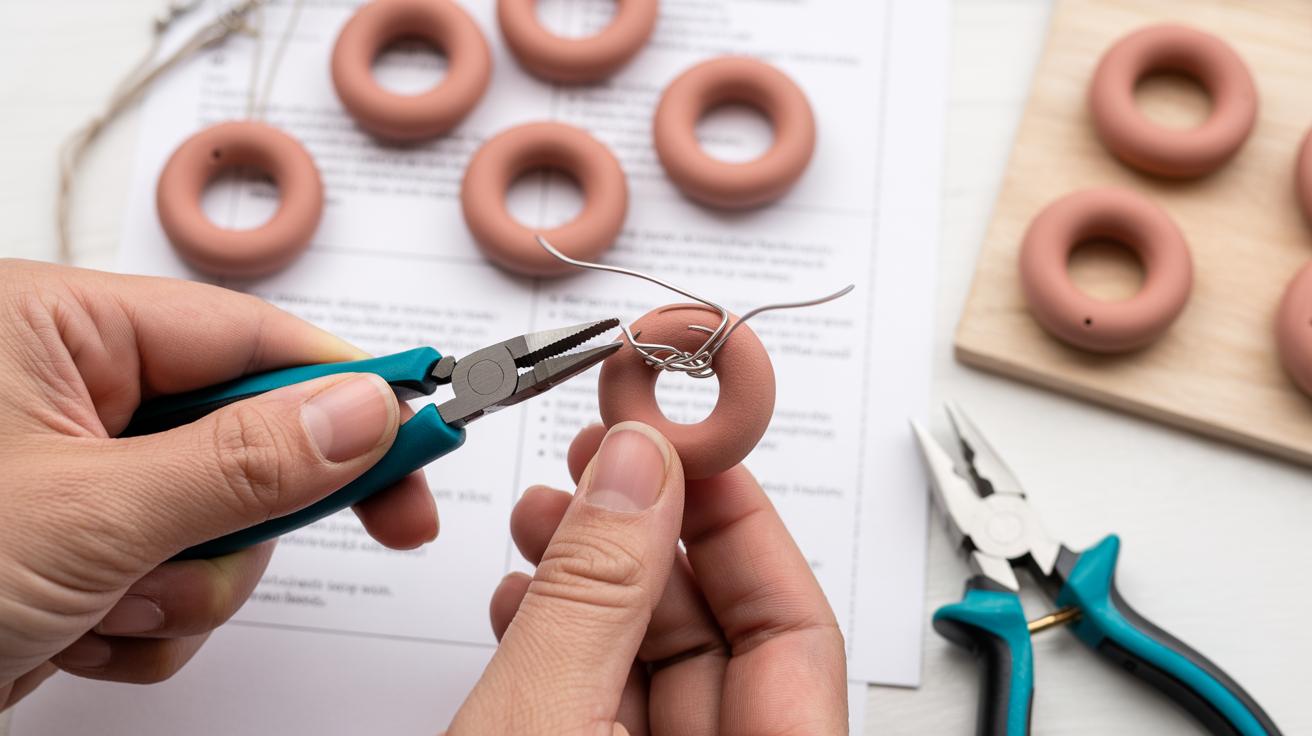
Now, for assembling your charms, adding holes is key. Before baking, use a thin needle, toothpick, or a small pin to poke holes where you want to attach jump rings or chains. Piercing at this stage is much easier than once the clay is hard. If you’re worried about the hole size, you can widen it slightly, but be careful not to distort the charm’s shape.
Sometimes, placing the hole near an edge feels safer, but if your charm is delicate, consider reinforcing that area with a thicker strip or extra clay before piercing. It’s a small step, but it could prevent breakage later. Once you’re happy with your shapes and holes, they’re ready to be baked and turned into lasting keepsakes.
Curing Polymer Clay Safely and Effectively
Oven Settings and Duration
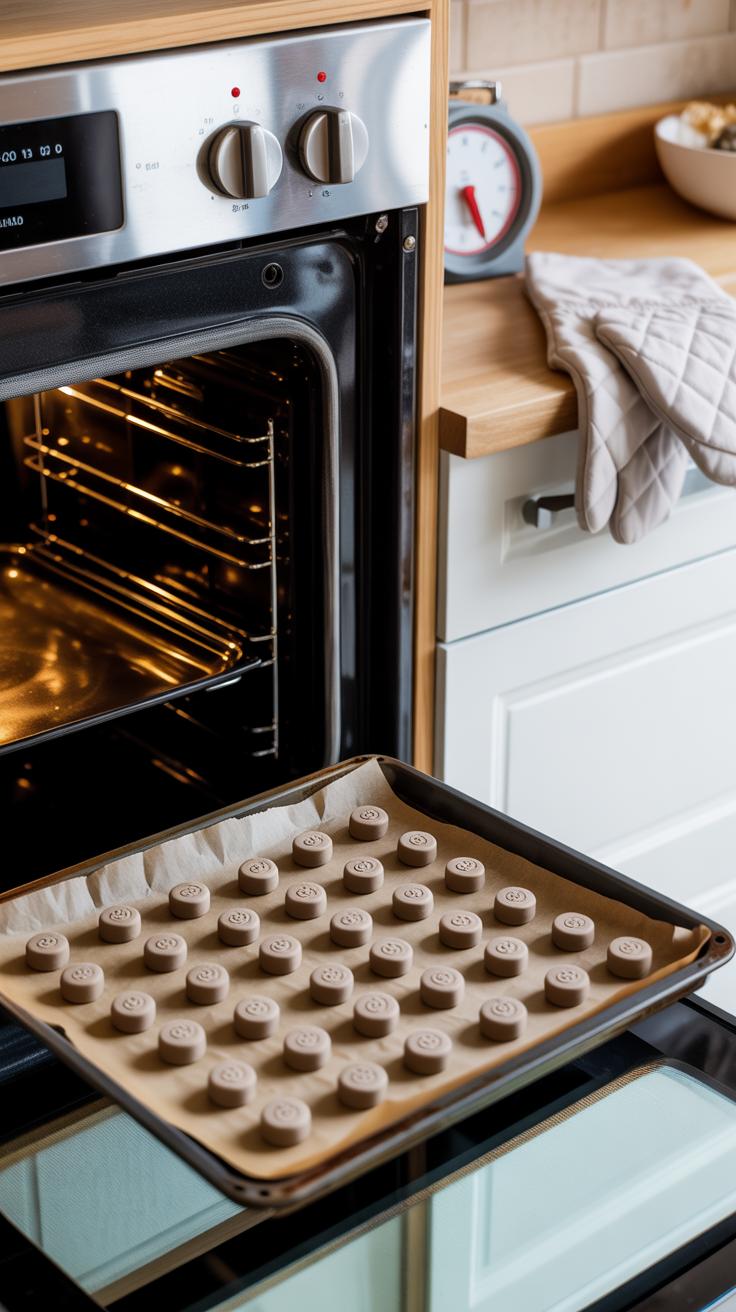
Baking polymer clay is where your charms really take shape—literally becoming solid keepsakes. But getting the oven temperature and time right is trickier than it seems. Most polymer clays recommend around 265°F to 275°F (129°C to 135°C), but exact settings depend on thickness. Thinner pieces, maybe 1/8 inch thick, might only need 15 minutes, while thicker charms—closer to 1/4 inch or more—can require 30 minutes or a bit longer.
Going beyond these limits risks burning or discoloring your work. On the other hand, underbaking leaves the piece fragile, prone to breaking later. A slow, steady bake usually works best. It’s tempting to turn up the heat to save time, but patience pays off. An oven thermometer helps here; not all ovens are accurate, and fluctuations matter.
Post-Baking Cooling and Handling
After baking, resist the urge to touch your charms right away. They need to cool gradually, which prevents sudden stress that can cause cracks or breaks. I usually leave mine on the baking tray until they reach room temperature. It feels longer than it looks—sometimes you want to jump straight in, but that’s a quick route to disappointment.
Once cooled, handle your charms with care. Even fully cured clay can snap if dropped or bent sharply. Holding them gently, especially near any delicate details, helps preserve their shape. Sometimes, I find that using tweezers or placing them on soft cloth during handling adds extra security. How much you treat them now affects their lifespan as keepsakes—so gentle hands matter.
Decorating and Finishing Your Charms
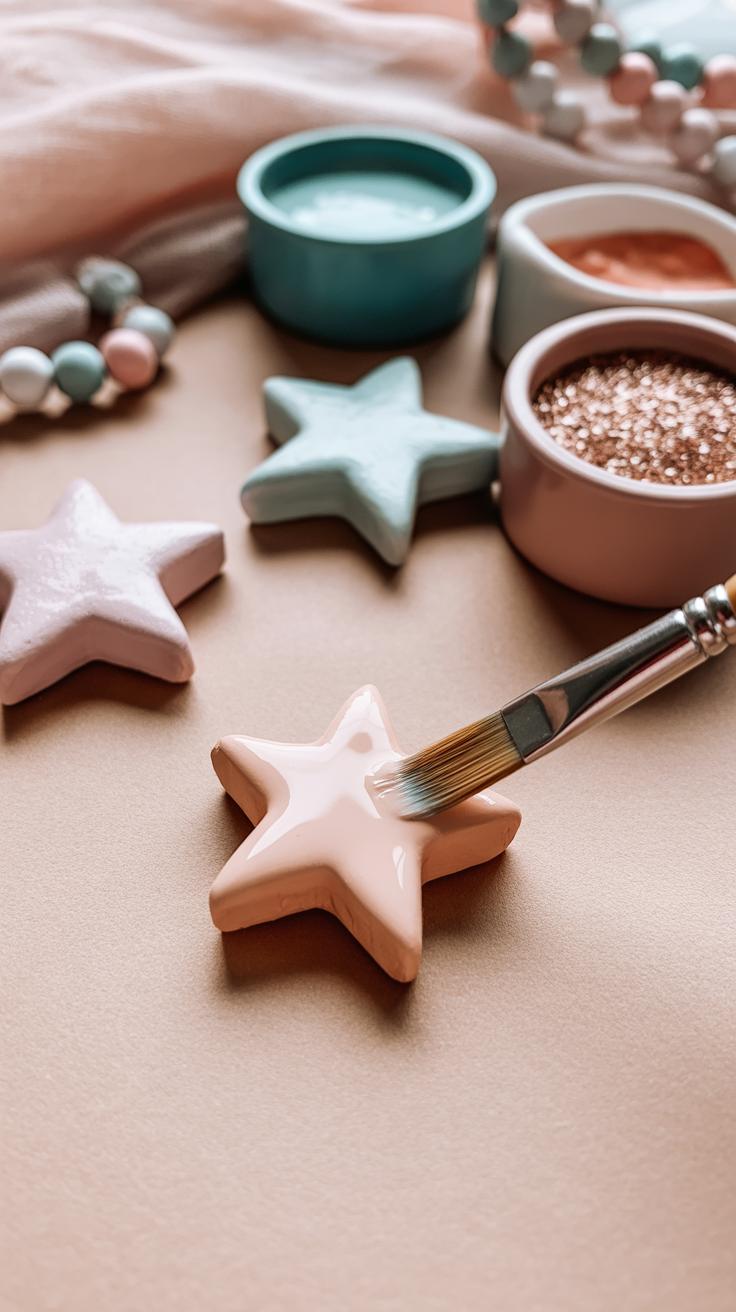
Once your polymer clay charms have baked and cooled, the real fun begins—adding those little finishing touches that make each piece stand out. Sometimes, the charm on its own looks good enough, but often, you might want to enhance details or bring out colors more vividly. Acrylic paints work well here because they don’t crack or peel over time when applied properly.
Try painting with thin layers. Thick paint can hide fine details you worked hard to create. Let each layer dry before adding another—patience really pays off. You can experiment with colors, shading, or highlights to add dimension. For example, a faint blush on a flower petal or subtle gold accents can make a difference without overwhelming the piece.
After painting, sealing is the next step. It protects your work and adds shine or matte finishes depending on your choice. Choose a varnish designed for polymer clay or acrylic crafts, and apply it in thin, even coats. Some people prefer glossy finishes for a polished look, while others go for matte to keep a natural feel. This is one of those personal choices—there’s no single right answer.
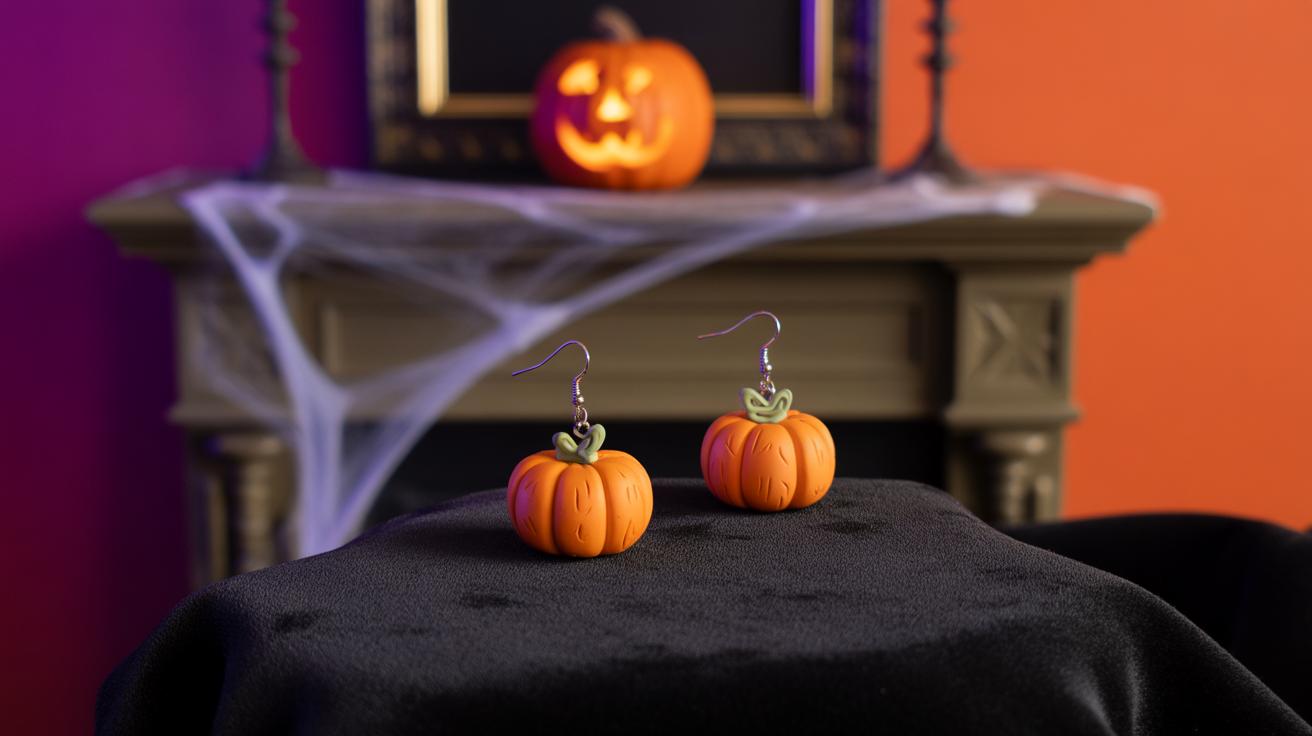
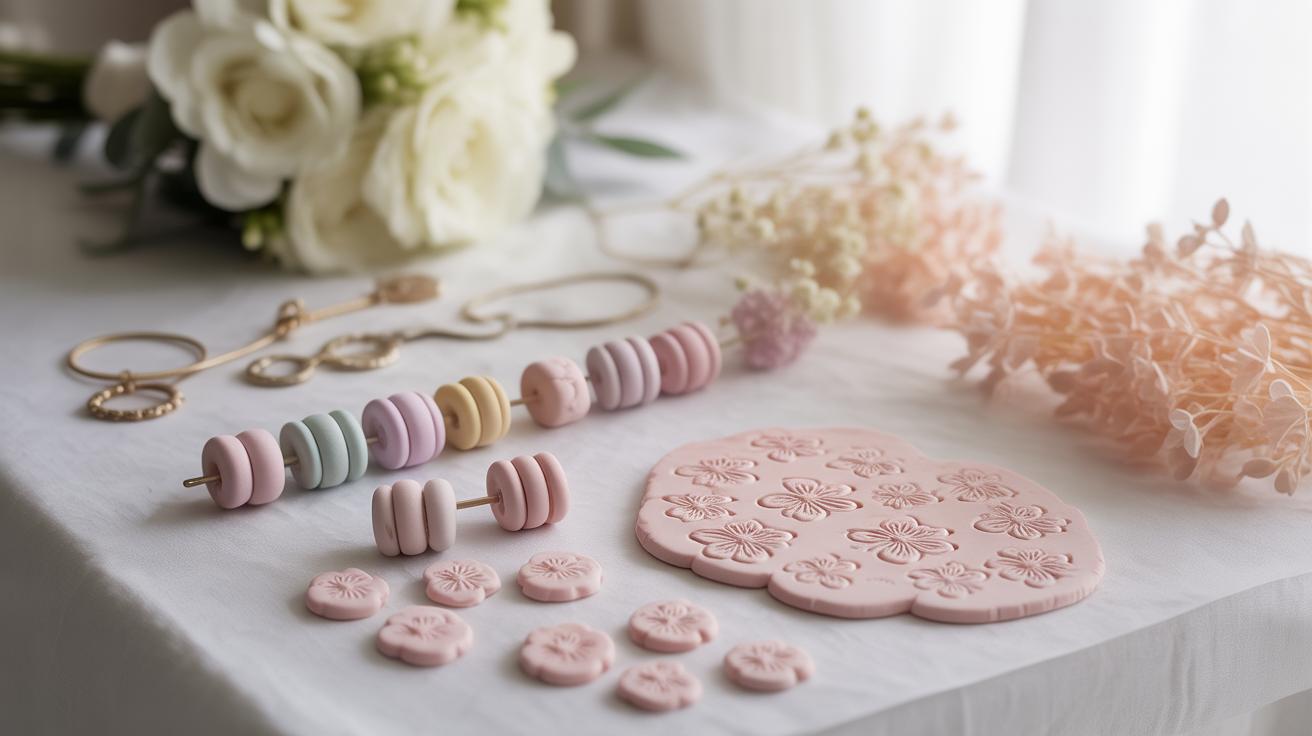
Attaching findings—like jump rings, clasps, or earring hooks—turns your charms into wearable keepsakes. Use needle nose pliers to open and close rings carefully so they don’t lose shape. If your charm has a pre-made hole, threading findings is straightforward, but sometimes you might need to embed a wire loop before baking for extra durability. Think about how your guests might want to use these favors: as keychains, pendants, or even zipper pulls.
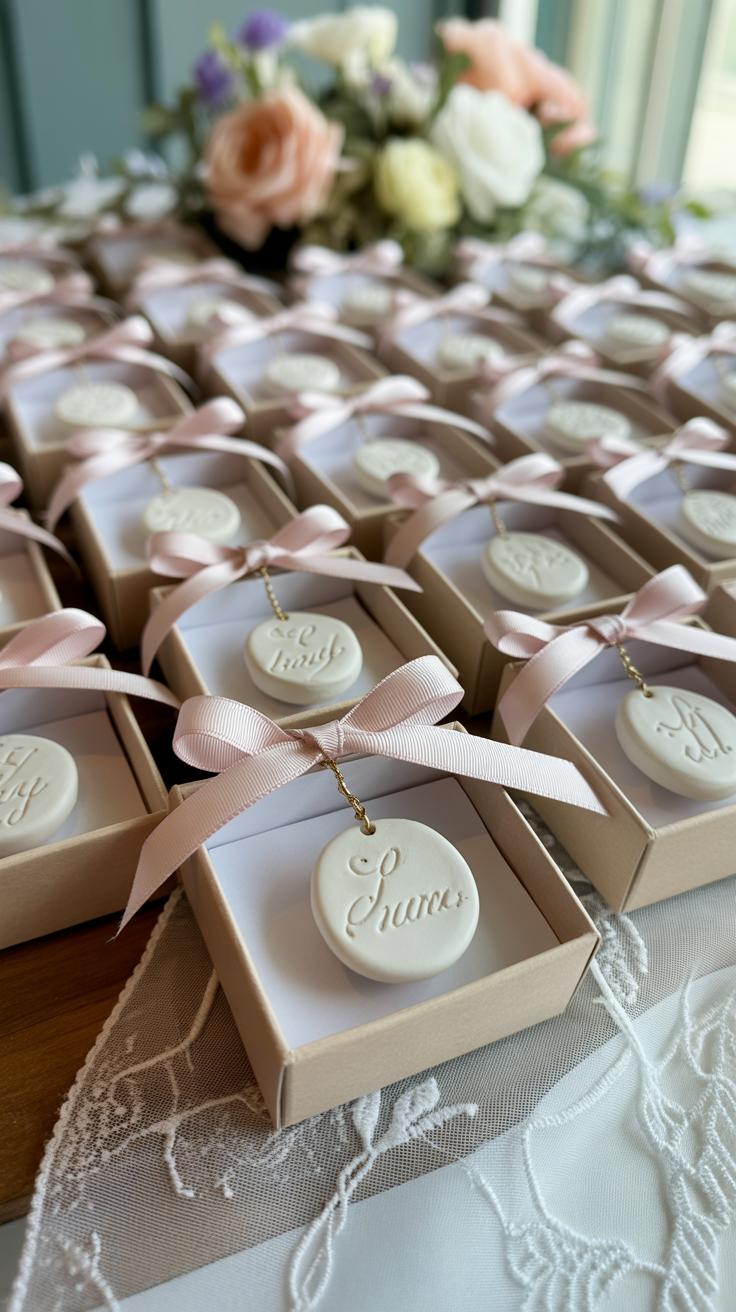
When it comes to packaging, presentation truly counts. Simple organza bags, tiny boxes, or custom tags with the couple’s names and wedding date add a nice touch. You could also include a small thank-you note or care instructions for the charm. This not only makes the favor feel thoughtful but encourages guests to keep and treasure them rather than setting them aside.
What kind of charm presentation do you imagine fits best with your wedding theme? Sometimes, even something as small as the right packaging can turn a simple favor into a memorable keepsake.
Planning Distribution of Wedding Favors
Choosing Favor Presentation
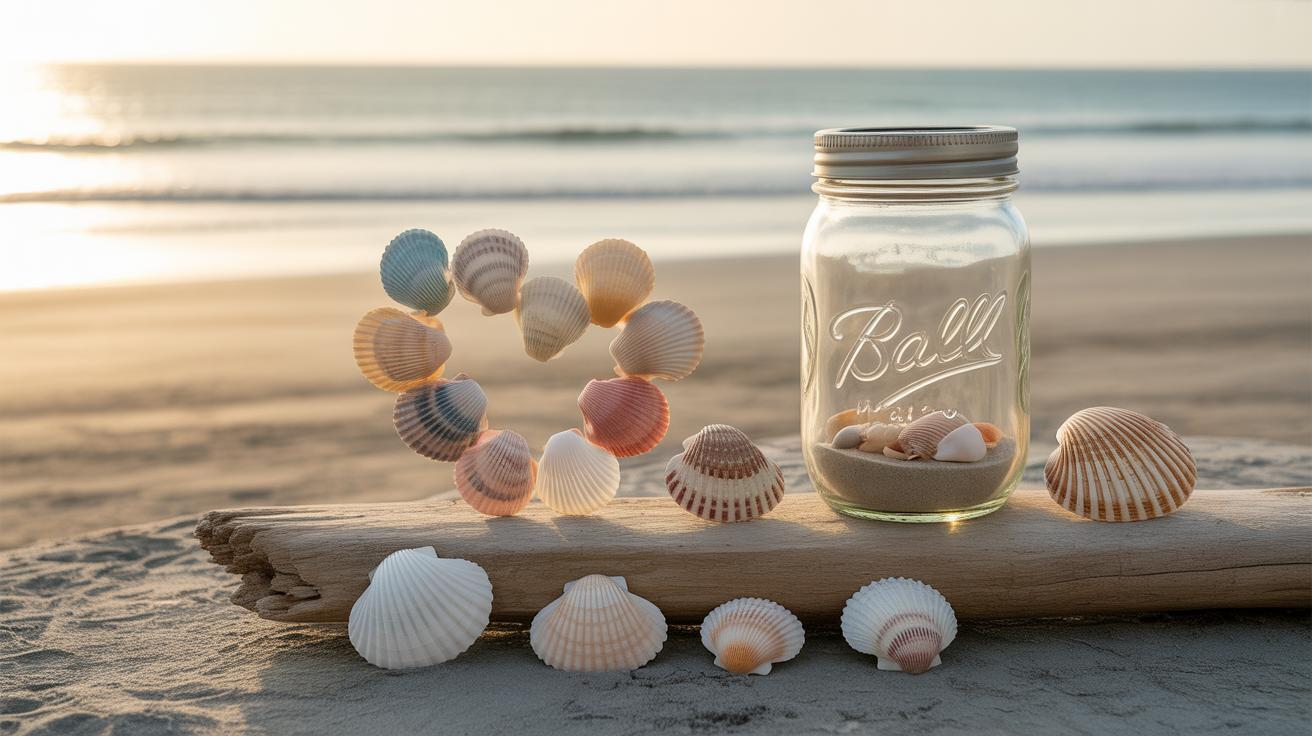
Once you’ve created your polymer clay charms, thinking about how you’ll present them to guests is crucial. The packaging can make a big difference in setting the tone—do you want something simple and rustic, or maybe more elegant and polished? Small organza bags, kraft paper boxes, or even tiny glass jars can work well, depending on your wedding style. It might seem like a minor detail, but those little touches often get noticed.
Consider grouping the charms on a display table rather than handing them out individually. Maybe arrange them on a wooden tray or tie them to personalized cards. A neat setup invites guests to pick one thoughtfully. You could even involve your florist to add sprigs of greenery for an organic feel, but this depends on your overall décor, of course.
Personalizing Guest Experience
Personalizing favors adds a memorable layer. You might stamp or paint guest names or initials on the charms or attach tiny tags with wedding dates. It’s not always easy on small charms, but even a subtle mark or a handwritten note can create a connection. I’ve seen couples print custom cards explaining the significance of the charm, which always seems to make people pause and smile.
Another idea—what about tying the charm to a place card? Guests find their seat and receive their keepsake at once. This doubles as a thoughtful gesture and an organizational trick. Wouldn’t you agree it makes the experience feel more intentional, less rushed? It’s not a must, but those little personalizations linger in memory more than you’d guess.
Conclusions
Crafting polymer clay charms for wedding favors is a creative and rewarding project. By following the steps outlined, you can produce unique, personalized items that add value to your special day. These charms not only serve as gifts but also as lasting memories of your wedding.
With practice and patience, you can master techniques to bring your ideas to life. Whether simple or intricate, your handmade favors will stand out and delight your guests, making your wedding even more memorable.